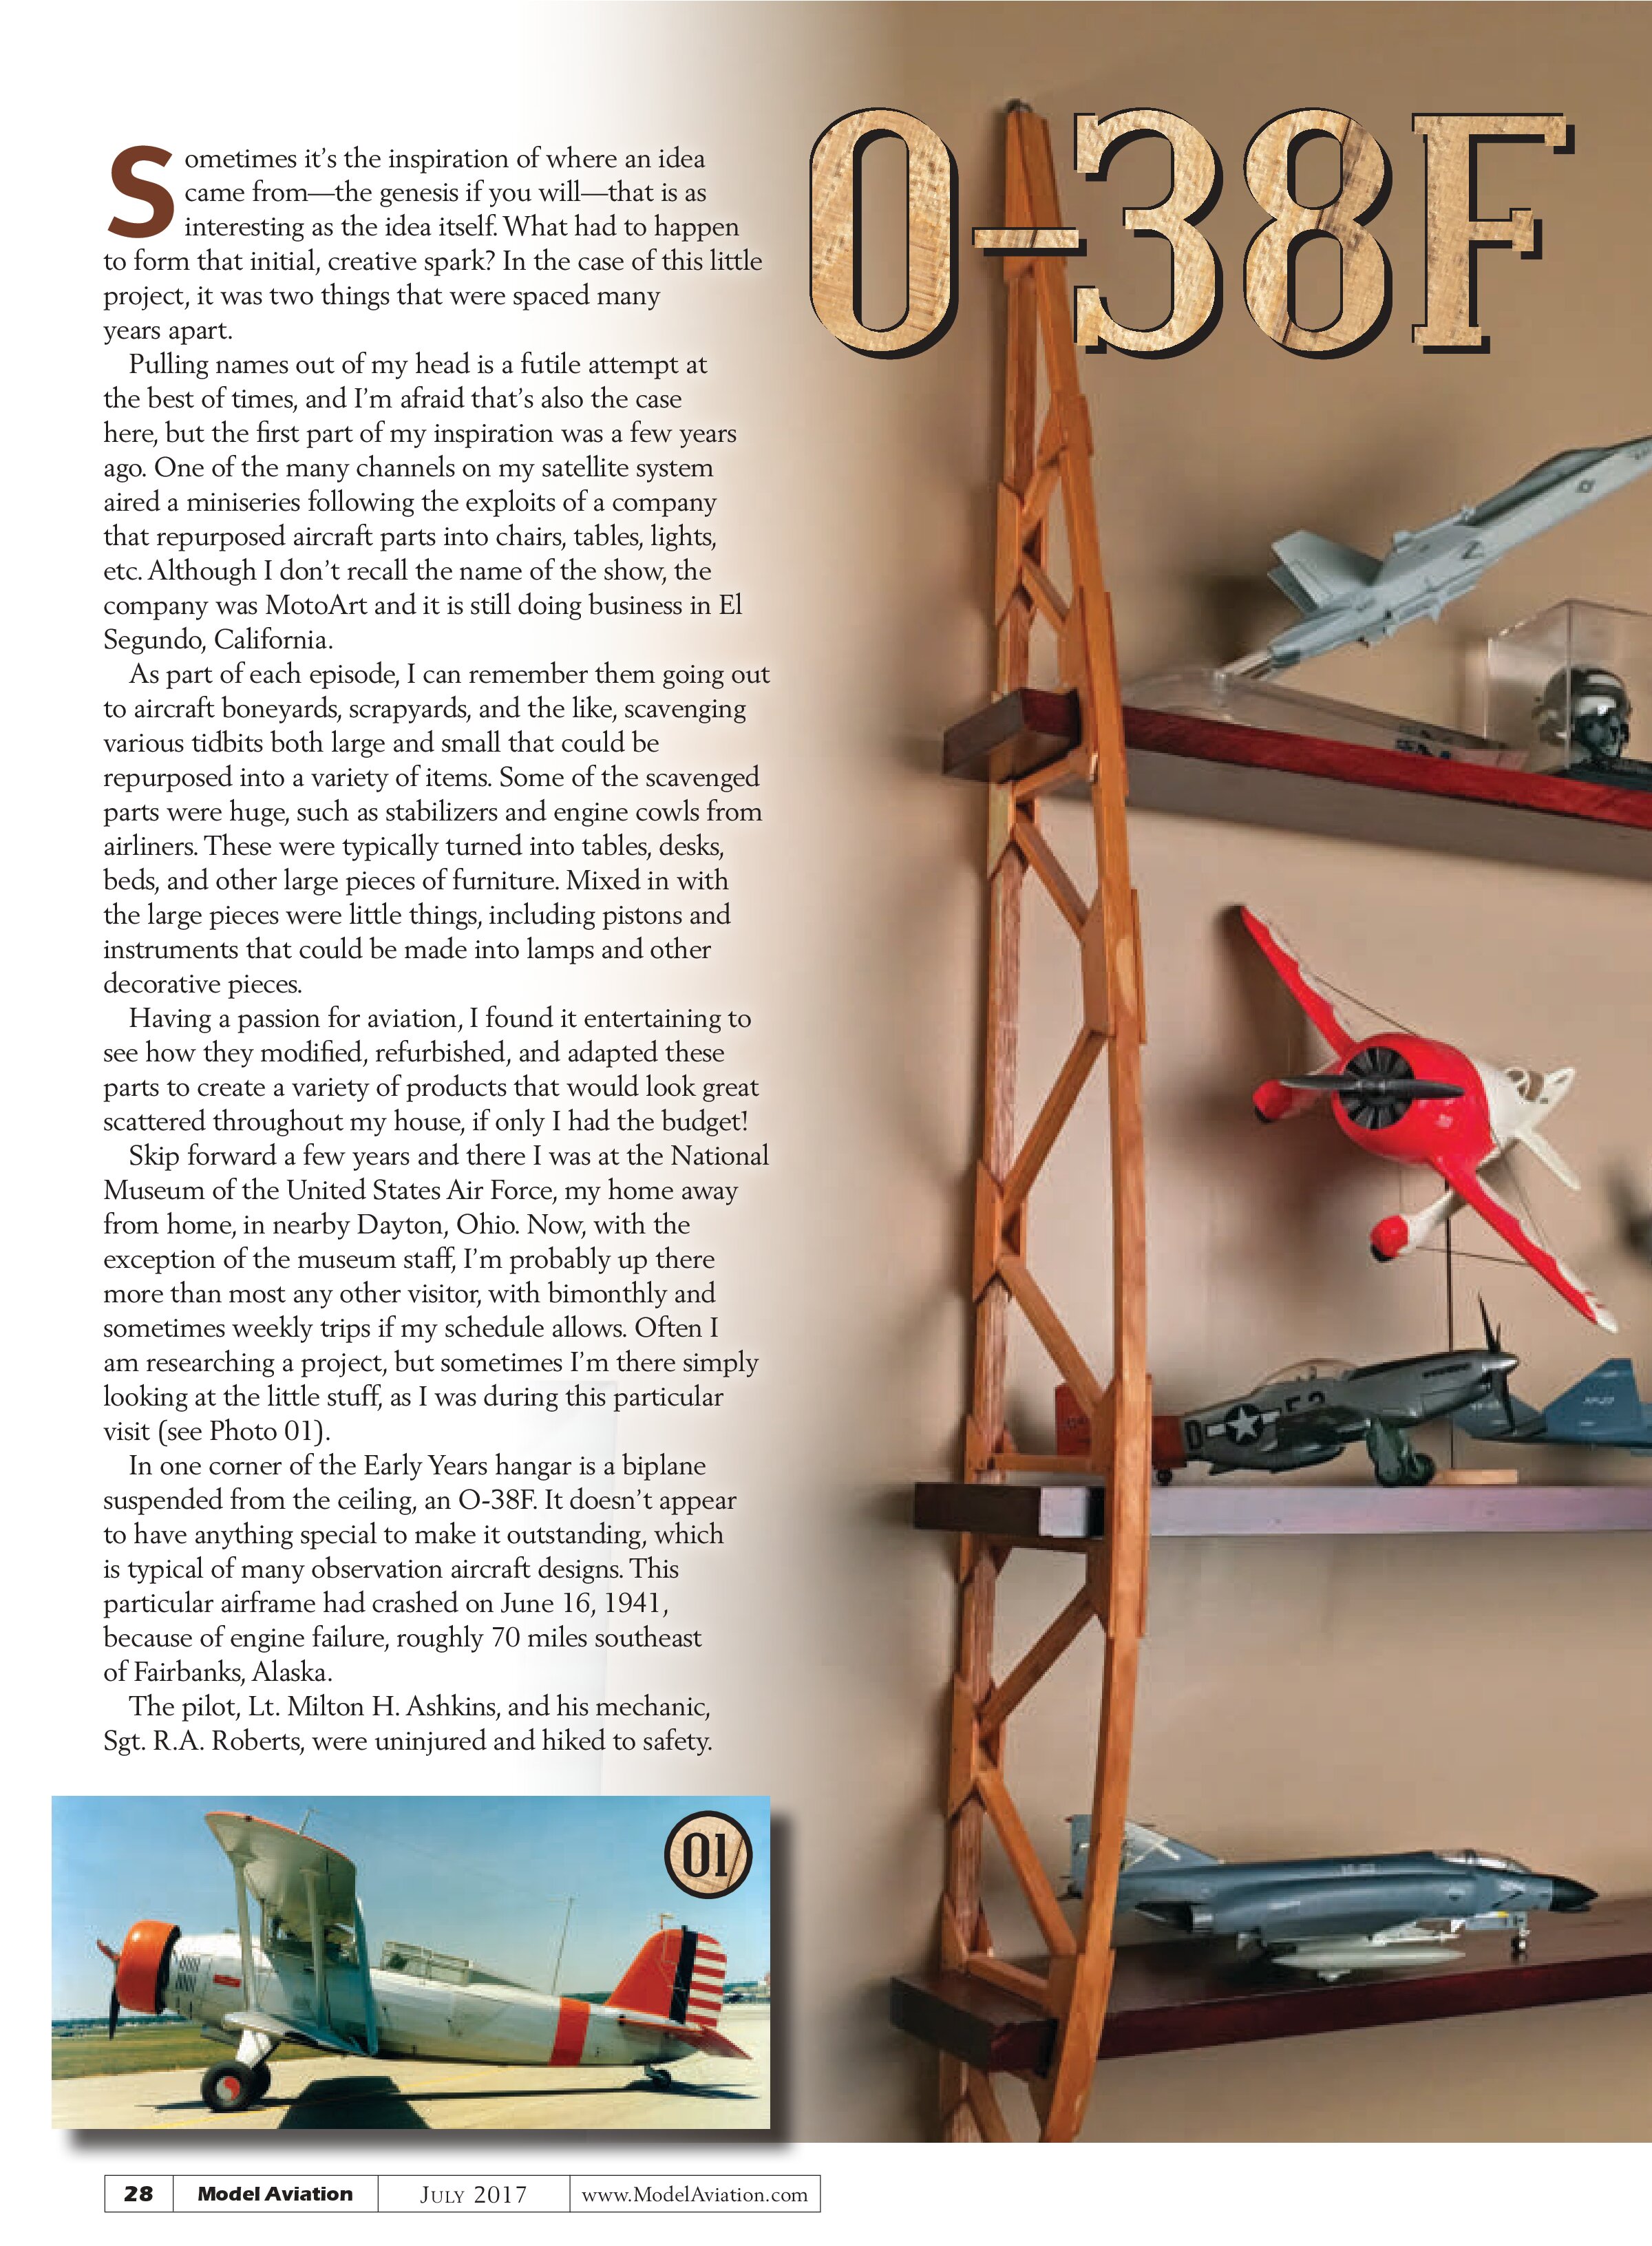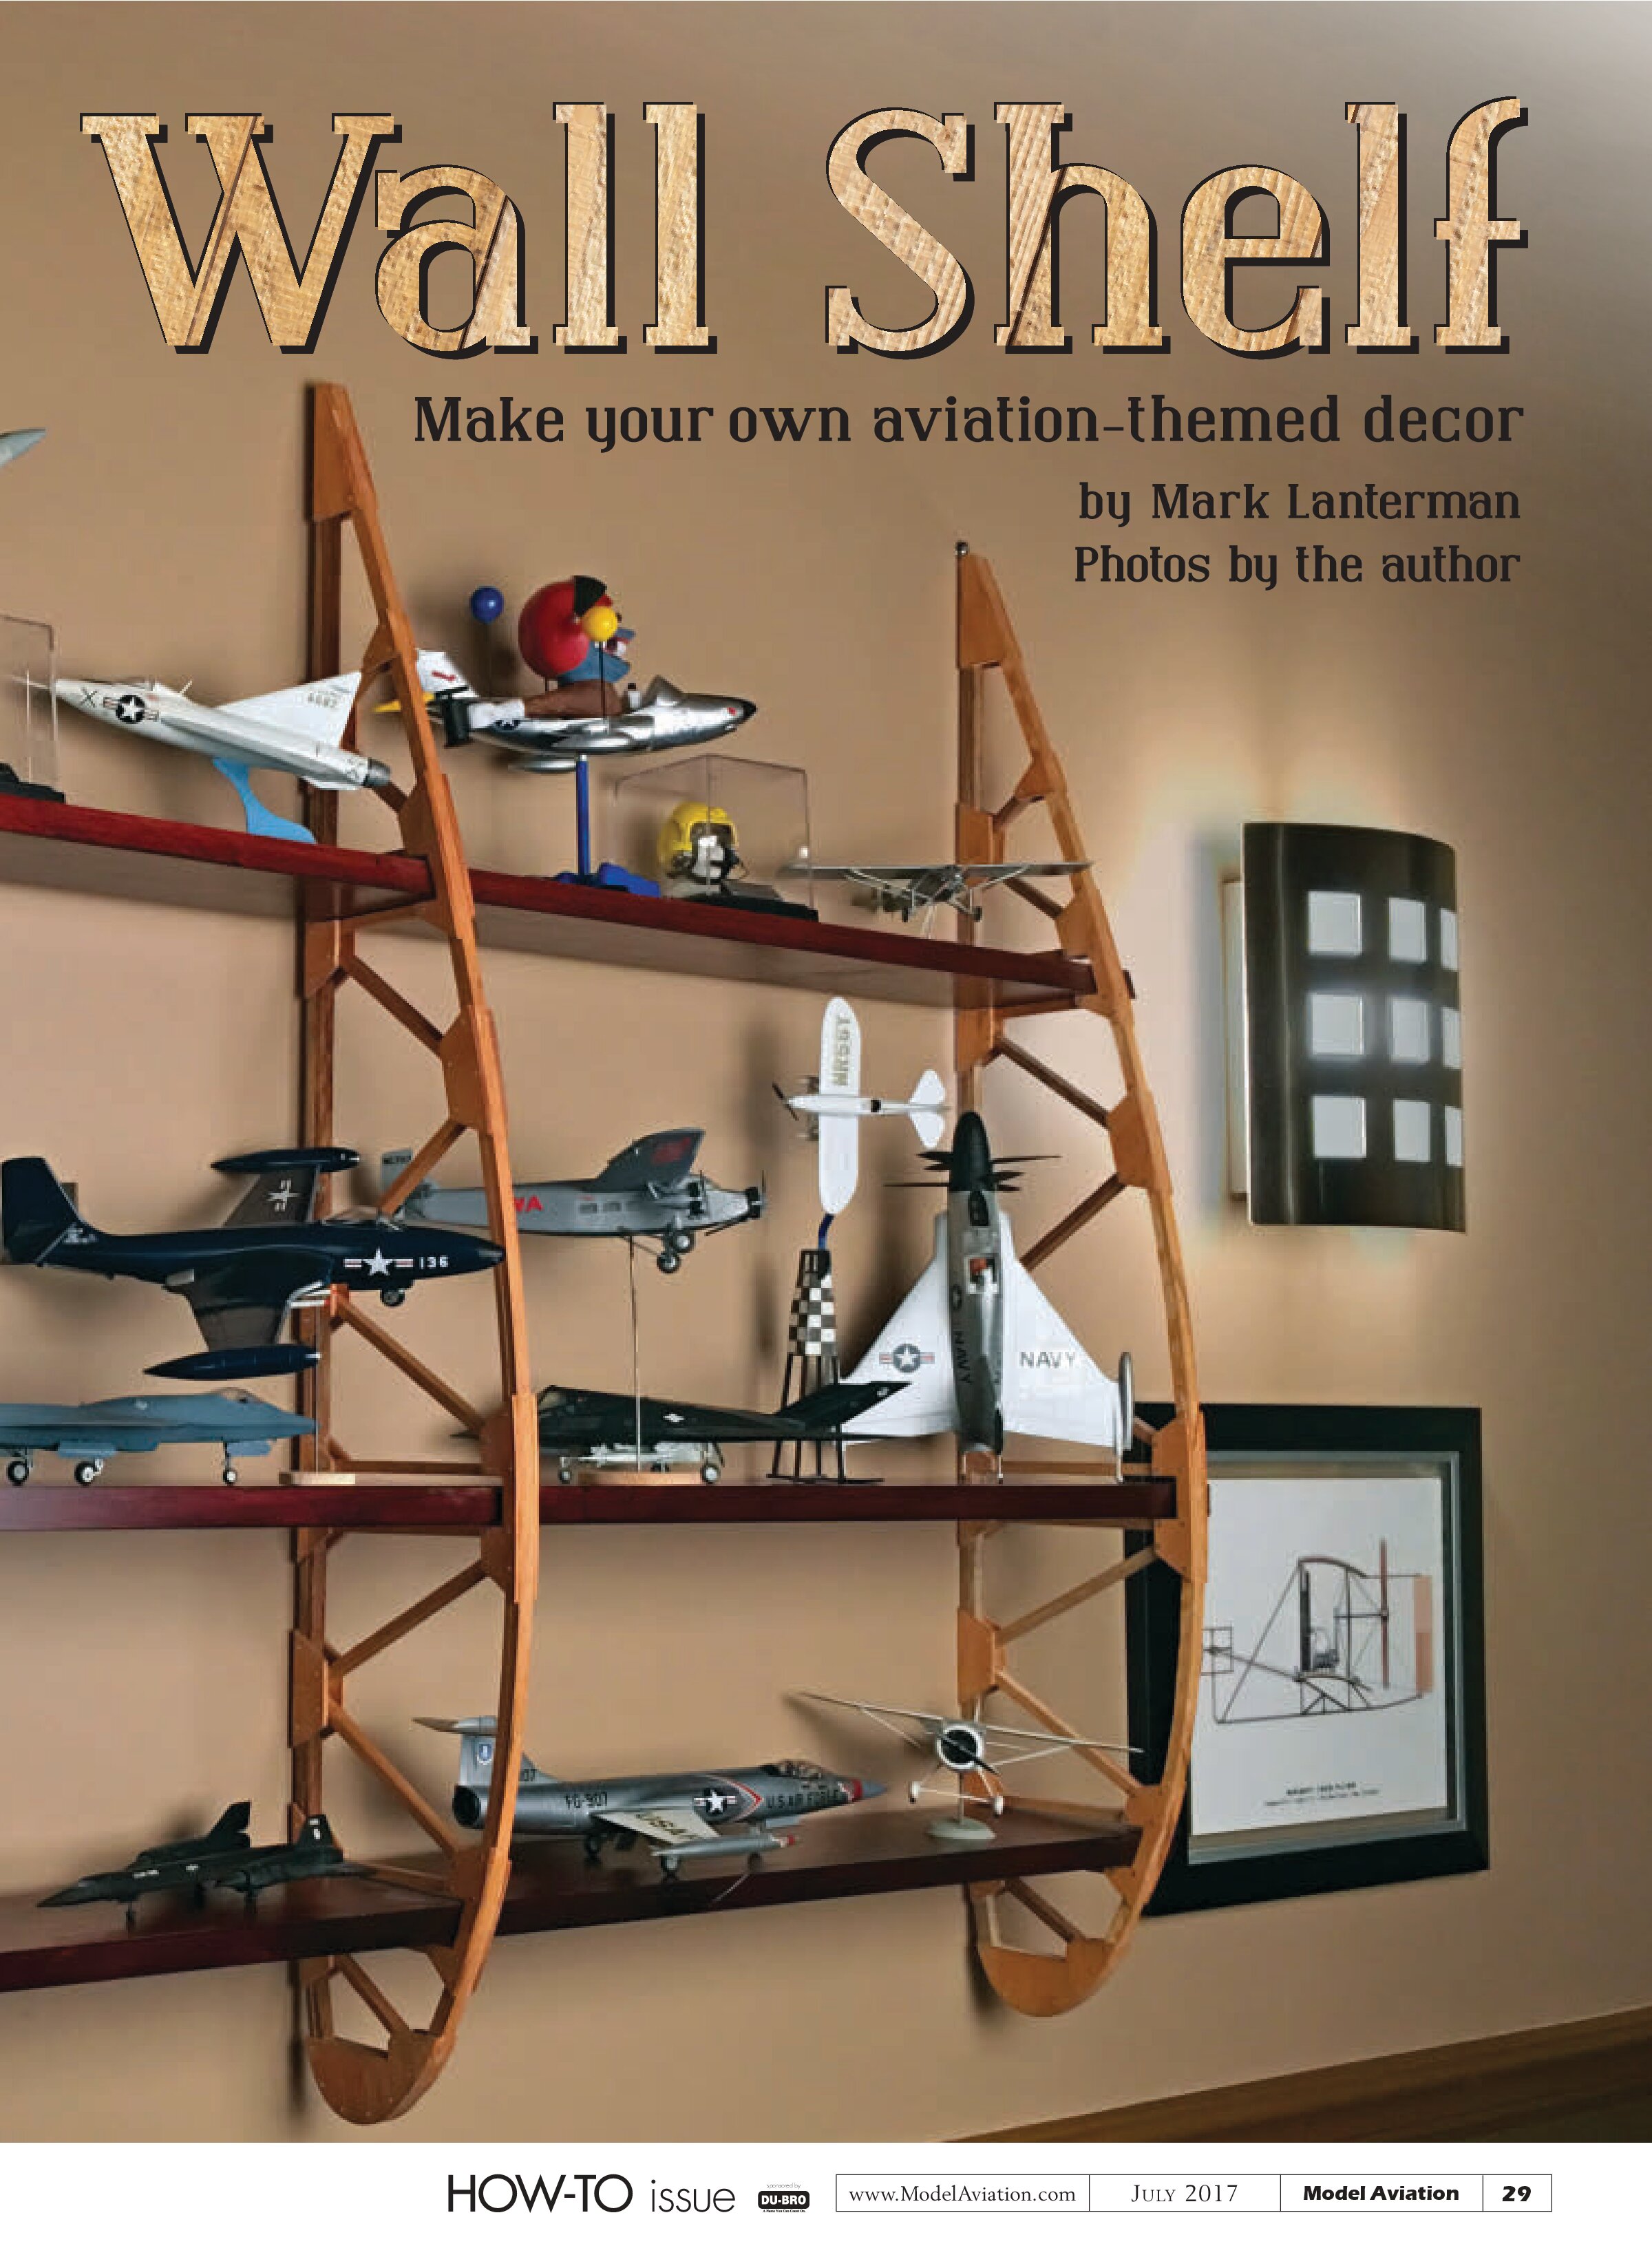
O-38F Wall Shelf
Make your own aviation-themed decor
by Mark Lanterman
Photos by the author

Sometimes it’s the inspiration of where an idea came from—the genesis if you will—that is as interesting as the idea itself. What had to happen to form that initial, creative spark? In the case of this little project, it was two things that were spaced many years apart.
Pulling names out of my head is a futile attempt at the best of times, and I’m afraid that’s also the case here, but the first part of my inspiration was a few years ago. One of the many channels on my satellite system aired a miniseries following the exploits of a company that repurposed aircraft parts into chairs, tables, lights, etc. Although I don’t recall the name of the show, the company was MotoArt and it is still doing business in El Segundo, California.
As part of each episode, I can remember them going out to aircraft boneyards, scrapyards, and the like, scavenging various tidbits both large and small that could be repurposed into a variety of items. Some of the scavenged parts were huge, such as stabilizers and engine cowls from airliners. These were typically turned into tables, desks, beds, and other large pieces of furniture. Mixed in with the large pieces were little things, including pistons and instruments that could be made into lamps and other decorative pieces.
Having a passion for aviation, I found it entertaining to see how they modified, refurbished, and adapted these parts to create a variety of products that would look great scattered throughout my house, if only I had the budget!
Skip forward a few years and there I was at the National Museum of the United States Air Force, my home away from home, in nearby Dayton, Ohio. Now, with the exception of the museum staff, I’m probably up there more than most any other visitor, with bimonthly and sometimes weekly trips if my schedule allows. Often I am researching a project, but sometimes I’m there simply looking at the little stuff, as I was during this particular visit (see Photo 01).
In one corner of the Early Years hangar is a biplane suspended from the ceiling, an O-38F. It doesn’t appear to have anything special to make it outstanding, which is typical of many observation aircraft designs. This particular airframe had crashed on June 16, 1941, because of engine failure, roughly 70 miles southeast of Fairbanks, Alaska.
The pilot, Lt. Milton H. Ashkins, and his mechanic, Sgt. R.A. Roberts, were uninjured and hiked to safety.

The abandoned airframe remained in the Alaskan wilderness, exposed to the elements, for 27 years until recovered by the museum in 1968. It was in remarkable condition despite the amount of exposure to the elements. Only the wings needing extensive restoration (see Photo 02).

As part of the exhibit, directly beneath the restored O-38, is a Plexiglass case showing parts of the original, damaged wing section, consisting of several ribs and spars. Mounted above the original pieces is one of the recreated ribs. I studied that rib, paying attention to how it was made. Suddenly it hit me like a bolt of lightning. Instead of repurposing expensive aircraft parts like MotoArt, why not create something new with a vintage, handcrafted look, and a less-expensive price tag?
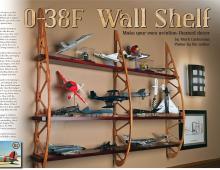
I took several pictures and after a few days of sketching and resketching, I came up with a simple shelf unit that is the subject of this article.
Before I continue, allow me to address the size. My initial design was created to fit the space available, but also to maximize sizes of the wood stock that was available at a local home improvement store. I wanted to use poplar as much as possible because of its low cost and its straight grain with no knots. The middle shelf is the widest of the three. Because I had 48 x 6 x 1-inch poplar boards available, these are what I scaled the rib’s dimensions around, making for 37-inch ribs.
The internal “structure” of the ribs—the long top and bottom strips, all of the crossbraces, and the filler piece of the leading edge (LE)—are ⅜-inch stock. Again, there’s no reason why they couldn’t be ¼-inch or ½-inch stock. It’s up to you.
My reasoning for ⅜-inch stock came about because of experiments with forming the upper and lower bends. In aircraft manufacturing, it’s not uncommon to use a steamer to relax the internal fibers of the wood, allowing it to bend to almost any shape needed. Because I didn’t have access to a steamer, I found that by ripping strips to ⅜ x ³⁄₁₆, I could bend the wood around a form without it breaking. By laminating two ⅜ x ³⁄₁₆-inch strips together in a jig, I could obtain basically the same results (see Photo 03).

The first part of the rib construction is to make a jig that not only holds the strips in place while laminating, it also makes each rib you build uniform in size. To create the jig, I used a spare piece of flat, 1-inch plywood that was a few inches larger than the rib and a 36-inch dowel (¼-inch diameter), cut into 25 separate 1¼-inch lengths. I printed the full-size plans on my printer and glued them to the plywood. On the plans, you’ll see that there are 25 holes spaced around the top and bottom strips. These mark the spots where ¼-inch holes will need to be drilled. Once drilled, pound the dowels into each of these holes. Lay waxed paper over the jig (making cuts so the dowels will poke through), tape it into position, and you’re ready to build.
The first pieces to place are the top and bottom laminations. As I previously mentioned, I ripped ⅜-inch stock into ⅜ x ³⁄₁₆ x 48-inch strips for this part. I found pieces of ⅜ x 4 x 48 available at the store for just a couple bucks each, so I used one of these to cut the strips (see Photo 04).

Take one of the ⅜ x ³⁄₁₆ x 48-inch strips and place a thin layer of wood glue along the ⅜-inch side. Next, take another ⅜ x ³⁄₁₆ x 48-inch strip and place it on top of the glue, forming a ⅜ x ⅜-inch strip.
Now comes the hard part—push this lamination into the place on the jig, fitting it between the dowels. You’ll have to use a fair amount of force, especially around the LE bend. I found it easier to start at the LE, and work my way back to the trailing edge. Use this same technique to make the lower lamination and push it into place on the jig.
Make sure all of the pieces of both laminations are pushed firmly against the board so that they are flat. Use weights and/or clamps as needed and put it aside to cure.
While the laminations are setting up, take the time to cut out the doublers. There are 13 shapes, and they’re attached to both sides of each rib, so you’ll need two of each piece (see Photo 05).

Now, to accurately make these pieces, I’ve found a new trick that can be used if you have a laser printer. This technique will transfer the toner from the paper to the wood using some acetone. Simply put, print out the templates and tape them face down on the sheeting from which you’ll cut the doublers (see Photo 06).

Now apply a generous amount of acetone to a piece of paper towel and wet the entire surface of the paper. You’ll need to work quickly because acetone evaporates at a rapid rate. After you’ve wet the paper to the point where it is becomes translucent, rub the image onto the wood using a burnishing squeegee or similar tool (see Photo 07).

If an area dries out before you can get to it, reapply acetone as necessary. To check your progress, peel up a corner and see how the transfer looks. Rarely have I had a perfect transfer, but most of the time, I can get more than enough toner to stick to the wood. When satisfied, remove the paper and tape, and you’re ready to cut out the pieces (see Photo 08).

It’s worth noting that this process transfers a mirror image of the template to the wood. For the purposes of making these ribs, I printed both a normal and a mirror image on my printer. The reason for this will become apparent when it comes time to glue them into position (see Photo 09).
After the glue has dried on the laminations, it’s time to cut the ⅜ x ⅜ strips to make all of the crossbracing. Take your time because no two pieces are quite the same length or angle. Cut the LE filler piece from a piece of ⅜-inch sheeting. Glue all of these pieces in place between the laminations and take extra care to make sure the twin vertical pieces that make up the shelf pockets are parallel to each other, and 90° to the bottom lamination.
Again, I used wood glue for all of the following steps, but you could use epoxy or a gap-filling CA glue if you’re in a hurry (see Photo 10).
After the adhesive has cured, it’s time to glue one set of the doublers into place. Here’s where having two sets of printed doublers, one a mirror image of the other, comes in handy. This way you can attach the printed side to the rib itself, essentially hiding the printing from view. Without it, you’d have to sand the printing off, or use dark stain or paint to hide the numbers. After the glue has cured, remove the rib from the jig and attach the second set of doublers to the opposite side.
A gentle sanding is next for the assembled rib. I made sure that the outer surface where the covering or sheeting would have attached was smooth; however, I didn’t do too much sanding on the sides and crossbracing because I wanted a vintage, handmade look. I simply made sure that any extra glue was removed (see Photo 11).

To finish the ribs, I gave each a few coats of wood stain. I chose a lighter color for the ribs, attempting to replicate the color of the replicated rib at the museum (see Photo 12).

You might have noticed on the original rib that there was a series of small nails (brads) that held the doublers in place. Although they aren’t needed for the purposes of this shelf, they do add much to the authentic look of the finished rib, so I wanted to find a source for the brads.
I ended up finding 100 sawtooth picture hangers being auctioned on eBay—100 including 200 brads. If memory serves, the cost was less than $10 shipped and gave me more than enough brads to complete this project. The ¼-inch brads were the perfect length (see Photo 13).

Before pounding them in, I drilled a series of pilot holes into the rib. I’ve noted typical spacing on the plans, but use your own judgment and try to make them fairly uniform. Remember, they don’t have to be laser-perfect because it should look handmade when finished. Each hole was drilled completely through the rib because the brads need to be installed on both sides of each rib. After the holes have been drilled, it’s time to tap in the brads (see Photo 14).

This completes the assembly of a single rib. I made two other ribs to support the length of shelf that I needed.
The shelves are the easier parts of the construction. They make up what we’d consider the spars in a wing’s construction. You can use any thickness up to 1 inch with the way the ribs are designed. Note that the depth of each shelf is different so they’ll have to be sized accordingly. Also, the front edge of each shelf is cut on a different angle to match the curvature of the top lamination. Once cut and sanded, I choose a darker stain to contrast it from the ribs.
So at this point you should have everything needed to assemble your shelf. Simply slide each of the three shelves, evenly space them and hang them in the proper spot on your wall. Oh, remember those picture hangers I mentioned? I repurposed two of them so they could be used to hold up my shelf.
So, there it is. Certainly this isn’t the typical Model Aviation build, but I hope you’ll give it a try. It can give a unique look to any room and there’s no reason why you couldn’t enlarge or shrink the design to fit your needs.
For that matter, there’s no reason you couldn’t make the shelves longer or shorter. Longer shelves would just require more ribs, evenly spaced, to give the appearance of the O-38F’s wing construction.
—Mark Lanterman
mark@airbornemedia.com
SOURCES:
MotoArt
(310) 375.4531
www.motoart.com