Making bowed outlines
For wingtips and tail sections
by Pat Tritle | Photos by the author


One question I frequently hear is, “How do you make bowed wing and stabilizer tips?” What I’m referring to is the laminated, preformed outlines used on wingtips and tail section outlines on model airplanes—both scale and nonscale.
The advantage to using bowed outlines is twofold. First, they’re stronger than conventional segmented tips because the balsa grain is always running in the right direction, and there are no glue joints to fail. The second advantage is that the bows are lighter because of the reduced wood volume required to make the parts. Making the outlines is not difficult, but it takes practice to master, and after you’ve made a couple of sets and learned some tricks along the way, you can do it like a pro.
Tools Required
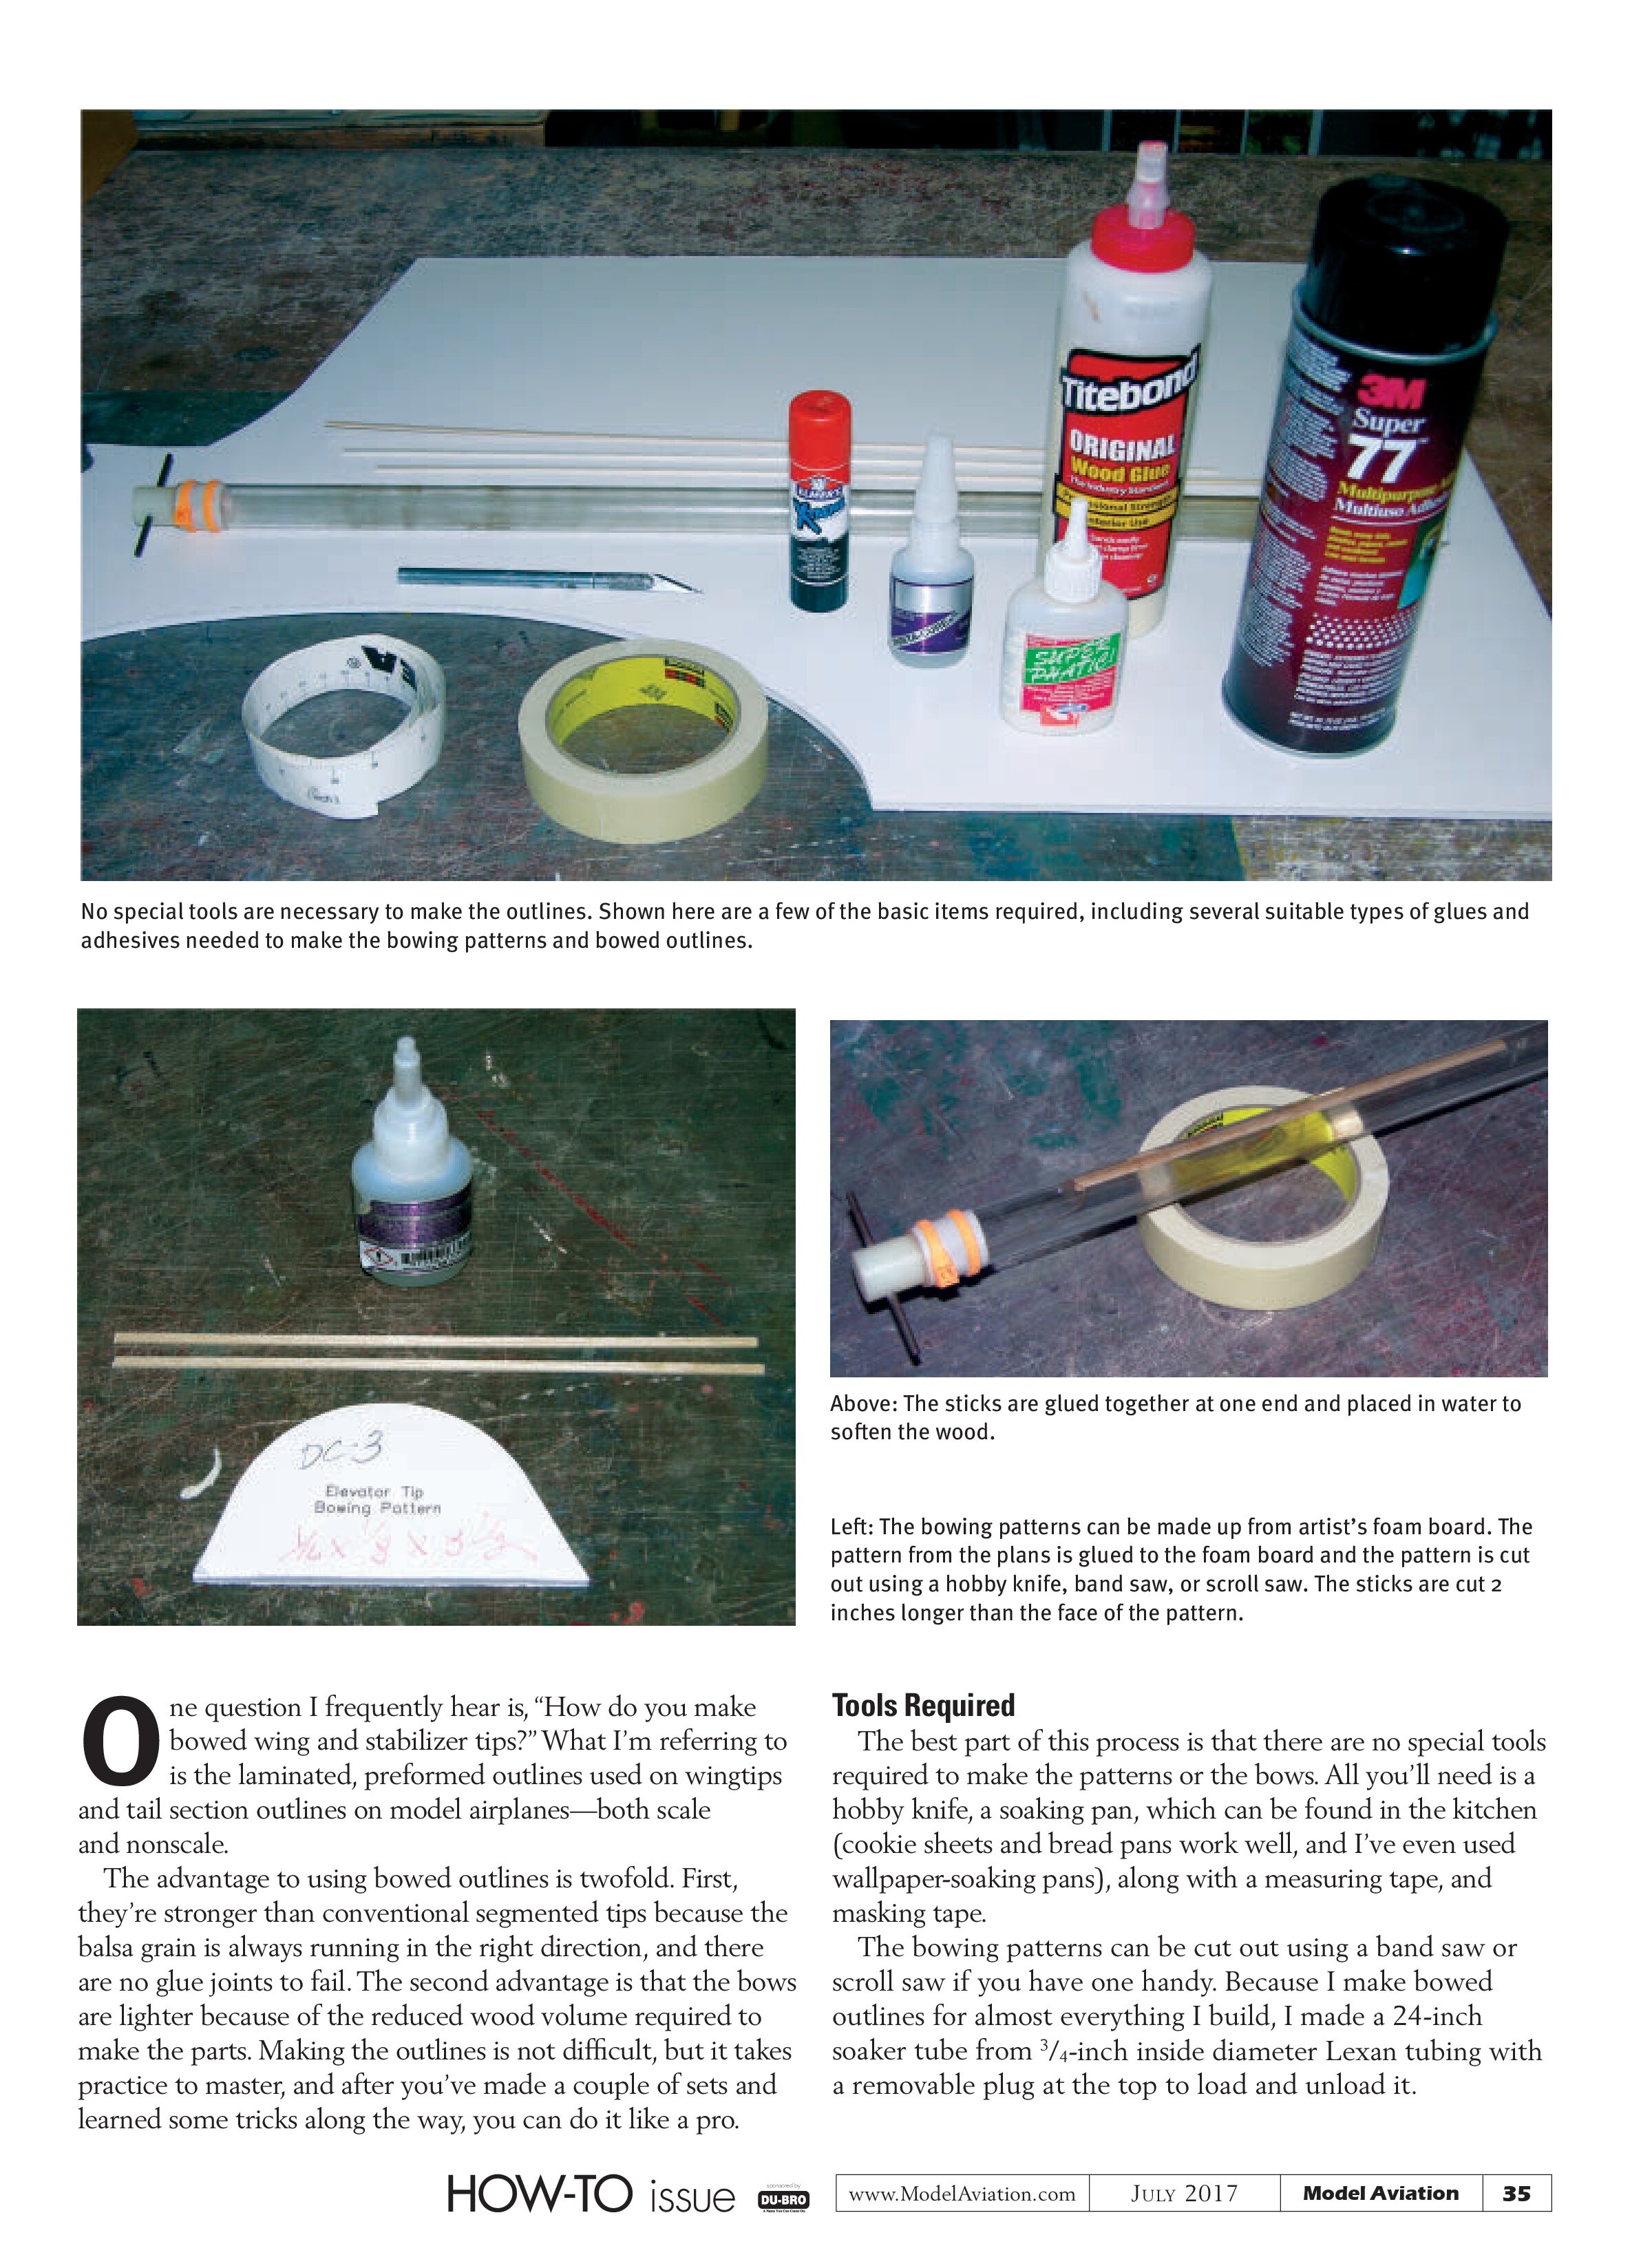
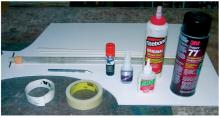
The best part of this process is that there are no special tools required to make the patterns or the bows. All you’ll need is a hobby knife, a soaking pan, which can be found in the kitchen (cookie sheets and bread pans work well, and I’ve even used wallpaper-soaking pans), along with a measuring tape, and masking tape.
The bowing patterns can be cut out using a band saw or scroll saw if you have one handy. Because I make bowed outlines for almost everything I build, I made a 24-inch soaker tube from ¾-inch inside diameter Lexan tubing with a removable plug at the top to load and unload it.
Glues and Adhesives
To glue the pattern to the artist’s foam board or corrugated cardboard pattern, I use Elmer’s glue stick, but you can also use a spray adhesive such as 3M Super 77. To make the balsa bows, medium CA glue, Elmer’s Carpenter’s glue, Titebond woodworking glue, or Deluxe Materials Super ’Phatic glue all work well.
Making the Bowing Patterns
To make the bowing pattern, trace or photocopy the area of the plans for where the bows will be made—whether it is a wingtip or stabilizer outline. Extend each end of the tracing approximately an inch longer then the plans show for the finished part.
Trim the tracing and glue it to either ³⁄₁₆-inch artist’s foam board or corrugated cardboard. Cut out the outline using either a hobby knife or power saw. You’ll only need to make one bowing pattern for each set of wingtips or stabilizer tips.
Selecting the Wood
Selecting the wood for the bow is the most important part of the process. If the wood is too soft it will kink when pulled around a tighter radius. If the wood is either too hard or too soft and spongy, it will snap as it’s pulled around the form, so select a nice medium-weight, straight-grain wood to make the bow.
It takes practice to get a feel for the type of wood that works best, but it won’t take long to figure it out. After a couple of sets you should have a good feel for what works well.
Preparing the Wood
After the wood has been selected, use a flexible measuring tape to measure the face of the bowing pattern. Then cut the appropriate size wood to that length, plus 2 inches. Glue roughly ¼ inch of one end of the sticks together on the wide edge. If you glue the whole thing together it won’t make the bend around the pattern.
After all of the bow “blanks” have been made, it’s time to soften them.
Soaking the Wood
Soak the blanks in water for 20 to 30 minutes to soften them. If you leave them in the water until they no longer float, the wood will be fully saturated and will bend easily around the patterns. If you pull the wood out too soon, it will be slightly stiff and won’t easily make the tighter turns.
When the sticks are well saturated, they’re removed from the water and are ready to be formed around the pattern. Masking tape is used to hold the wood in place while it dries.

Making the Bows
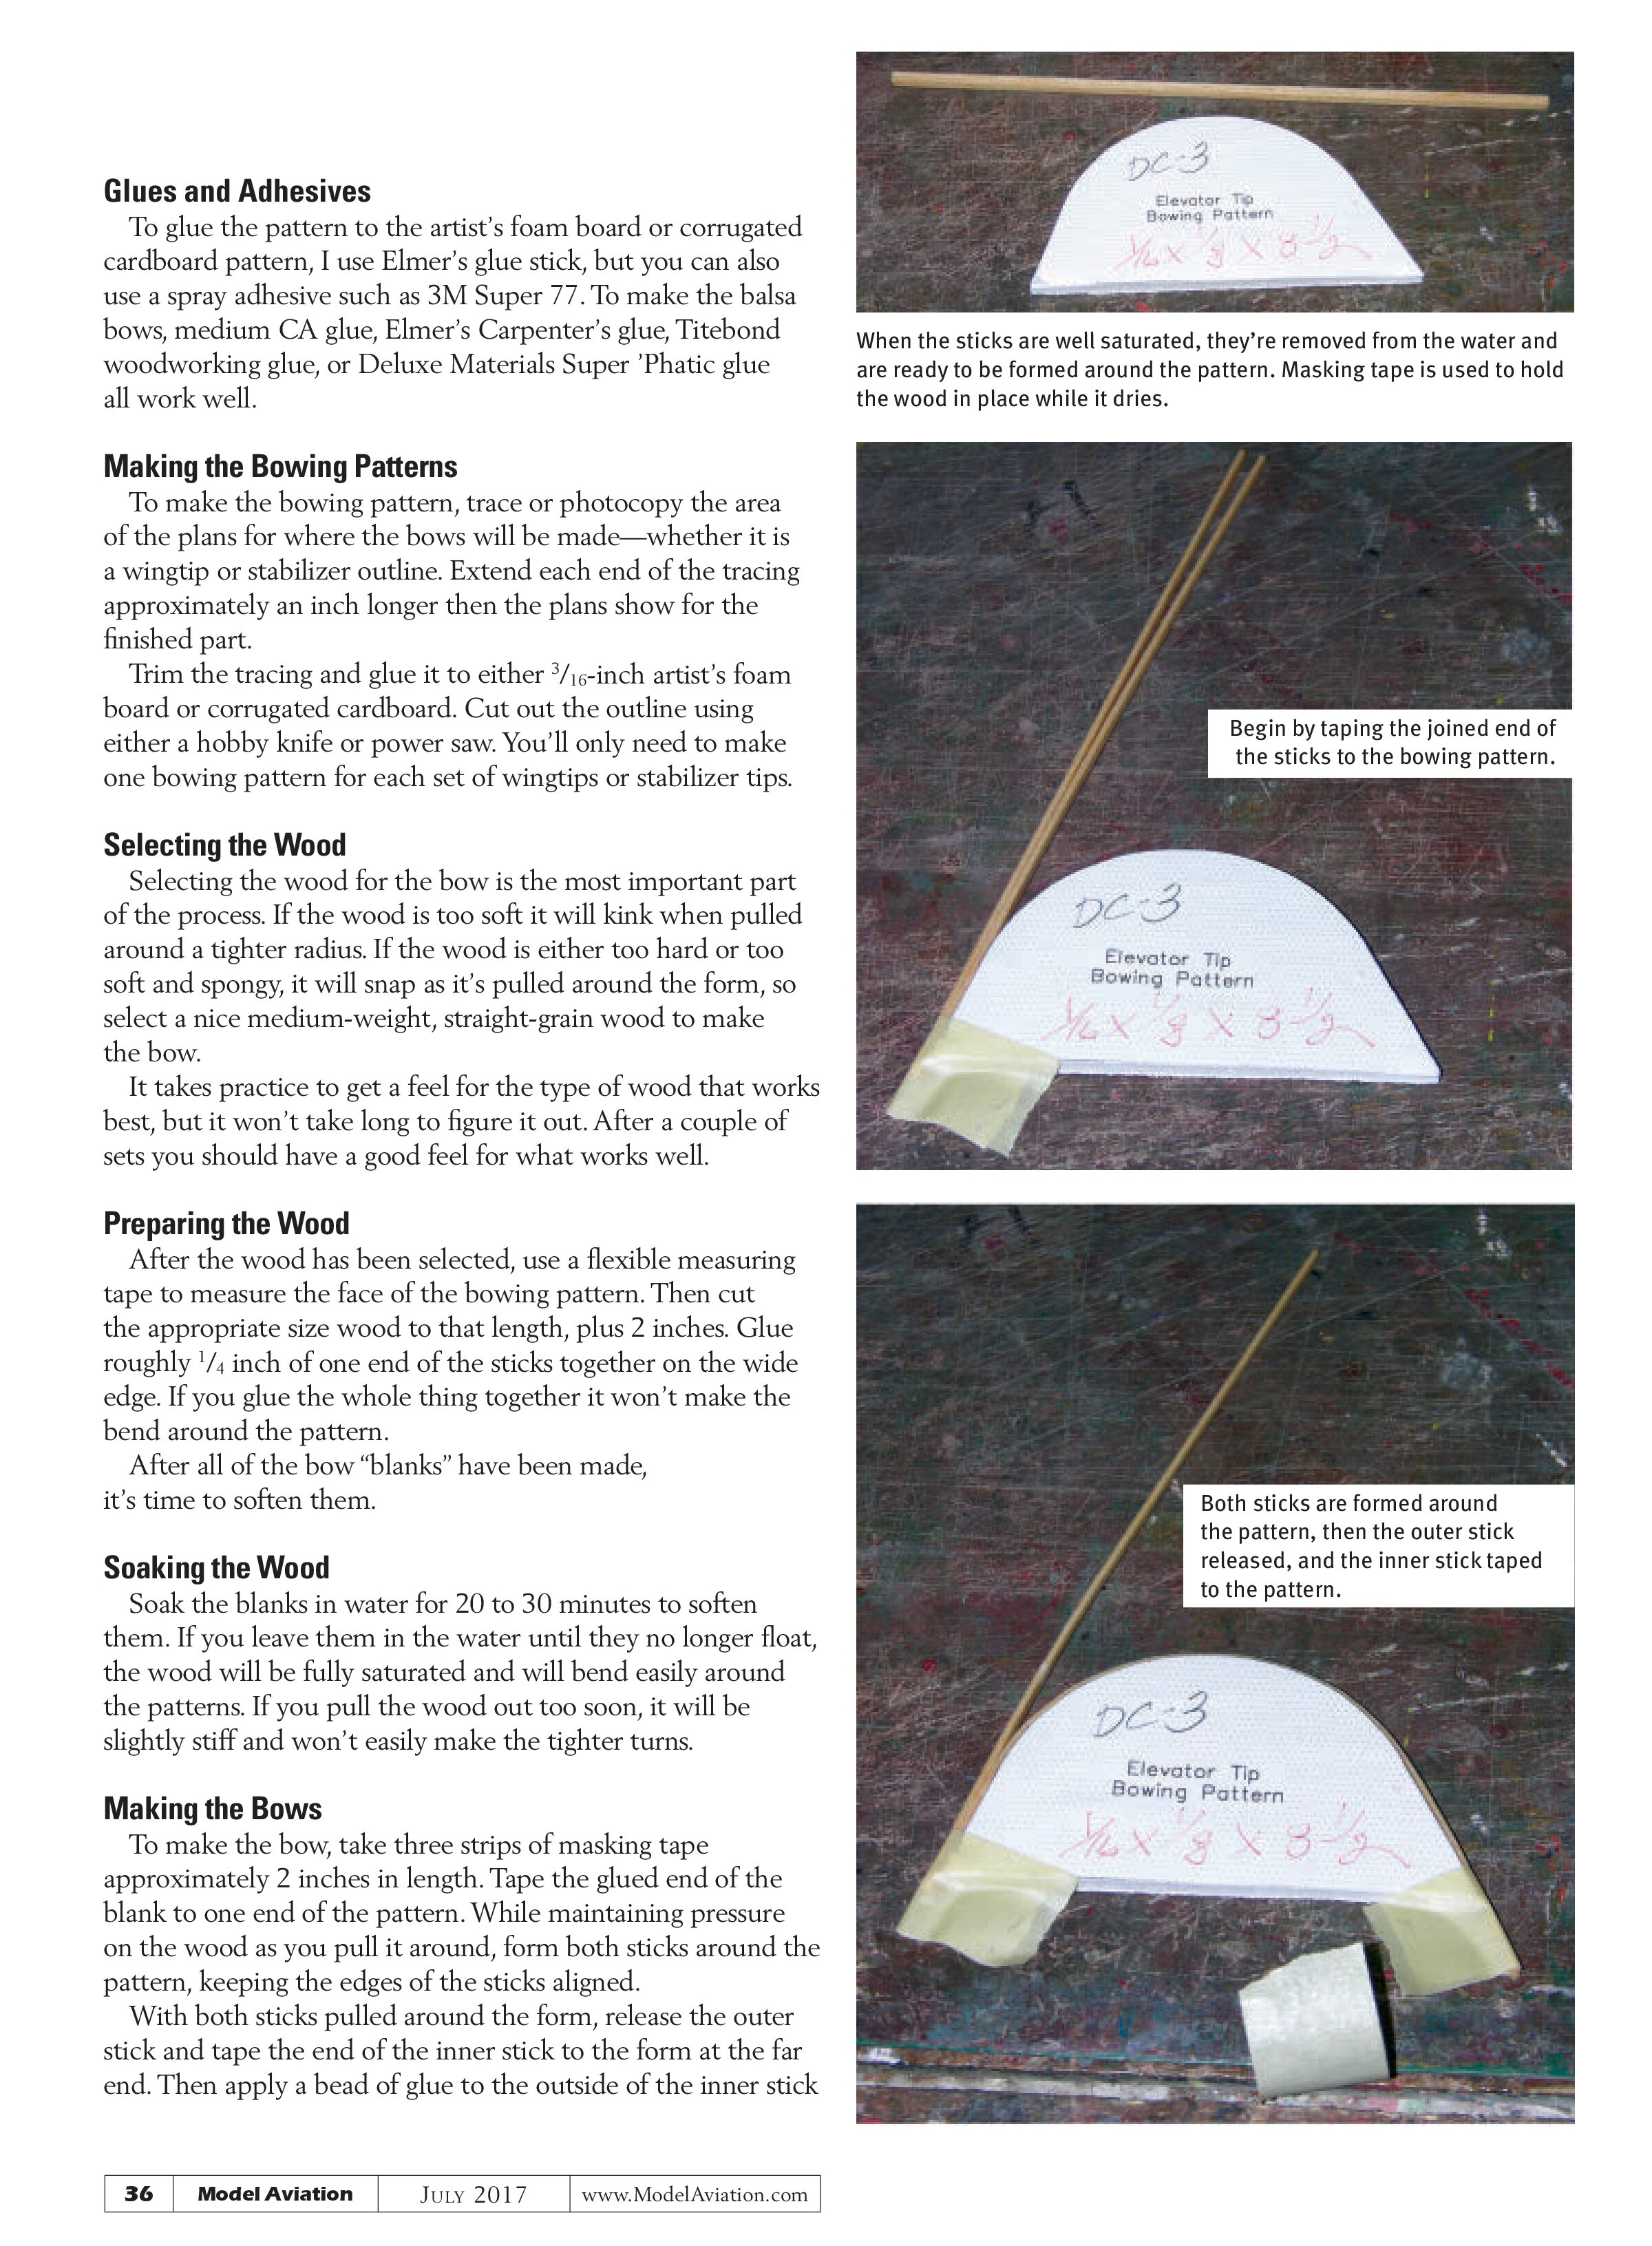
To make the bow, take three strips of masking tape approximately 2 inches in length. Tape the glued end of the blank to one end of the pattern. While maintaining pressure on the wood as you pull it around, form both sticks around the pattern, keeping the edges of the sticks aligned.
With both sticks pulled around the form, release the outer stick and tape the end of the inner stick to the form at the far end. Then apply a bead of glue to the outside of the inner stick


and pull the outer stick around the form, taking care to ensure that the two sticks are properly aligned along the edges and tape the outer stick in place.
Drying the Bow
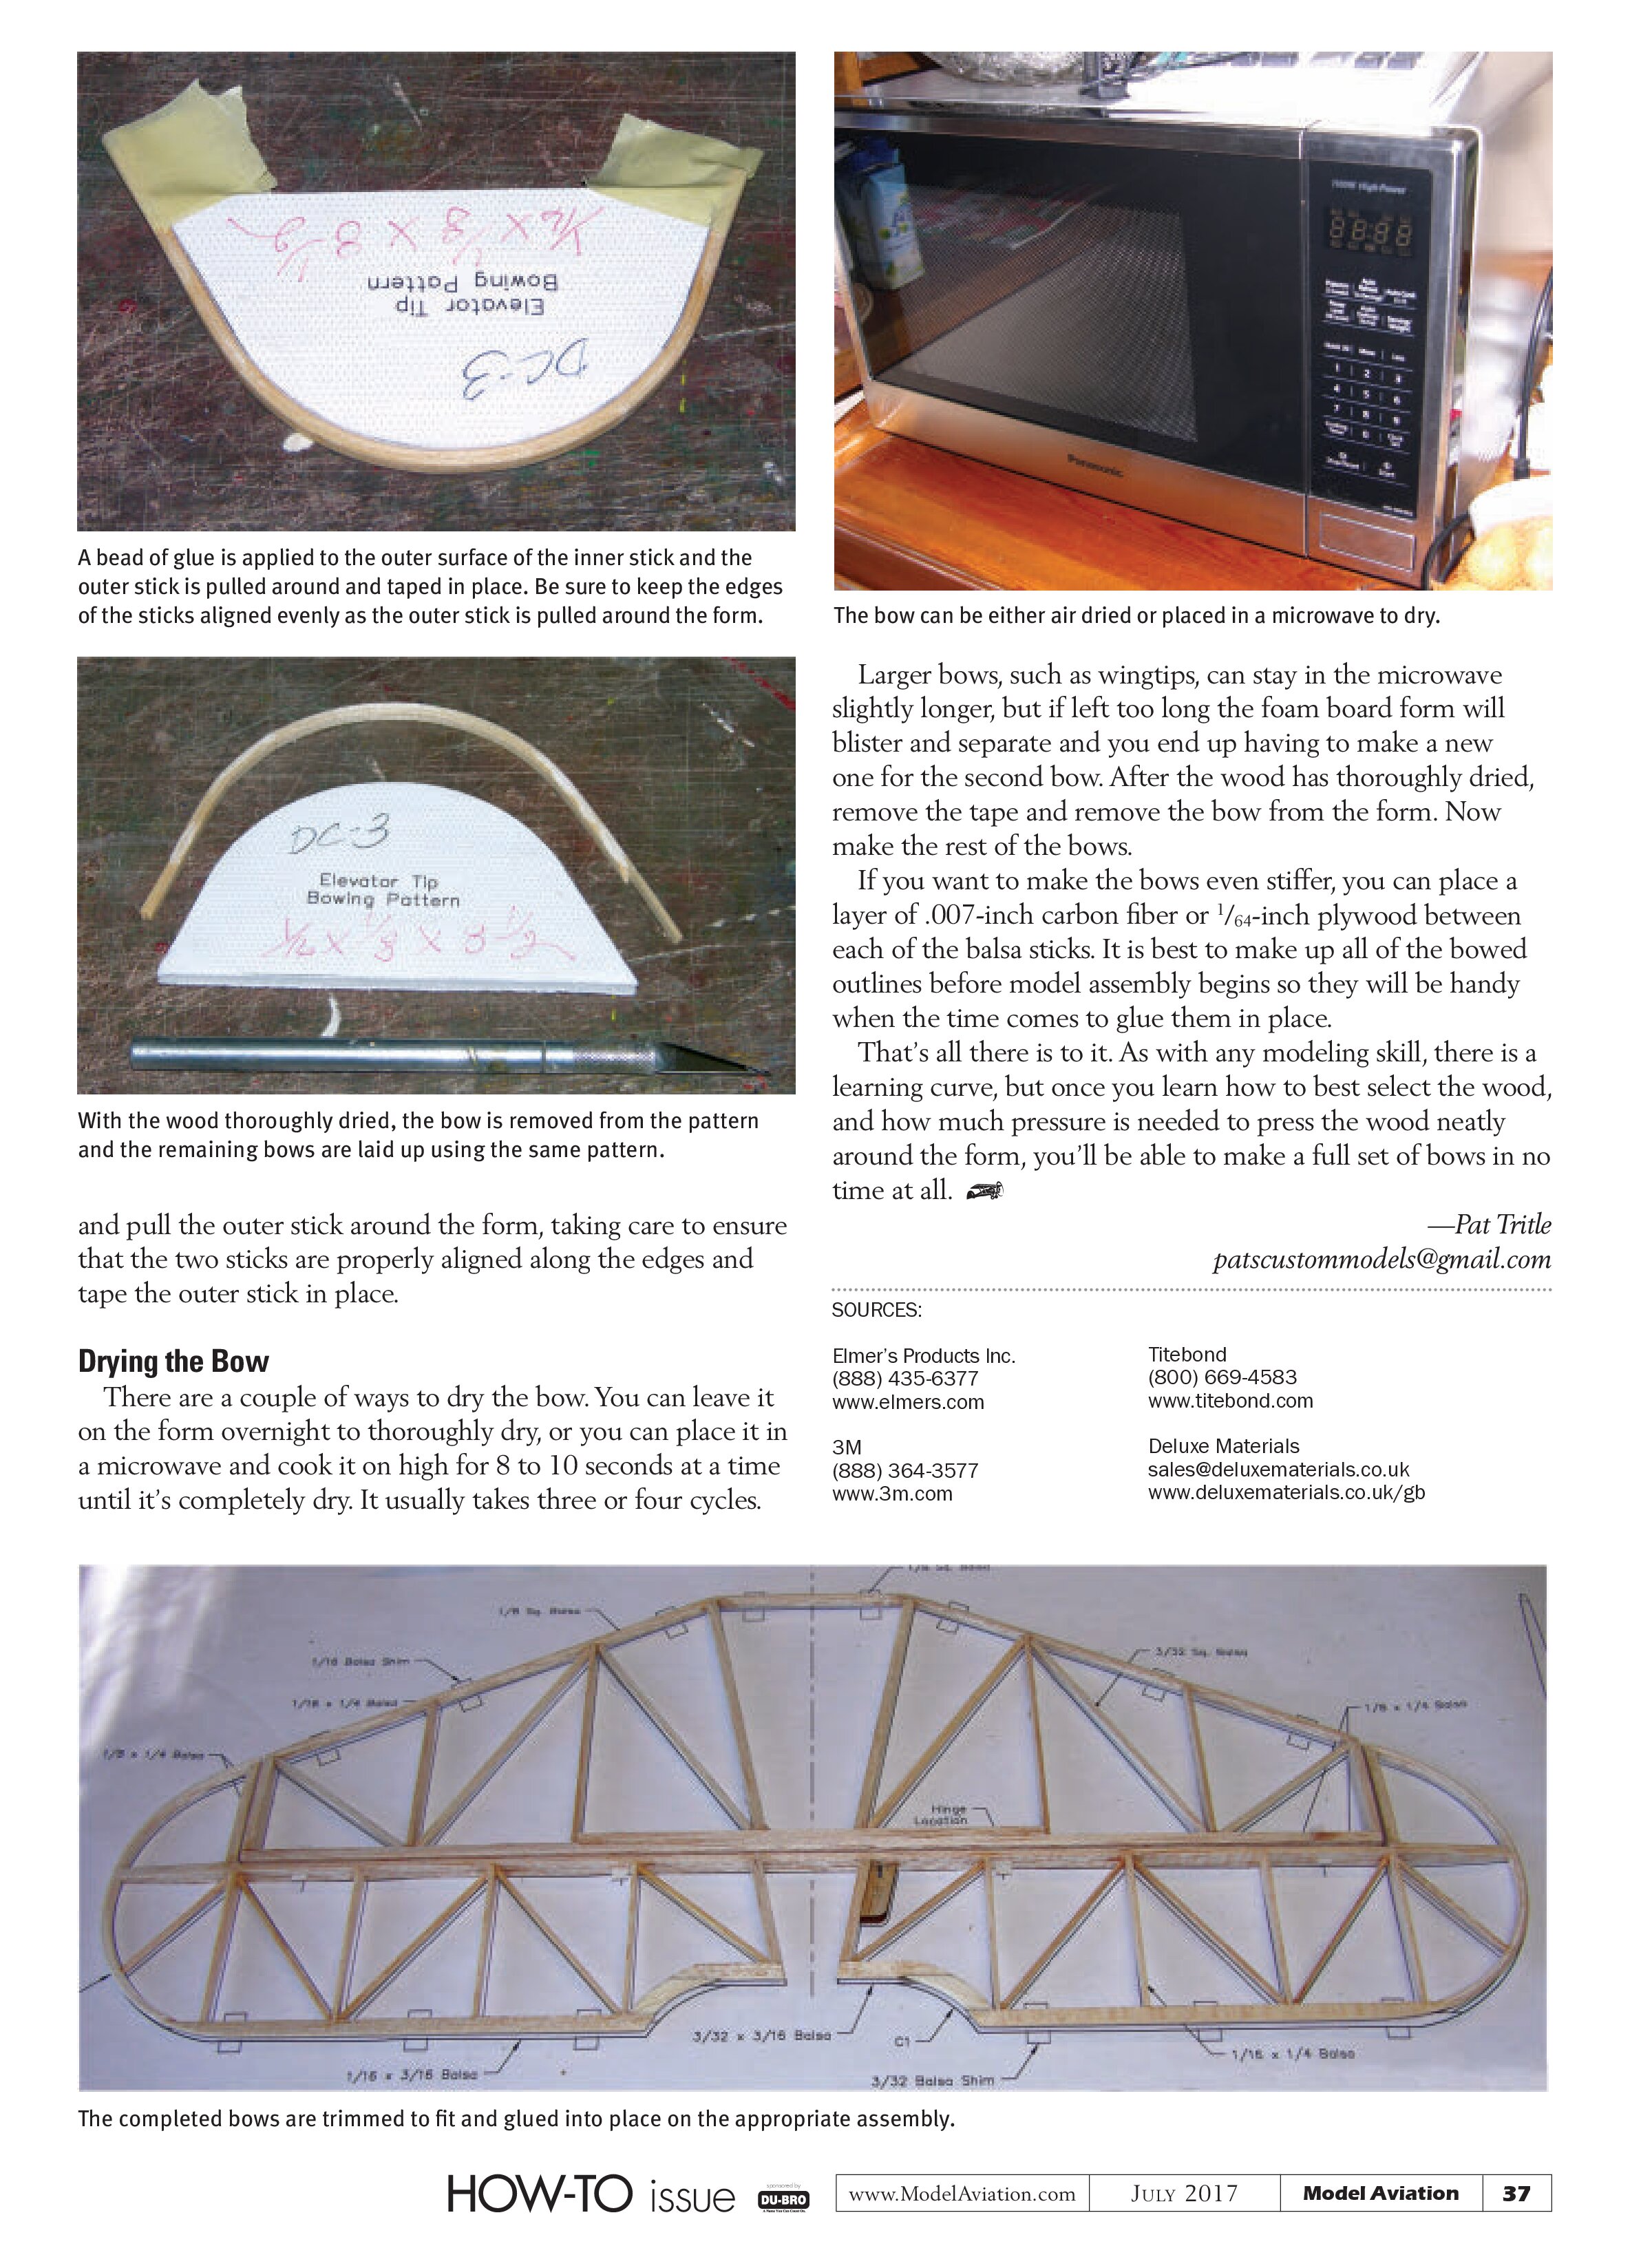
There are a couple of ways to dry the bow. You can leave it on the form overnight to thoroughly dry, or you can place it in a microwave and cook it on high for 8 to 10 seconds at a time until it’s completely dry. It usually takes three or four cycles.

Larger bows, such as wingtips, can stay in the microwave slightly longer, but if left too long the foam board form will blister and separate and you end up having to make a new one for the second bow. After the wood has thoroughly dried, remove the tape and remove the bow from the form. Now make the rest of the bows.
If you want to make the bows even stiffer, you can place a layer of .007-inch carbon fiber or ¹⁄₆₄-inch plywood between each of the balsa sticks. It is best to make up all of the bowed outlines before model assembly begins so they will be handy when the time comes to glue them in place.
That’s all there is to it. As with any modeling skill, there is a learning curve, but once you learn how to best select the wood, and how much pressure is needed to press the wood neatly around the form, you’ll be able to make a full set of bows in no time at all.
—Pat Tritle
patscustommodels@gmail.com
SOURCES:
Elmer’s Products Inc.
(888) 435-6377
www.elmers.com
3M
(888) 364-3577
www.3m.com
Titebond
(800) 669-4583
www.titebond.com
Deluxe Materials
sales@deluxematerials.co.uk
www.deluxematerials.co.uk/gb