Eliminating excess weight
by Bob Hunt
robinhunt@rcn.com
Model Aviation columnists were asked to provide a how-to column for this issue. That fits right in with what I’ve planned as a miniseries. The design exercise I went through in the past couple of “Control Line Aerobatics” columns has been extremely well received, and many readers have contacted me and asked that I continue with construction notes for original designs. I will get to that soon, but let’s first look at one of the most important aspects of Control Line (CL) Stunt model building: weight reduction!
I’ve always believed that lightweight models fly better in any condition. Not all will agree with this. I’ve often said, “It’s possible to build a Stunt model too light … but no one has ever done it!” Some will argue that if a model is too lightweight, it will not penetrate the wind, or will be severely affected by turbulence.
In my experience, a lightweight model will handle wind and turbulence better than a heavy one. Of course, there is more to it. If you were to try to fly a lightweight model too slowly in wind or turbulence, it would be adversely affected—sort of like a leaf being blown about.

I’ve always believed that lightweight models fly better in any condition. Not all will agree with this. I’ve often said, “It’s possible to build a Stunt model too light … but no one has ever done it!” Some will argue that if a model is too lightweight, it will not penetrate the wind, or will be severely affected by turbulence.

a gram 28.3 times in the building process, you would eliminate an ounce! If you consider that our models pull approximately 15 Gs in a tight corner, that ounce would add up to nearly an extra pound of weight during that corner. Start thinking of it in those terms and you will become fanatical about removing not just extra grams, but grains as well!
One specific thing that can yield a lighter model is to reduce wood size. We typically see 1/8-inch balsa called out for fuselage sides on Stunt model plans. It is rarely necessary to use such thick wood to build a fuselage. If your powerplant is one that will impart severe vibration to the airframe, you might need thicker wood, but most of today’s power systems run smoothly compared with the ones used years ago; therefore, less structure and thinner wood can safely be used.
In my glow models, I used 3/32-inch wood for the fuselage sides and the formers for many years. Lately, with electric power systems (which produce virtually no vibration), I’ve reduced that to 1/16-inch balsa for the sides, formers, and the molded top and bottom shells with great results, and with significant weight savings.
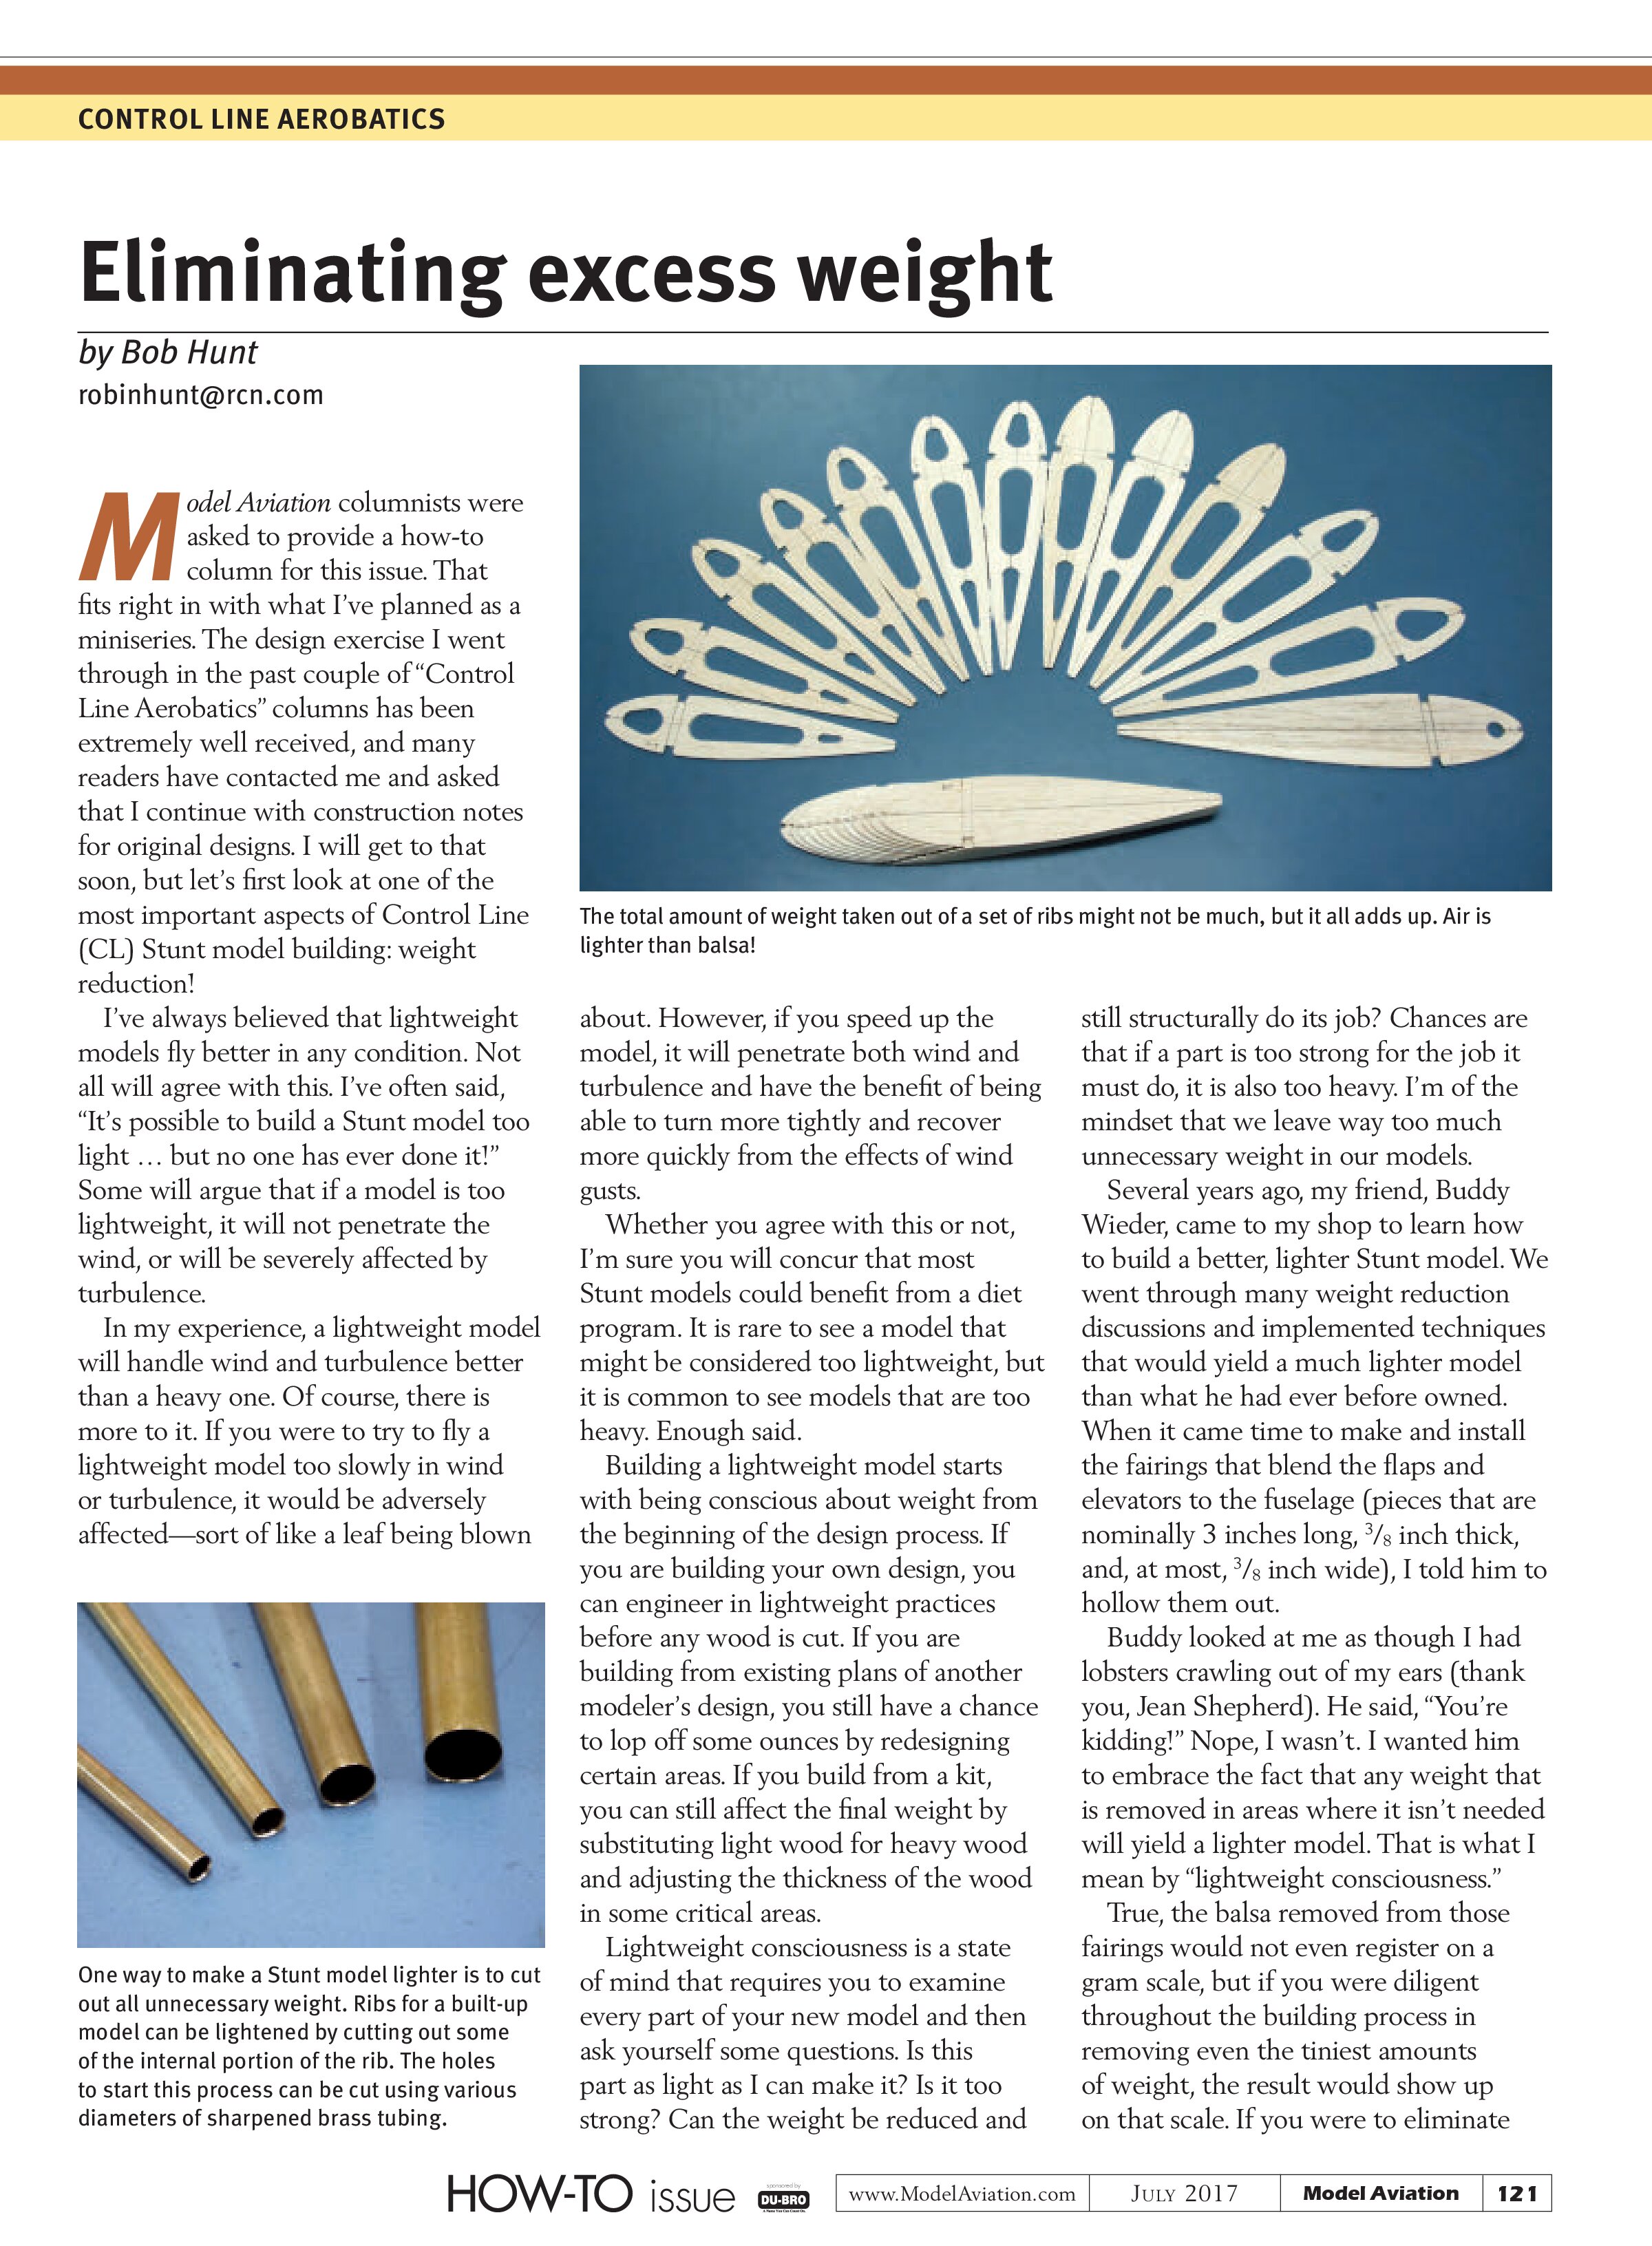
One simple place to eliminate weight (and add some aesthetic beauty to the airframe construction) is to cut lightening holes in the ribs of a built-up wing. Again, the total weight saving from cutting these holes in the ribs will only be a few grams, but it is a few grams!
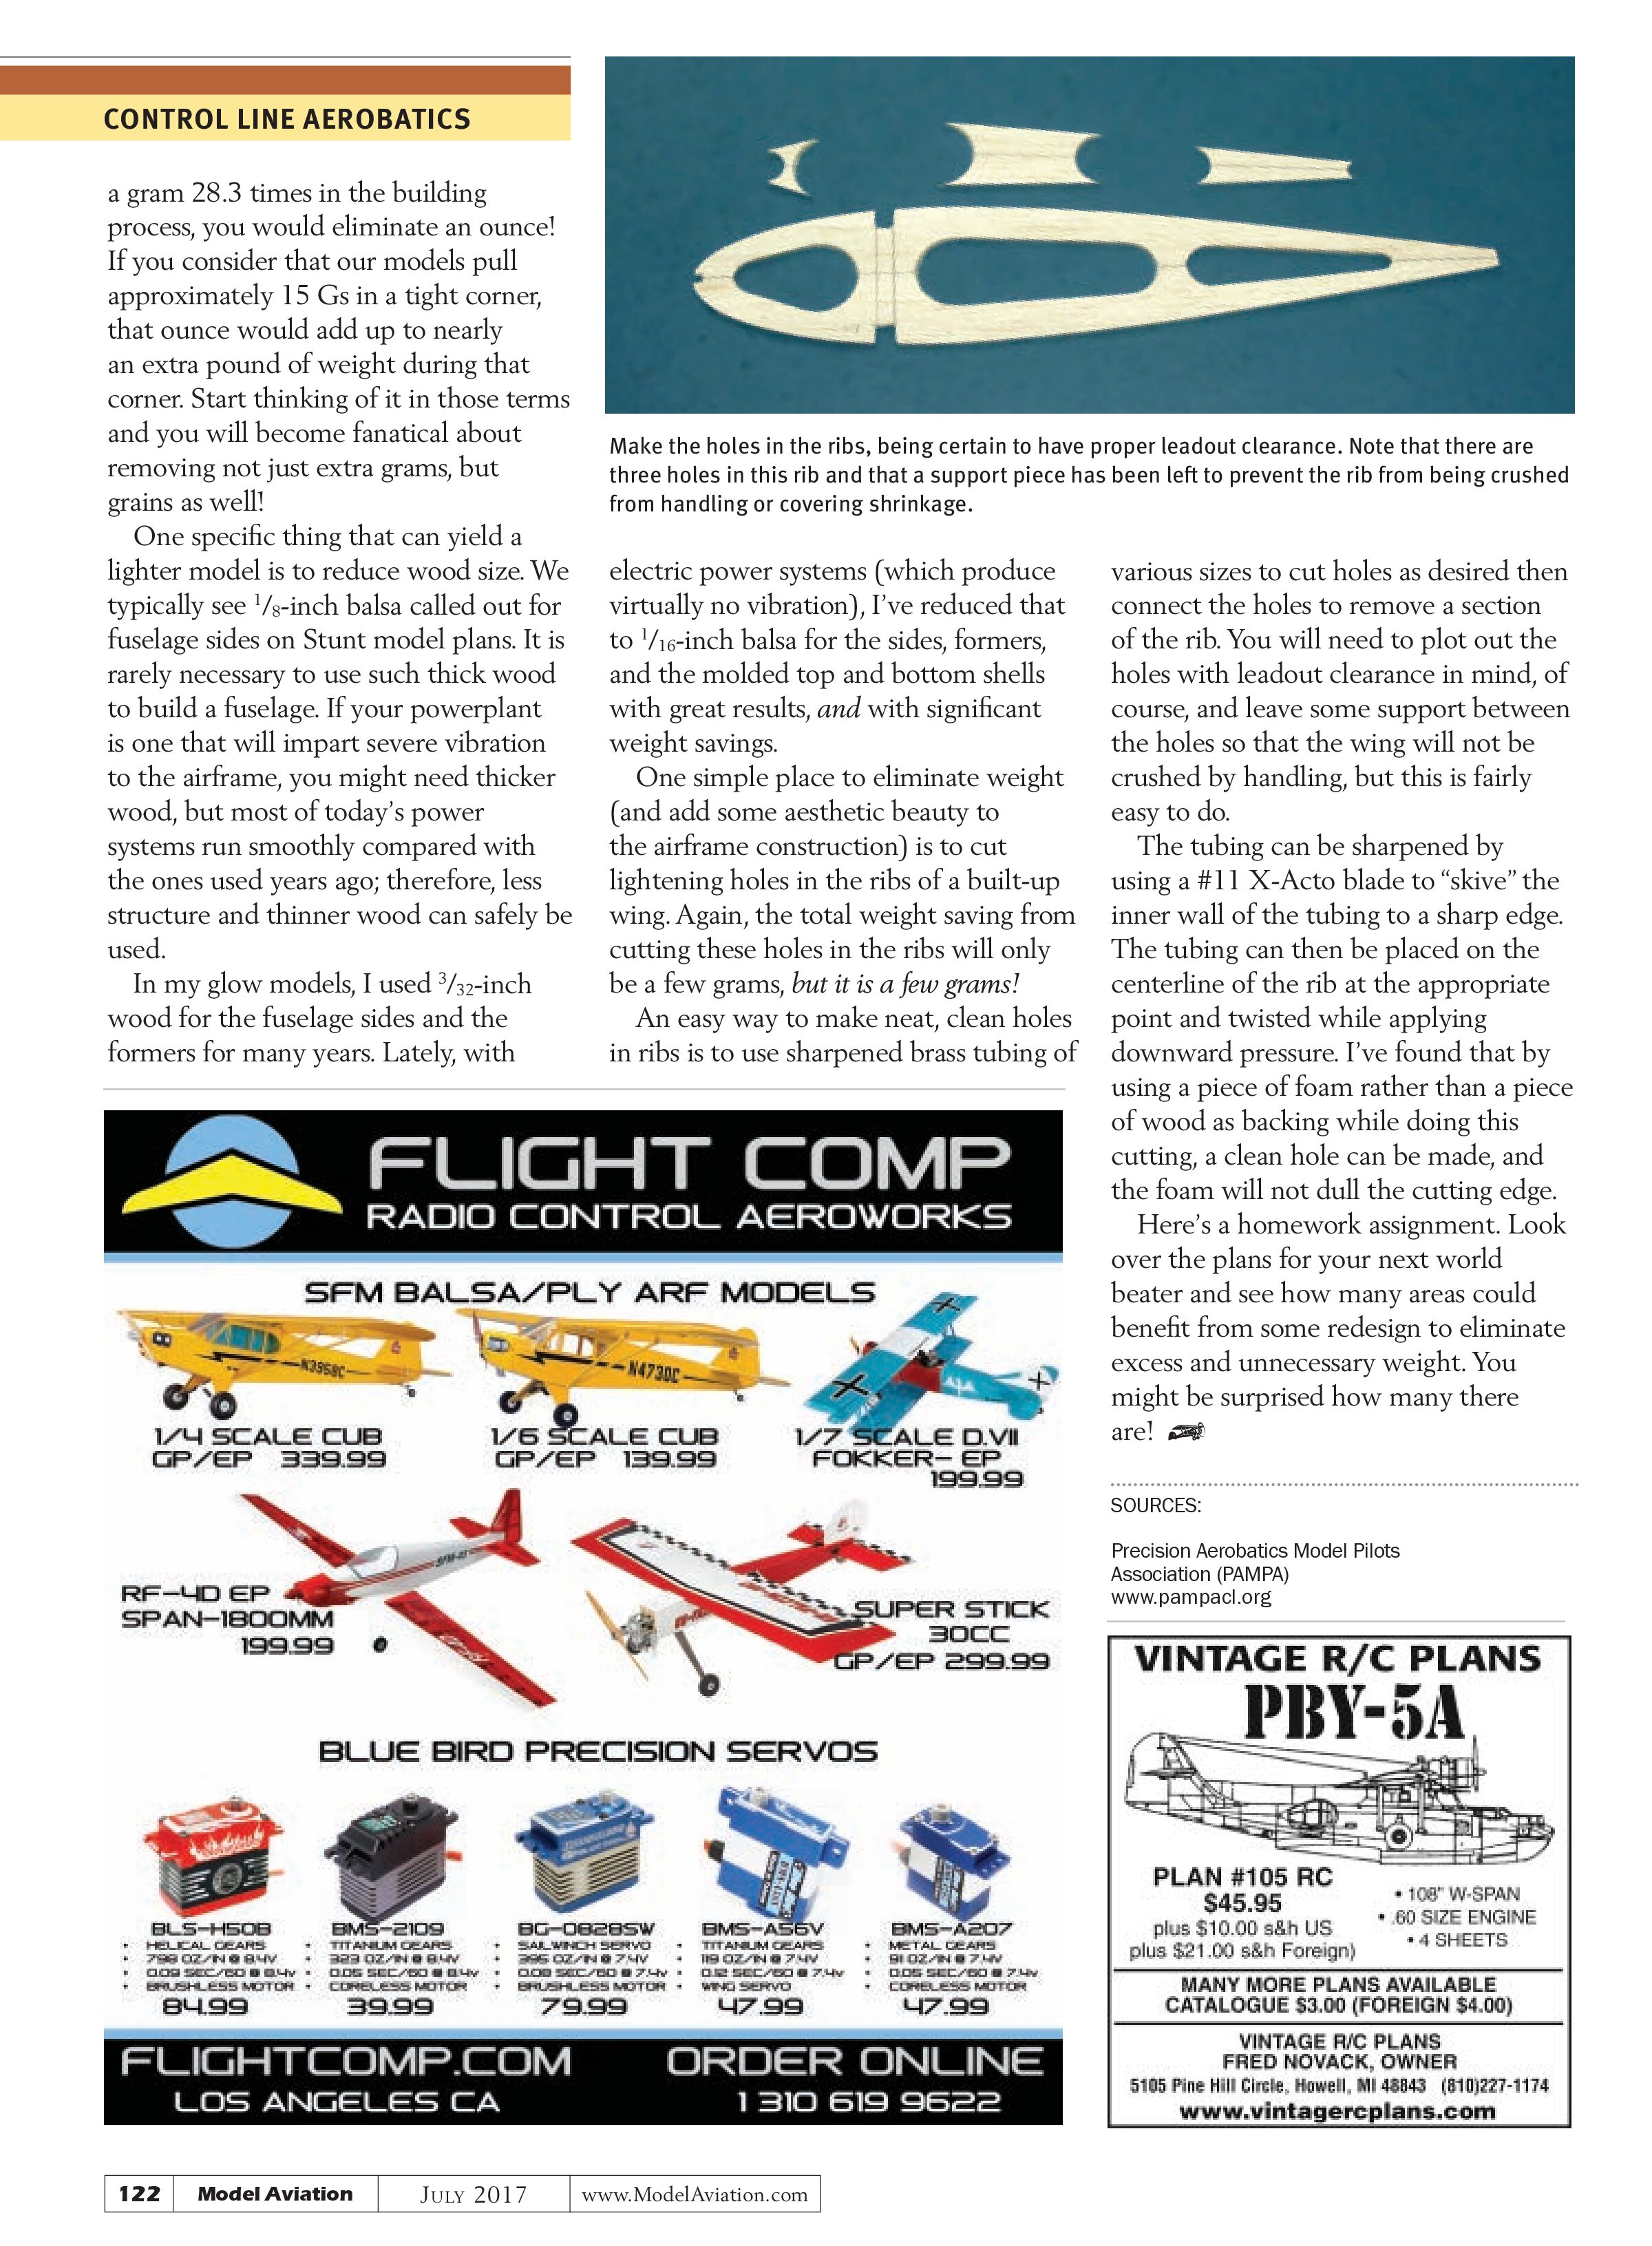
An easy way to make neat, clean holes in ribs is to use sharpened brass tubing of various sizes to cut holes as desired then connect the holes to remove a section of the rib. You will need to plot out the holes with leadout clearance in mind, of course, and leave some support between the holes so that the wing will not be crushed by handling, but this is fairly easy to do.
The tubing can be sharpened by using a #11 X-Acto blade to “skive” the inner wall of the tubing to a sharp edge. The tubing can then be placed on the centerline of the rib at the appropriate point and twisted while applying downward pressure. I’ve found that by using a piece of foam rather than a piece of wood as backing while doing this cutting, a clean hole can be made, and the foam will not dull the cutting edge.
Here’s a homework assignment. Look over the plans for your next world beater and see how many areas could benefit from some redesign to eliminate excess and unnecessary weight. You might be surprised how many there are!

SOURCES:
Precision Aerobatics Model Pilots Association (PAMPA)
www.pampacl.org