Icare Magellan-E 2M
Greg Prater
gregp@modelaircraft.org

A competitive and affordable electric glider
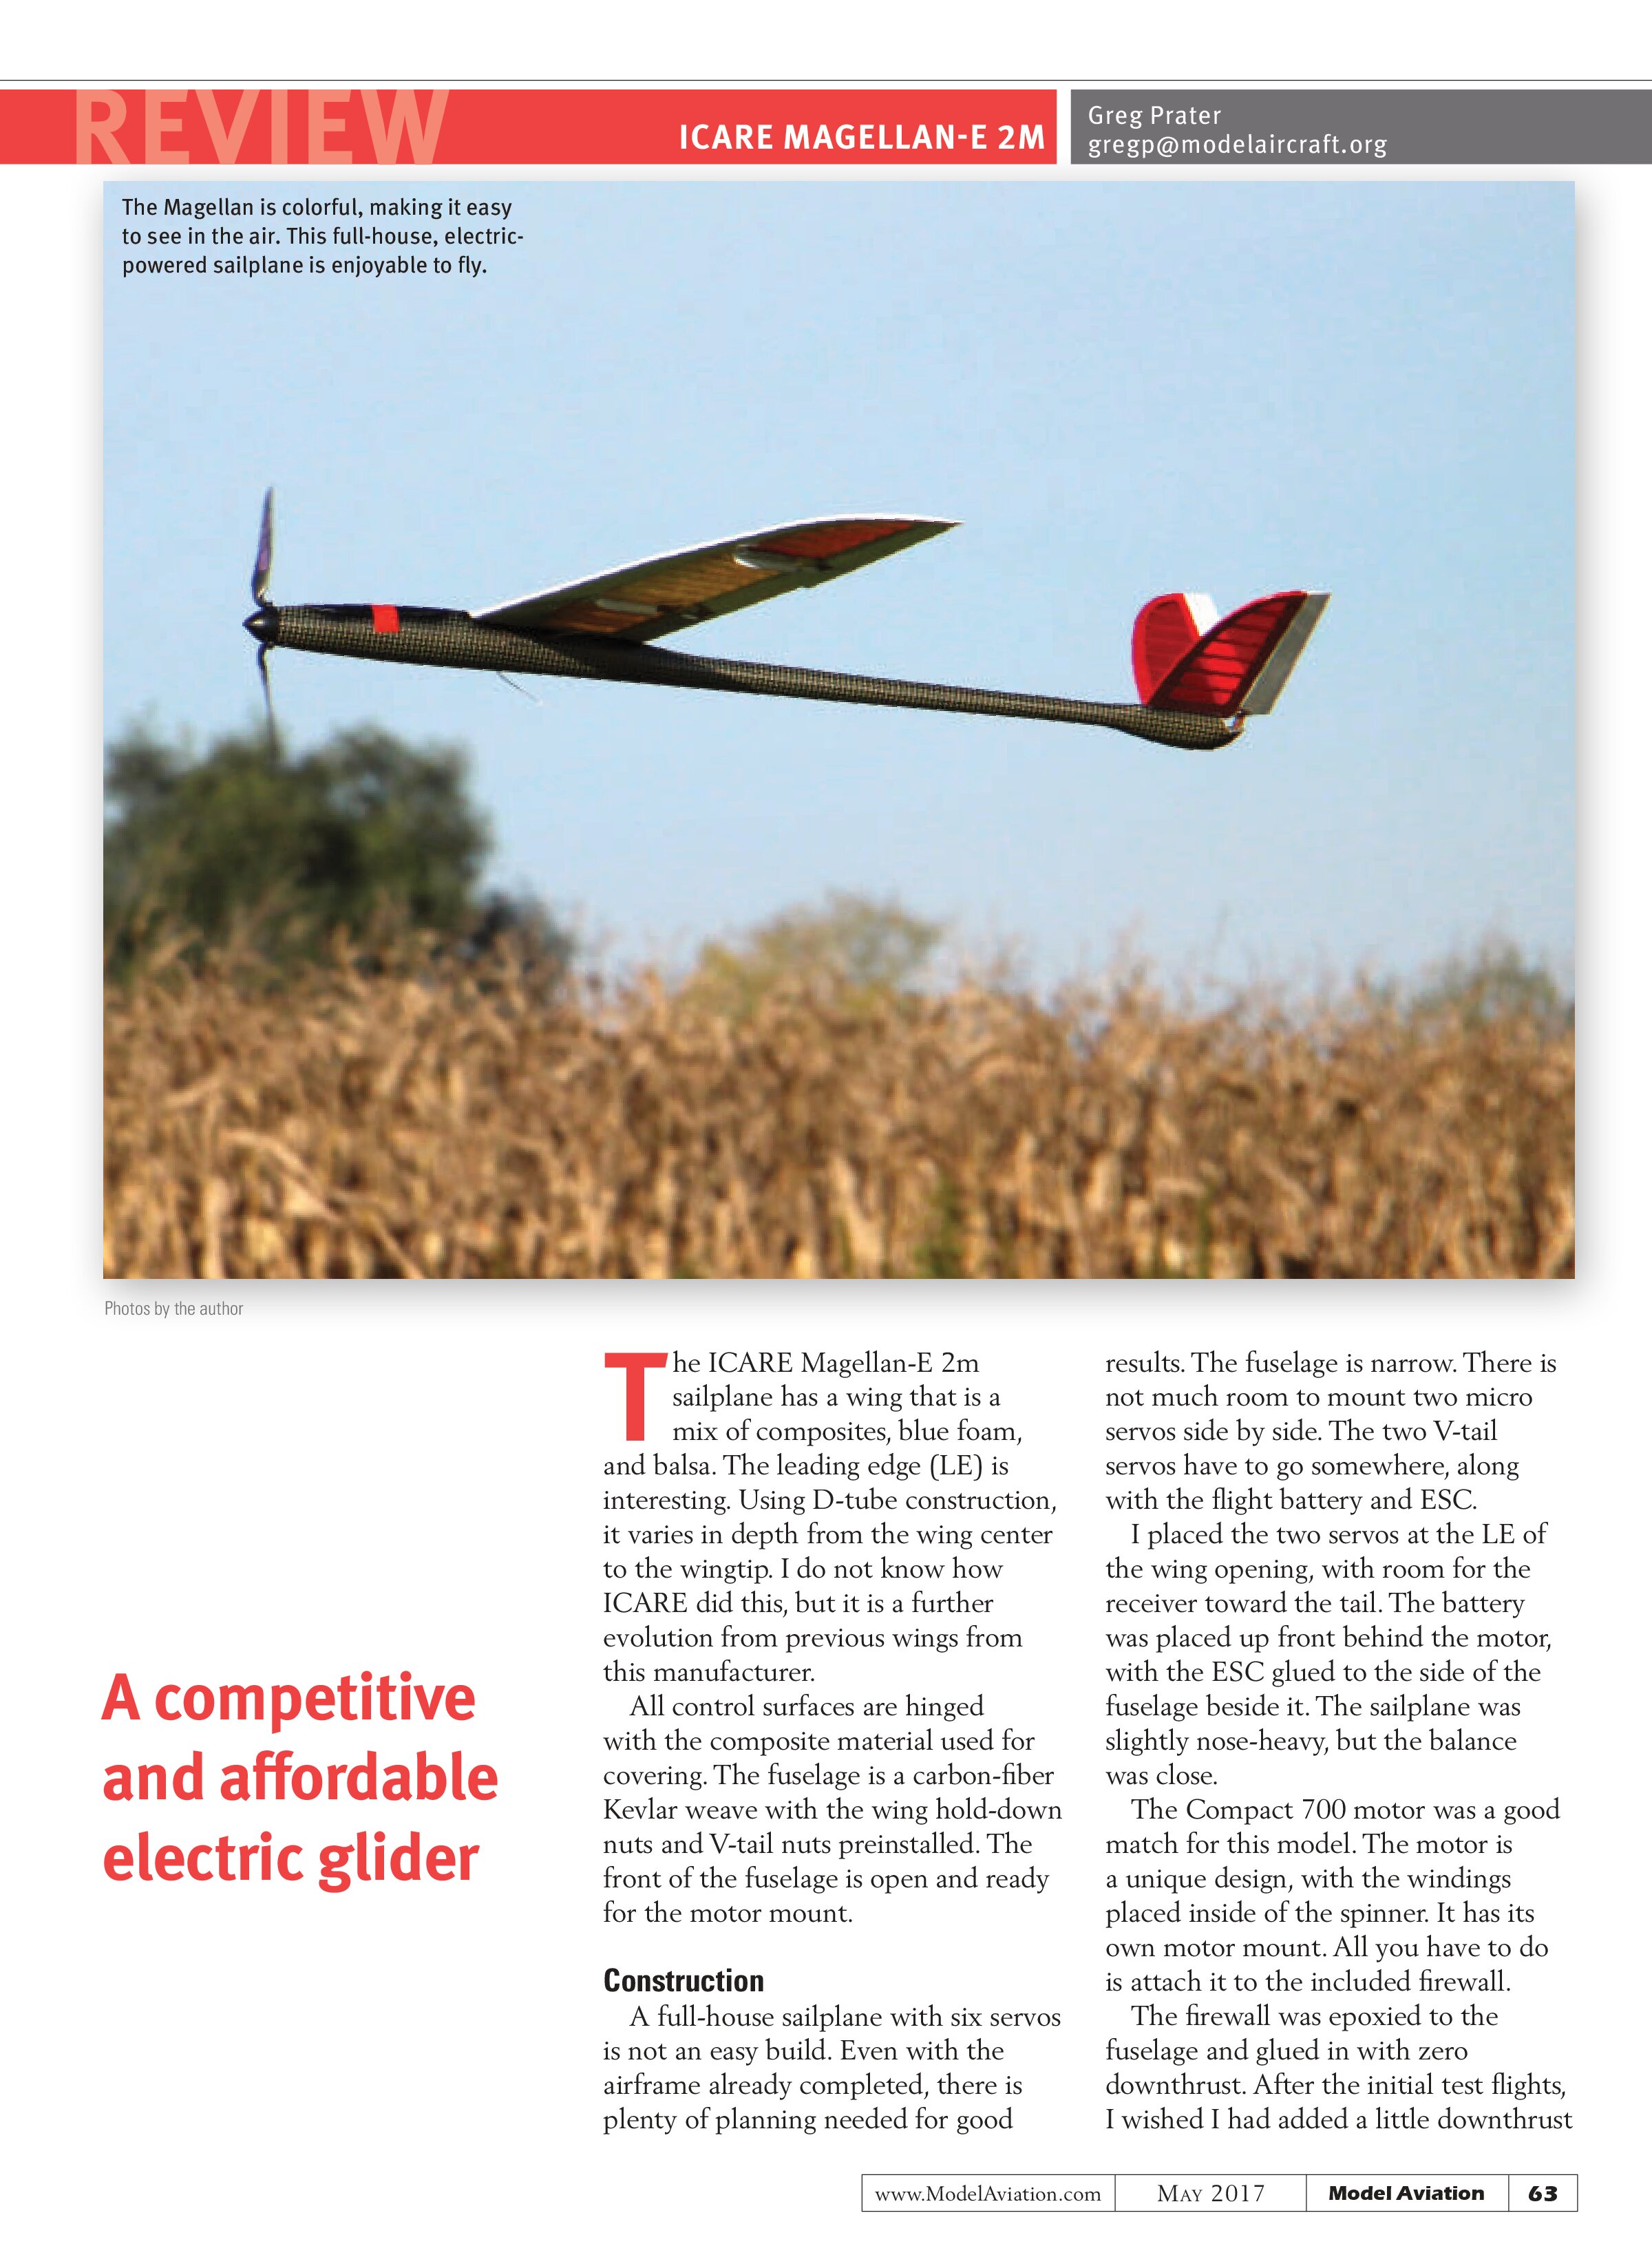
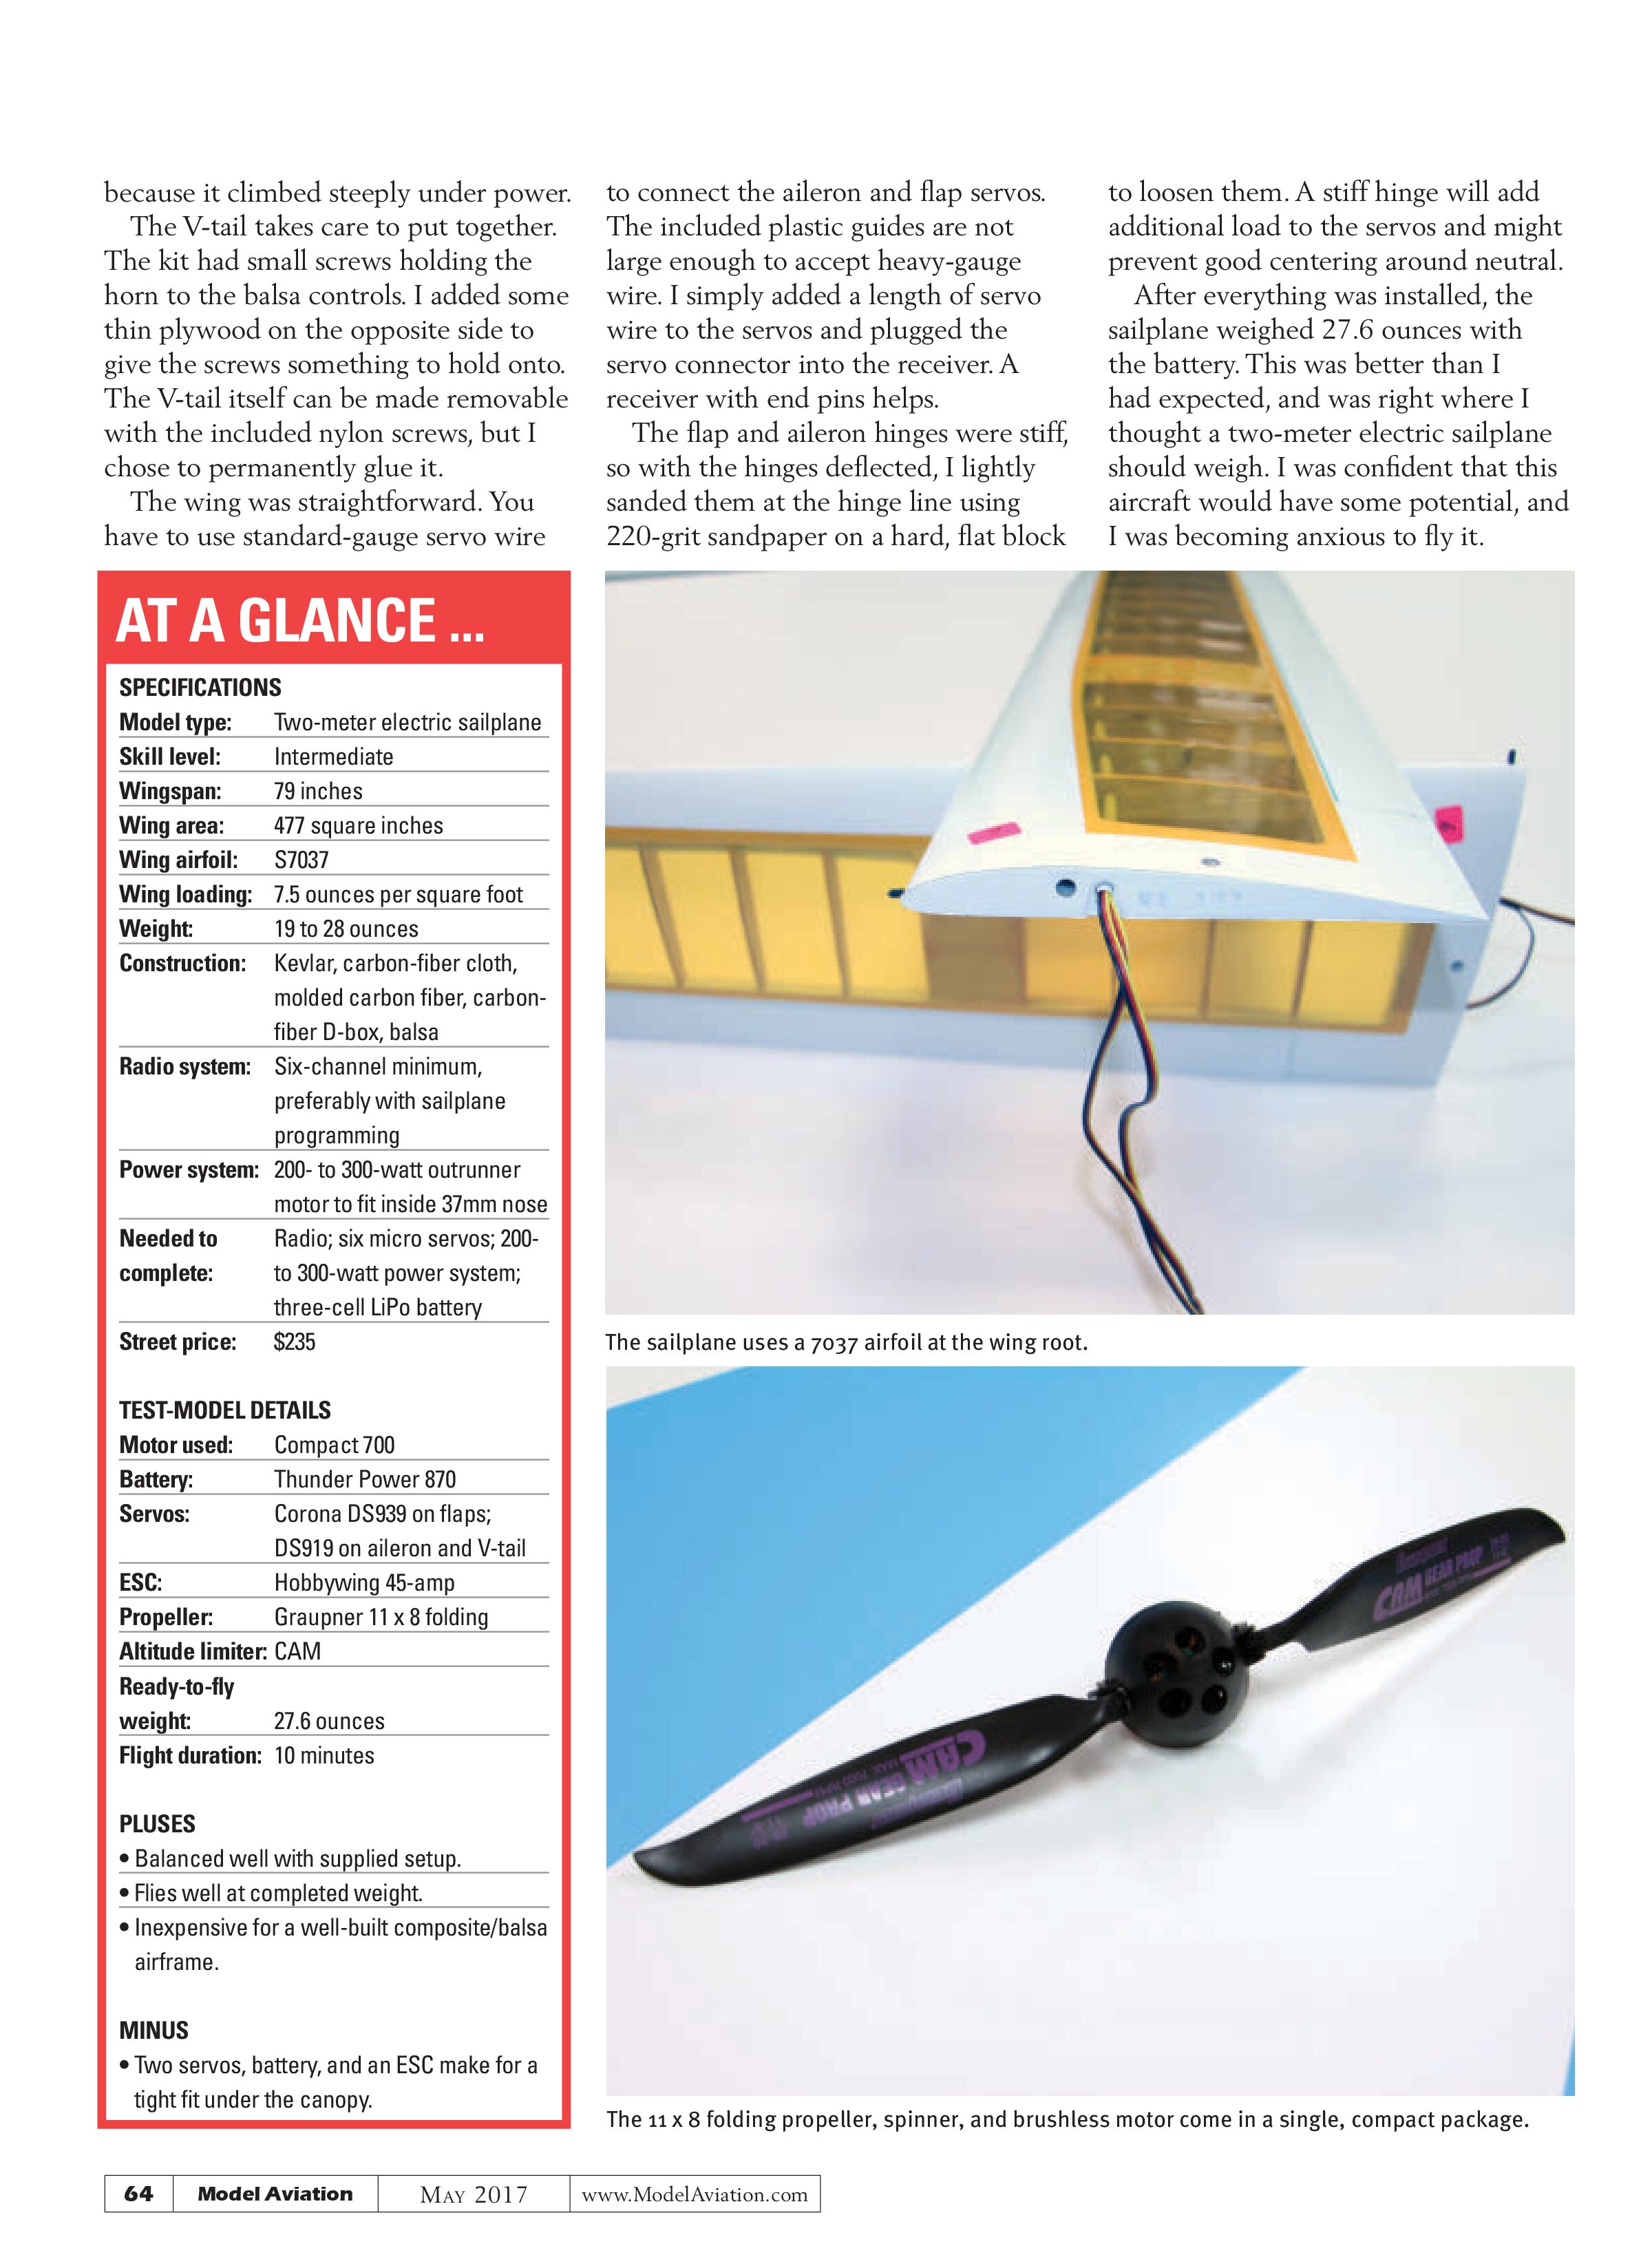
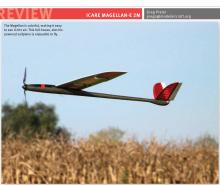
The ICARE Magellan-E 2m sailplane has a wing that is a mix of composites, blue foam, and balsa. The leading edge (LE) is interesting. Using D-tube construction, it varies in depth from the wing center to the wingtip. I do not know how ICARE did this, but it is a further evolution from previous wings from this manufacturer.
All control surfaces are hinged with the composite material used for covering. The fuselage is a carbon-fiber Kevlar weave with the wing hold-down nuts and V-tail nuts preinstalled. The front of the fuselage is open and ready for the motor mount.
Construction
A full-house sailplane with six servos is not an easy build. Even with the airframe already completed, there is plenty of planning needed for good results. The fuselage is narrow. There is not much room to mount two micro servos side by side. The two V-tail servos have to go somewhere, along with the flight battery and ESC.
I placed the two servos at the LE of the wing opening, with room for the receiver toward the tail. The battery was placed up front behind the motor, with the ESC glued to the side of the fuselage beside it. The sailplane was slightly nose-heavy, but the balance was close.
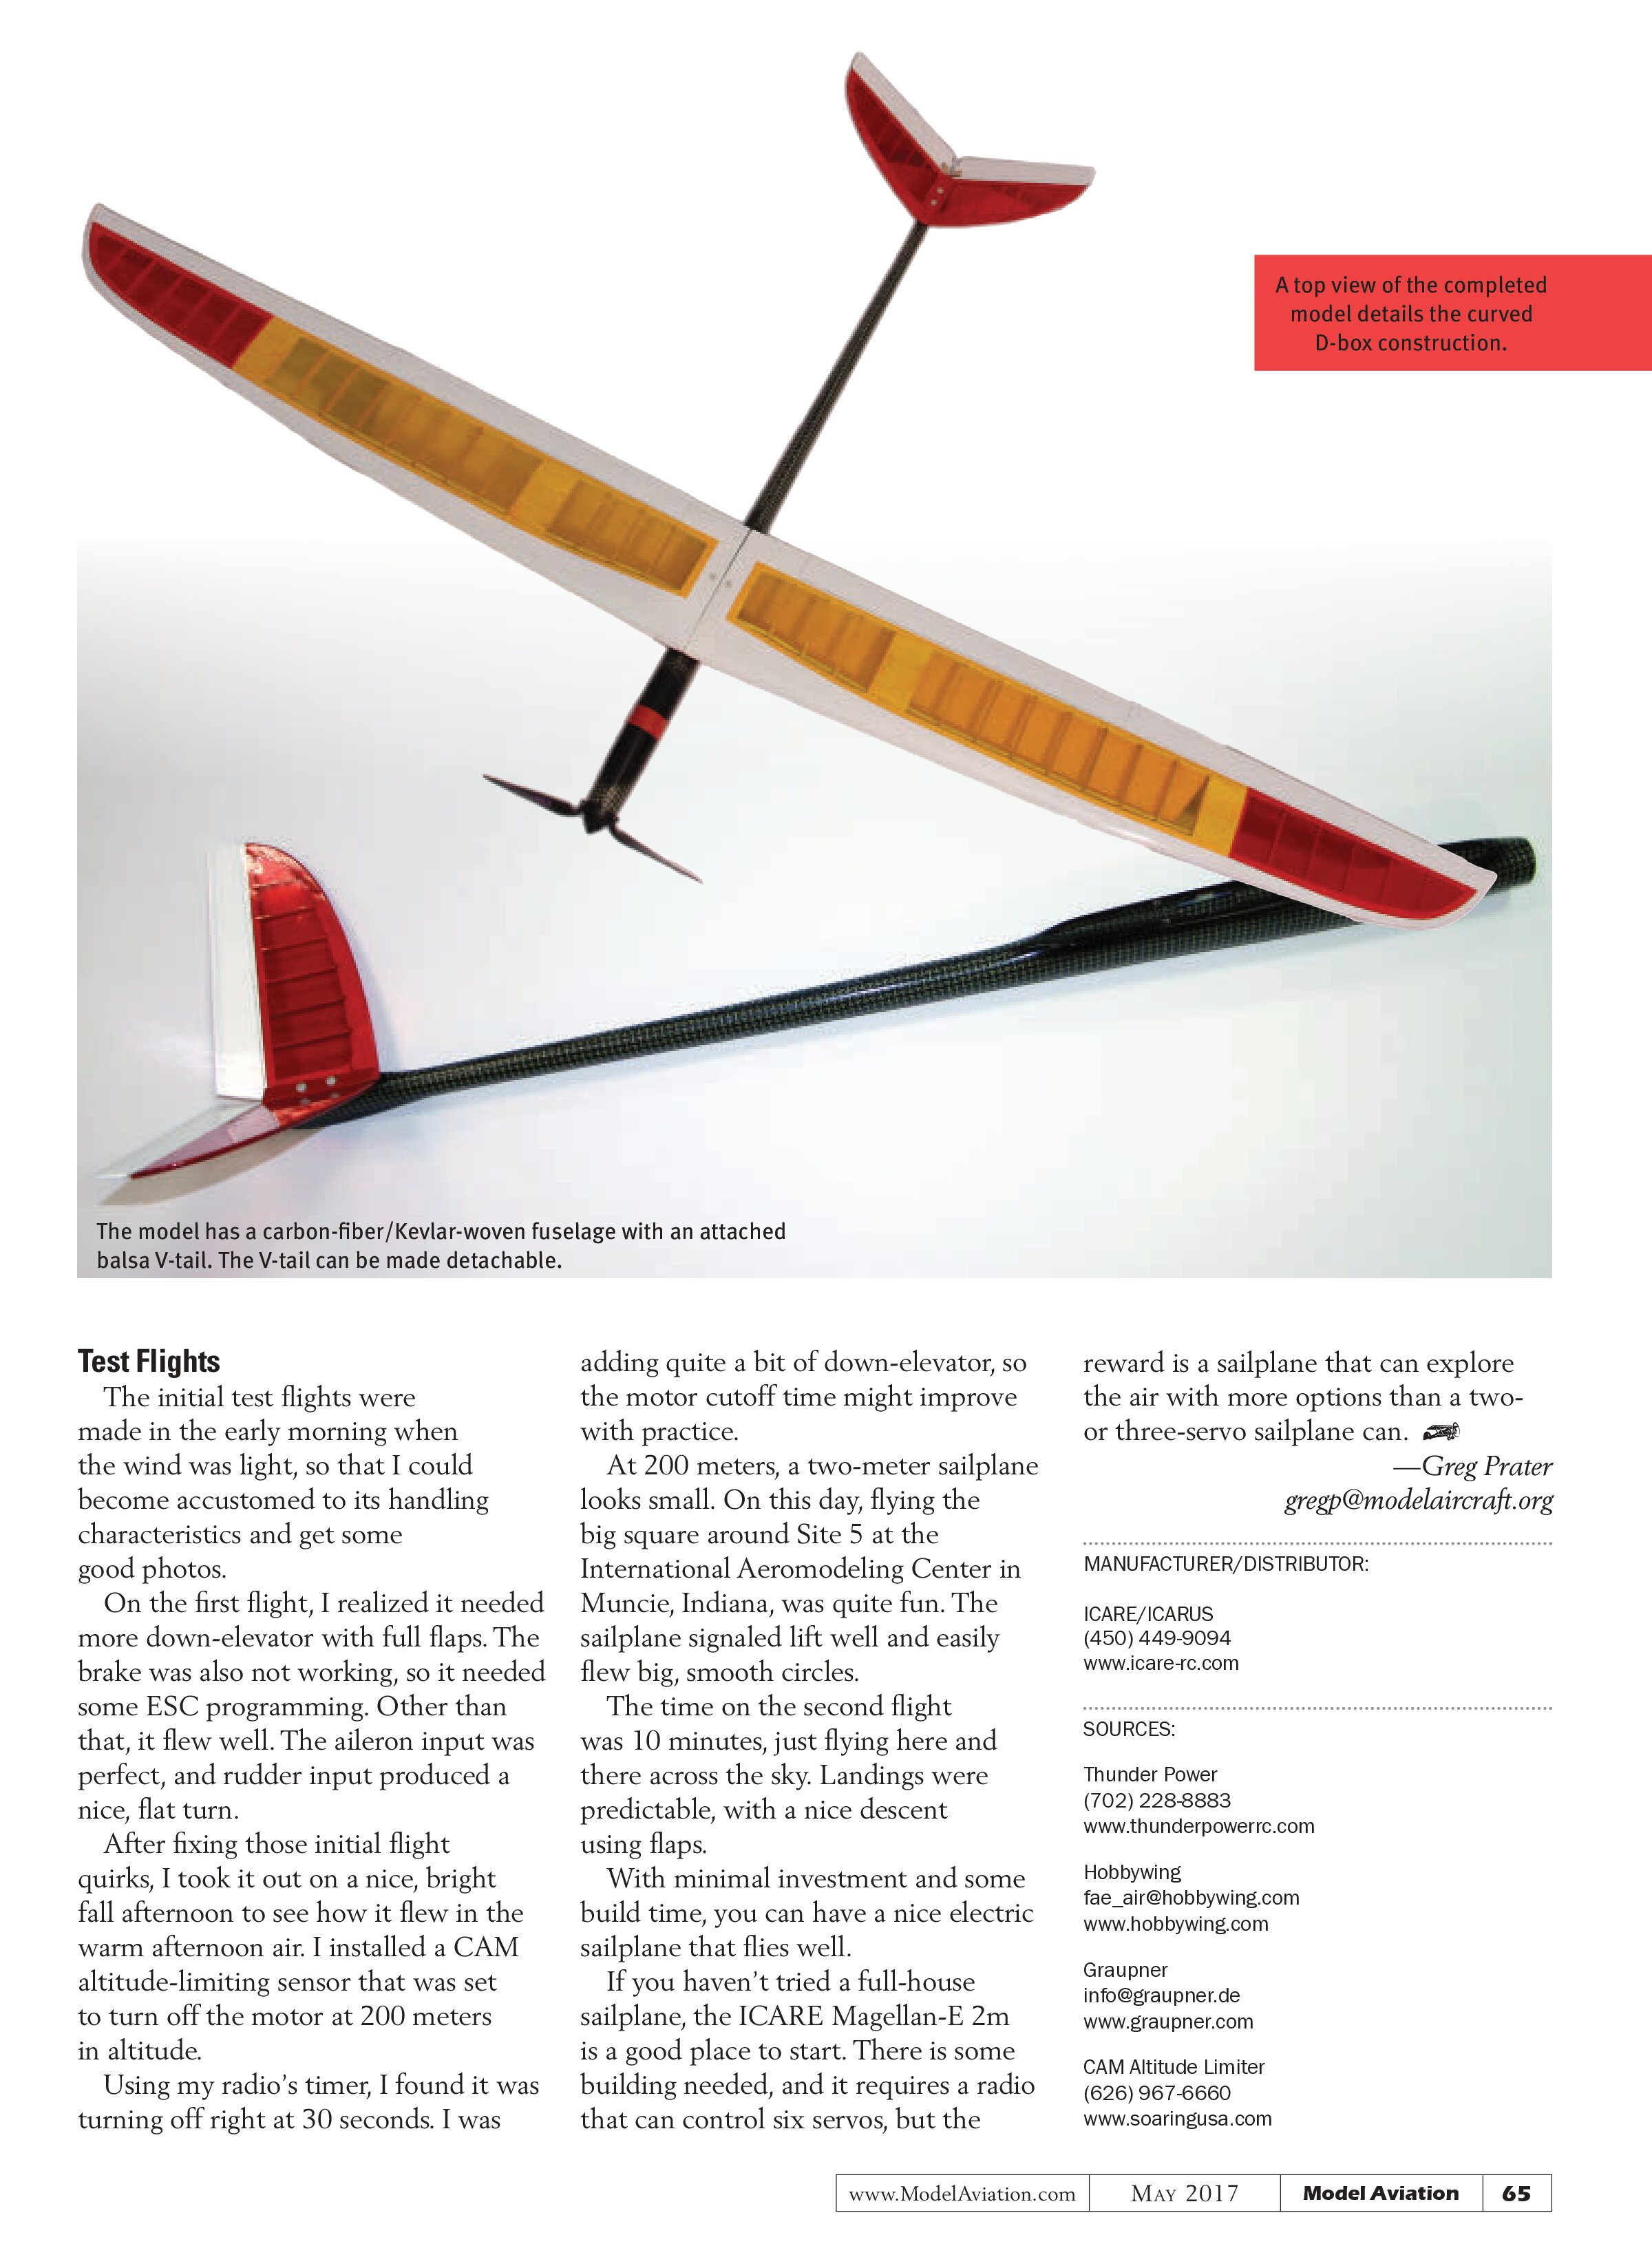
The Compact 700 motor was a good match for this model. The motor is a unique design, with the windings placed inside of the spinner. It has its own motor mount. All you have to do is attach it to the included firewall. The firewall was epoxied to the fuselage and glued in with zero downthrust. After the initial test flights, I wished I had added a little downthrust
because it climbed steeply under power.
The V-tail takes care to put together. The kit had small screws holding the horn to the balsa controls. I added some thin plywood on the opposite side to give the screws something to hold onto. The V-tail itself can be made removable with the included nylon screws, but I chose to permanently glue it.
The wing was straightforward. You have to use standard-gauge servo wire to connect the aileron and flap servos. The included plastic guides are not large enough to accept heavy-gauge wire. I simply added a length of servo wire to the servos and plugged the servo connector into the receiver. A receiver with end pins helps.
The flap and aileron hinges were stiff, so with the hinges deflected, I lightly sanded them at the hinge line using 220-grit sandpaper on a hard, flat block to loosen them. A stiff hinge will add additional load to the servos and might prevent good centering around neutral.
After everything was installed, the sailplane weighed 27.6 ounces with the battery. This was better than I had expected, and was right where I thought a two-meter electric sailplane should weigh. I was confident that this aircraft would have some potential, and I was becoming anxious to fly it.
AT A GLANCE ...
SPECIFICATIONS
Model type: Two-meter electric sailplane
Skill level: Intermediate
Wingspan: 79 inches
Wing area: 477 square inches
Wing airfoil: S7037
Wing loading: 7.5 ounces per square foot
Weight: 19 to 28 ounces
Construction: Kevlar, carbon-fiber cloth, molded carbon fiber, carbon-fiber D-box, balsa
Radio system: Six-channel minimum, preferably with sailplane programming
Power system: 200- to 300-watt outrunner motor to fit inside 37mm nose
Needed to complete: Radio; six micro servos; 200- to 300-watt power system; three-cell LiPo battery
Street price: $235
TEST-MODEL DETAILS
Motor used: Compact 700
Battery: Thunder Power 870
Servos: Corona DS939 on flaps; DS919 on aileron and V-tail
ESC: Hobbywing 45-amp
Propeller: Graupner 11 x 8 folding
Altitude limiter: CAM
Ready-to-fly weight: 27.6 ounces
Flight duration: 10 minutes
PLUSES
- Balanced well with supplied setup.
- Flies well at completed weight.
- Inexpensive for a well-built composite/balsa airframe.
MINUS
- Two servos, battery, and an ESC make for a tight fit under the canopy.


Test Flights
The initial test flights were made in the early morning when the wind was light, so that I could become accustomed to its handling characteristics and get some good photos.
On the first flight, I realized it needed more down-elevator with full flaps. The brake was also not working, so it needed some ESC programming. Other than that, it flew well. The aileron input was perfect, and rudder input produced a nice, flat turn.
After fixing those initial flight quirks, I took it out on a nice, bright fall afternoon to see how it flew in the warm afternoon air. I installed a CAM altitude-limiting sensor that was set to turn off the motor at 200 meters in altitude.
Using my radio’s timer, I found it was turning off right at 30 seconds. I was adding quite a bit of down-elevator, so the motor cutoff time might improve with practice.
At 200 meters, a two-meter sailplane looks small. On this day, flying the big square around Site 5 at the International Aeromodeling Center in Muncie, Indiana, was quite fun. The sailplane signaled lift well and easily flew big, smooth circles.
The time on the second flight was 10 minutes, just flying here and there across the sky. Landings were predictable, with a nice descent using flaps.
With minimal investment and some build time, you can have a nice electric sailplane that flies well.
If you haven’t tried a full-house sailplane, the ICARE Magellan-E 2m is a good place to start. There is some building needed, and it requires a radio that can control six servos, but the reward is a sailplane that can explore the air with more options than a two- or three-servo sailplane can.
—Greg Prater
gregb@modelaircraft.org
MANUFACTURER/DISTRIBUTOR:
ICARE/ICARUS
(450) 449-9094
www.icare-rc.com
SOURCES:
Thunder Power
(702) 228-8883
www.thunderpowerrc.com
Hobbywing
fae_air@hobbywing.com
www.hobbywing.com
Graupner
info@graupner.de
www.graupner.com
CAM Altitude Limiter
(626) 967-6660
www.soaringusa.com