Converting existing kits for small-field flying
When we speak of small-field model aircraft, it can encompass a number of things, but it generally refers to simpler designs—often three-channel RC or the conversion of existing three-channel designs to four-channel control. A great source for suitable kits comes from the Free Flight (FF) realm.
I’ve successfully converted several 30-inch wingspan Dumas FF designs to three-channel RC. I’ve also seen a number of the smaller Bill Schmidt 24-inch wingspan designs and converted Guillow’s kits.
Making the conversion to RC is not difficult, and requires little more than adding hinge spars to the vertical and horizontal stabilizers and provisions for power and guidance. A couple of things need to be considered, however, when making conversions.
Conversions are generally simple with three-channel control, but with submicro equipment so readily available these days, even four-channel control is well within the realm of possibility. That being the case, the proper amount of dihedral will play a major part in the success or failure of a conversion. If only rudder and elevator control are used,

more dihedral will be required than when ailerons are incorporated, so some preplanning will be in order. Generally speaking, a high-wing model does well with 4½° to 5° of dihedral. If there’s too little dihedral, the model might easily enter the turn, but recover slowly, or sometimes not at all. If there’s too much dihedral, the model will roll sharply then begin to turn. In extreme cases, it might even be difficult to maintain level flight because the rudder input is overly sensitive.
On a model where ailerons are used, too much dihedral will make the model difficult to turn, using the ailerons for the model’s inherent stability. The ailerons will not be able to overcome it.
When I use aileron control on a scale model, I stick with the scale dihedral unless the full-scale wing is designed without dihedral. In that case, I go with 1° because a flat wing will look “droopy” and lack roll stability. The model will often “hunt” for the wing’s level point, making it difficult to maintain level flight.
Up to this point, the numbers given apply to high-wing cabin types, parasols, and biplanes. But the general rule of thumb for shoulder-wing aircraft types

would be to add 1½° of dihedral. For low-wing models, add 3° of dihedral to the numbers previously mentioned to get you into the ballpark.
Every model is different, but throughout the years I’ve found that the numbers given will generally apply and will work well in nearly every application.
Keith Shergold’s Tiger Moth
While I’m discussing aileron conversions, Keith Shergold built a 35-inch wingspan Dumas Tiger Moth, converting it from three- to four-channel RC by adding ailerons in a scale outline. He also upgraded the power system from the original IPS gear-drive system to an E-flite Park 250 outrunner motor with an 8 x 3.8 propeller and 1,300 2S LiPo battery—the perfect upgrade for most of the Dumas 35-inch biplanes and 40-inch monoplanes.
Guidance was accomplished using E-flite S60 servos for the rudder and elevator, and a pair of Blue Arrow 2.8-gram servos for the ailerons. Covering was done using Easy Built Models tissue and butyrate dope for an all-up weight of 8.8 ounces.
Glenn described the model as “the perfect ‘park’ airplane.” Well done. It’s great to see that the aileron conversion worked out so well.
Gary Schubert’s Fokker D.VIII
On the other end of the spectrum is Gary Schubert’s 1:6-scale Fokker D.VIII, built from an AerodromeRC short kit that is available from Manzano Laser Works. The model spans 55 inches with


A flying weight of 44 ounces, and is powered with a Suppo 2820 outrunner motor, APC 11 x 5.5 propeller, and a 2,200 mAh 3S LiPo battery.
Gary covered the wings and tail with Horizon Hobby UltraCote Lite, and the fuselage with lozenge fabric from AerodromeRC. He told me that the aircraft is a terrific flier, but requires relatively short grass on the runway to clear the landing gear wing. I’ve seen a good bit of Gary’s incredible work throughout the years, and I can truly say that every aircraft is better than the last one.
Ron Simms’ B-17
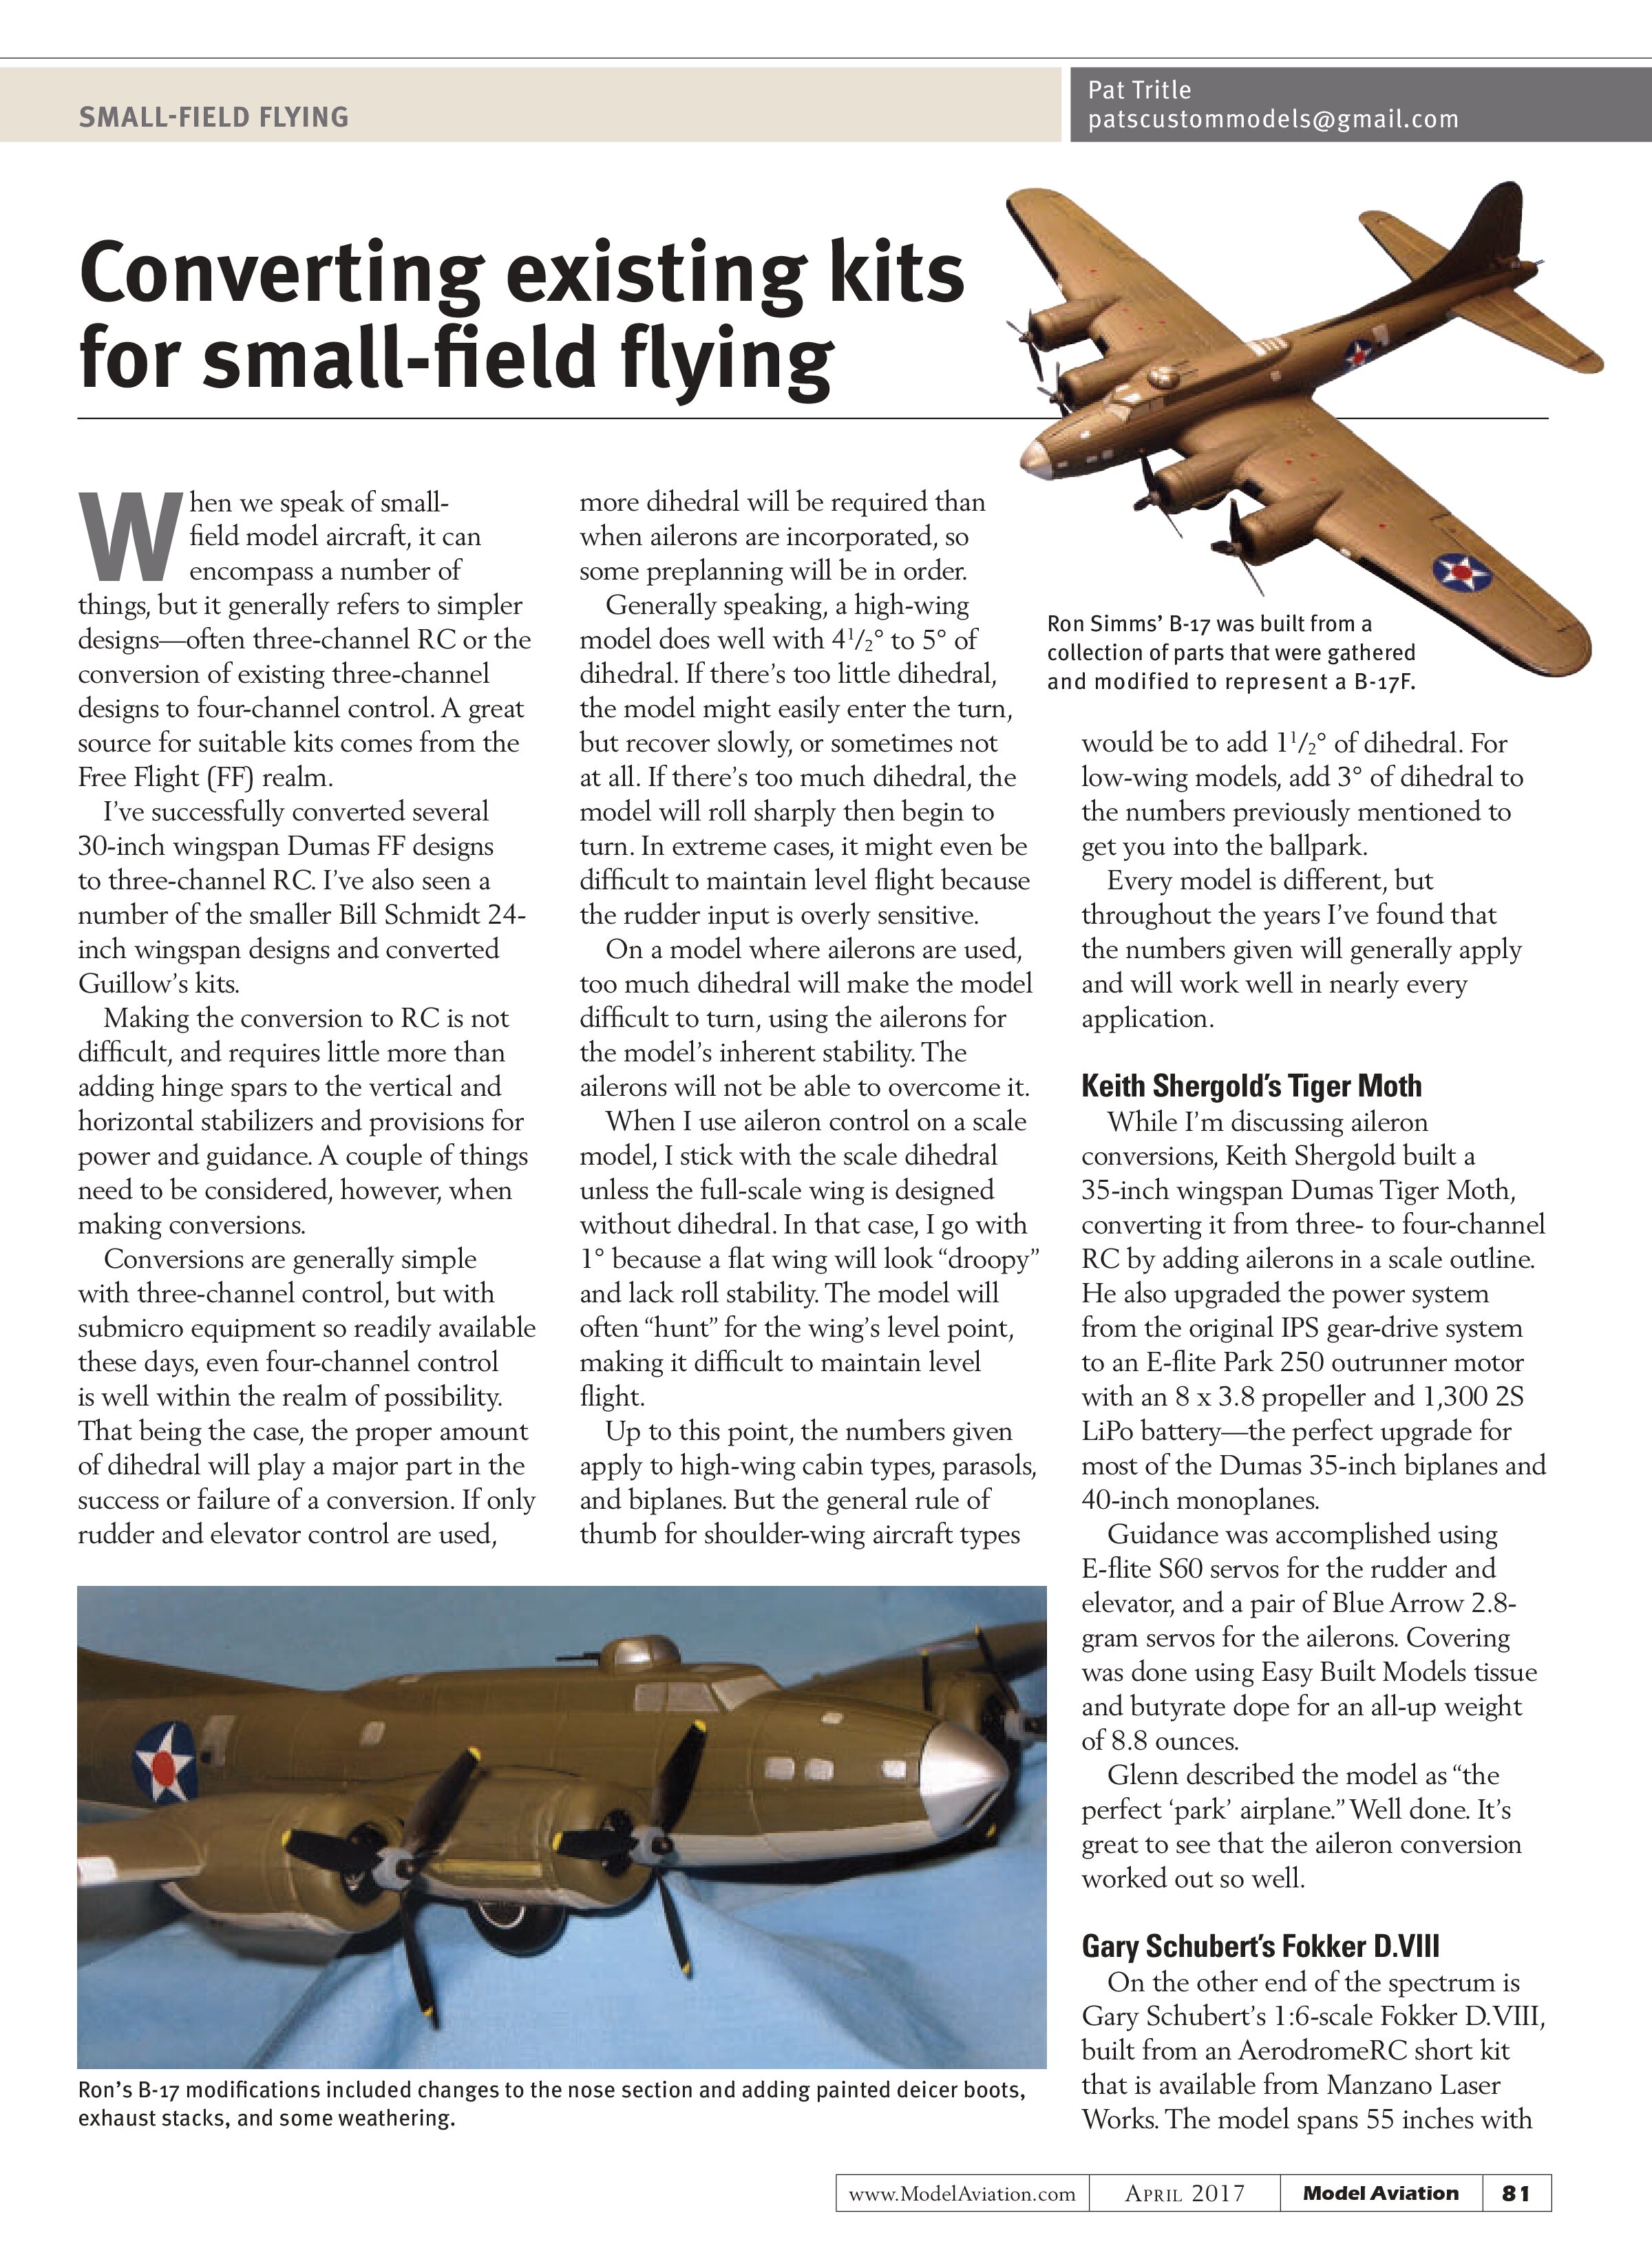
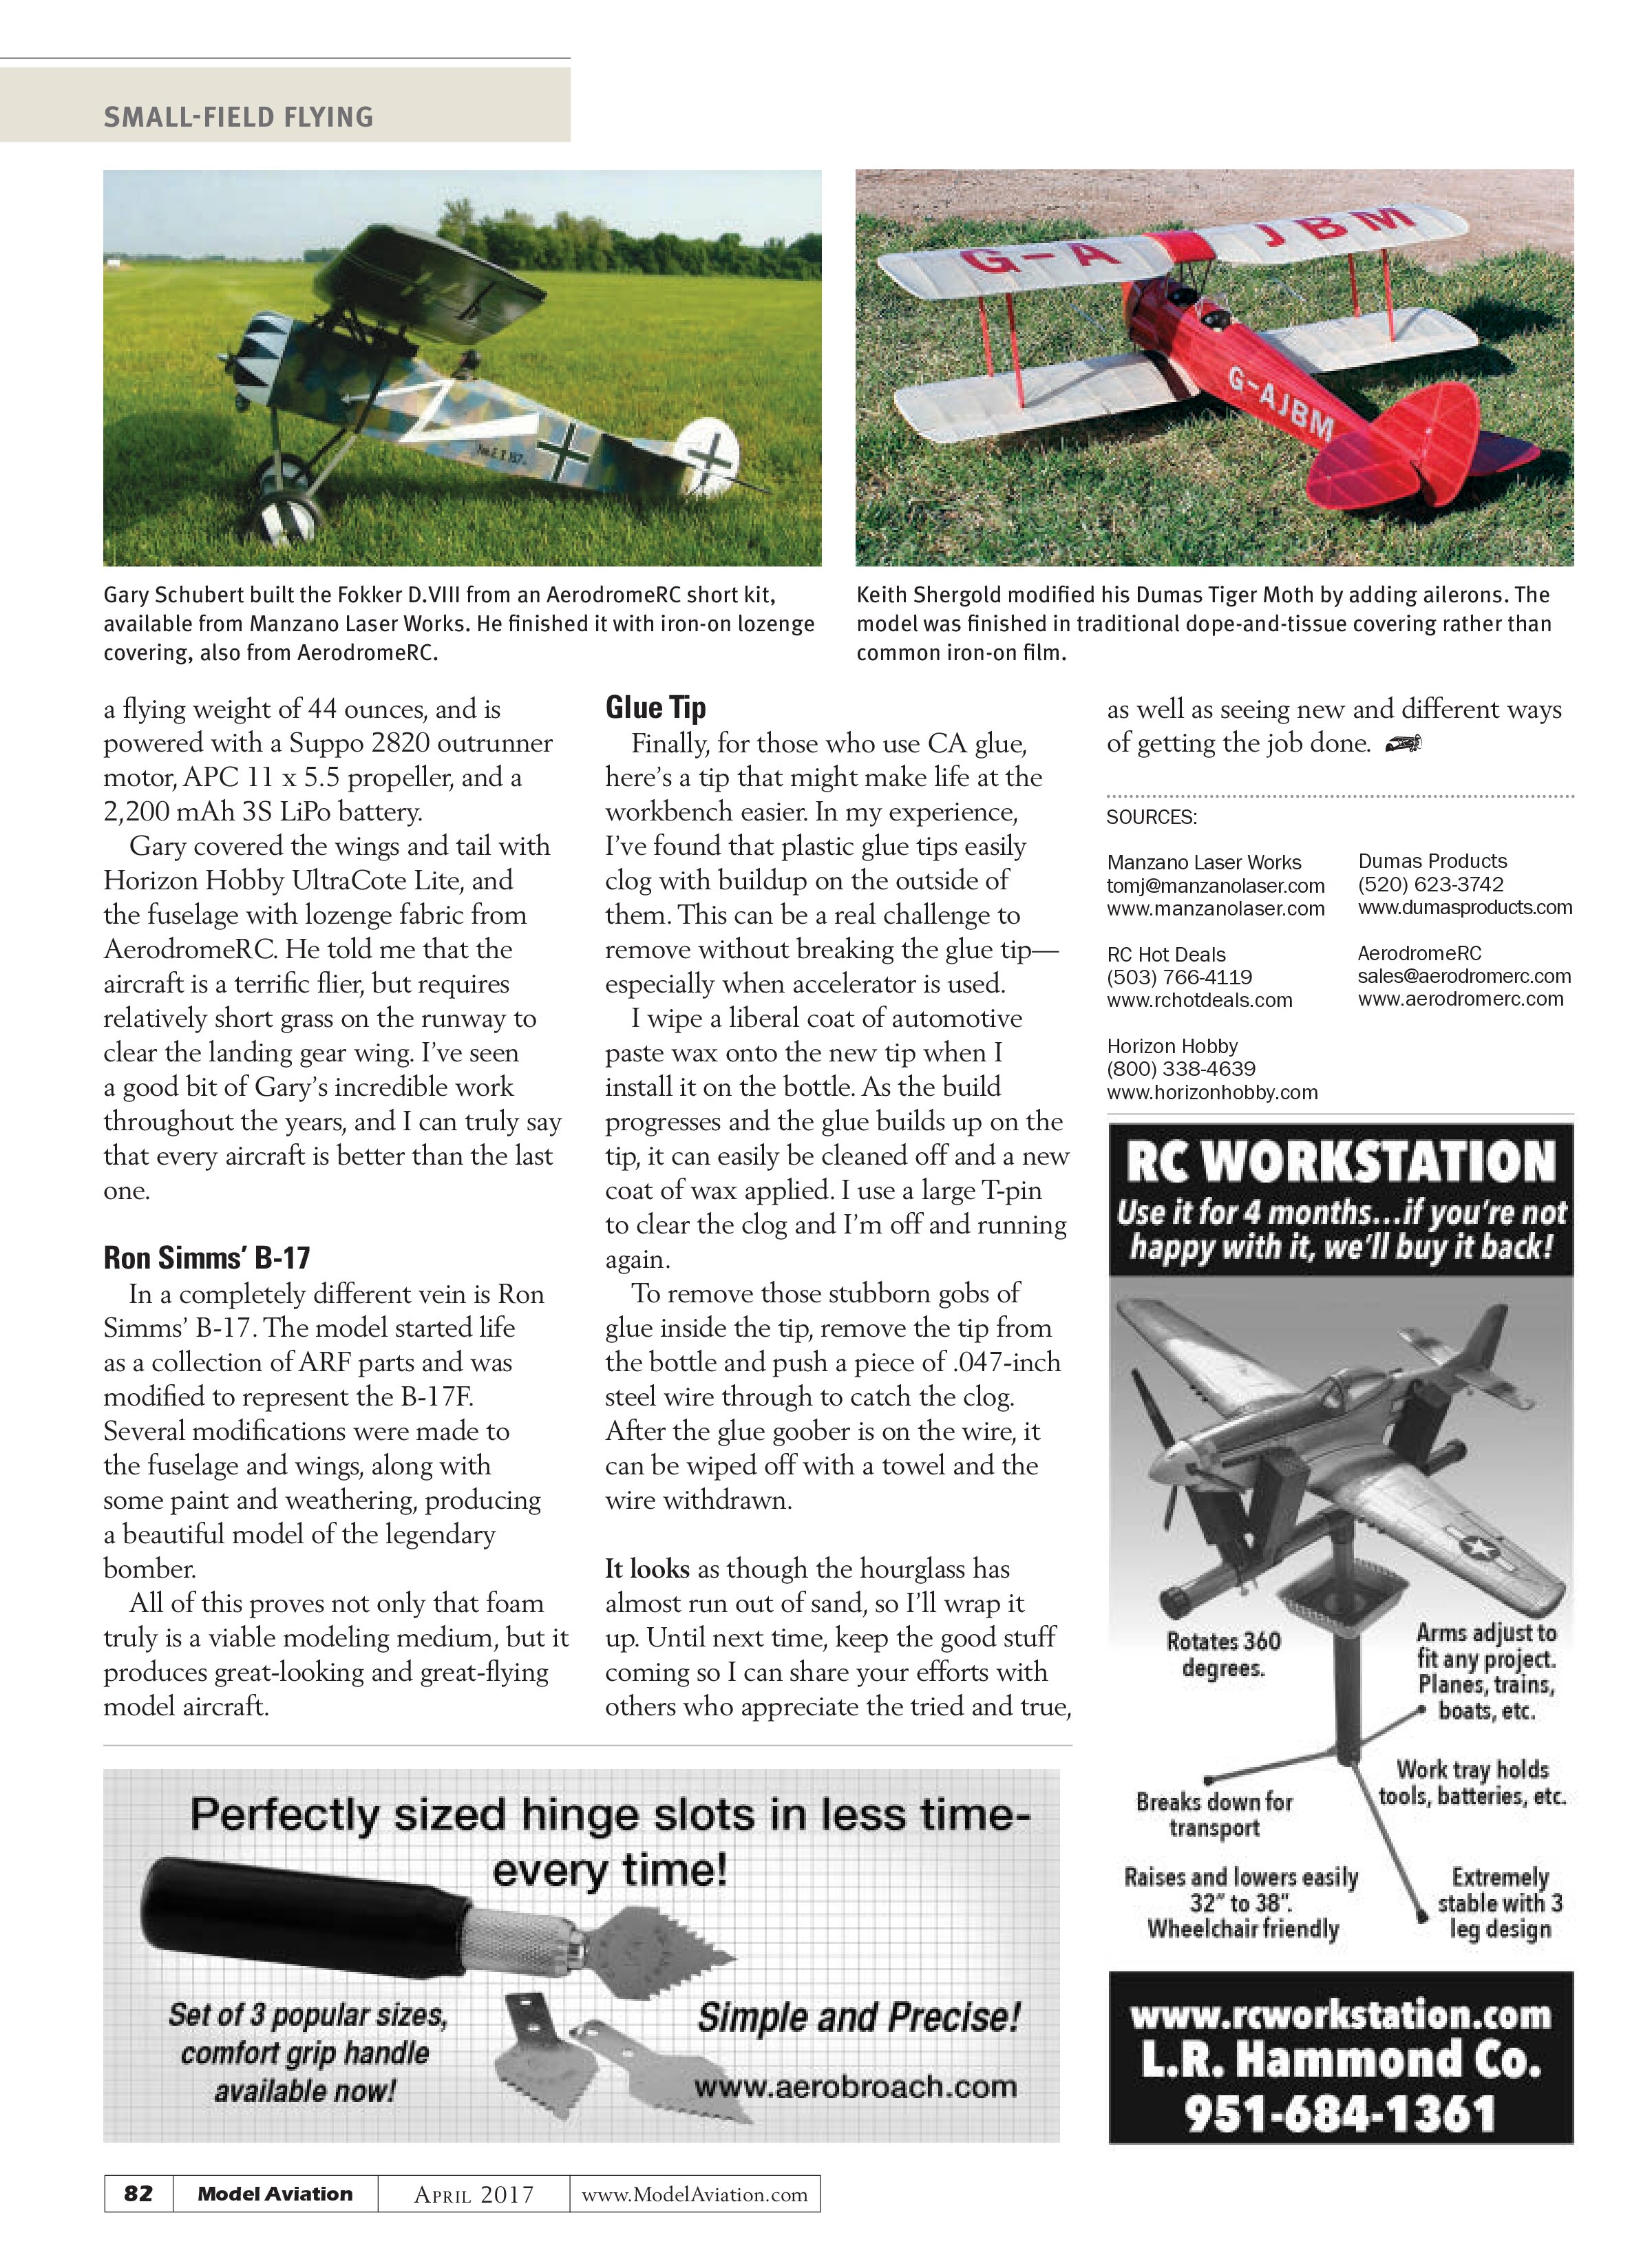
In a completely different vein is Ron Simms’ B-17. The model started life as a collection of ARF parts and was modified to represent the B-17F. Several modifications were made to the fuselage and wings, along with some paint and weathering, producing a beautiful model of the legendary bomber.
All of this proves not only that foam truly is a viable modeling medium, but it produces great-looking and great-flying model aircraft.
Glue Tip
Finally, for those who use CA glue, here’s a tip that might make life at the workbench easier. In my experience, I’ve found that plastic glue tips easily clog with buildup on the outside of them. This can be a real challenge to remove without breaking the glue tip—especially when accelerator is used.
I wipe a liberal coat of automotive paste wax onto the new tip when I install it on the bottle. As the build progresses and the glue builds up on the tip, it can easily be cleaned off and a new coat of wax applied. I use a large T-pin to clear the clog and I’m off and running again.
To remove those stubborn gobs of glue inside the tip, remove the tip from the bottle and push a piece of .047-inch steel wire through to catch the clog. After the glue goober is on the wire, it can be wiped off with a towel and the wire withdrawn.
It looks as though the hourglass has almost run out of sand, so I’ll wrap it up. Until next time, keep the good stuff coming so I can share your efforts with others who appreciate the tried and true, as well as seeing new and different ways of getting the job done.
SOURCES:
Manzano Laser Works
tomj@manzanolaser.com
www.manzanolaser.com
Dumas Products
(520) 623-3742
www.dumasproducts.com
RC Hot Deals
(503) 766-4119
www.rchotdeals.com
AerodromeRC
sales@aerodromerc.com
www.aerodromerc.com
Horizon Hobby
(800) 338-4639
www.horizonhobby.com