Engine checkup
Chris Mulcahy
cspaced@gmail.com

There are still plenty of us who enjoy flying nitro-powered helicopters. Yes, electric power is clean, has more instant torque, etc., but there is just something about the scream of a nitro engine and the smoke. When night falls, it gets even better.
Nitro engines in helicopters can have a hard life, especially in 3-D machines that run full throttle for most of the flight.
The only other part of the hobby I’m involved in that similarly runs engines at full power for the entire flight is Quarter Midget Pylon Racing. These aircraft often only run for slightly more than a minute! We’re flying our helis for several minutes at a time, which can definitely be hard on the engines.
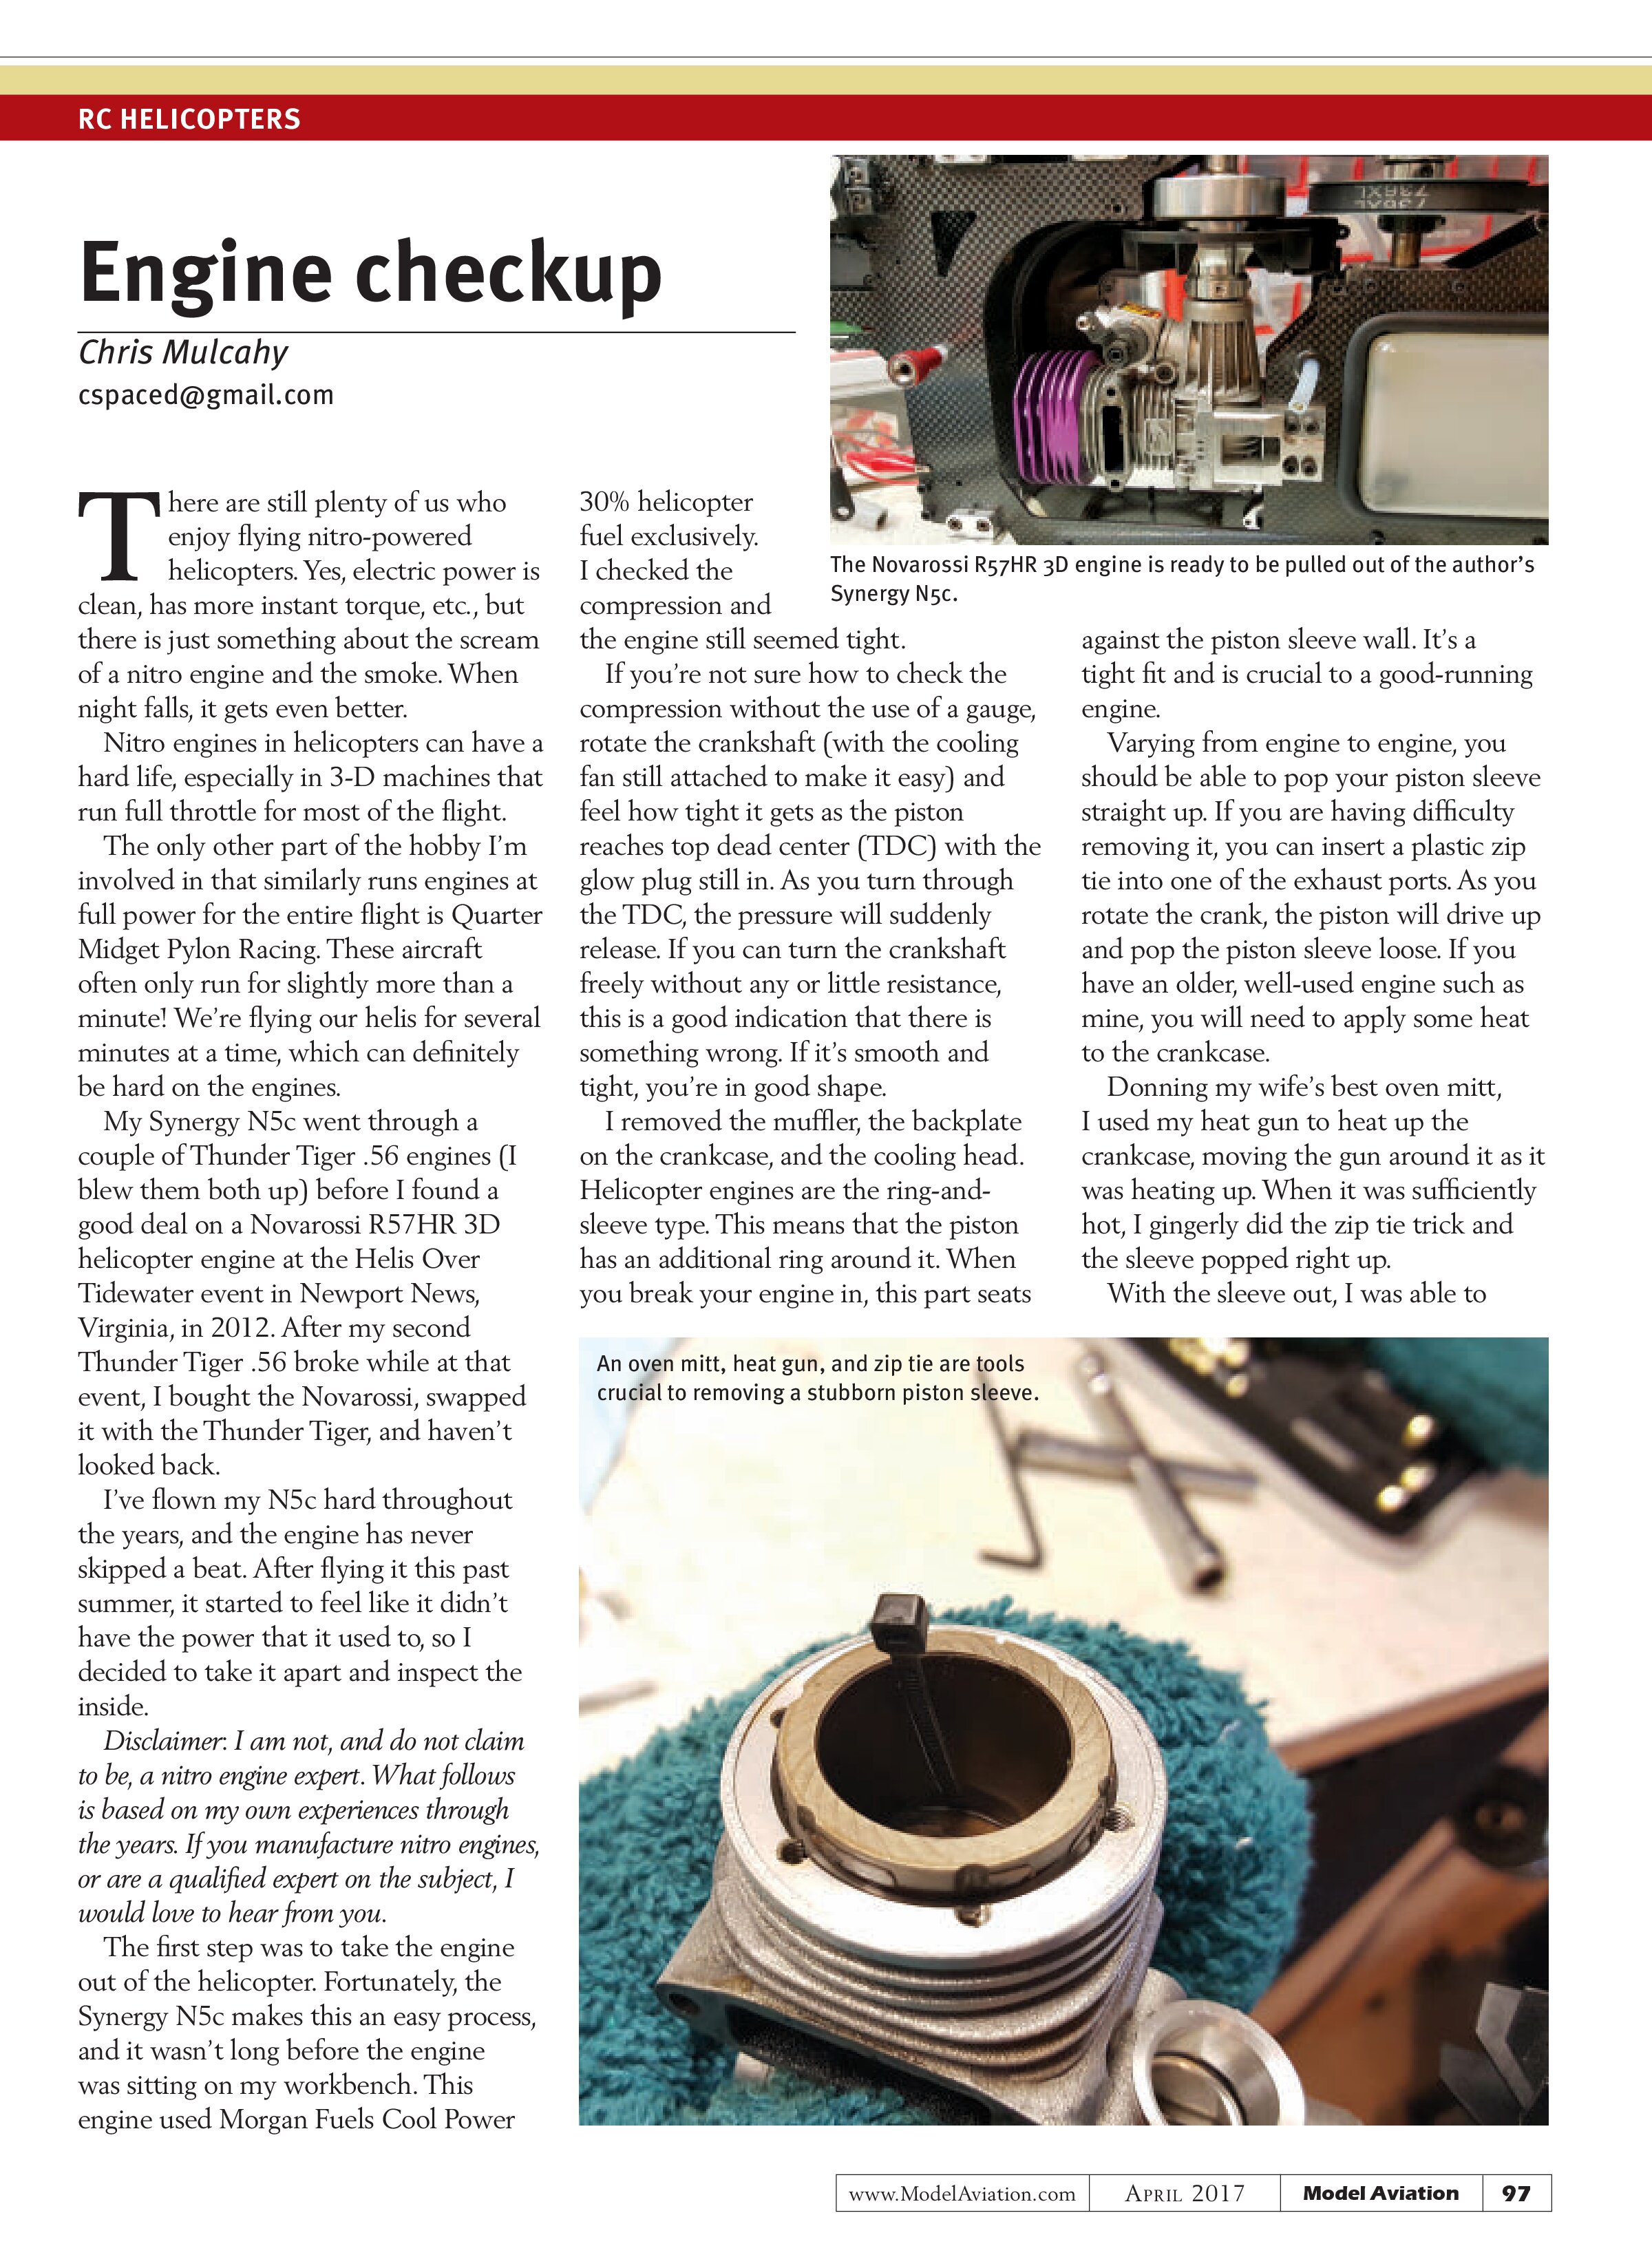
My Synergy N5c went through a couple of Thunder Tiger .56 engines (I blew them both up) before I found a good deal on a Novarossi R57HR 3D helicopter engine at the Helis Over Tidewater event in Newport News, Virginia, in 2012. After my second Thunder Tiger .56 broke while at that event, I bought the Novarossi, swapped it with the Thunder Tiger, and haven’t looked back.
I’ve flown my N5c hard throughout the years, and the engine has never skipped a beat. After flying it this past summer, it started to feel like it didn’t have the power that it used to, so I decided to take it apart and inspect the inside.
Disclaimer: I am not, and do not claim to be, a nitro engine expert. What follows is based on my own experiences through the years. If you manufacture nitro engines, or are a qualified expert on the subject, I would love to hear from you.
The first step was to take the engine out of the helicopter. Fortunately, the Synergy N5c makes this an easy process, and it wasn’t long before the engine was sitting on my workbench. This engine used Morgan Fuels Cool Power 30% helicopter fuel exclusively. I checked the compression and the engine still seemed tight.
If you’re not sure how to check the compression without the use of a gauge, rotate the crankshaft (with the cooling fan still attached to make it easy) and feel how tight it gets as the piston reaches top dead center (TDC) with the glow plug still in. As you turn through the TDC, the pressure will suddenly release. If you can turn the crankshaft freely without any or little resistance, this is a good indication that there is something wrong. If it’s smooth and tight, you’re in good shape.
I removed the muffler, the backplate on the crankcase, and the cooling head. Helicopter engines are the ring-and-sleeve type. This means that the piston has an additional ring around it. When you break your engine in, this part seats against the piston sleeve wall.

It’s a tight fit and is crucial to a good-running engine.
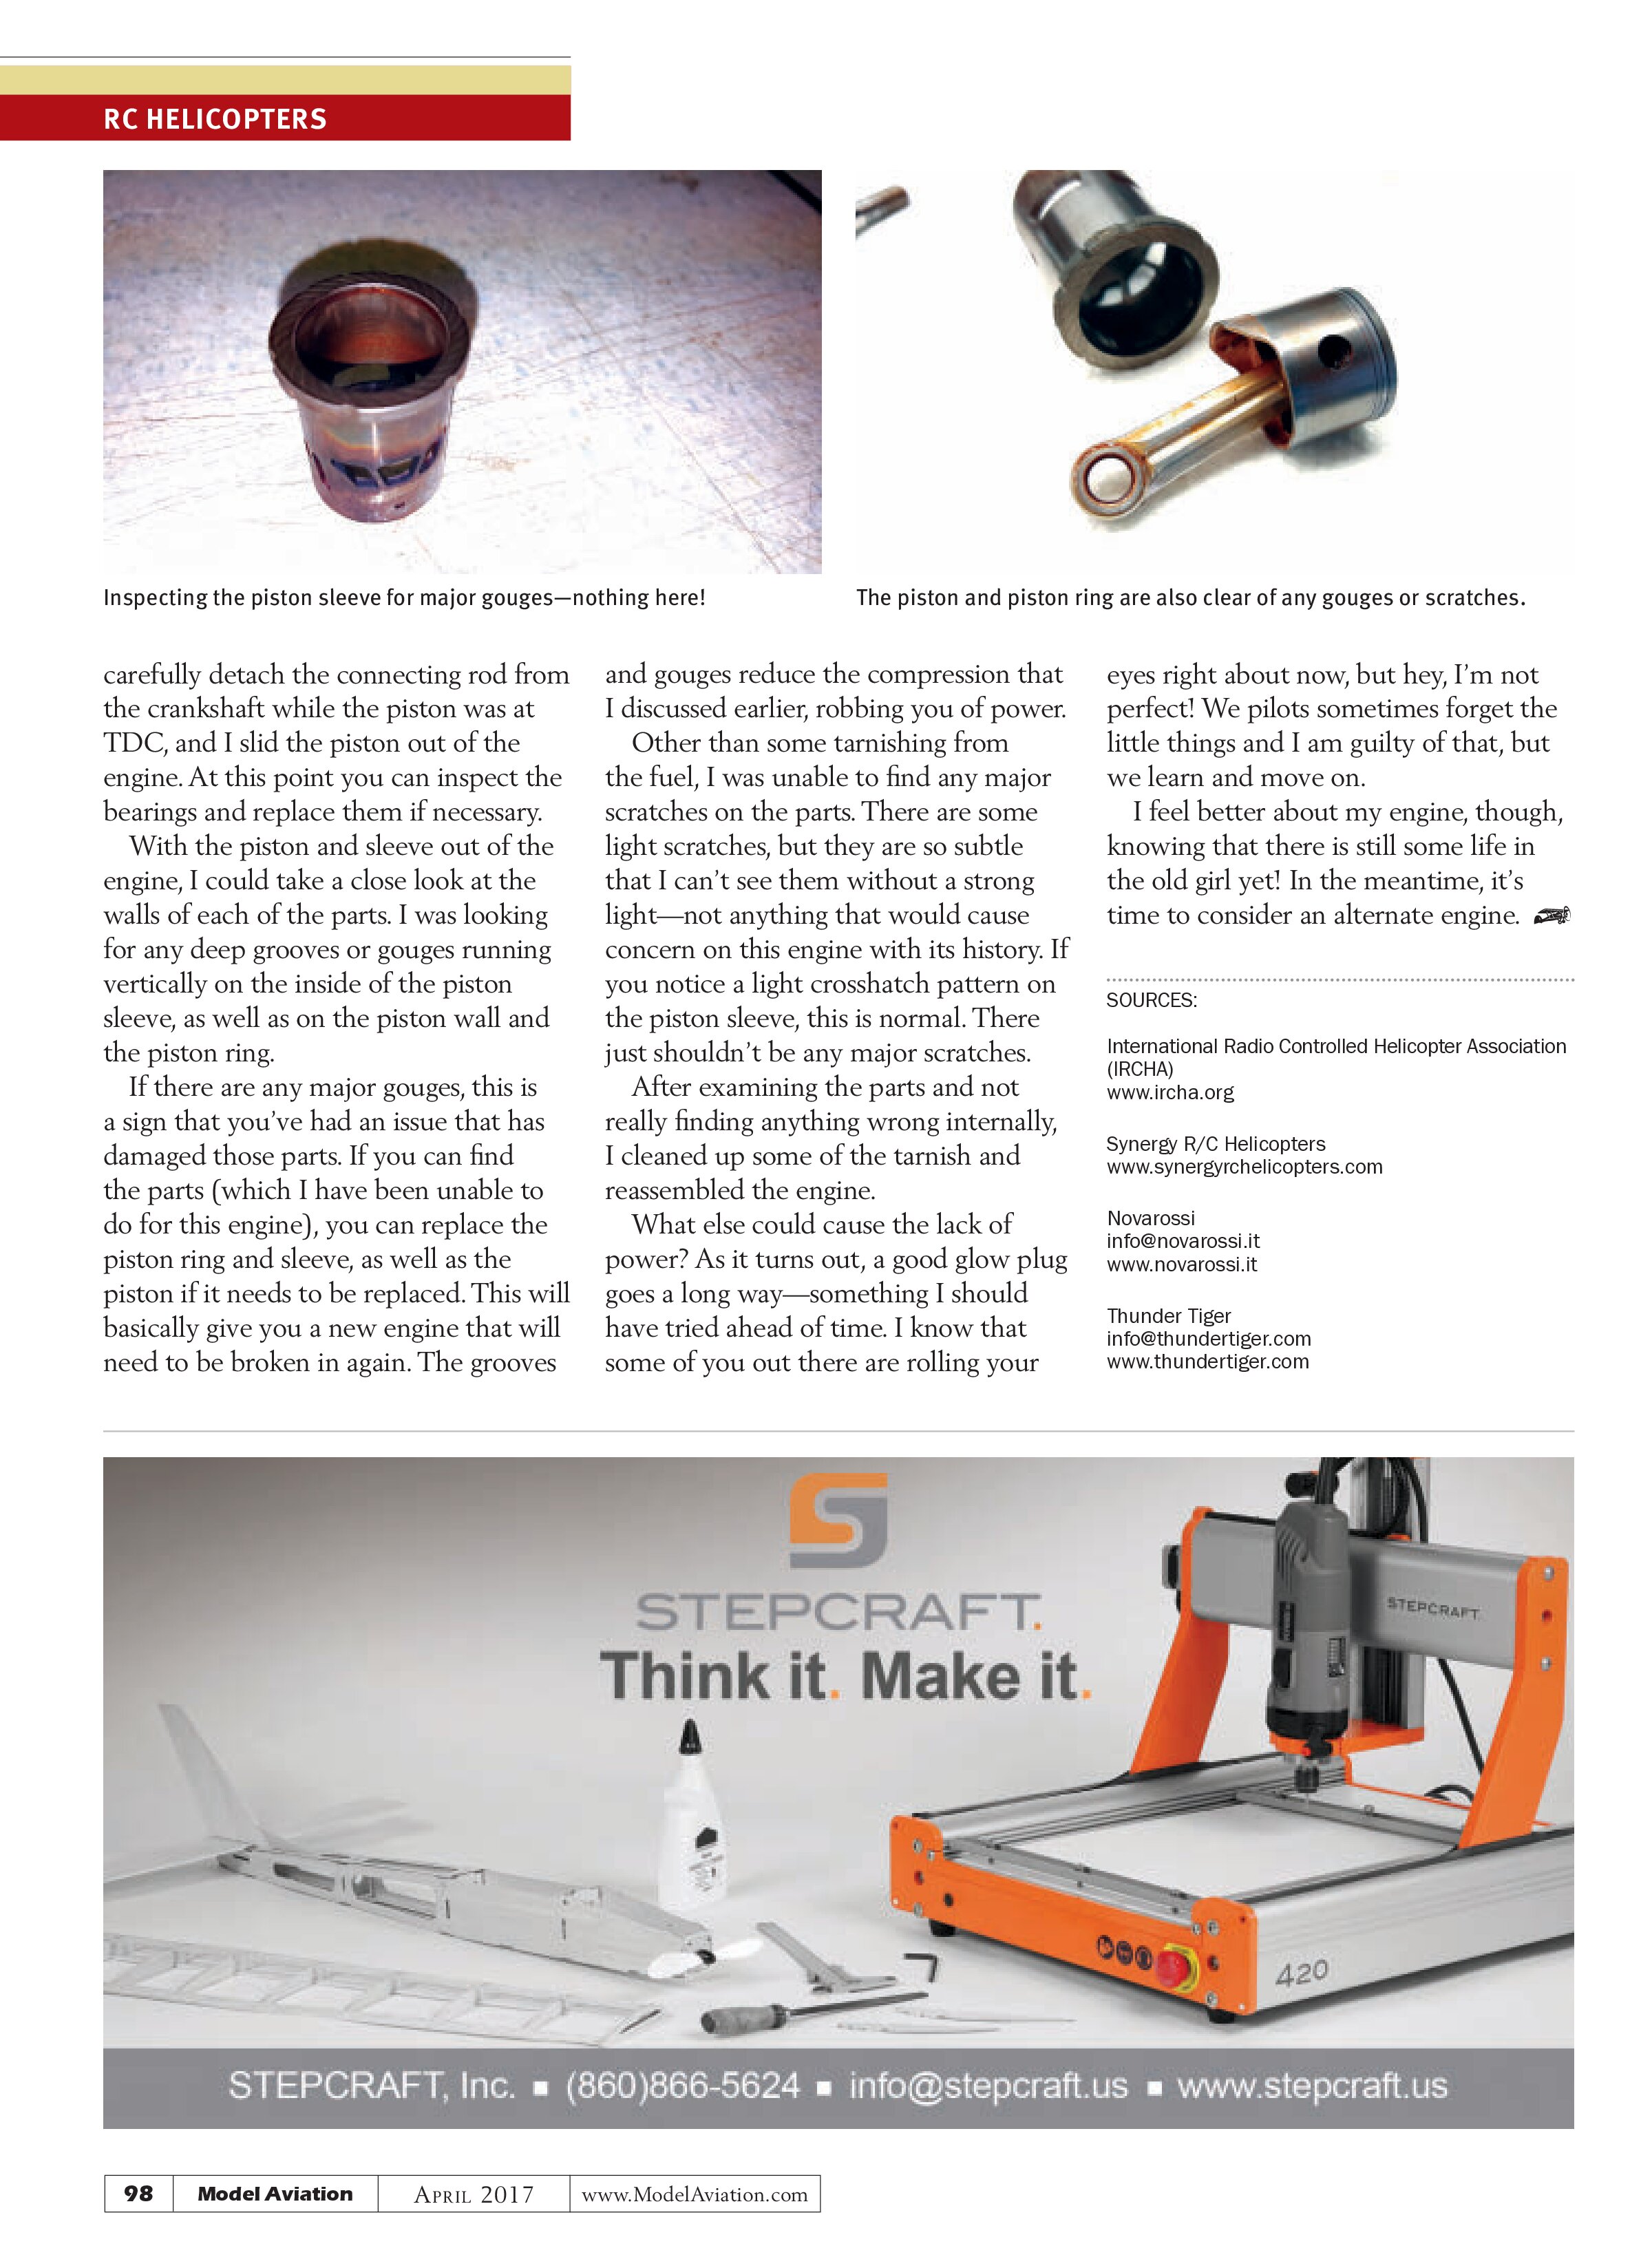
Varying from engine to engine, you should be able to pop your piston sleeve straight up. If you are having difficulty removing it, you can insert a plastic zip tie into one of the exhaust ports. As you rotate the crank, the piston will drive up and pop the piston sleeve loose. If you have an older, well-used engine such as mine, you will need to apply some heat to the crankcase.
Donning my wife’s best oven mitt, I used my heat gun to heat up the crankcase, moving the gun around it as it was heating up. When it was sufficiently hot, I gingerly did the zip tie trick and the sleeve popped right up.
With the sleeve out, I was able to
carefully detach the connecting rod from the crankshaft while the piston was at TDC, and I slid the piston out of the engine. At this point you can inspect the bearings and replace them if necessary.
With the piston and sleeve out of the engine, I could take a close look at the walls of each of the parts. I was looking for any deep grooves or gouges running vertically on the inside of the piston sleeve, as well as on the piston wall and the piston ring.
If there are any major gouges, this is a sign that you’ve had an issue that has damaged those parts. If you can find the parts (which I have been unable to do for this engine), you can replace the piston ring and sleeve, as well as the piston if it needs to be replaced. This will basically give you a new engine that will need to be broken in again. The grooves


and gouges reduce the compression that I discussed earlier, robbing you of power.
Other than some tarnishing from the fuel, I was unable to find any major scratches on the parts. There are some light scratches, but they are so subtle that I can’t see them without a strong light—not anything that would cause concern on this engine with its history. If you notice a light crosshatch pattern on the piston sleeve, this is normal. There just shouldn’t be any major scratches.
After examining the parts and not really finding anything wrong internally, I cleaned up some of the tarnish and reassembled the engine.
What else could cause the lack of power? As it turns out, a good glow plug goes a long way—something I should have tried ahead of time. I know that some of you out there are rolling your
eyes right about now, but hey, I’m not perfect! We pilots sometimes forget the little things and I am guilty of that, but we learn and move on.
I feel better about my engine, though, knowing that there is still some life in the old girl yet! In the meantime, it’s time to consider an alternate engine.
SOURCES:
International Radio Controlled Helicopter Association (IRCHA)
www.ircha.org
Synergy R/C Helicopters
www.synergyrchelicopters.com
Novarossi
info@novarossi.it
www.novarossi.it
Thunder Tiger
info@thundertiger.com
www.thundertiger.com