Repairing holes, C-clips, and hinges
by Jim Hiller
jetmodeler@earthlink.net

Let’s start with some exciting news from Jet Central USA. The Mammoth 225 SE has been upgraded to 270 newtons of thrust and is the latest in a full line of Jet Central turbines to complete updated thrust development work. This makes the Mammoth a strong leader in powerhouse turbines.
The new thrust rating of 60 pounds exceeds the AMA Safety Regulations’ maximum of 50 pounds of installed thrust, but when operating under the Large Turbine Model Aircraft-1 experimental class, the full power of the new Mammoth can be realized.
Winter Maintenance
I live in Ohio and winter is a down period for flying except during a few calm, warm winter days. Yes, we have been known to plow the snow off of the runway, but it really is the time when I do annual maintenance and inspections on my models.
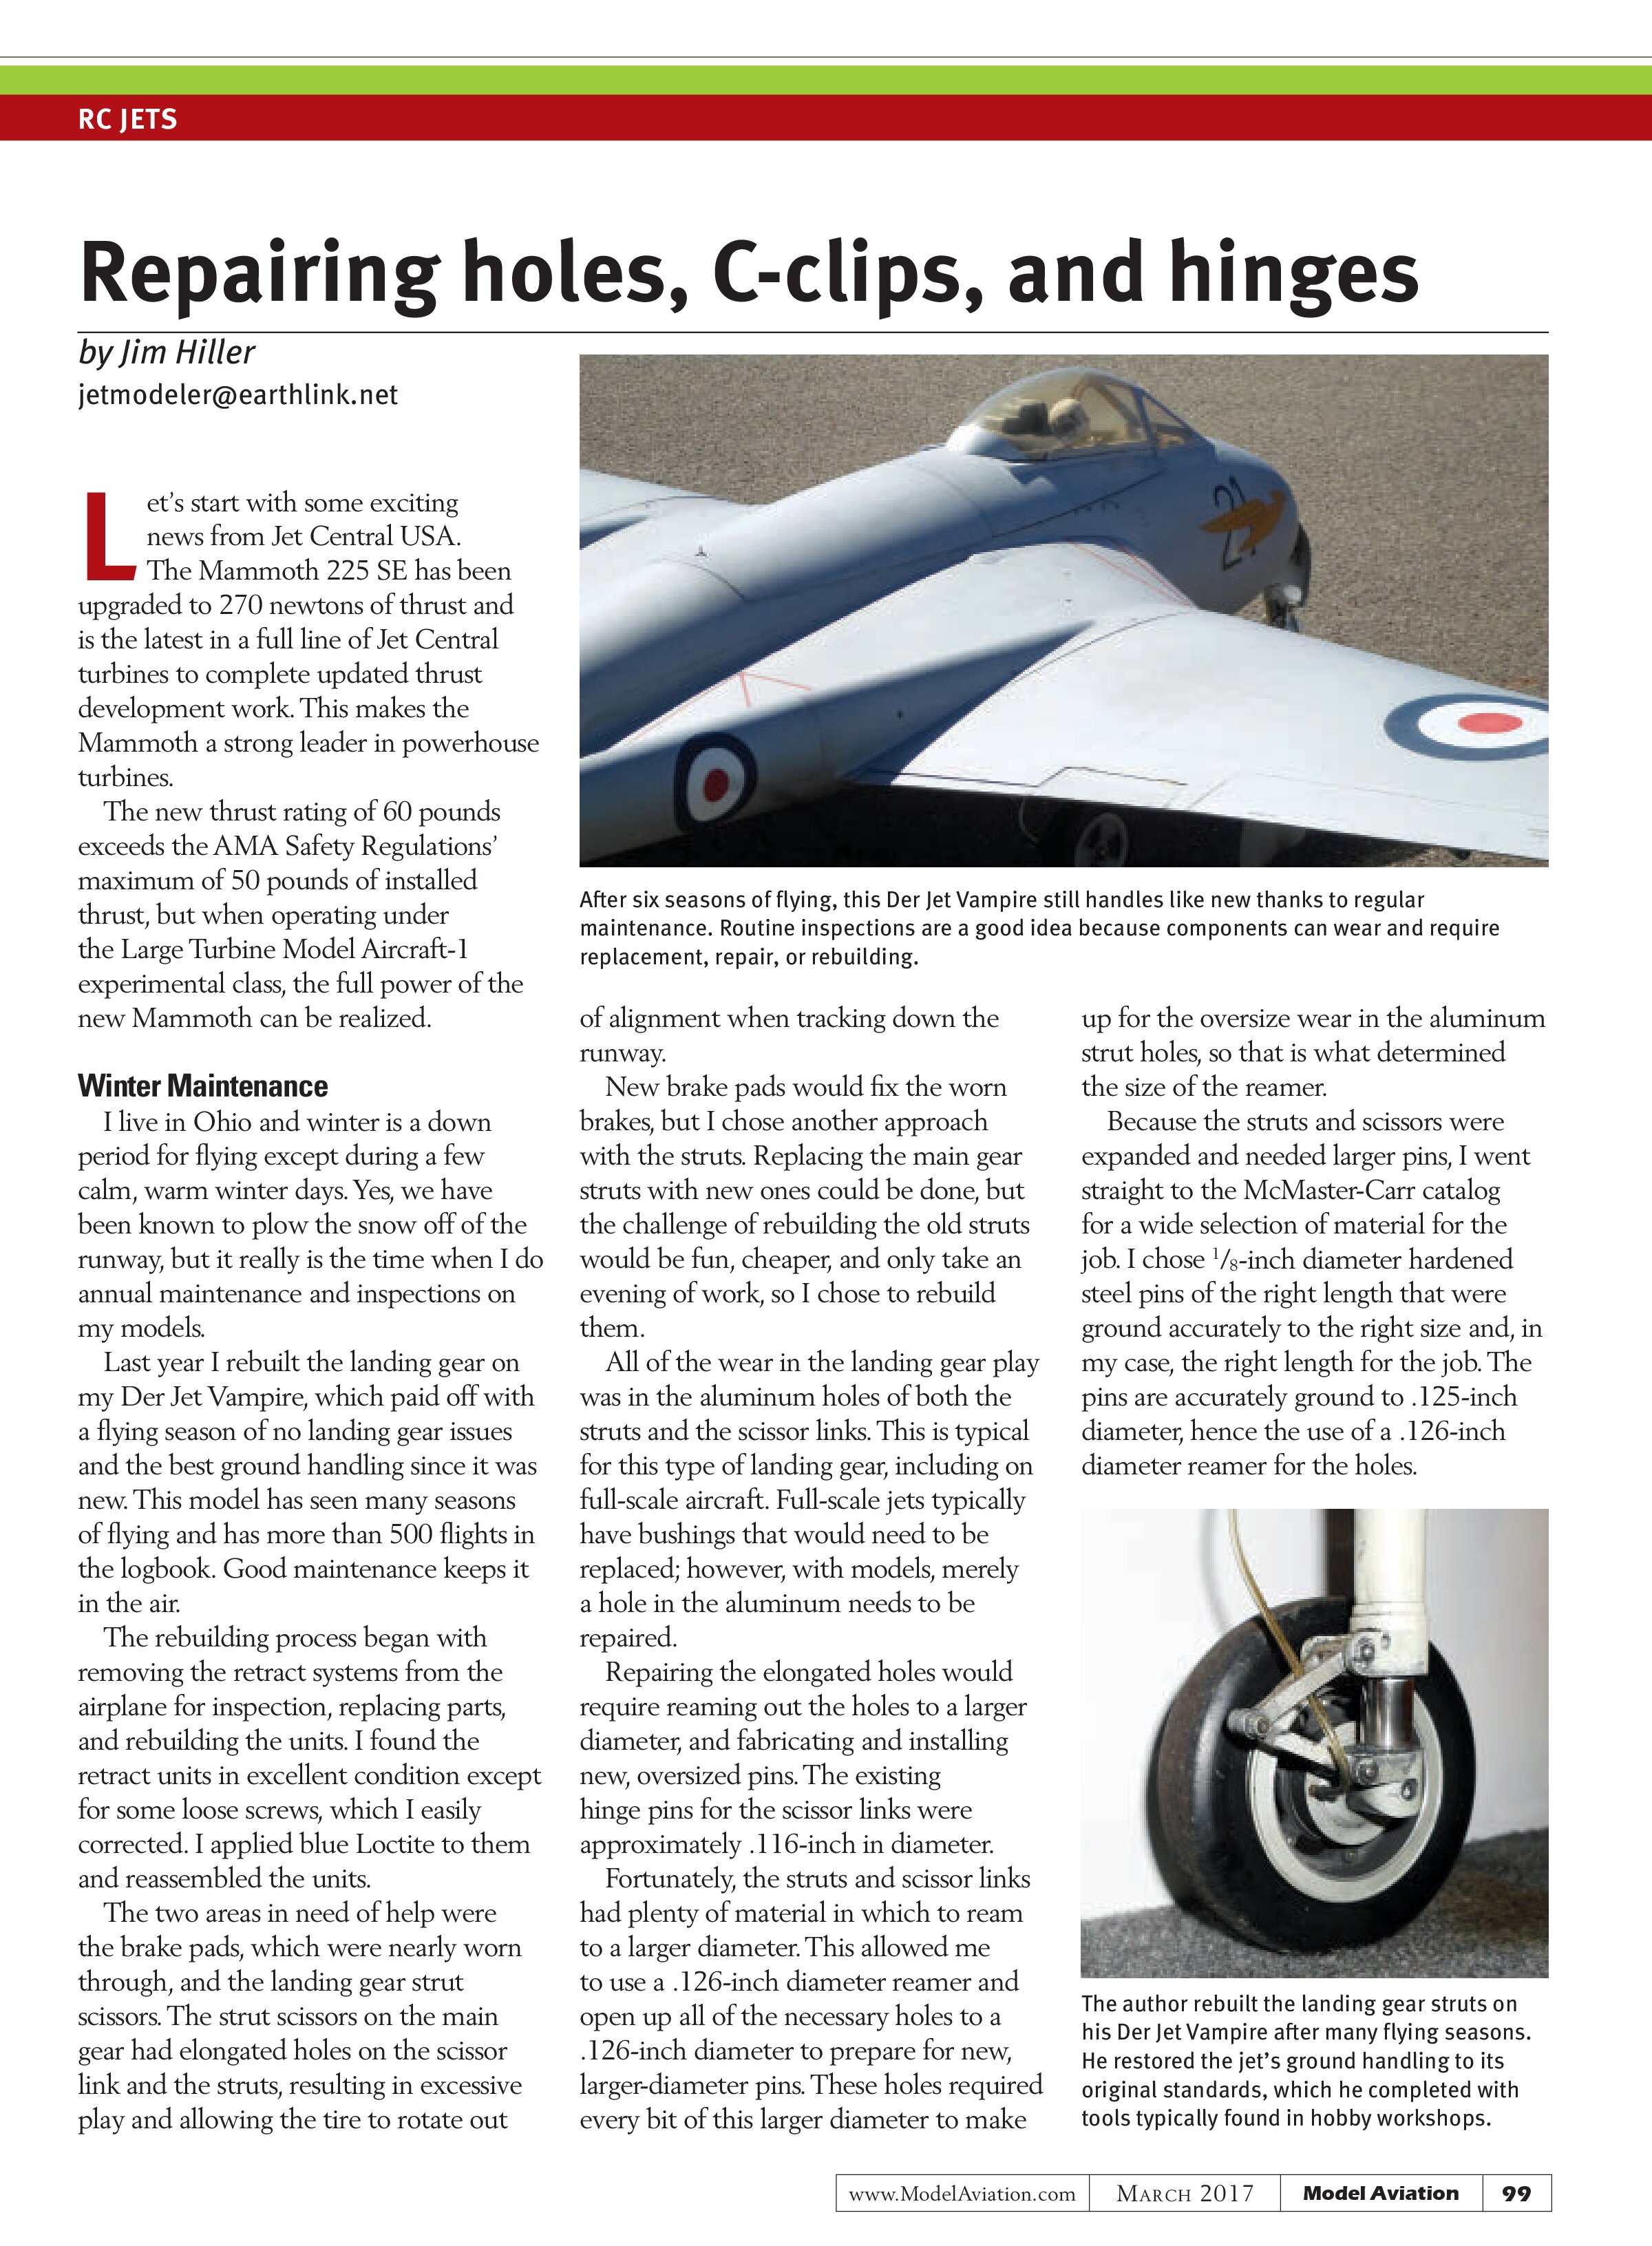
Last year I rebuilt the landing gear on my Der Jet Vampire, which paid off with a flying season of no landing gear issues and the best ground handling since it was new. This model has seen many seasons of flying and has more than 500 flights in the logbook. Good maintenance keeps it in the air.
The rebuilding process began with removing the retract systems from the airplane for inspection, replacing parts, and rebuilding the units. I found the retract units in excellent condition except for some loose screws, which I easily corrected. I applied blue Loctite to them and reassembled the units.
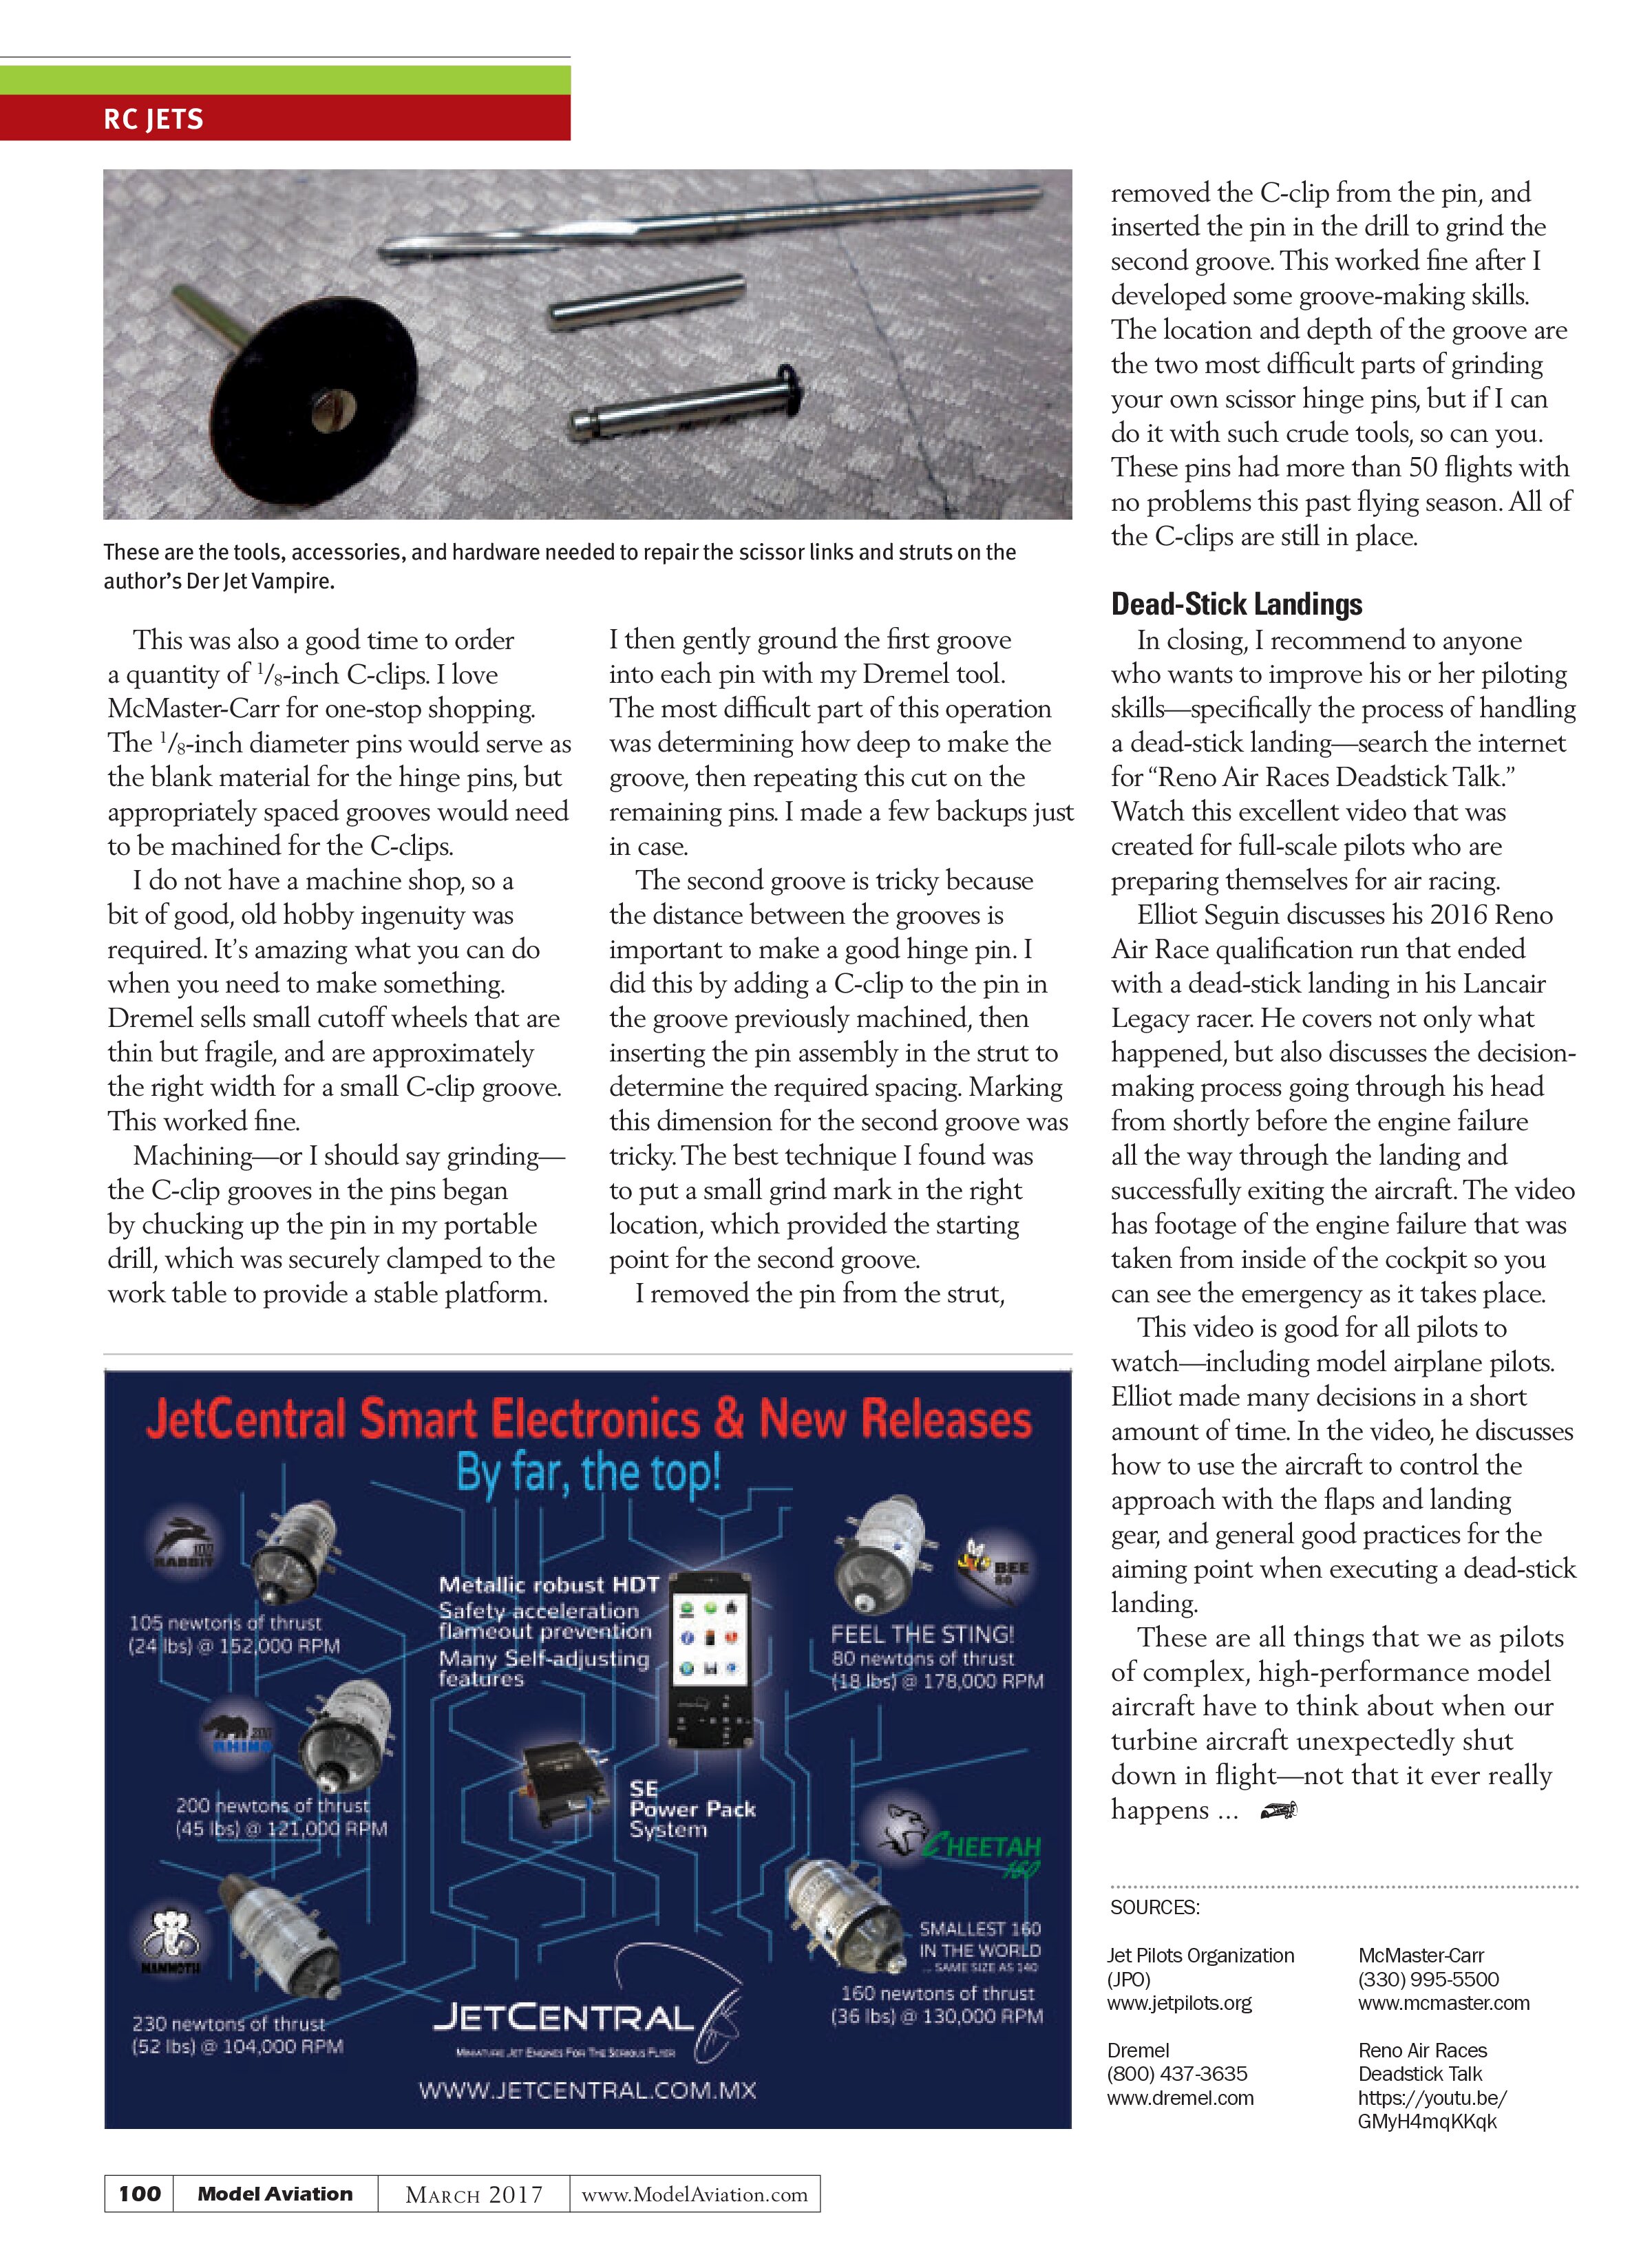
The two areas in need of help were the brake pads, which were nearly worn through, and the landing gear strut scissors. The strut scissors on the main gear had elongated holes on the scissor link and the struts, resulting in excessive play and allowing the tire to rotate out of alignment when tracking down the runway.
New brake pads would fix the worn brakes, but I chose another approach with the struts. Replacing the main gear struts with new ones could be done, but the challenge of rebuilding the old struts would be fun, cheaper, and only take an evening of work, so I chose to rebuild them.
All of the wear in the landing gear play was in the aluminum holes of both the struts and the scissor links. This is typical for this type of landing gear, including on full-scale aircraft. Full-scale jets typically have bushings that would need to be replaced; however, with models, merely a hole in the aluminum needs to be repaired.
Repairing the elongated holes would require reaming out the holes to a larger diameter, and fabricating and installing new, oversized pins. The existing hinge pins for the scissor links were approximately .116-inch in diameter.
Fortunately, the struts and scissor links had plenty of material in which to ream to a larger diameter. This allowed me to use a .126-inch diameter reamer and open up all of the necessary holes to a .126-inch diameter to prepare for new, larger-diameter pins. These holes required every bit of this larger diameter to make up for the oversize wear in the aluminum strut holes, so that is what determined the size of the reamer.
Because the struts and scissors were expanded and needed larger pins, I went straight to the McMaster-Carr catalog for a wide selection of material for the job. I chose ⅛-inch diameter hardened steel pins of the right length that were ground accurately to the right size and, in my case, the right length for the job. The pins are accurately ground to a .125-inch diameter, hence the use of a .126-inch diameter reamer for the holes.

This was also a good time to order a quantity of ⅛-inch C-clips. I love McMaster-Carr for one-stop shopping. The ⅛-inch diameter pins would serve as the blank material for the hinge pins, but appropriately spaced grooves would need to be machined for the C-clips.
I do not have a machine shop, so a bit of good, old hobby ingenuity was required. It’s amazing what you can do when you need to make something. Dremel sells small cutoff wheels that are thin but fragile, and are approximately the right width for a small C-clip groove. This worked fine.
Machining—or I should say grinding—the C-clip grooves in the pins began by chucking up the pin in my portable drill, which was securely clamped to the work table to provide a stable platform.

I then gently ground the first groove into each pin with my Dremel tool. The most difficult part of this operation was determining how deep to make the groove, then repeating this cut on the remaining pins. I made a few backups just in case.
The second groove is tricky because the distance between the grooves is important to make a good hinge pin. I did this by adding a C-clip to the pin in the groove previously machined, then inserting the pin assembly in the strut to determine the required spacing. Marking this dimension for the second groove was tricky. The best technique I found was to put a small grind mark in the right location, which provided the starting point for the second groove.
I removed the pin from the strut, removed the C-clip from the pin, and inserted the pin in the drill to grind the second groove. This worked fine after I developed some groove-making skills. The location and depth of the groove are the two most difficult parts of grinding your own scissor hinge pins, but if I can do it with such crude tools, so can you. These pins had more than 50 flights with no problems this past flying season. All of the C-clips are still in place.
Dead-Stick Landings
In closing, I recommend to anyone who wants to improve his or her piloting skills—specifically the process of handling a dead-stick landing—search the internet for “Reno Air Races Deadstick Talk.” Watch this excellent video that was created for full-scale pilots who are preparing themselves for air racing.
Elliot Seguin discusses his 2016 Reno Air Race qualification run that ended with a dead-stick landing in his Lancair Legacy racer. He covers not only what happened, but also discusses the decision-making process going through his head from shortly before the engine failure all the way through the landing and successfully exiting the aircraft. The video has footage of the engine failure that was taken from inside of the cockpit so you can see the emergency as it takes place.
This video is good for all pilots to watch—including model airplane pilots. Elliot made many decisions in a short amount of time. In the video, he discusses how to use the aircraft to control the approach with the flaps and landing gear, and general good practices for the aiming point when executing a dead-stick landing.
These are all things that we as pilots of complex, high-performance model aircraft have to think about when our turbine aircraft unexpectedly shut down in flight—not that it ever really happens ...
SOURCES:
Jet Pilots Organization (JPO)
www.jetpilots.org
McMaster-Carr
(330) 995-5500
www.mcmaster.com
Dremel
(800) 437-3635
www.dremel.com
Reno Air Races Deadstick Talk
https://youtu.be/GMyH4mqKKqk