Coming in from the cold
Thayer Syme
Well, it finally happened. The weather turned cold here in the Northeast only a few weeks before Christmas, much as it will be abating soon after you read this. Although I am slightly behind the seasonal weather curve, I’m still going to talk about some building basics this month. Let’s face it; there will always be new projects to start or finish for the coming summer—and yes, perhaps even a few to repair.
Selective Sticking
Step one for a new model is usually to cover the plans with a protective sheet. Other than the infamous Delta Dart and a few other similar, simple models where the plans are the covering, you do not want glue bonding the wood to the plans.
Kit instructions typically call for a barrier sheet of waxed paper or clear plastic film, although my personal preference is simple parchment paper that is used for baking. My experience has shown it to most reliably release the various adhesives I use.
Now it’s time to get started with the wood parts and your favorite adhesive. Which glue is the best? Well, that ultimately depends on the type of model you are building and each specific assembly. I use a variety of CA and epoxy adhesives, as well as traditional woodworking glue.
For a few decades, CA’s rapid cure has made it an obvious choice for those trying to corral a few fleeting moments of building in between life’s other obligations. I usually have a few active bottles on my workbench, switching between the different viscosities as the task demands.
I dispense medium and thick CA adhesives using readily available slip-on accessory tips, and use a piece of Teflon tube in the nozzle for thin CA. Sometimes, though, it is more convenient to put down a small “dipping” puddle on a scrap of plastic or aluminum foil. I often use this technique when assembling stick structures with relatively small joining areas.
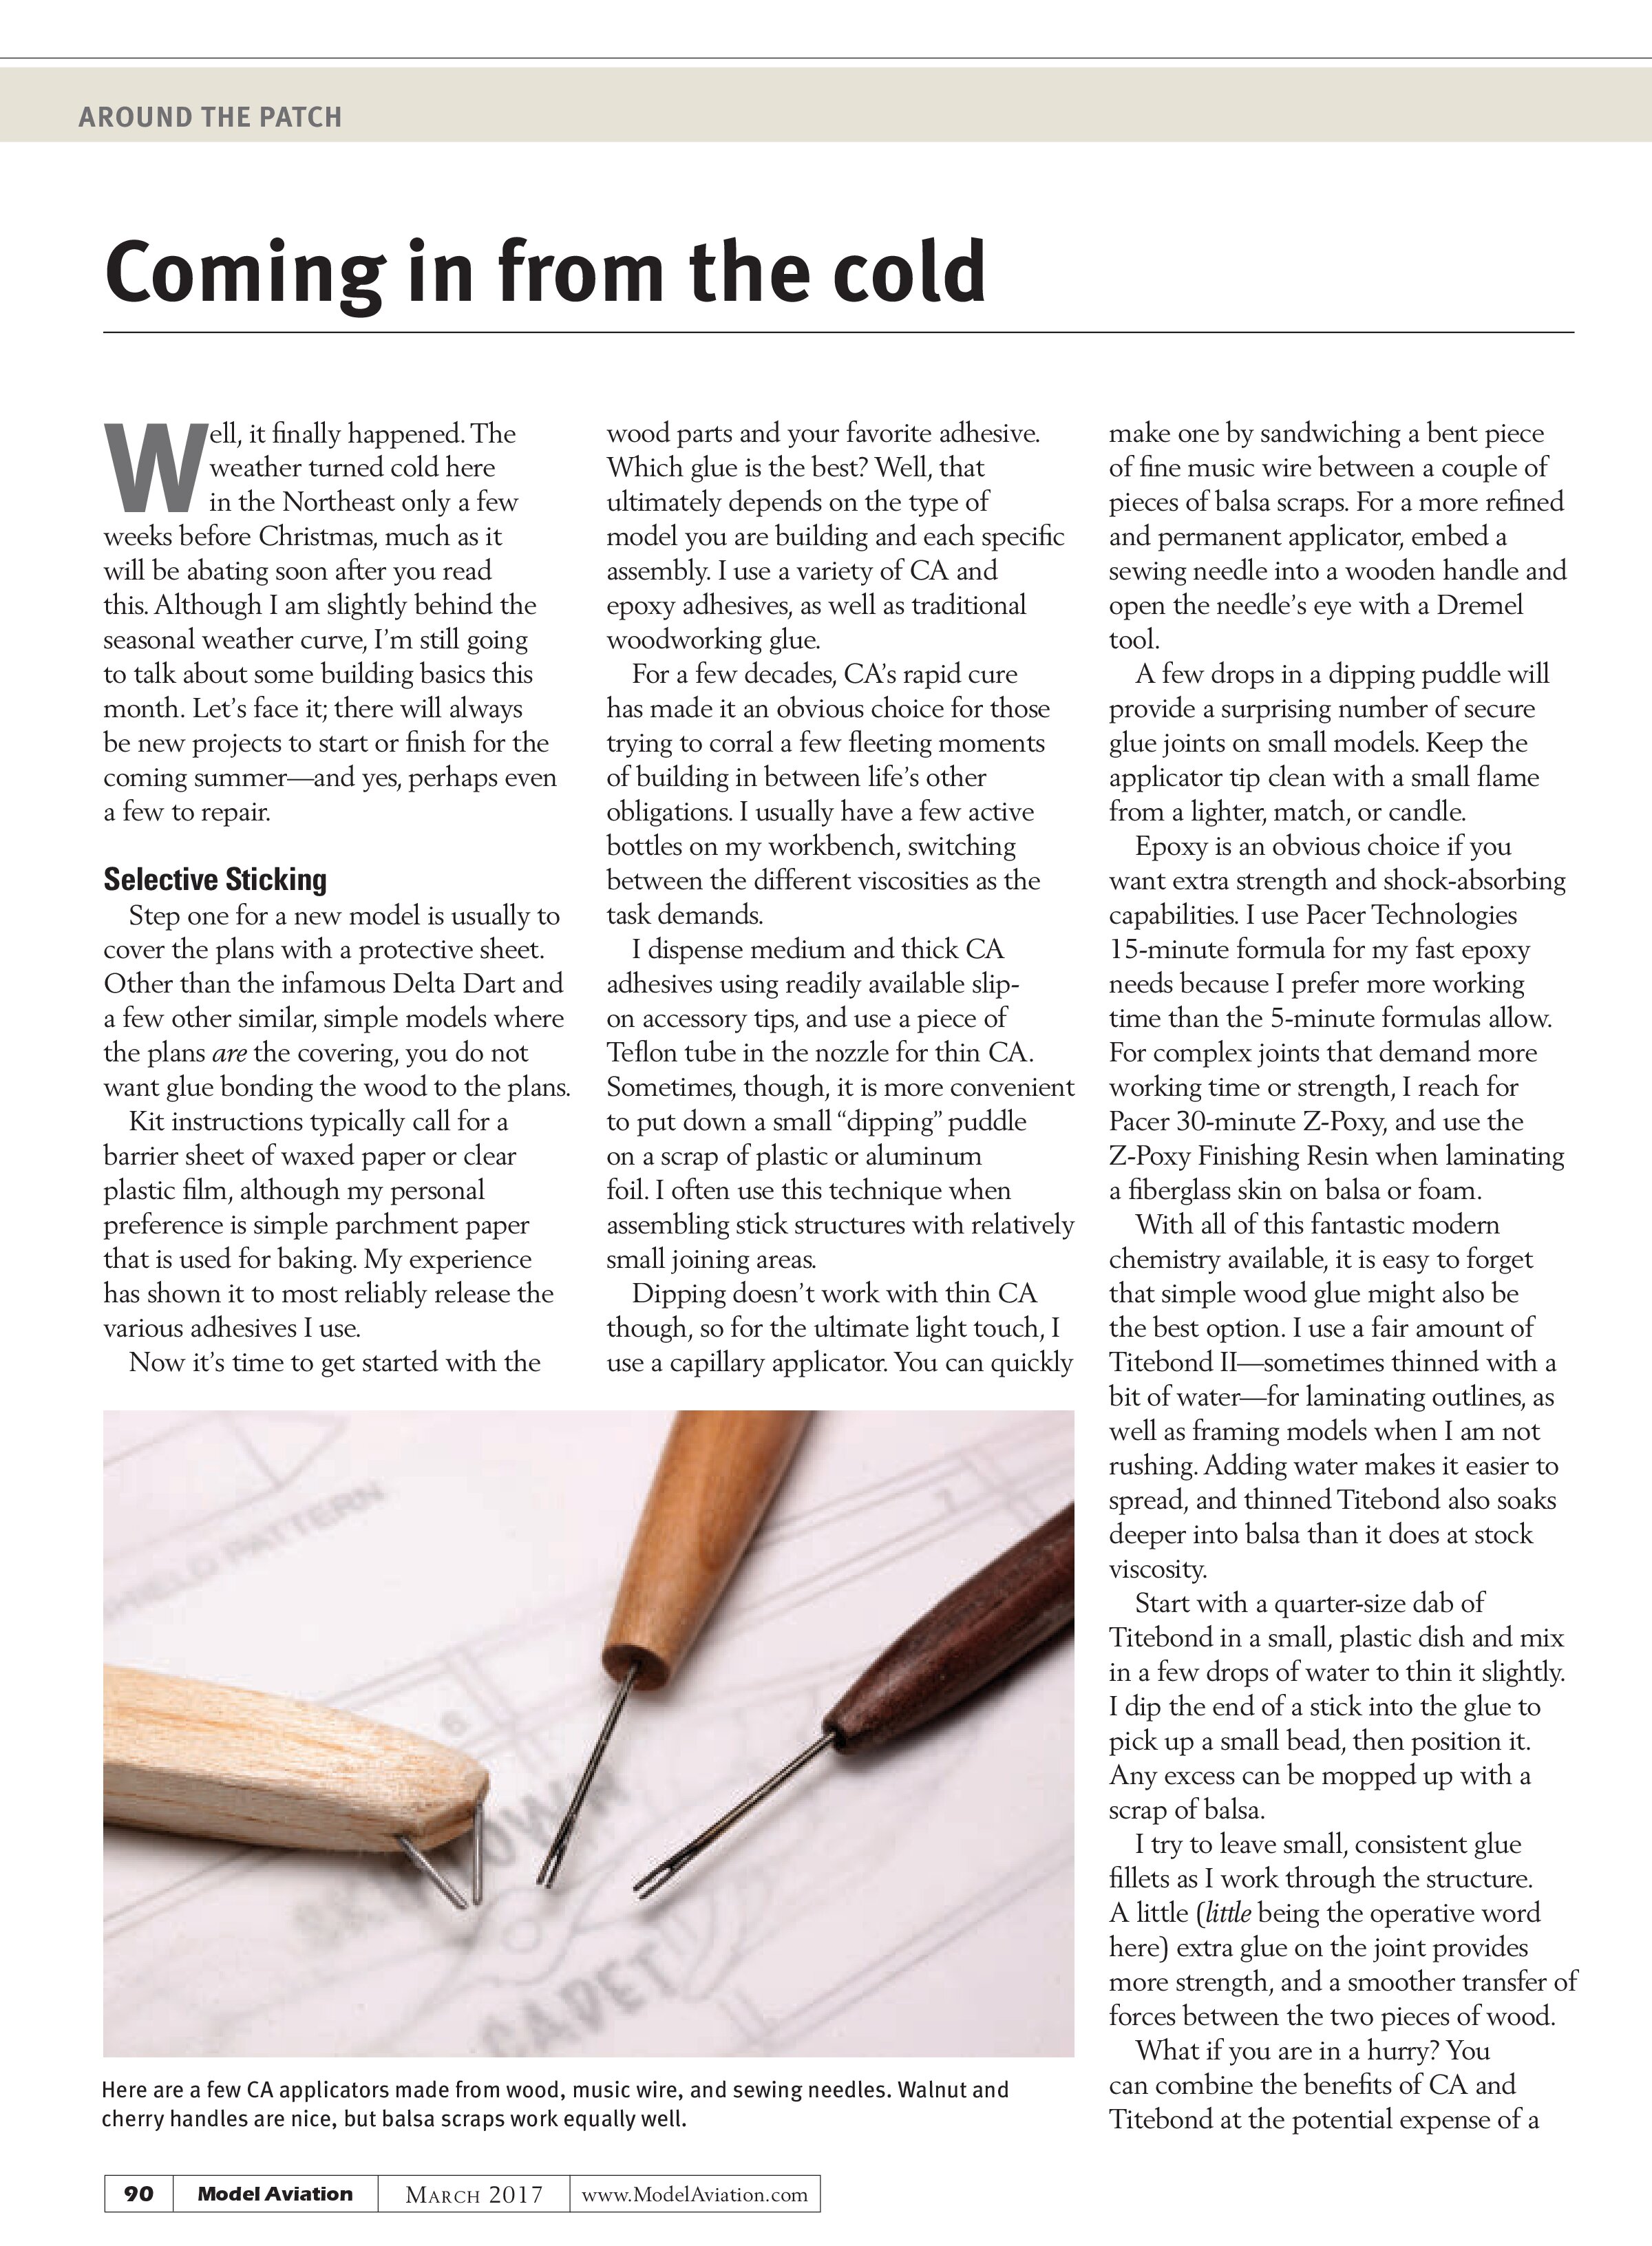
Dipping doesn’t work with thin CA though, so for the ultimate light touch, I use a capillary applicator. You can quickly

make one by sandwiching a bent piece of fine music wire between a couple of pieces of balsa scraps. For a more refined and permanent applicator, embed a sewing needle into a wooden handle and open the needle’s eye with a Dremel tool.
A few drops in a dipping puddle will provide a surprising number of secure glue joints on small models. Keep the applicator tip clean with a small flame from a lighter, match, or candle.
Epoxy is an obvious choice if you want extra strength and shock-absorbing capabilities. I use Pacer Technologies 15-minute formula for my fast epoxy needs because I prefer more working time than the 5-minute formulas allow. For complex joints that demand more working time or strength, I reach for Pacer 30-minute Z-Poxy, and use the Z-Poxy Finishing Resin when laminating a fiberglass skin on balsa or foam.
With all of this fantastic modern chemistry available, it is easy to forget that simple wood glue might also be the best option. I use a fair amount of Titebond II—sometimes thinned with a bit of water—for laminating outlines, as well as framing models when I am not rushing. Adding water makes it easier to spread, and thinned Titebond also soaks deeper into balsa than it does at stock viscosity.
Start with a quarter-size dab of Titebond in a small, plastic dish and mix in a few drops of water to thin it slightly. I dip the end of a stick into the glue to pick up a small bead, then position it. Any excess can be mopped up with a scrap of balsa.
I try to leave small, consistent glue fillets as I work through the structure. A little (little being the operative word here) extra glue on the joint provides more strength, and a smoother transfer of forces between the two pieces of wood.
What if you are in a hurry? You can combine the benefits of CA and Titebond at the potential expense of a little extra weight. On more than one occasion, I have sparingly applied CA to tack a stick fuselage together. After it is framed, I brush thinned Titebond on each joint before going to bed.
The water helps pull the Titebond into the joints wherever the CA didn’t seal the wood, and its reinforcing fillets give extra strength. Beware of potential weight gain, though, when double gluing.
More Building Follow-Up
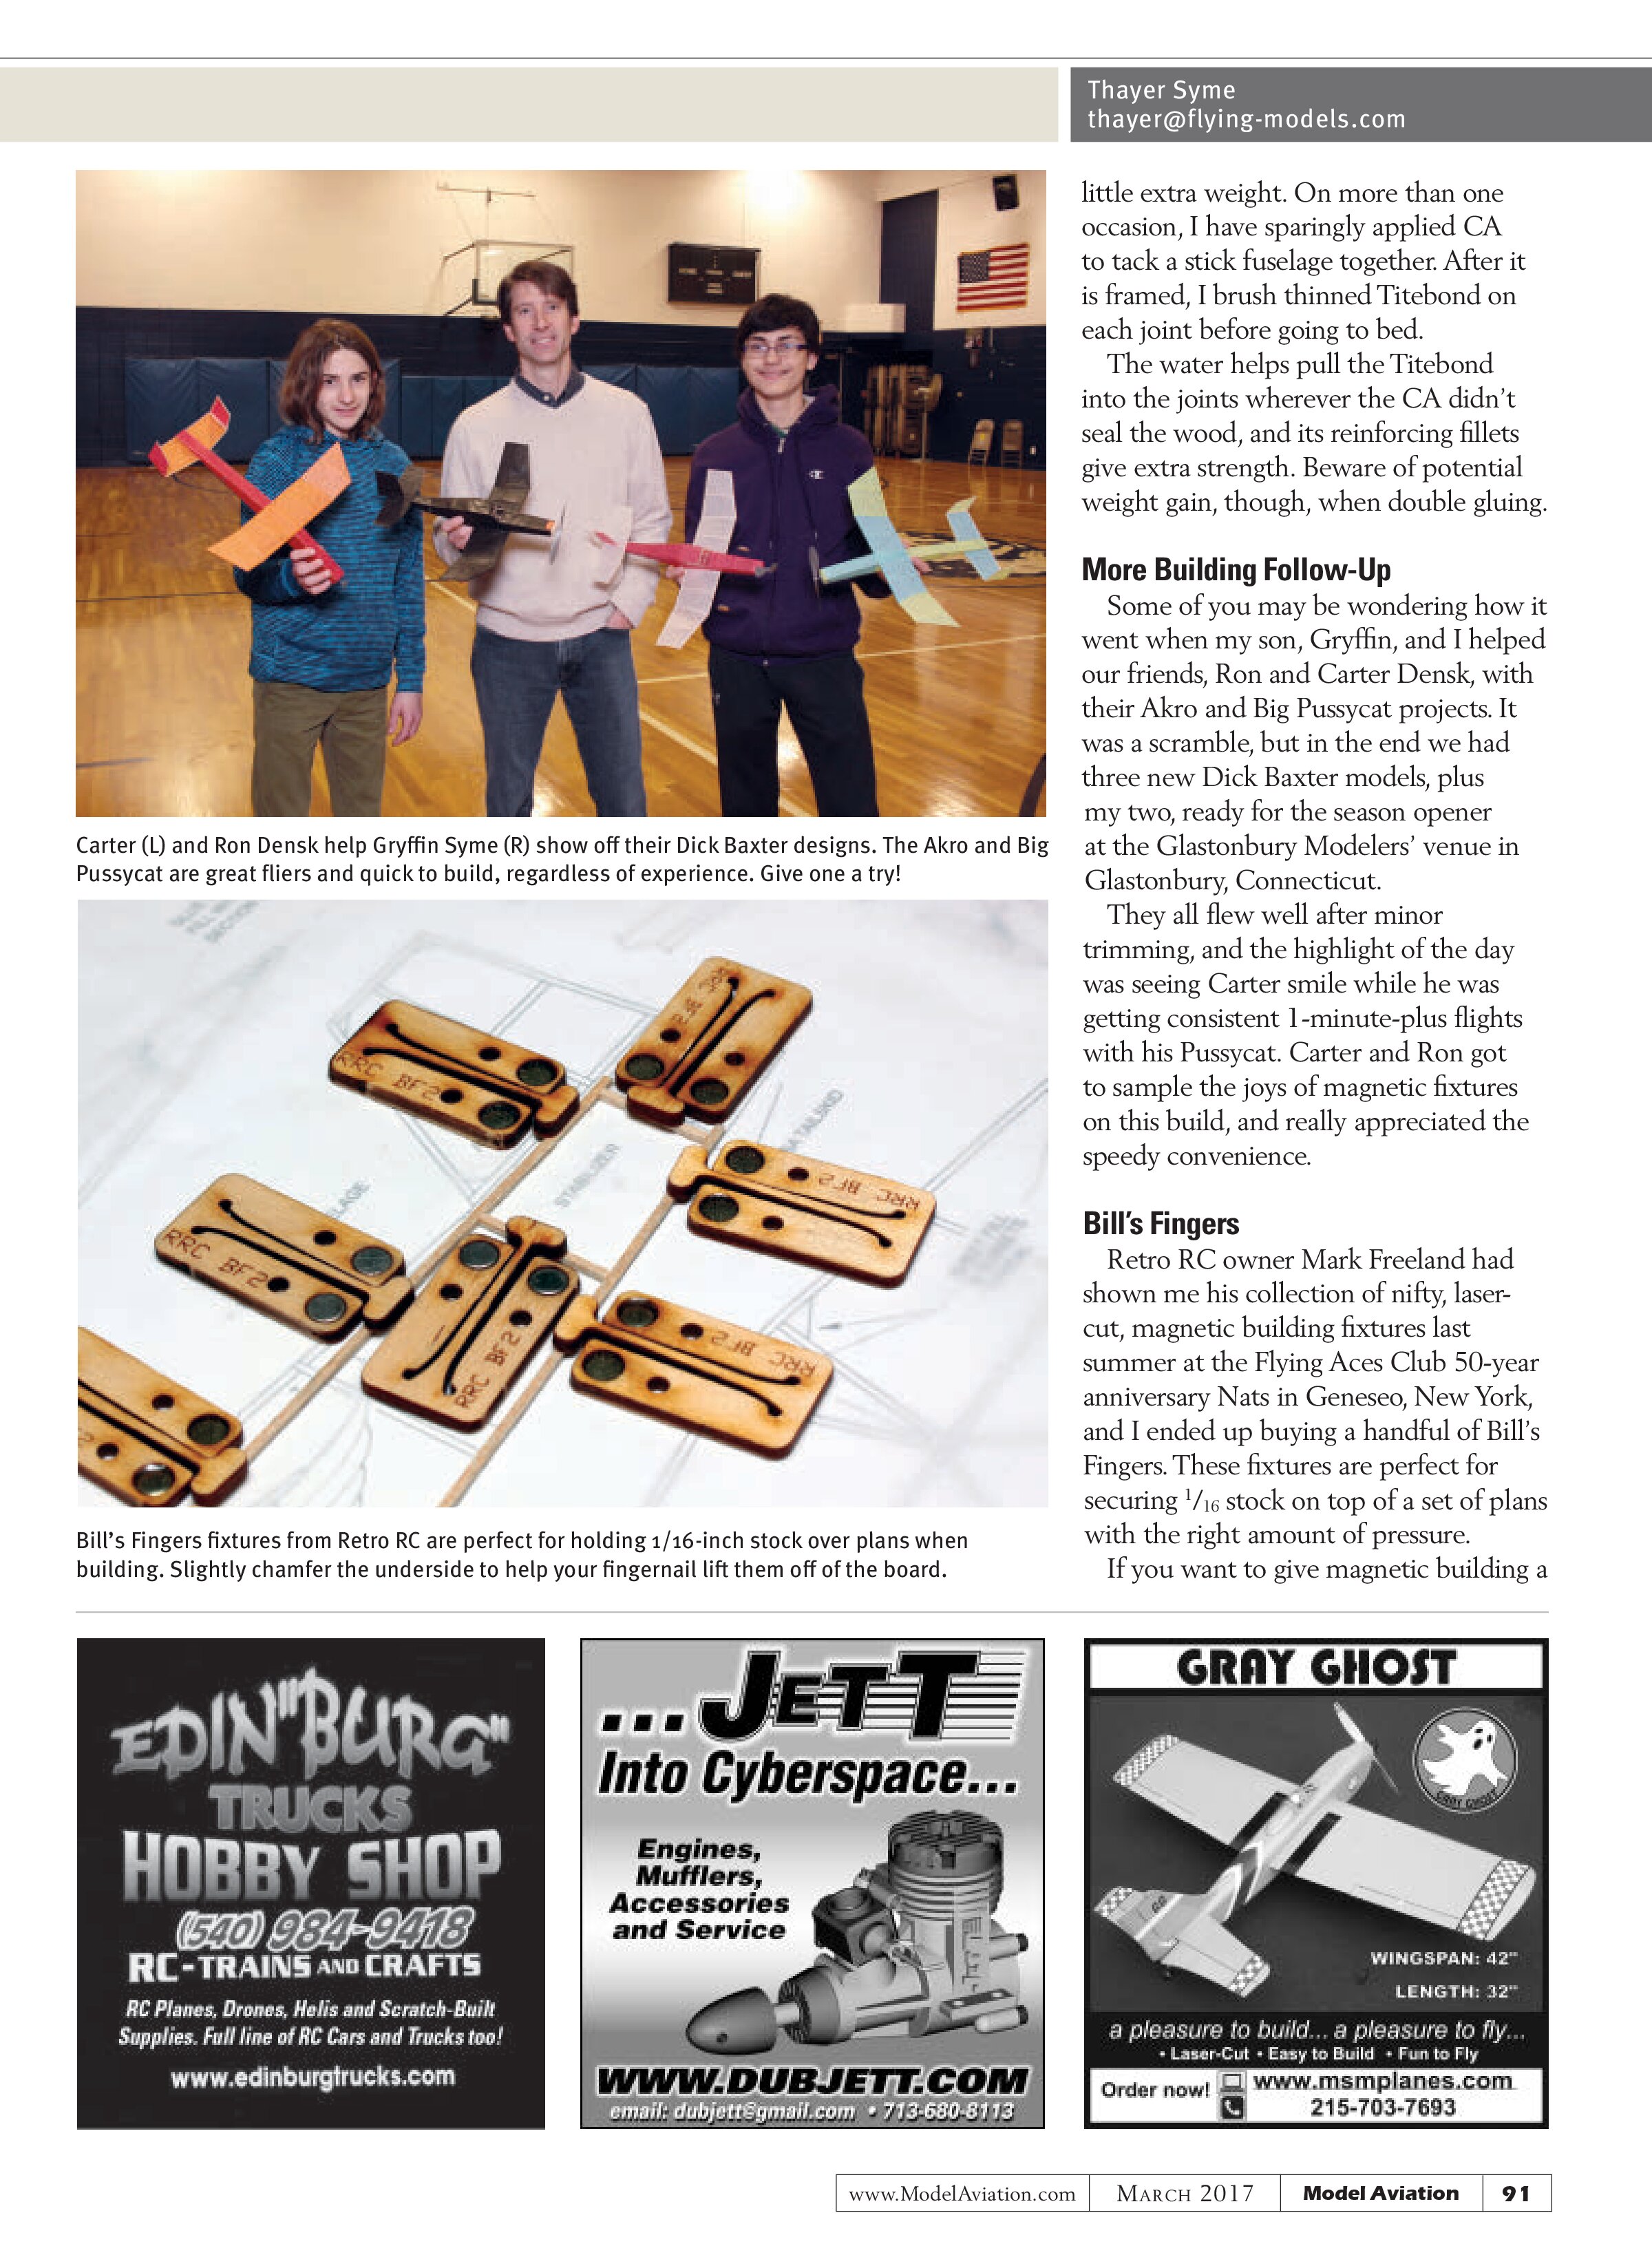
Some of you may be wondering how it went when my son, Gryffin, and I helped our friends, Ron and Carter Densk, with their Akro and Big Pussycat projects. It was a scramble, but in the end we had three new Dick Baxter models, plus my two, ready for the season opener at the Glastonbury Modelers’ venue in Glastonbury, Connecticut.
They all flew well after minor trimming, and the highlight of the day was seeing Carter smile while he was getting consistent 1-minute-plus flights with his Pussycat. Carter and Ron got to sample the joys of magnetic fixtures on this build, and really appreciated the speedy convenience.


Bill’s Fingers
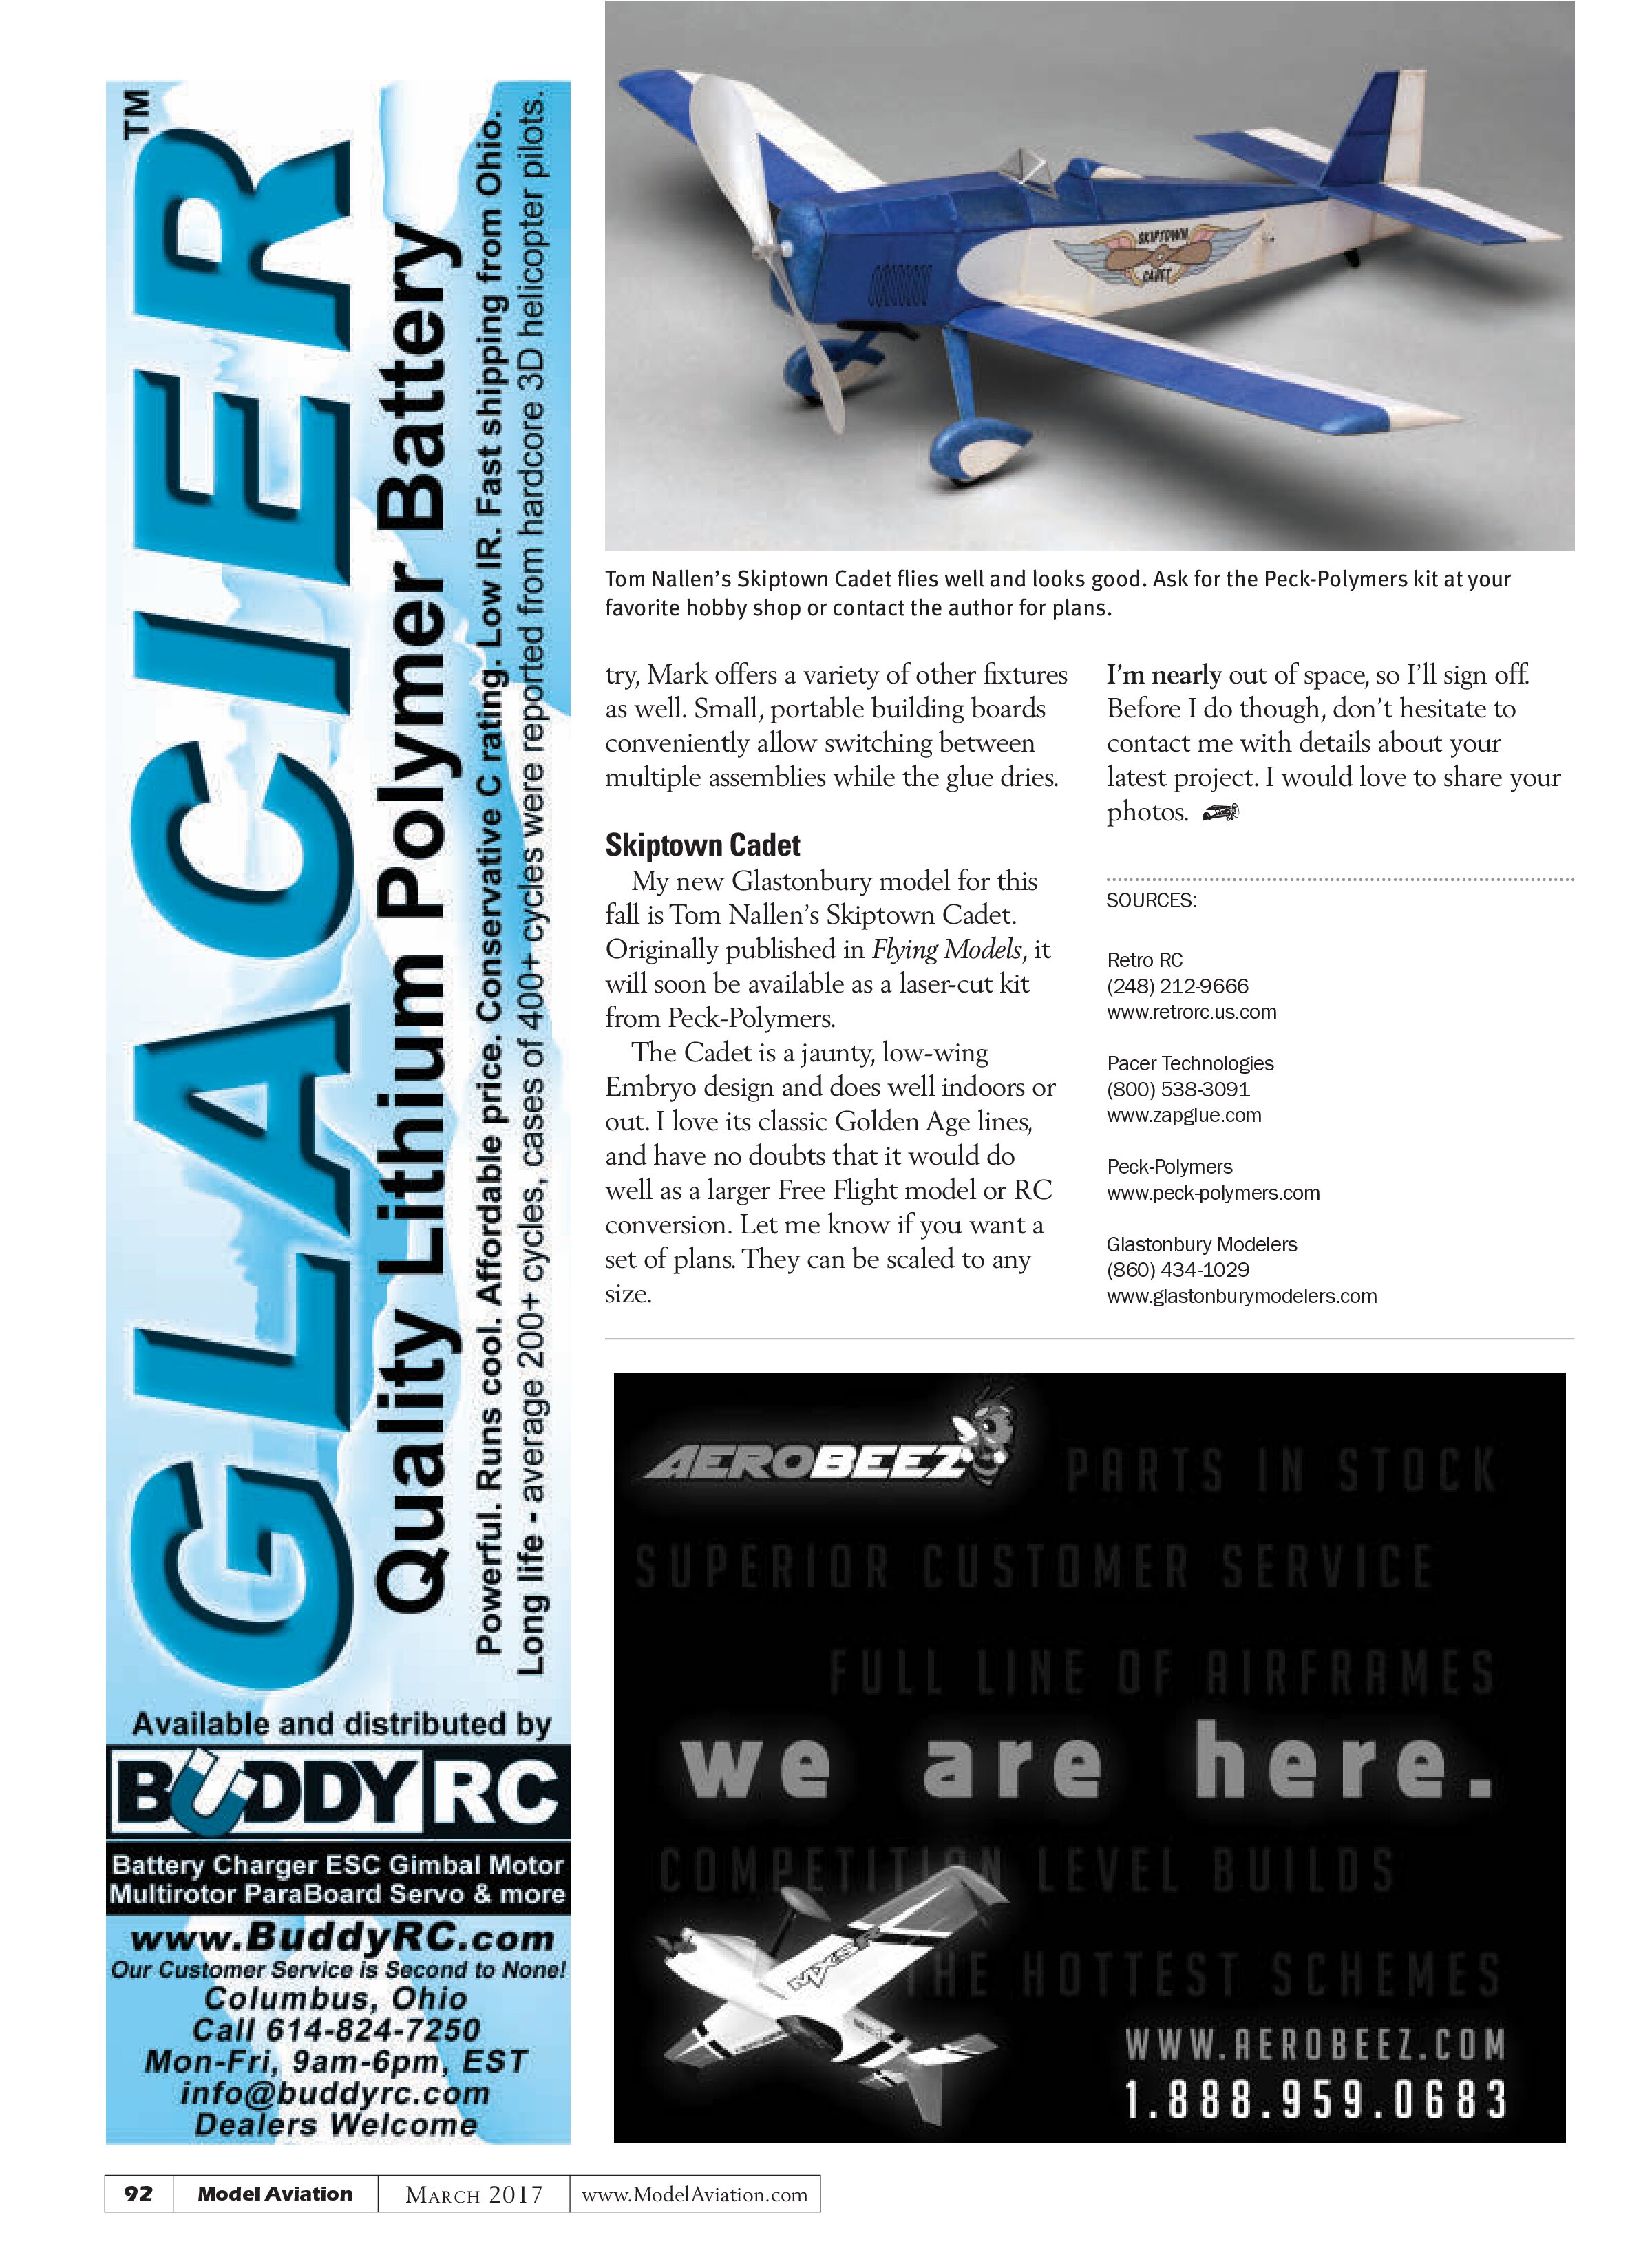
Retro RC owner Mark Freeland had shown me his collection of nifty, laser-cut, magnetic building fixtures last summer at the Flying Aces Club 50-year anniversary Nats in Geneseo, New York, and I ended up buying a handful of Bill’s Fingers. These fixtures are perfect for securing 1/16 stock on top of a set of plans with the right amount of pressure.
If you want to give magnetic building a

try, Mark offers a variety of other fixtures as well. Small, portable building boards conveniently allow switching between multiple assemblies while the glue dries.
Skip town Cadet
My new Glastonbury model for this fall is Tom Nallen’s Skiptown Cadet. Originally published in Flying Models, it will soon be available as a laser-cut kit from Peck-Polymers.
The Cadet is a jaunty, low-wing Embryo design and does well indoors or out. I love its classic Golden Age lines, and have no doubts that it would do well as a larger Free Flight model or RC conversion. Let me know if you want a set of plans. They can be scaled to any size.
I’m nearly out of space, so I’ll sign off. Before I do though, don’t hesitate to contact me with details about your latest project. I would love to share your photos.
SOURCES:
Retro RC
(248) 212-9666
www.retrorc.us.com
Pacer Technologies
(800) 538-3091
www.zapglue.com
Peck-Polymers
www.peck-polymers.com
Glastonbury Modelers
(860) 434-1029
www.glastonburymodelers.com