Night flying
Chris Mulcahy
cspaced@gmail.com

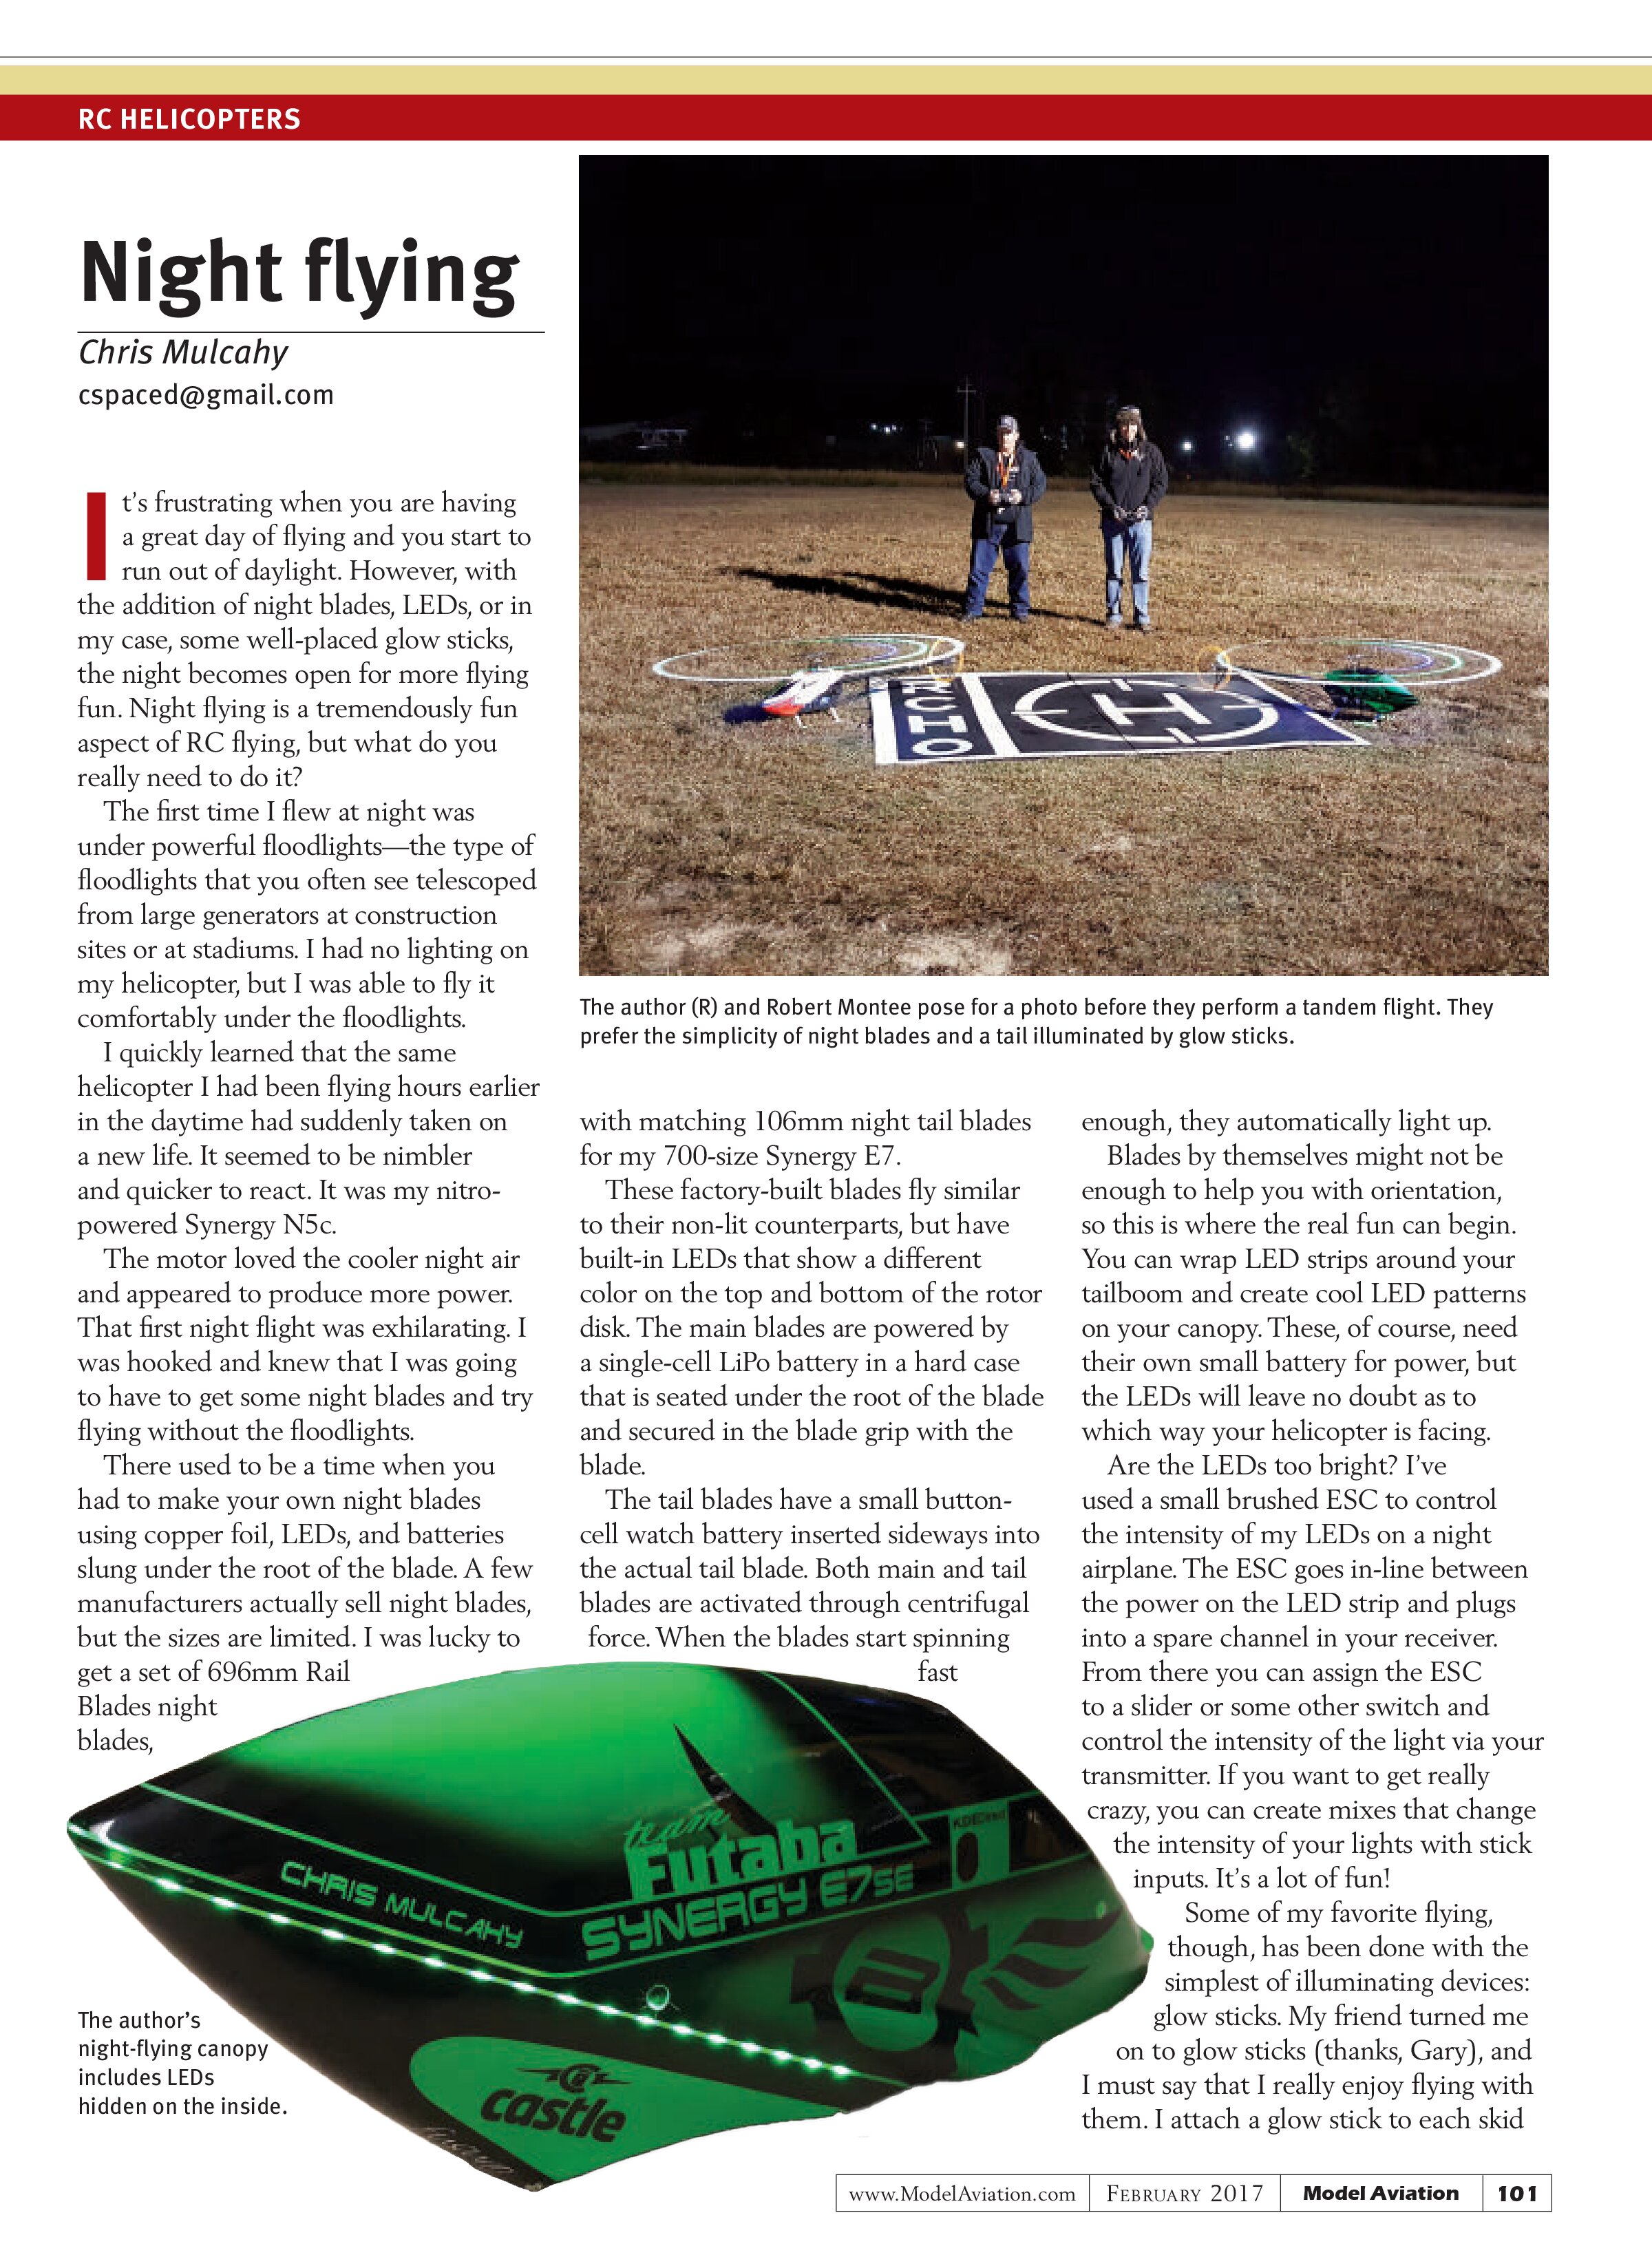
It’s frustrating when you are having a great day of flying and you start to run out of daylight. However, with the addition of night blades, LEDs, or in my case, some well-placed glow sticks, the night becomes open for more flying fun. Night flying is a tremendously fun aspect of RC flying, but what do you really need to do it?
The first time I flew at night was under powerful floodlights—the type of floodlights that you often see telescoped from large generators at construction sites or at stadiums. I had no lighting on my helicopter, but I was able to fly it comfortably under the floodlights.
I quickly learned that the same helicopter I had been flying hours earlier in the daytime had suddenly taken on a new life. It seemed to be nimbler and quicker to react. It was my nitro-powered Synergy N5c.
The motor loved the cooler night air and appeared to produce more power. That first night flight was exhilarating. I was hooked and knew that I was going to have to get some night blades and try flying without the floodlights.
There used to be a time when you had to make your own night blades using copper foil, LEDs, and batteries slung under the root of the blade. A few manufacturers actually sell night blades, but the sizes are limited. I was lucky to get a set of 696mm Rail Blades night blades, with matching 106mm night tail blades for my 700-size Synergy E7.

These factory-built blades fly similar to their non-lit counterparts, but have built-in LEDs that show a different color on the top and bottom of the rotor disk. The main blades are powered by a single-cell LiPo battery in a hard case that is seated under the root of the blade and secured in the blade grip with the blade.
The tail blades have a small button-cell watch battery inserted sideways into the actual tail blade. Both main and tail blades are activated through centrifugal force. When the blades start spinning fast enough, they automatically light up.
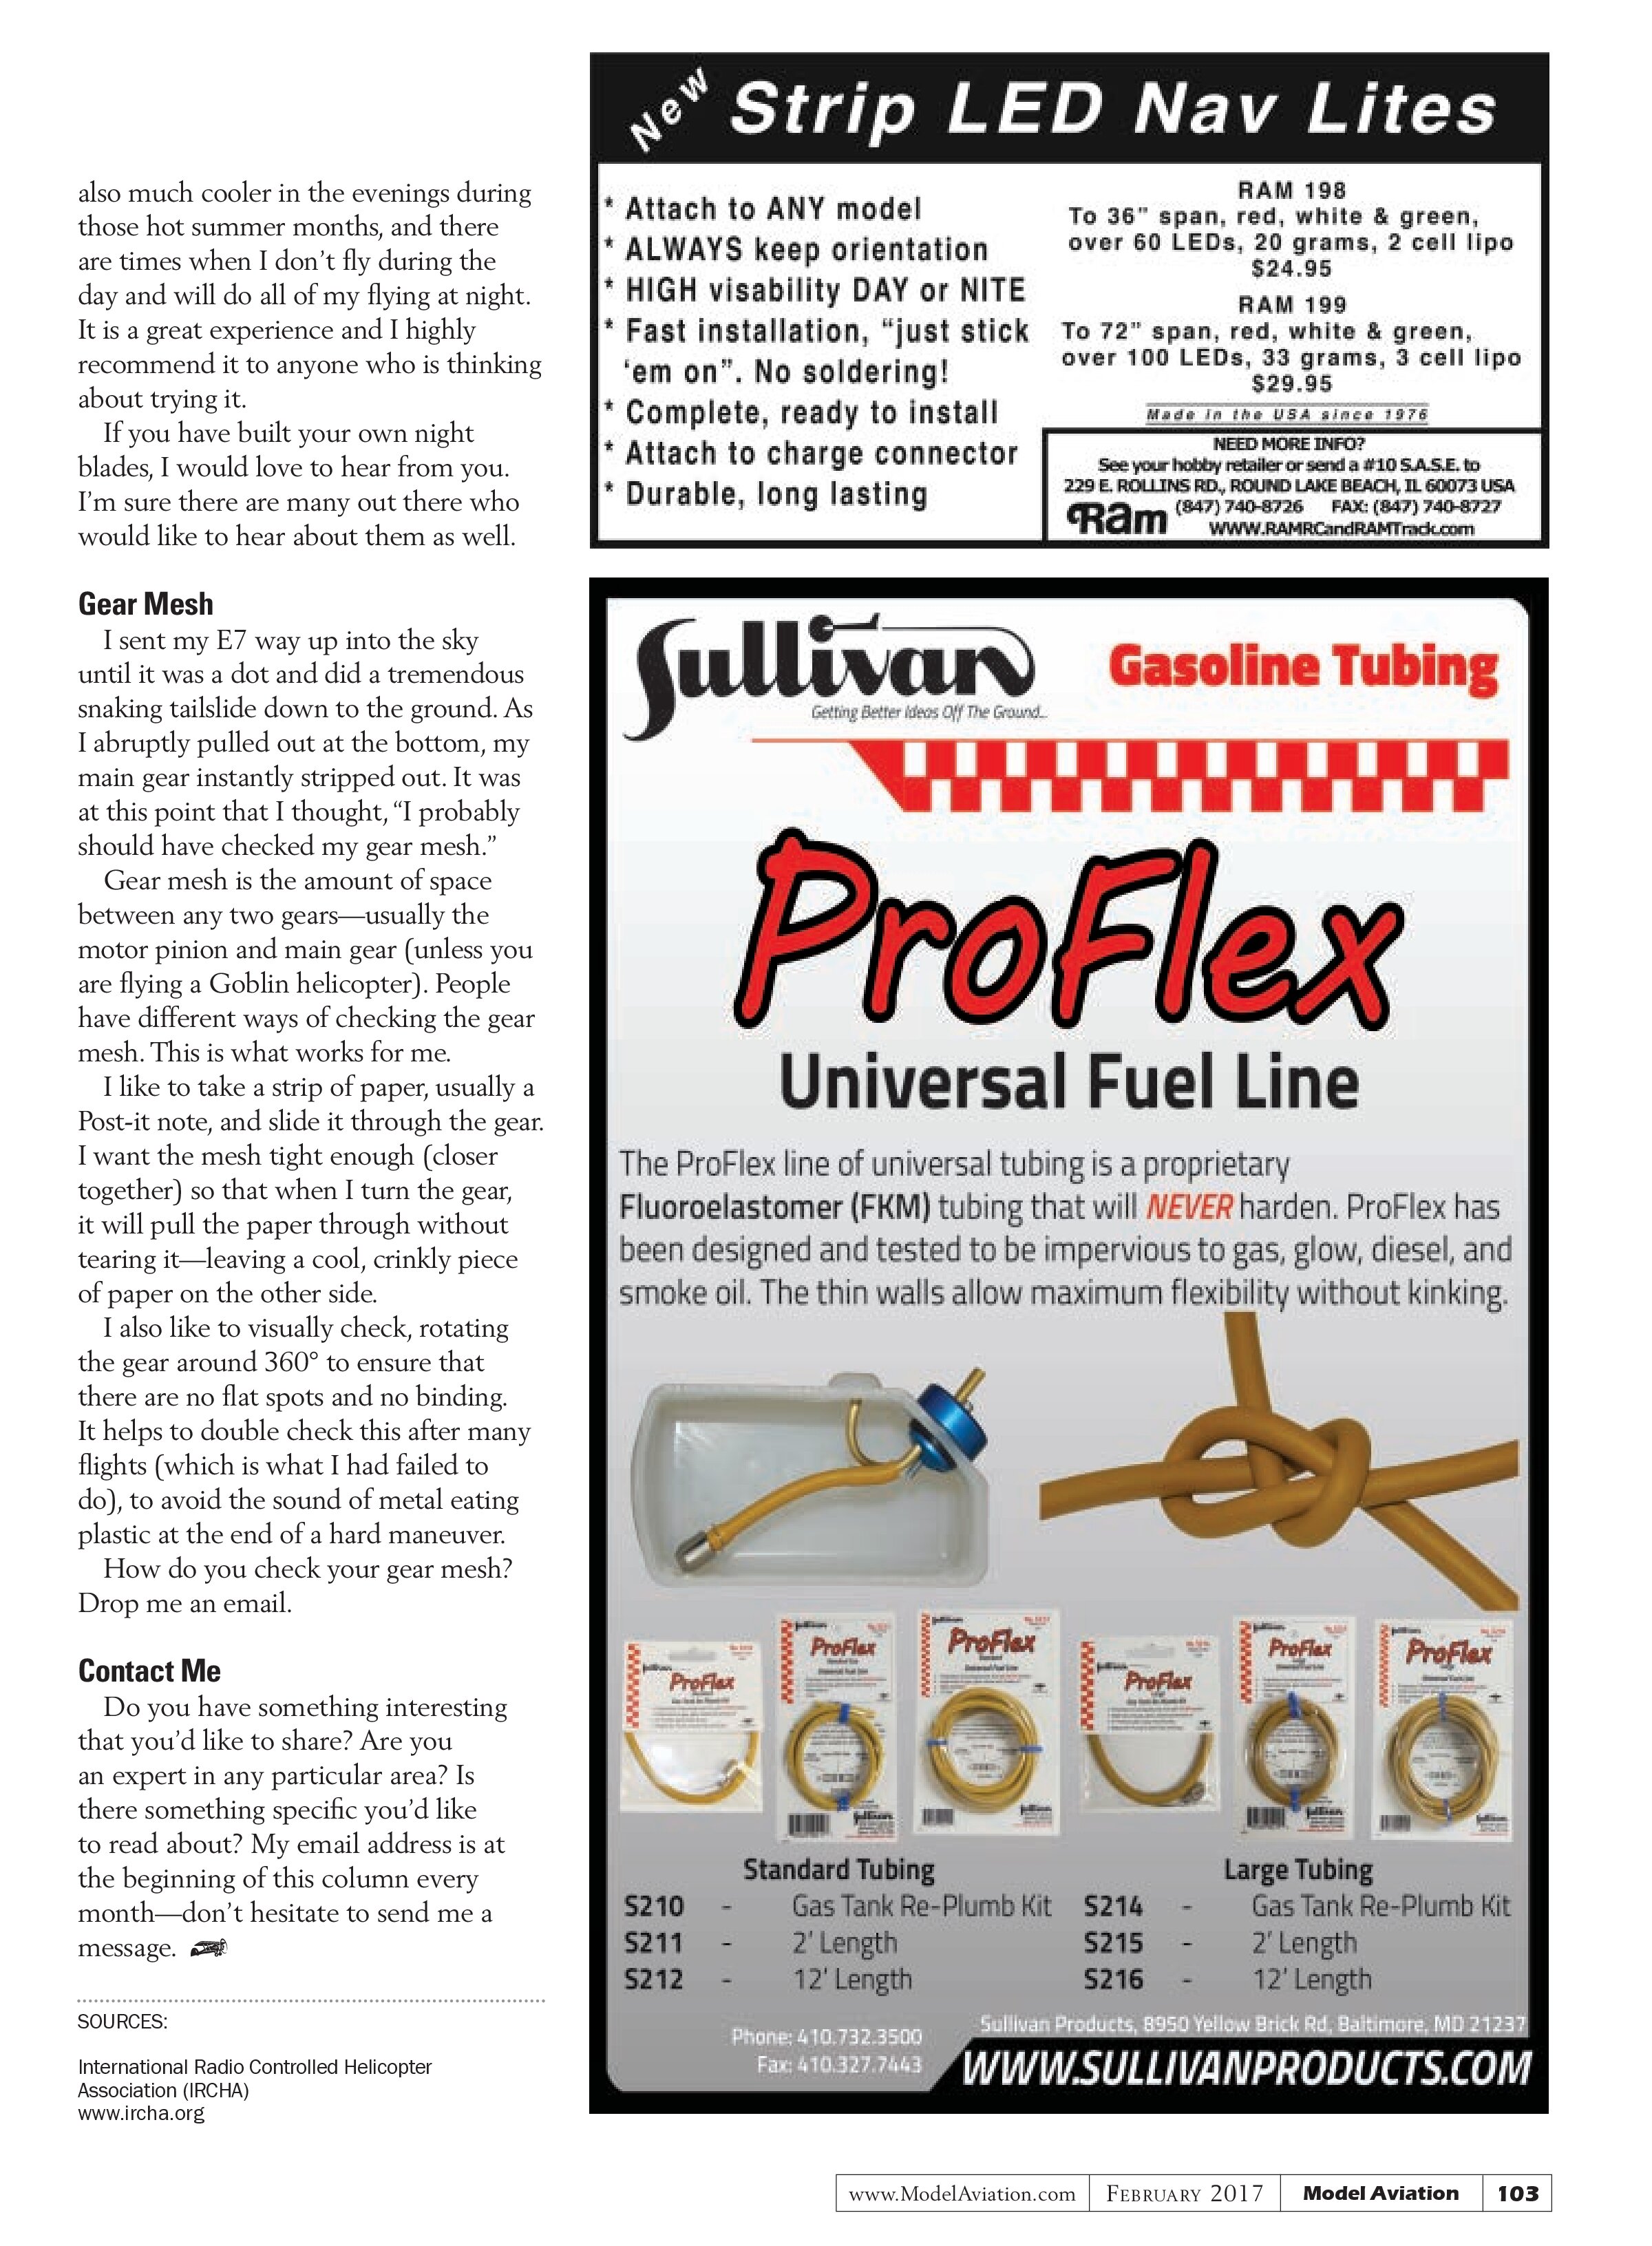
Blades by themselves might not be enough to help you with orientation, so this is where the real fun can begin. You can wrap LED strips around your tailboom and create cool LED patterns on your canopy. These, of course, need their own small battery for power, but the LEDs will leave no doubt as to which way your helicopter is facing.
Are the LEDs too bright? I’ve used a small brushed ESC to control the intensity of my LEDs on a night airplane. The ESC goes in-line between the power on the LED strip and plugs into a spare channel in your receiver. From there you can assign the ESC to a slider or some other switch and control the intensity of the light via your transmitter. If you want to get really crazy, you can create mixes that change the intensity of your lights with stick inputs. It’s a lot of fun!
Some of my favorite flying, though, has been done with the simplest of illuminating devices: glow sticks. My friend turned me on to glow sticks (thanks, Gary), and I must say that I really enjoy flying with them. I attach a glow stick to each skid
also much cooler in the evenings during those hot summer months, and there are times when I don’t fly during the day and will do all of my flying at night. It is a great experience and I highly recommend it to anyone who is thinking about trying it.
If you have built your own night blades, I would love to hear from you. I’m sure there are many out there who would like to hear about them as well.
Gear Mesh
I sent my E7 way up into the sky until it was a dot and did a tremendous snaking tailslide down to the ground. As I abruptly pulled out at the bottom, my main gear instantly stripped out. It was at this point that I thought, “I probably should have checked my gear mesh.”
Gear mesh is the amount of space between any two gears—usually the motor pinion and main gear (unless you are flying a Goblin helicopter). People have different ways of checking the gear mesh. This is what works for me.
I like to take a strip of paper, usually a Post-it note, and slide it through the gear. I want the mesh tight enough (closer together) so that when I turn the gear, it will pull the paper through without tearing it—leaving a cool, crinkly piece of paper on the other side.
I also like to visually check, rotating the gear around 360° to ensure that there are no flat spots and no binding. It helps to double check this after many flights (which is what I had failed to do), to avoid the sound of metal eating plastic at the end of a hard maneuver.
How do you check your gear mesh? Drop me an email.
Contact Me
Do you have something interesting that you’d like to share? Are you an expert in any particular area? Is there something specific you’d like to read about? My email address is at the beginning of this column every month—don’t hesitate to send me a message.
SOURCES:
International Radio Controlled Helicopter Association (IRCHA)
www.ircha.org