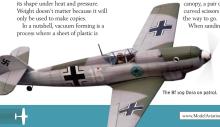
Build a Messerschmitt Bf 109
by Paul Kohlmann
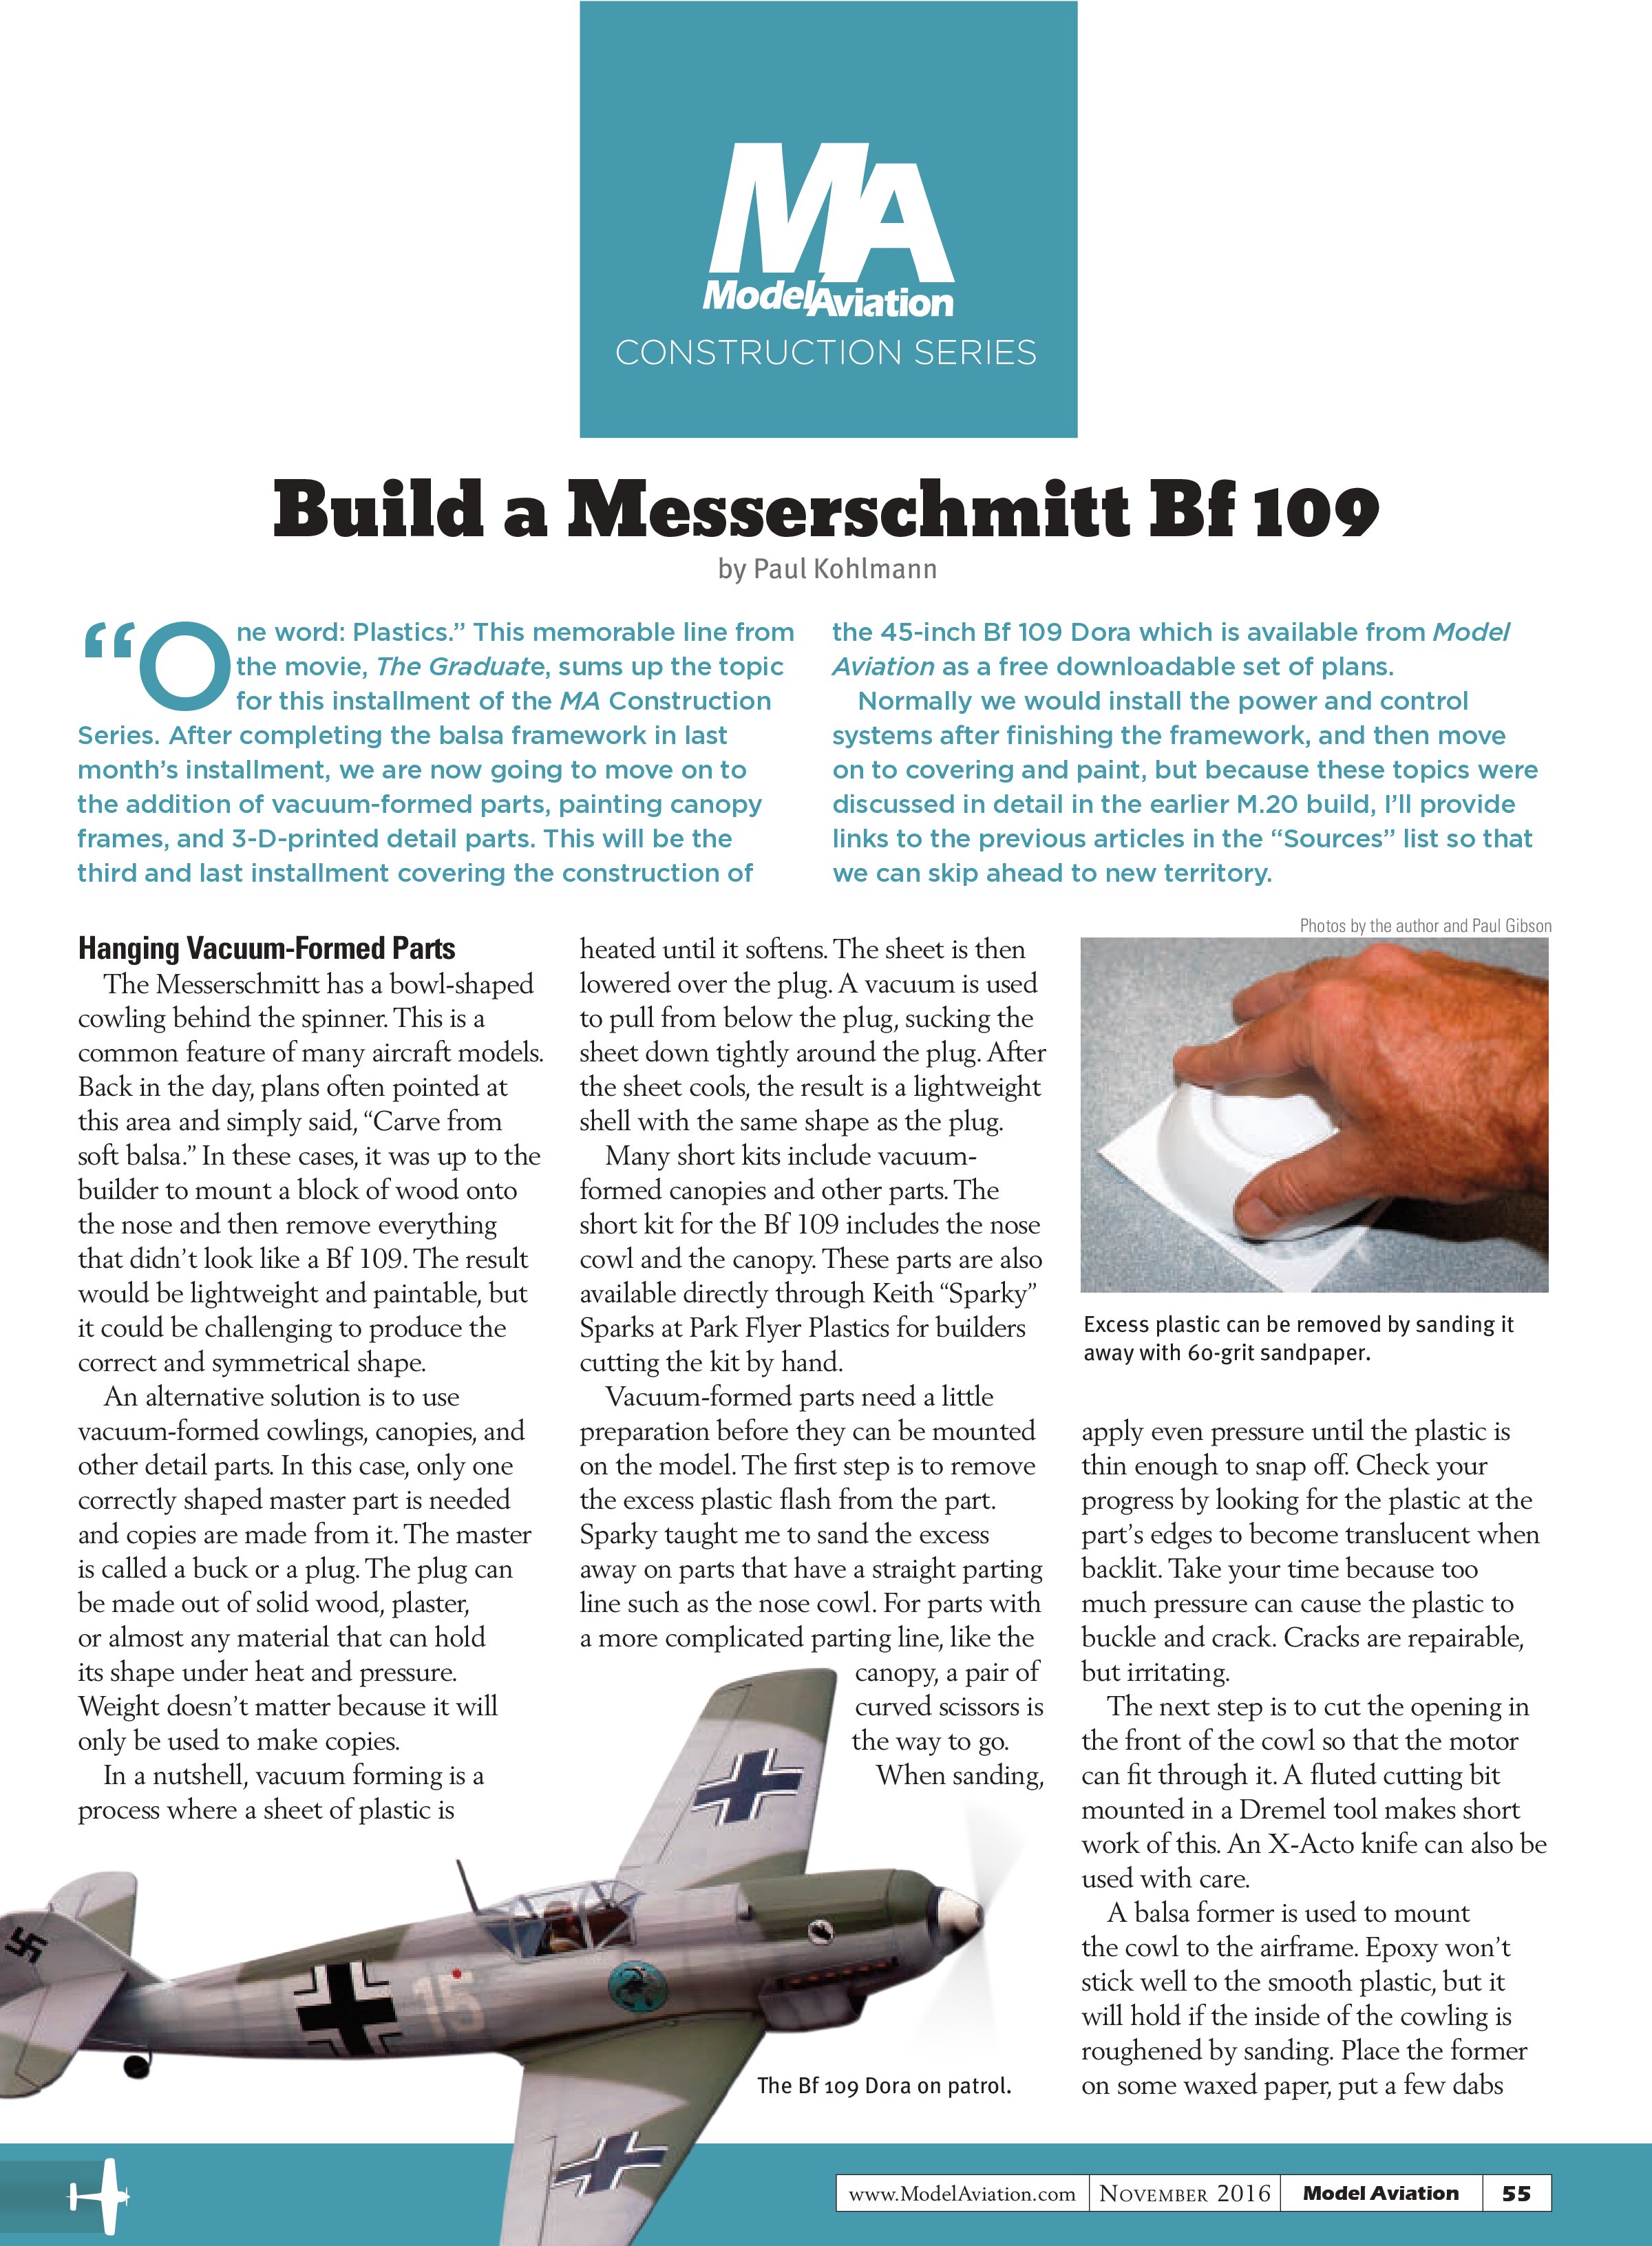
One word: Plastics.” This memorable line from the movie, The Graduate, sums up the topic for this installment of the MA Construction Series. After completing the balsa framework in last month’s installment, we are now going to move on to the addition of vacuum-formed parts, painting canopy frames, and 3-D-printed detail parts. This will be the third and last installment covering the construction of the 45-inch Bf 109 Dora which is available from Model Aviation as a free downloadable set of plans. Normally we would install the power and control systems after finishing the framework, and then move on to covering and paint, but because these topics were discussed in detail in the earlier M.20 build, I’ll provide links to the previous articles in the “Sources” list so that we can skip ahead to new territory.
Hanging Vacuum-Formed Parts
The Messerschmitt has a bowl-shaped cowling behind the spinner. This is a common feature of many aircraft models. Back in the day, plans often pointed at this area and simply said, “Carve from soft balsa.” In these cases, it was up to the builder to mount a block of wood onto the nose and then remove everything that didn’t look like a Bf 109. The result would be lightweight and paintable, but it could be challenging to produce the correct and symmetrical shape.
An alternative solution is to use vacuum-formed cowlings, canopies, and other detail parts. In this case, only one correctly shaped master part is needed and copies are made from it. The master is called a buck or a plug. The plug can be made out of solid wood, plaster, or almost any material that can hold its shape under heat and pressure. Weight doesn’t matter because it will only be used to make copies.
In a nutshell, vacuum forming is a process where a sheet of plastic is heated until it softens. The sheet is then lowered over the plug. A vacuum is used to pull from below the plug, sucking the sheet down tightly around the plug. After the sheet cools, the result is a lightweight shell with the same shape as the plug.
Many short kits include vacuum-formed canopies and other parts. The short kit for the Bf 109 includes the nose cowl and the canopy. These parts are also available directly through Keith “Sparky” Sparks at Park Flyer Plastics for builders cutting the kit by hand.
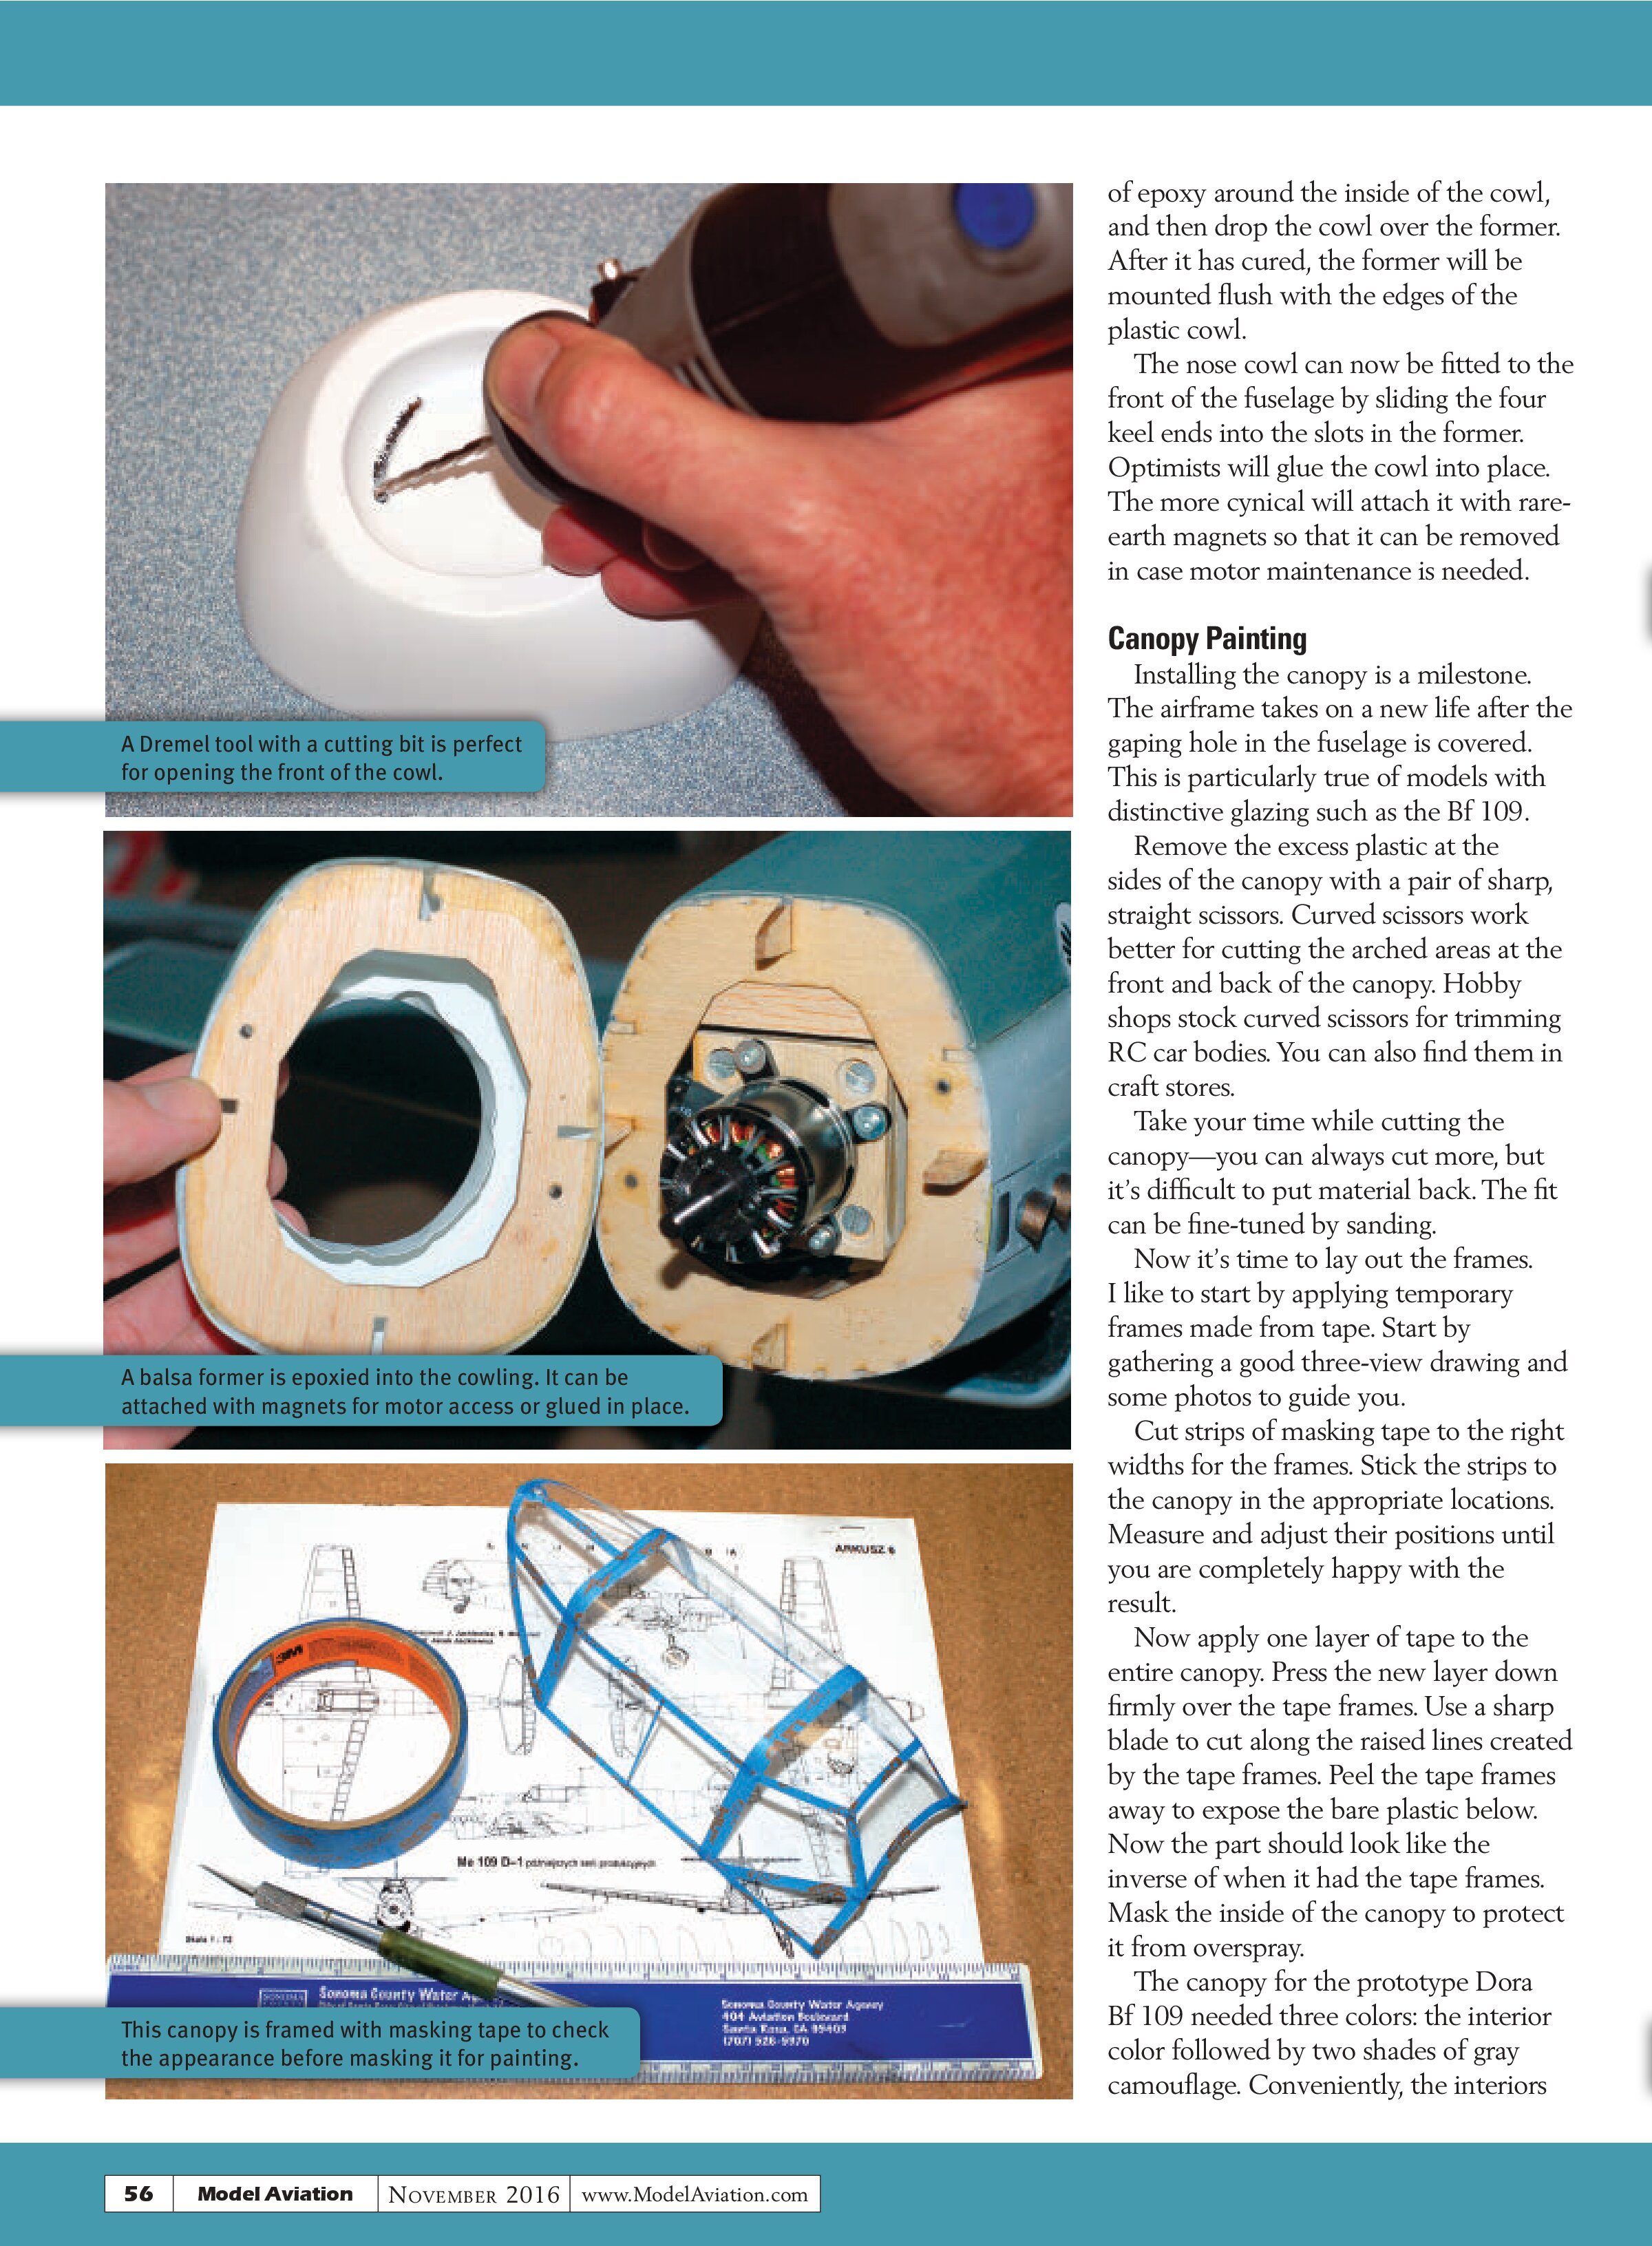
Vacuum-formed parts need a little preparation before they can be mounted on the model. The first step is to remove the excess plastic flash from the part. Sparky taught me to sand the excess away on parts that have a straight parting line such as the nose cowl. For parts with a more complicated parting line, like the canopy, a pair of curved scissors is the way to go. When sanding,


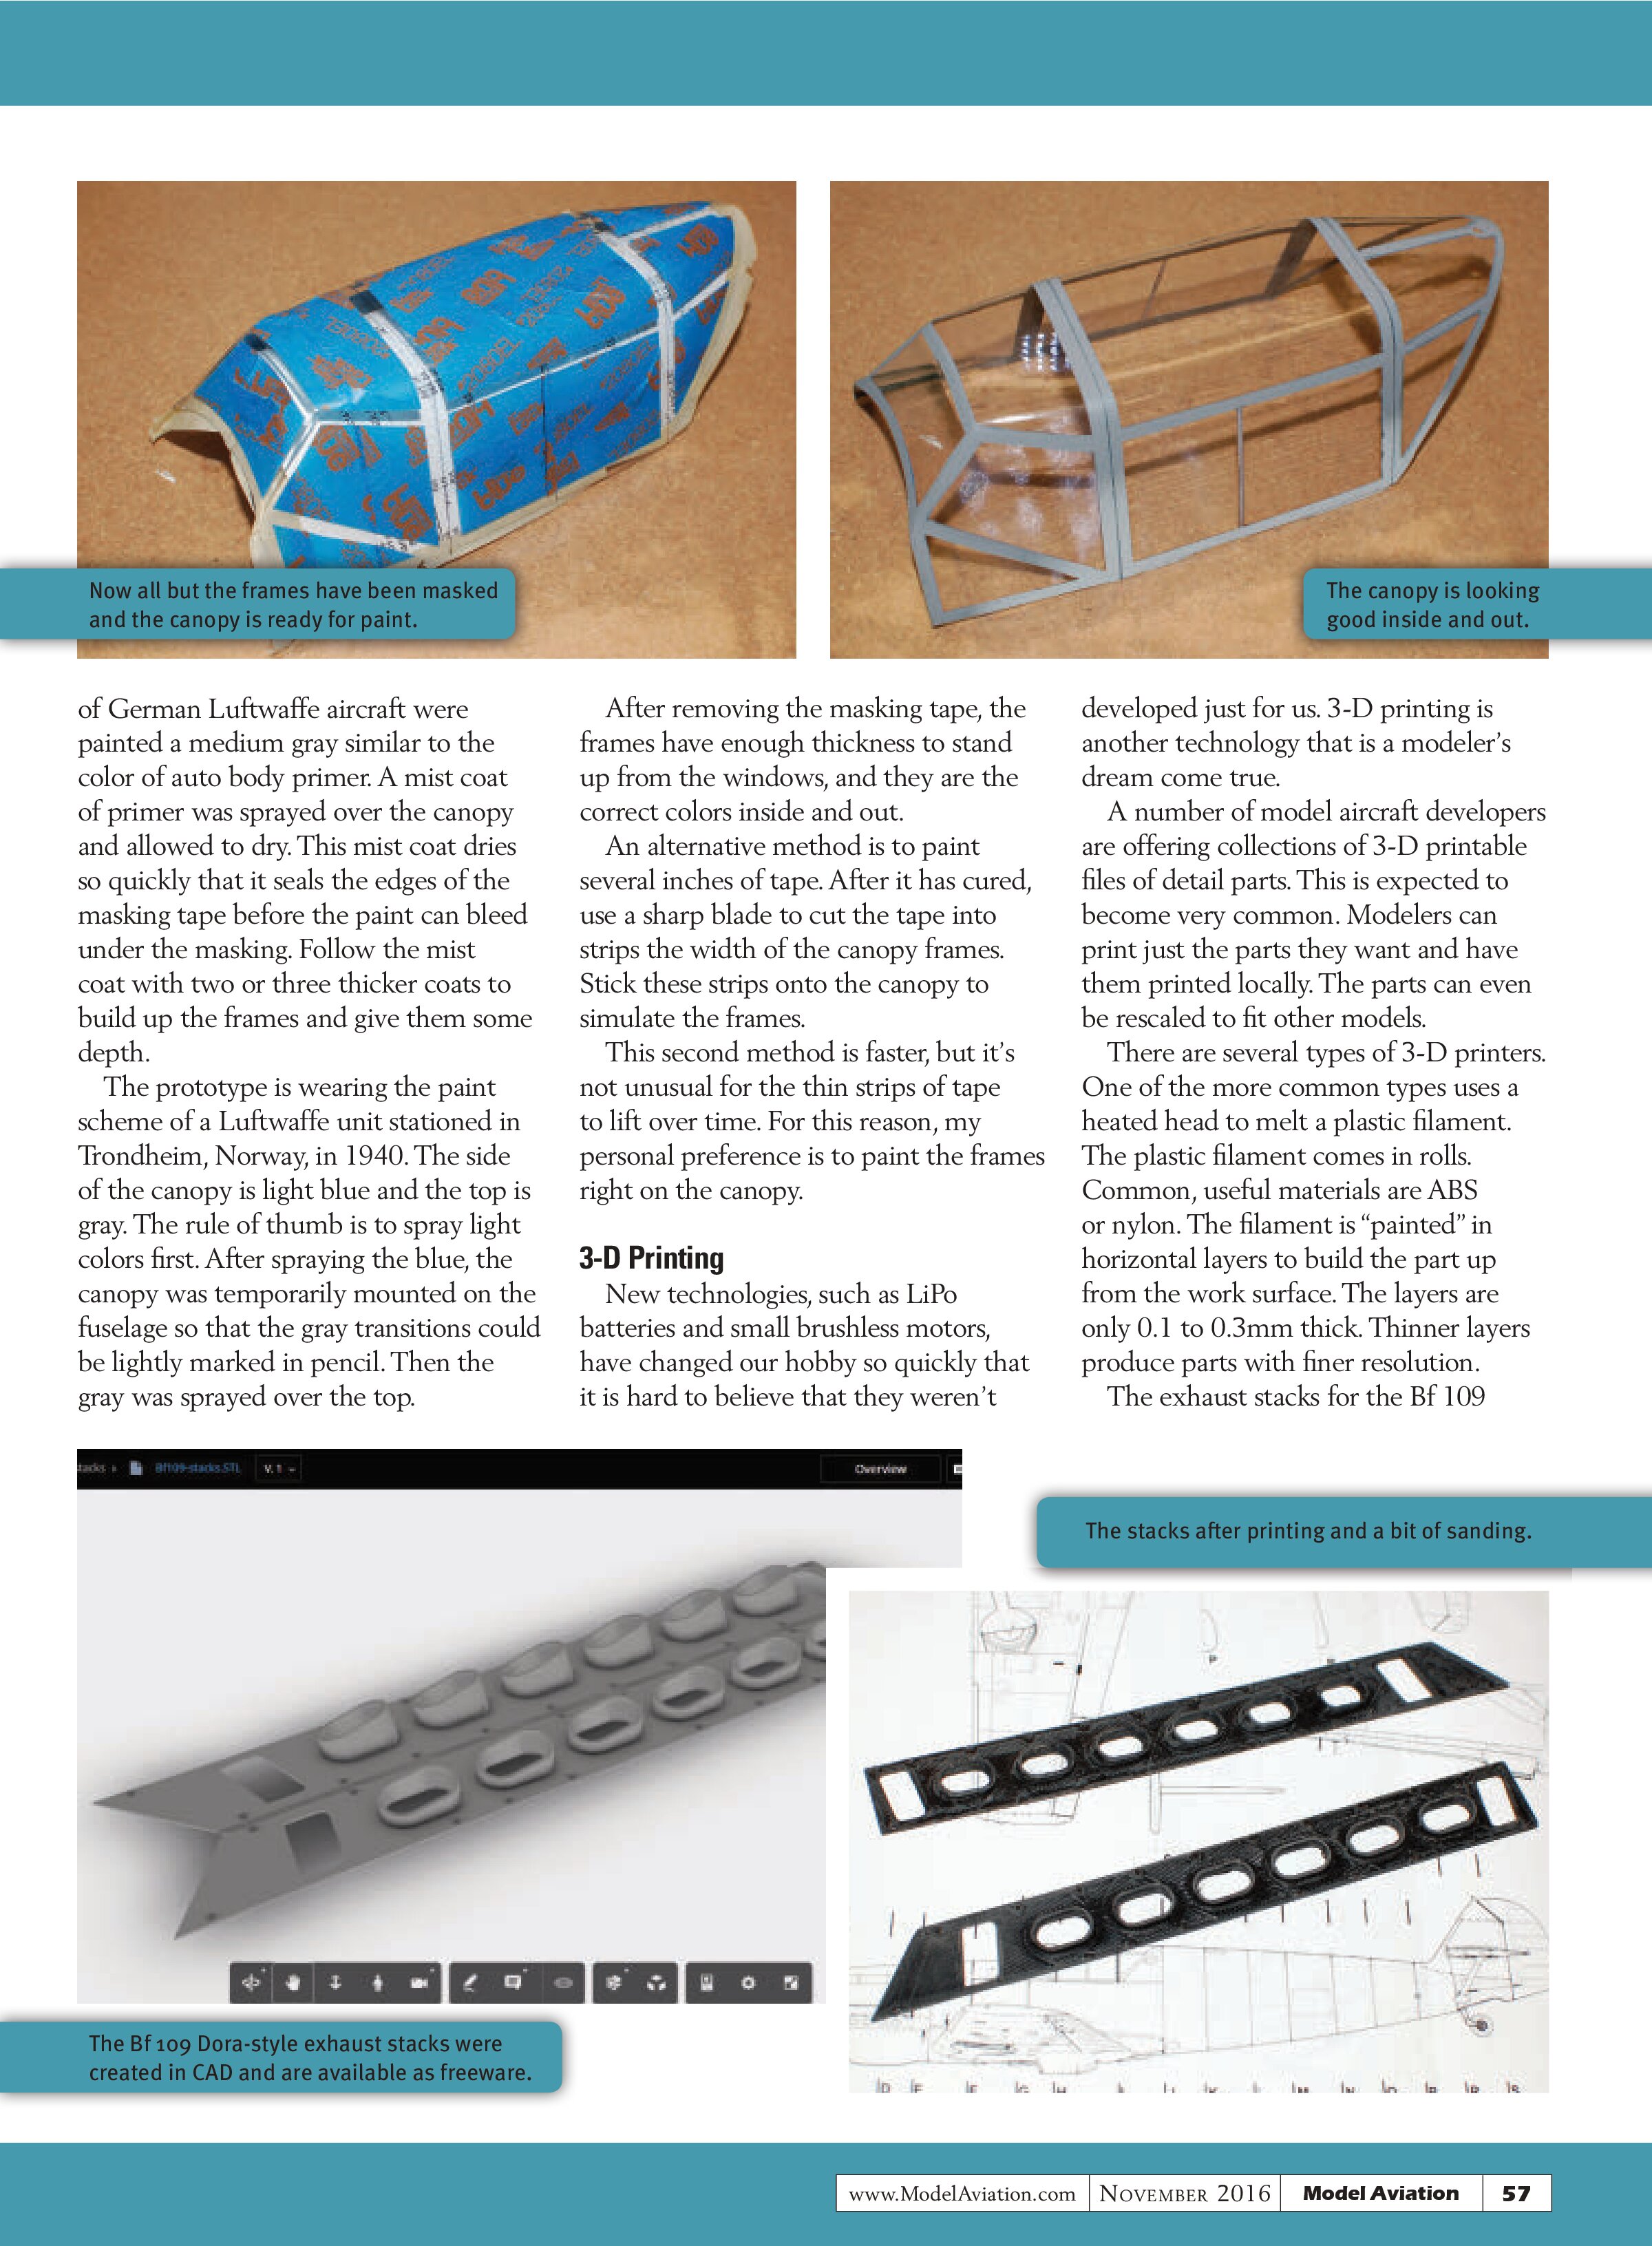
The next step is to cut the opening in the front of the cowl so that the motor can fit through it. A fluted cutting bit mounted in a Dremel tool makes short work of this. An X-Acto knife can also be used with care.
A balsa former is used to mount the cowl to the airframe. Epoxy won’t stick well to the smooth plastic, but it will hold if the inside of the cowling is roughened by sanding. Place the former on some waxed paper, put a few dabs


of epoxy around the inside of the cowl, and then drop the cowl over the former. After it has cured, the former will be mounted flush with the edges of the plastic cowl.
The nose cowl can now be fitted to the front of the fuselage by sliding the four keel ends into the slots in the former. Optimists will glue the cowl into place. The more cynical will attach it with rare-earth magnets so that it can be removed in case motor maintenance is needed.
Canopy Painting
Installing the canopy is a milestone. The airframe takes on a new life after the gaping hole in the fuselage is covered. This is particularly true of models with distinctive glazing such as the Bf 109.
Remove the excess plastic at the sides of the canopy with a pair of sharp, straight scissors. Curved scissors work better for cutting the arched areas at the front and back of the canopy. Hobby shops stock curved scissors for trimming RC car bodies. You can also find them in craft stores.
Take your time while cutting the canopy—you can always cut more, but it’s difficult to put material back. The fit can be fine-tuned by sanding.
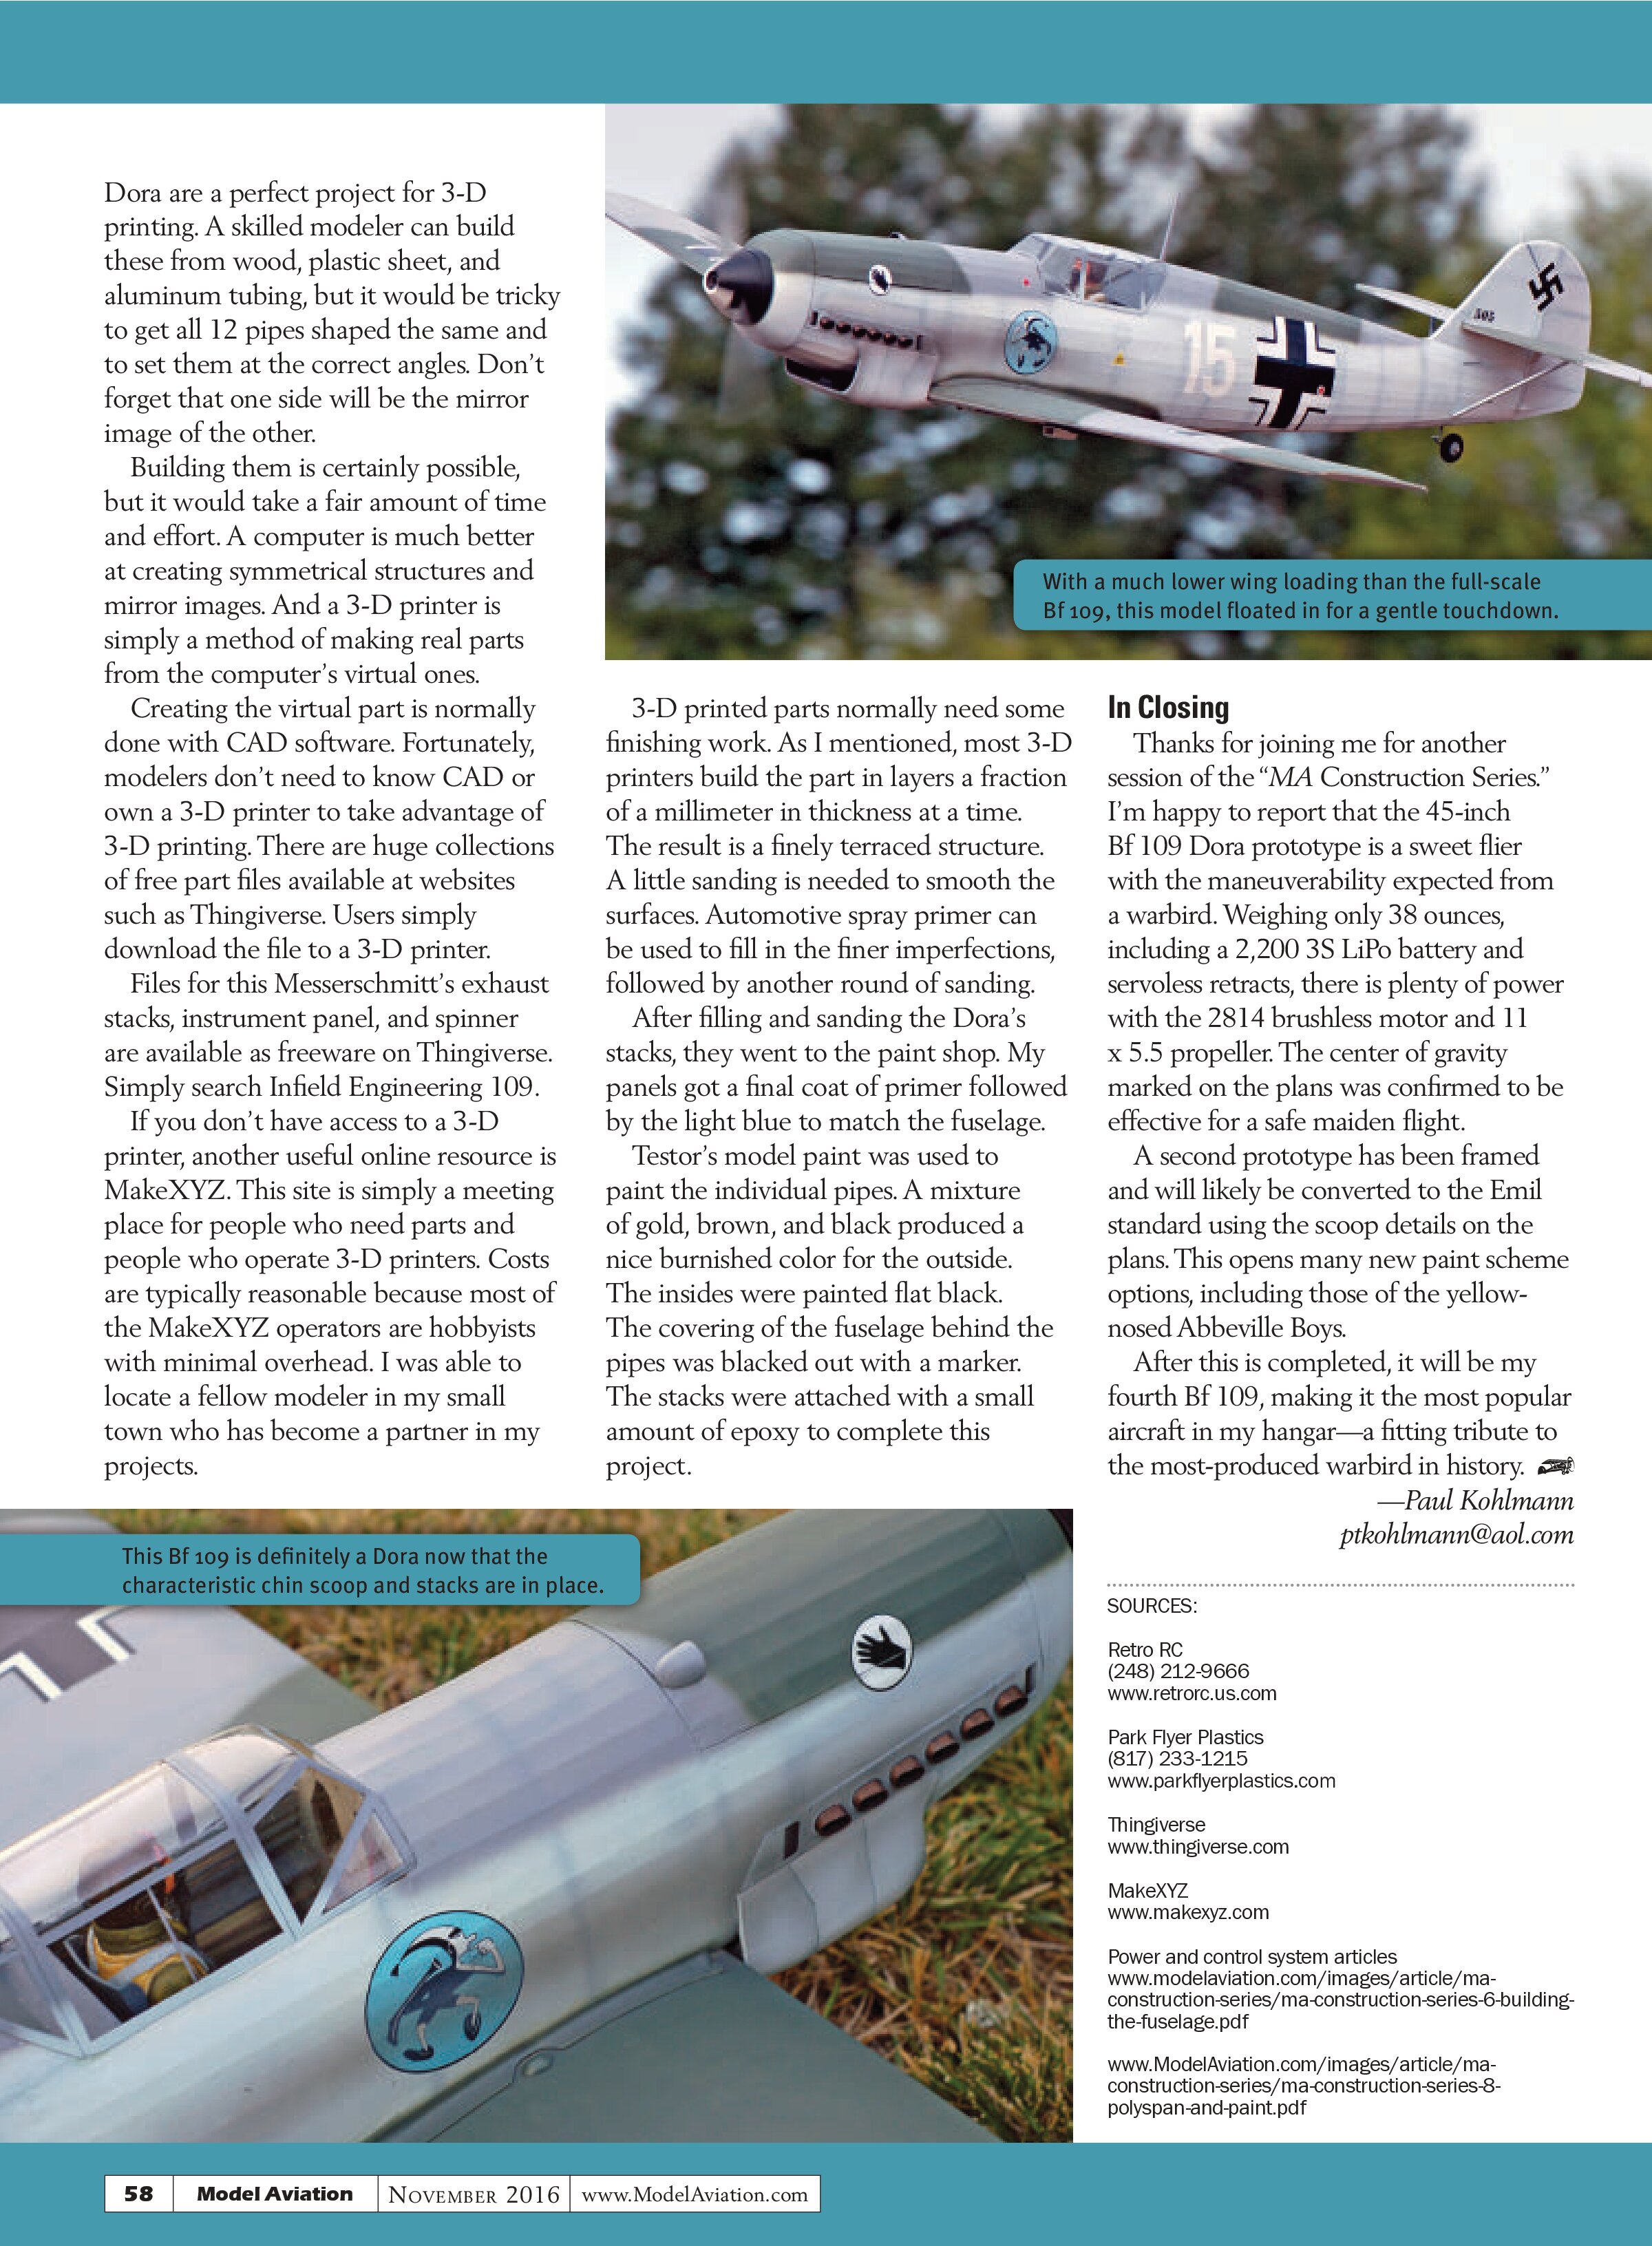
Now it’s time to lay out the frames. I like to start by applying temporary frames made from tape. Start by gathering a good three-view drawing and some photos to guide you.
Cut strips of masking tape to the right widths for the frames. Stick the strips to the canopy in the appropriate locations. Measure and adjust their positions until you are completely happy with the result.
Now apply one layer of tape to the entire canopy. Press the new layer down firmly over the tape frames. Use a sharp blade to cut along the raised lines created by the tape frames. Peel the tape frames away to expose the bare plastic below. Now the part should look like the inverse of when it had the tape frames. Mask the inside of the canopy to protect it from overspray.
The canopy for the prototype Dora Bf 109 needed three colors: the interior color followed by two shades of gray camouflage. Conveniently, the interiors of German Luftwaffe aircraft were painted a medium gray similar to the color of auto body primer. A mist coat of primer was sprayed over the canopy and allowed to dry. This mist coat dries so quickly that it seals the edges of the masking tape before the paint can bleed under the masking. Follow the mist coat with two or three thicker coats to build up the frames and give them some depth.
The prototype is wearing the paint scheme of a Luftwaffe unit stationed in Trondheim, Norway, in 1940. The side of the canopy is light blue and the top is gray. The rule of thumb is to spray light colors first. After spraying the blue, the canopy was temporarily mounted on the fuselage so that the gray transitions could be lightly marked in pencil. Then the gray was sprayed over the top.


After removing the masking tape, the frames have enough thickness to stand up from the windows, and they are the correct colors inside and out.
An alternative method is to paint several inches of tape. After it has cured, use a sharp blade to cut the tape into strips the width of the canopy frames. Stick these strips onto the canopy to simulate the frames.
This second method is faster, but it’s not unusual for the thin strips of tape to lift over time. For this reason, my personal preference is to paint the frames right on the canopy.
3-D Printing
New technologies, such as LiPo batteries and small brushless motors, have changed our hobby so quickly that it is hard to believe that they weren’t developed just for us. 3-D printing is another technology that is a modeler’s dream come true.
A number of model aircraft developers are offering collections of 3-D printable files of detail parts. This is expected to become very common. Modelers can print just the parts they want and have them printed locally. The parts can even be rescaled to fit other models.
There are several types of 3-D printers. One of the more common types uses a heated head to melt a plastic filament. The plastic filament comes in rolls. Common, useful materials are ABS or nylon. The filament is “painted” in horizontal layers to build the part up from the work surface. The layers are only 0.1 to 0.3mm thick. Thinner layers produce parts with finer resolution.
The exhaust stacks for the Bf 109


Dora are a perfect project for 3-D printing. A skilled modeler can build these from wood, plastic sheet, and aluminum tubing, but it would be tricky to get all 12 pipes shaped the same and to set them at the correct angles. Don’t forget that one side will be the mirror image of the other.
Building them is certainly possible, but it would take a fair amount of time and effort. A computer is much better at creating symmetrical structures and mirror images. And a 3-D printer is simply a method of making real parts from the computer’s virtual ones.
Creating the virtual part is normally done with CAD software. Fortunately, modelers don’t need to know CAD or own a 3-D printer to take advantage of 3-D printing. There are huge collections of free part files available at websites such as Thingiverse. Users simply download the file to a 3-D printer.
Files for this Messerschmitt’s exhaust stacks, instrument panel, and spinner are available as freeware on Thingiverse. Simply search Infield Engineering 109.
If you don’t have access to a 3-D printer, another useful online resource is MakeXYZ. This site is simply a meeting place for people who need parts and people who operate 3-D printers. Costs are typically reasonable because most of the MakeXYZ operators are hobbyists with minimal overhead. I was able to locate a fellow modeler in my small town who has become a partner in my projects.

3-D printed parts normally need some finishing work. As I mentioned, most 3-D printers build the part in layers a fraction of a millimeter in thickness at a time. The result is a finely terraced structure. A little sanding is needed to smooth the surfaces. Automotive spray primer can be used to fill in the finer imperfections, followed by another round of sanding.
After filling and sanding the Dora’s stacks, they went to the paint shop. My panels got a final coat of primer followed by the light blue to match the fuselage.
Testor’s model paint was used to paint the individual pipes. A mixture of gold, brown, and black produced a nice burnished color for the outside. The insides were painted flat black. The covering of the fuselage behind the pipes was blacked out with a marker. The stacks were attached with a small amount of epoxy to complete this project.

In Closing
Thanks for joining me for another session of the “MA Construction Series.” I’m happy to report that the 45-inch Bf 109 Dora prototype is a sweet flier with the maneuverability expected from a warbird. Weighing only 38 ounces, including a 2,200 3S LiPo battery and servoless retracts, there is plenty of power with the 2814 brushless motor and 11 x 5.5 propeller. The center of gravity marked on the plans was confirmed to be effective for a safe maiden flight.
A second prototype has been framed and will likely be converted to the Emil standard using the scoop details on the plans. This opens many new paint scheme options, including those of the yellow-nosed Abbeville Boys.
After this is completed, it will be my fourth Bf 109, making it the most popular aircraft in my hangar—a fitting tribute to the most-produced warbird in history.
—Paul Kohlmann
ptkohlmann@aol.com
SOURCES:
Retro RC
(248) 212-9666
www.retrorc.us.com
Park Flyer Plastics
(817) 233-1215
www.parkflyerplastics.com
Thingiverse
www.thingiverse.com
MakeXYZ
www.makexyz.com
Power and control system articles
www.modelaviation.com/images/article/ma-construction-series/ma-construct...
www.ModelAviation.com/images/article/ma-construction-series/ma-construct...