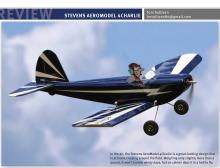
STEVENS AEROMODEL 4CHARLIE
Tom Sullivan
tmsullivan80@gmail.com
An enjoyable small-field RC model

Because all of us are in a building frame of mind for this issue, my contribution is different from a traditional kit. It’s a short kit from Stevens AeroModel called the 4Charlie. If you’re not familiar with a short kit, it simply means that all of the parts that would be tricky to cut out are supplied. A builder supplies his or her own balsa sheeting, strips, hardware, etc.
Doing things this way doesn’t necessarily keep the cost down, but it does allow a builder to use the quality of wood and hardware that he or she prefers, rather than trying to make do with what might come with the kit.
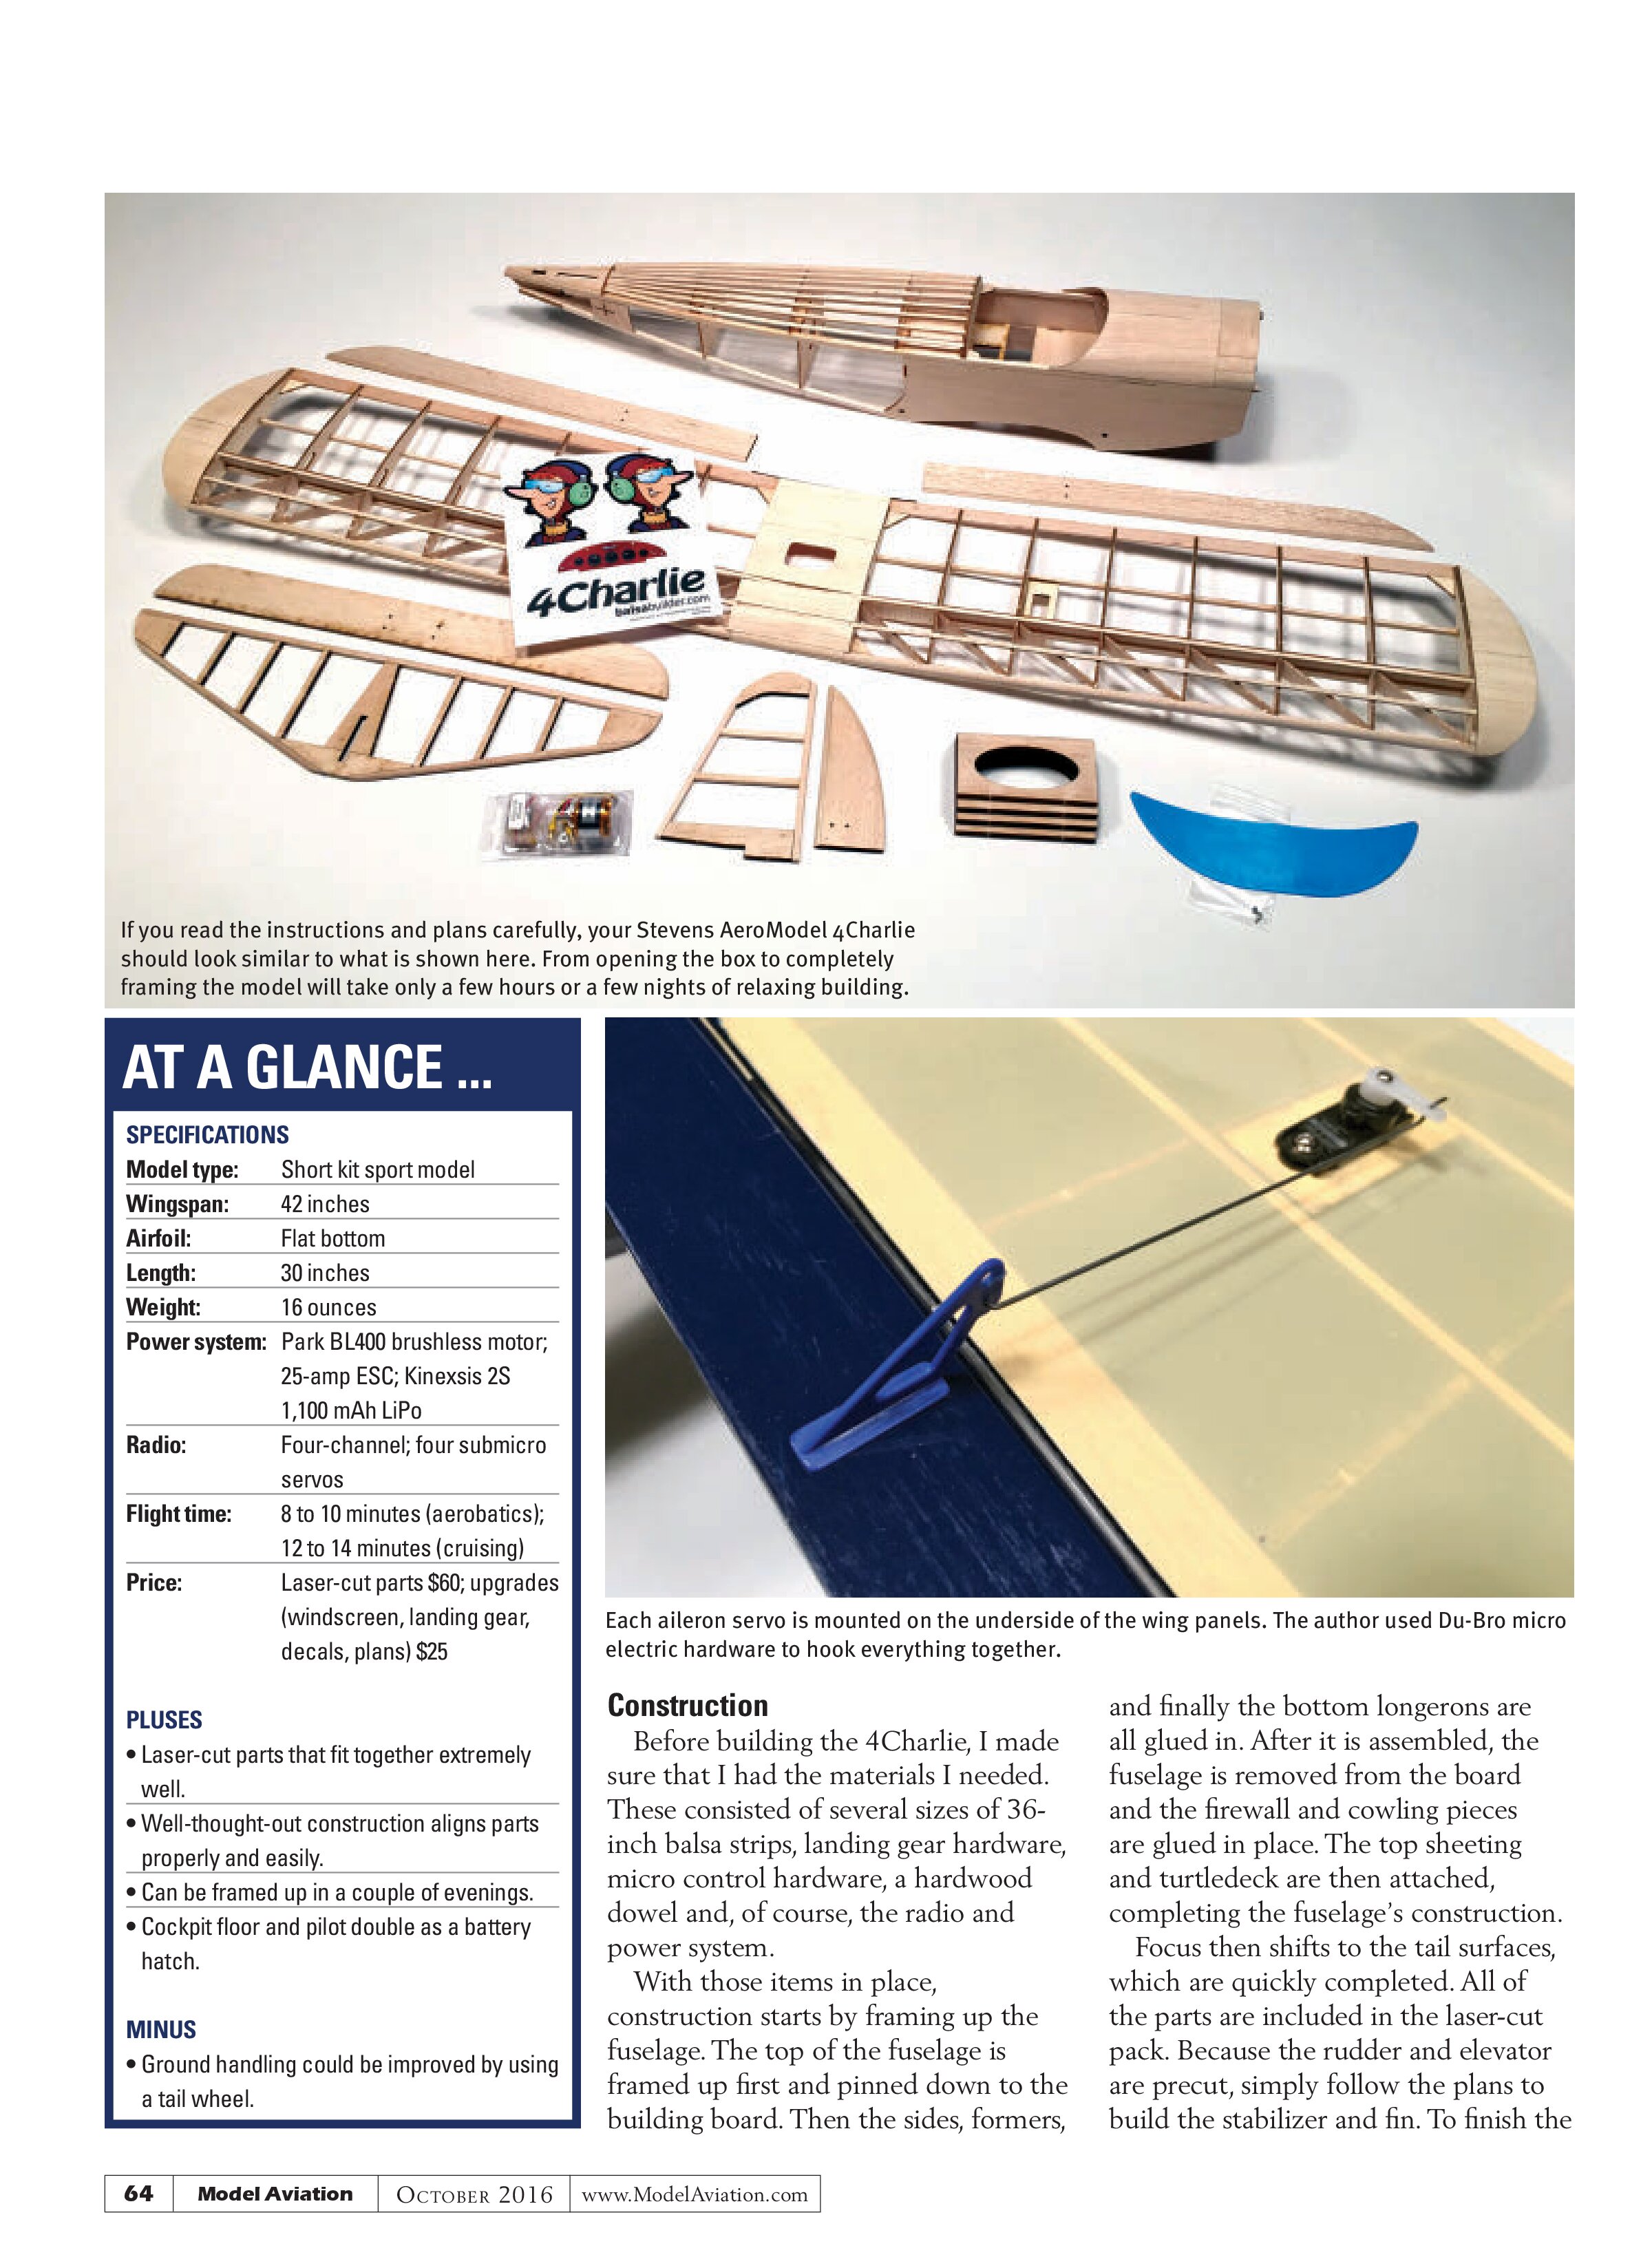
What comes in this short kit? It contains several balsa sheets of varying thicknesses, which have laser-cut ribs, formers, supports, and blocking pieces. Also included is a piece of laser-cut cardboard.
The instructions and plans were supplied as part of this review, but must be purchased separately as part of Stevens AeroModel’s balsabuilder publication, volume 1, issue 2. Ten pages of the 60-page publication are devoted to the 4Charlie.
Other topics covered in this issue are several building features, a couple of other construction articles, and some flight tips. Instead of being a step-by-step description of where each piece is glued, it is more of a general guide of how the construction should progress. It is up to the builder to be able to read and interpret plans to properly complete the kit.
On the subject of plans, the 4Charlie plans are fantastic. Actually, the only way they would be better is if they were rolled rather than folded, but that’s a minor detail. The plans are well drawn and extremely detailed. The parts fit exactly over the drawings and everything clearly showed how the aircraft fit together.
If you’re wondering why this kit is called 4Charlie, I was too, until I read the story that’s printed alongside the construction article. I won’t spoil it here, but it also gives a bit of insight into the spark behind the design.

AT A GLANCE ...
SPECIFICATIONS
Model type: Short kit sport model
Wingspan: 42 inches
Airfoil: Flat bottom
Length: 30 inches
Weight: 16 ounces
Power system: Park BL400 brushless motor; 25-amp ESC; Kinnexis 2S 1,100 mAh LiPo
Radio: Four-channel; four submicro servos
Flight time: 8 to 10 minutes (aerobatics); 12 to 14 minutes (cruising)
Price: Laser-cut parts $60; upgrades (windscreen, landing gear, decals, plans) $25
PLUSES
- Laser-cut parts that fit together extremely well.
- Well-thought-out construction aligns parts properly and easily.
- Can be framed up in a couple of evenings.
- Cockpit floor and pilot double as a battery hatch.
MINUS
- Ground handling could be improved by using a tail wheel.

Construction
Before building the 4Charlie, I made sure that I had the materials I needed. These consisted of several sizes of 36-inch balsa strips, landing gear hardware, micro control hardware, a hardwood dowel and, of course, the radio and power system.
With those items in place, construction starts by framing up the fuselage. The top of the fuselage is framed up first and pinned down to the building board. Then the sides, formers, and finally the bottom longerons are all glued in. After it is assembled, the fuselage is removed from the board and the firewall and cowling pieces are glued in place. The top sheeting and turtledeck are then attached, completing the fuselage’s construction. Focus then shifts to the tail surfaces, which are quickly completed. All of the parts are included in the laser-cut pack. Because the rudder and elevator are precut, simply follow the plans to build the stabilizer and fin. To finish the 4Charlie’s framing, the wing is the last major step.
After the main spar is assembled, the wing is framed up one panel at a time. After pinning down the main spar, the subspars, and the leading and trailing edges, each of the ribs slides into place. I took some extra time to make sure all of the parts were properly aligned, and then joined everything into position.
These steps are repeated for the opposite panel, and then the cardboard pieces come into play. You might remember me mentioning the included laser-cut cardboard pieces. They are used to assemble a pair of simple, but quite effective, tip braces to hold the wingtips at the proper angle while building the center section of the wing.
The final framing step is to add the wingtip pieces, cut 45° bevels into the rudder, elevator, and ailerons, and then give the entire airframe a good sanding. Take some time when shaping the 4Charlie’s nose (cowl). The balsa blocks that make up the cowl are shaped by knocking down the steps with coarse-grit sandpaper, then shaped using a finer grit.


On page 9 of this particular balsabuilder issue is an article dedicated to wire bending. You see, the 4Charlie’s landing gear needs to be made from a length of .093 x 36 music wire, unless you purchase it separately. If you’ve never bent your own landing gear, I encourage you to try. With a little care and a little time, creating the main gear is fairly straightforward.
It’s a shame to have to cover a nicely framed model, but that’s the only way we can get it to properly fly, so it was time to cover. Stevens AeroModel carries an iron-on film called AeroLITE, and that’s what you see covering the 4Charlie. It’s lightweight and it requires extremely sharp blades to cut it and avoid tearing.
After the backing has been removed, if the adhesive sides come into contact with each other, they are quick to stick together, even without heat. Use a good deal of care and the covering works quite well and shrinks nicely, removing almost any wrinkle you may have inadvertently caused.
The colors I used are AeroLITE Dark Blue and Antique Cream. The Dark Blue is quite opaque, but the Antique Cream isn’t, so it had to be put on first, and then trimmed with the blue.
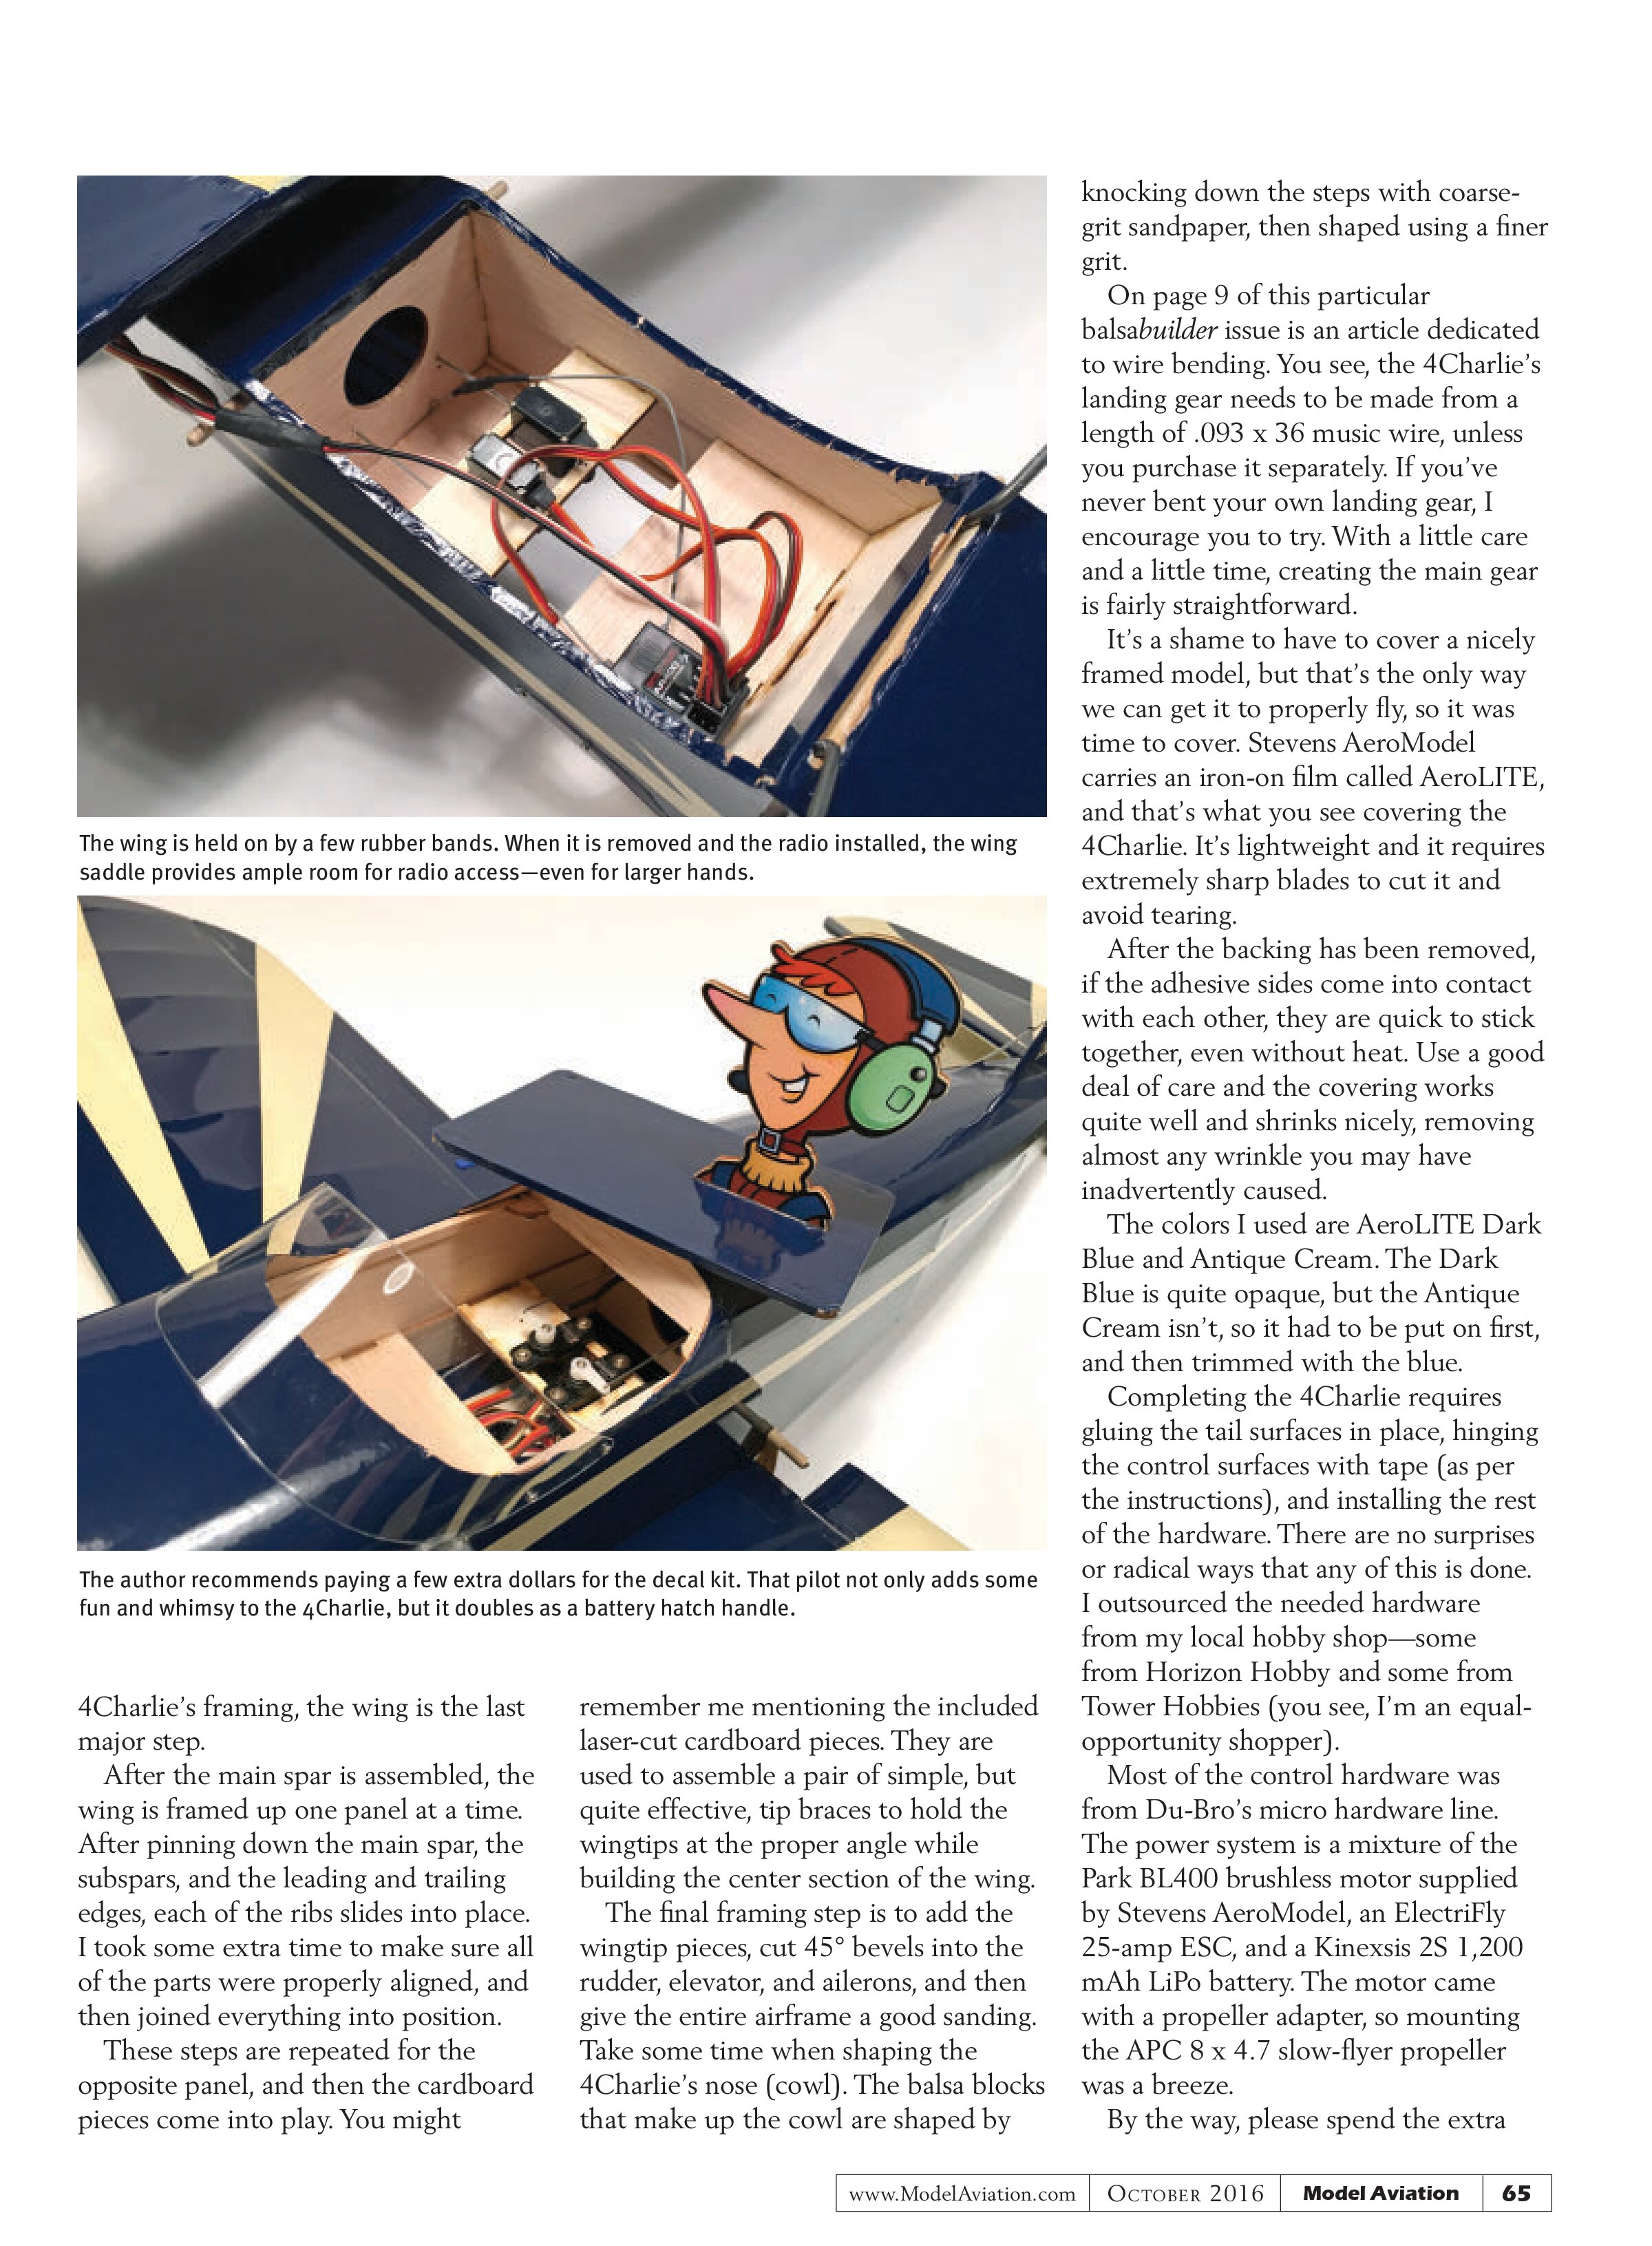
Completing the 4Charlie requires gluing the tail surfaces in place, hinging the control surfaces with tape (as per the instructions), and installing the rest of the hardware. There are no surprises or radical ways that any of this is done. I outsourced the needed hardware from my local hobby shop—some from Horizon Hobby and some from Tower Hobbies (you see, I’m an equal-opportunity shopper).
Most of the control hardware was from Du-Bro’s micro hardware line. The power system is a mixture of the Park BL400 brushless motor supplied by Stevens AeroModel, an ElectriFly 25-amp ESC, and a Kinnexis 2S 1,200 mAh LiPo battery. The motor came with a propeller adapter, so mounting the APC 8 x 4.7 slow-flyer propeller was a breeze.
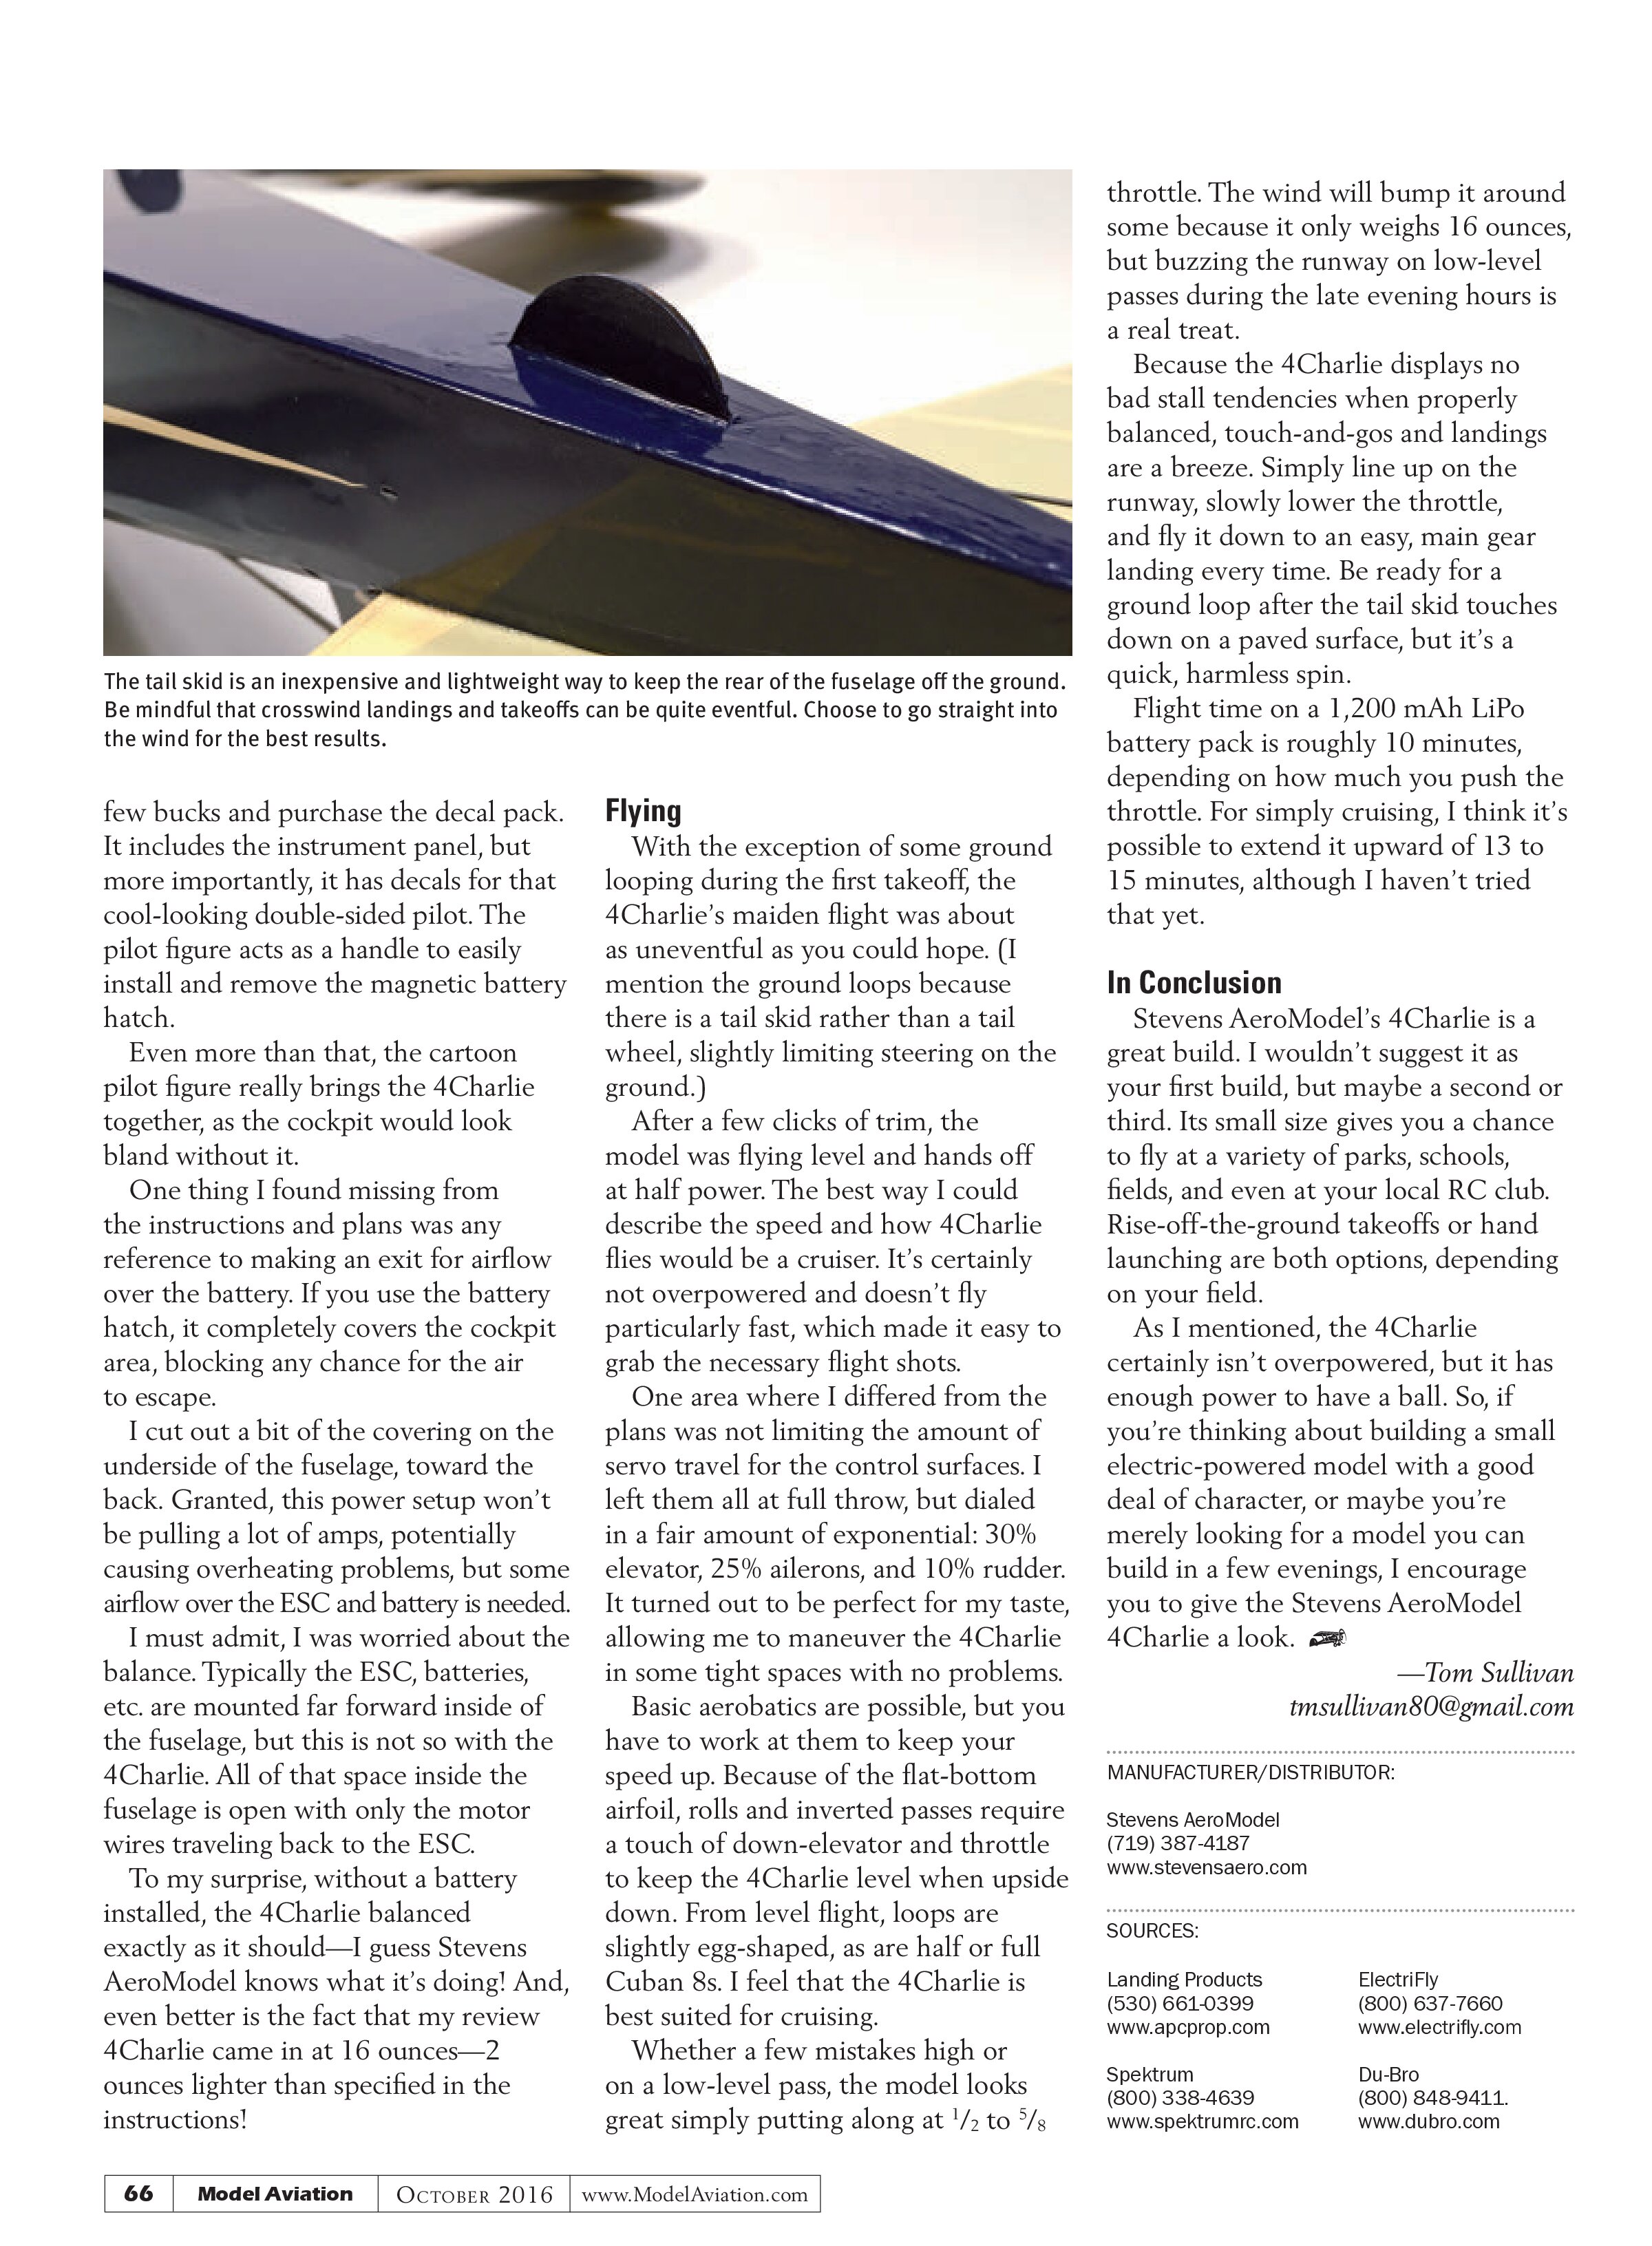
By the way, please spend the extra

few bucks and purchase the decal pack. It includes the instrument panel, but more importantly, it has decals for that cool-looking double-sided pilot. The pilot figure acts as a handle to easily install and remove the magnetic battery hatch.
Even more than that, the cartoon pilot figure really brings the 4Charlie together, as the cockpit would look bland without it.
One thing I found missing from the instructions and plans was any reference to making an exit for airflow over the battery. If you use the battery hatch, it completely covers the cockpit area, blocking any chance for the air to escape.
I cut out a bit of the covering on the underside of the fuselage, toward the back. Granted, this power setup won’t be pulling a lot of amps, potentially causing overheating problems, but some airflow over the ESC and battery is needed.
I must admit, I was worried about the balance. Typically the ESC, batteries, etc. are mounted far forward inside of the fuselage, but this is not so with the 4Charlie. All of that space inside the fuselage is open with only the motor wires traveling back to the ESC.
To my surprise, without a battery installed, the 4Charlie balanced exactly as it should—I guess Stevens AeroModel knows what it’s doing! And, even better is the fact that my review 4Charlie came in at 16 ounces—2 ounces lighter than specified in the instructions!
Flying
With the exception of some ground looping during the first takeoff, the 4Charlie’s maiden flight was about as uneventful as you could hope. (I mention the ground loops because there is a tail skid rather than a tail wheel, slightly limiting steering on the ground.)
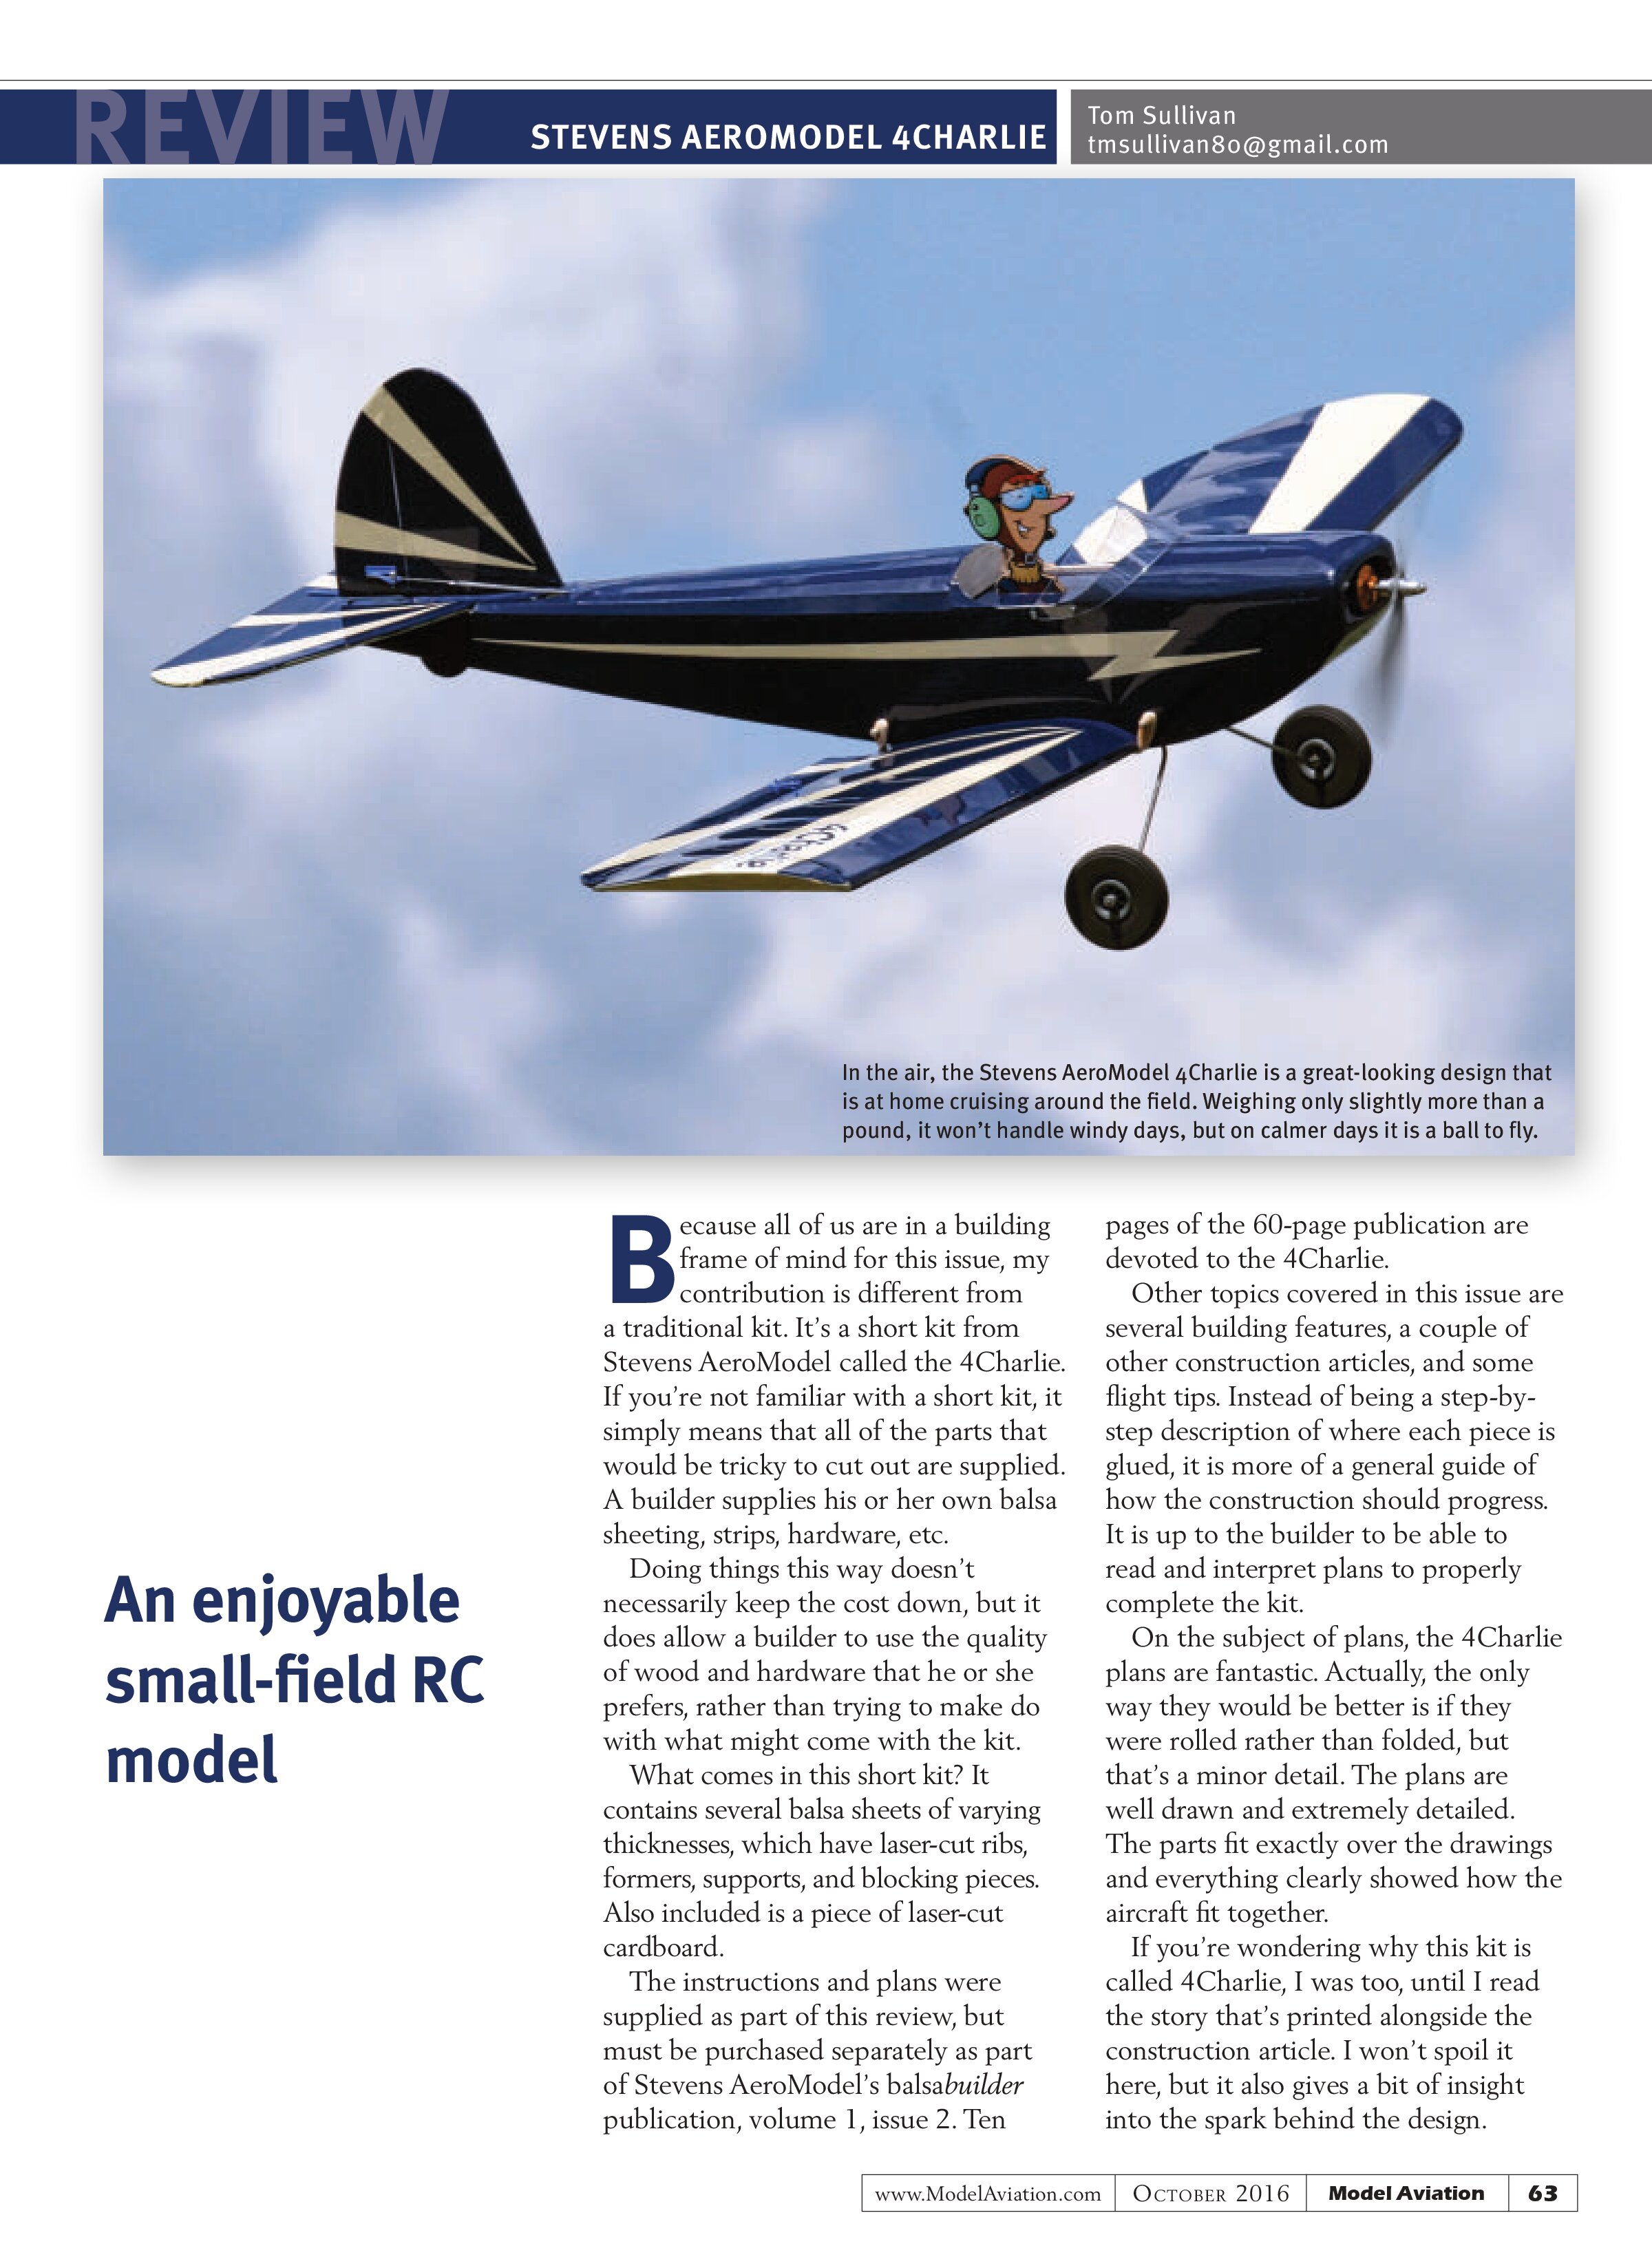
After a few clicks of trim, the model was flying level and hands off at half power. The best way I could describe the speed and how 4Charlie flies would be a cruiser. It’s certainly not overpowered and doesn’t fly particularly fast, which made it easy to grab the necessary flight shots.
One area where I differed from the plans was not limiting the amount of servo travel for the control surfaces. I left them all at full throw, but dialed in a fair amount of exponential: 30% elevator, 25% ailerons, and 10% rudder. It turned out to be perfect for my taste, allowing me to maneuver the 4Charlie in some tight spaces with no problems.
Basic aerobatics are possible, but you have to work at them to keep your speed up. Because of the flat-bottom airfoil, rolls and inverted passes require a touch of down-elevator and throttle to keep the 4Charlie level when upside down. From level flight, loops are slightly egg-shaped, as are half or full Cuban 8s. I feel that the 4Charlie is best suited for cruising.
Whether a few mistakes high or on a low-level pass, the model looks great simply putting along at ½ to ⅝ throttle. The wind will bump it around some because it only weighs 16 ounces, but buzzing the runway on low-level passes during the late evening hours is a real treat.
Because the 4Charlie displays no bad stall tendencies when properly balanced, touch-and-gos and landings are a breeze. Simply line up on the runway, slowly lower the throttle, and fly it down to an easy, main gear landing every time. Be ready for a ground loop after the tail skid touches down on a paved surface, but it’s a quick, harmless spin.
Flight time on a 1,200 mAh LiPo battery pack is roughly 10 minutes, depending on how much you push the throttle. For simply cruising, I think it’s possible to extend it upward of 13 to 15 minutes, although I haven’t tried that yet.
In Conclusion
Stevens AeroModel’s 4Charlie is a great build. I wouldn’t suggest it as your first build, but maybe a second or third. Its small size gives you a chance to fly at a variety of parks, schools, fields, and even at your local RC club. Rise-off-the-ground takeoffs or hand launching are both options, depending on your field.
As I mentioned, the 4Charlie certainly isn’t overpowered, but it has enough power to have a ball. So, if you’re thinking about building a small electric-powered model with a good deal of character, or maybe you’re merely looking for a model you can build in a few evenings, I encourage you to give the Stevens AeroModel 4Charlie a look.
—Tom Sullivan
tmsullivan80@gmail.com
MANUFACTURER/DISTRIBUTOR:
Stevens AeroModel
(719) 387-4187
www.stevensaero.com
SOURCES:
Landing Products
(530) 661-0399
www.apcprop.com
ElectriFly
(800) 637-7660
www.electrifly.com
Spektrum
(800) 338-4639
www.spektrumrc.com
Du-Bro
(800) 848-9411.
www.dubro.com