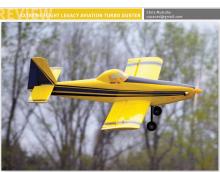
EXTREME FLIGHT LEGACY AVIATION TURBO DUSTER
Chris Mulcahy
cspaced@gmail.com

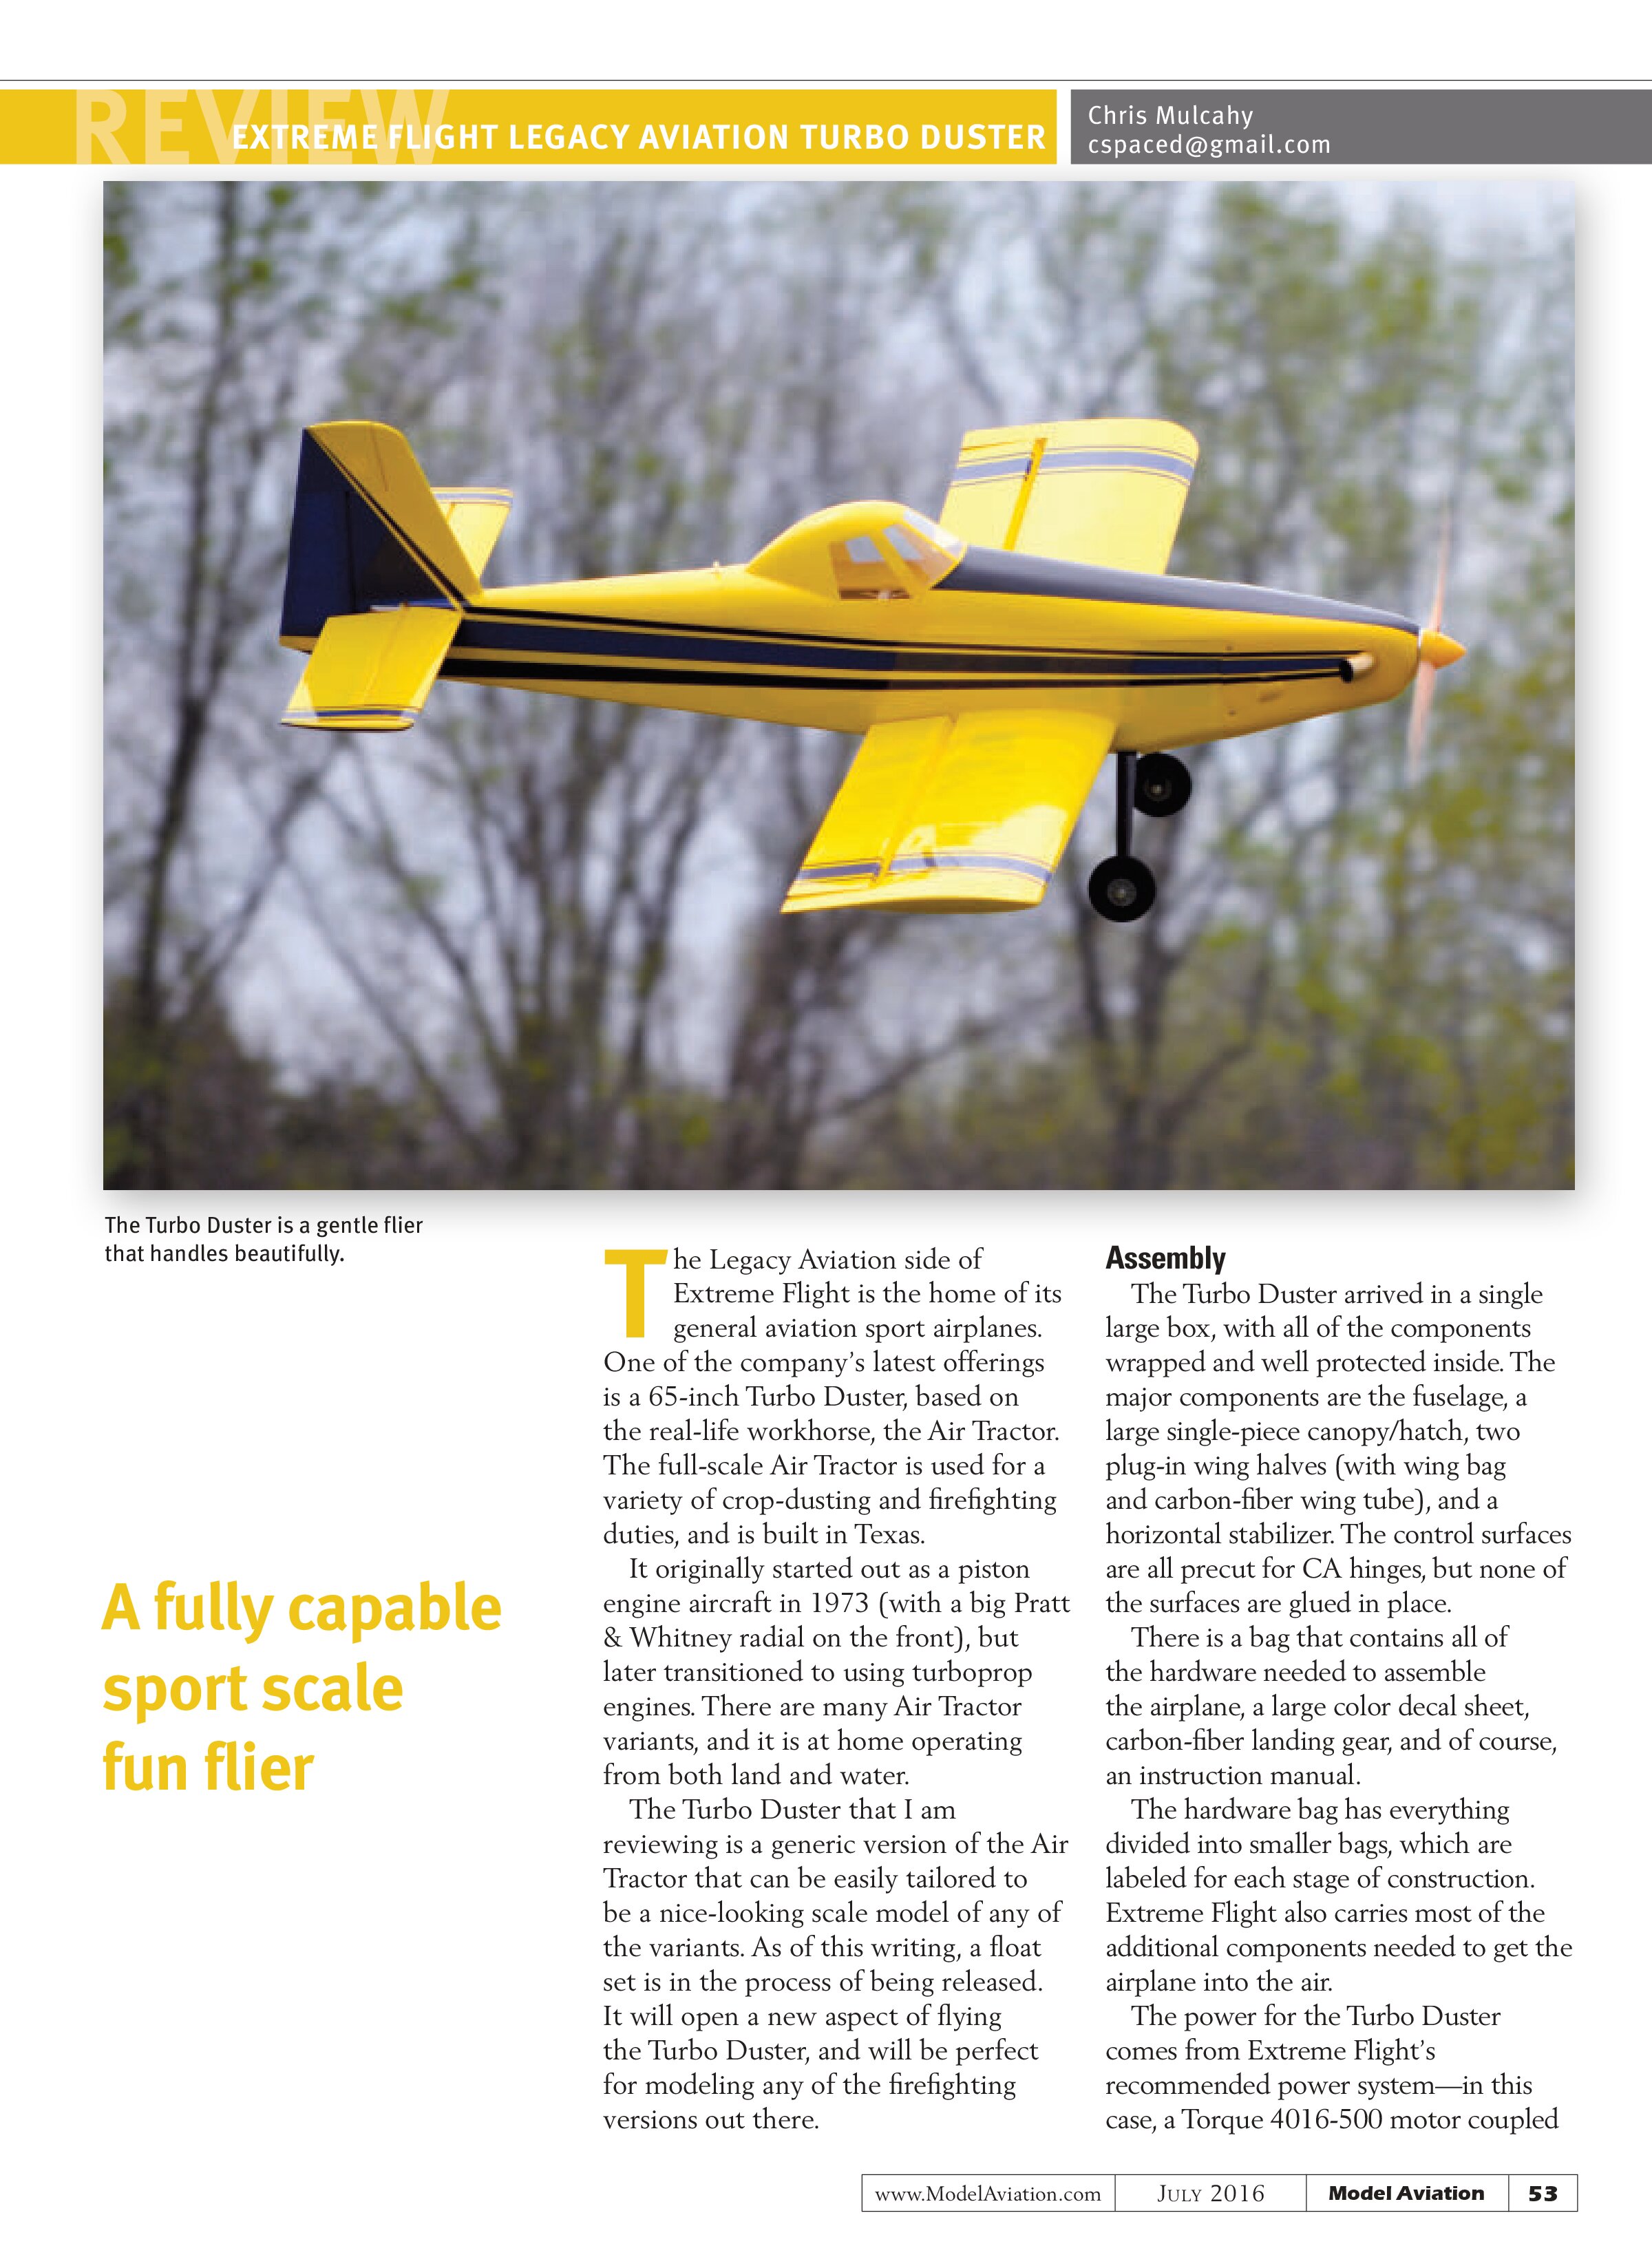
The Turbo Duster is a gentle flier
that handles beautifully.
The Legacy Aviation side of Extreme Flight is the home of its general aviation sport airplanes. One of the company’s latest offerings is a 65-inch Turbo Duster, based on the real-life workhorse, the Air Tractor. The full-scale Air Tractor is used for a variety of crop-dusting and firefighting duties, and is built in Texas.
It originally started out as a piston engine aircraft in 1973 (with a big Pratt & Whitney radial on the front), but later transitioned to using turboprop engines. There are many Air Tractor variants, and it is at home operating from both land and water.
The Turbo Duster that I am reviewing is a generic version of the Air Tractor that can be easily tailored to be a nice-looking scale model of any of the variants. As of this writing, a float set is in the process of being released. It will open a new aspect of flying the Turbo Duster, and will be perfect for modeling any of the firefighting versions out there.
Assembly
The Turbo Duster arrived in a single large box, with all of the components wrapped and well protected inside. The major components are the fuselage, a large single-piece canopy/hatch, two plug-in wing halves (with wing bag and carbon-fiber wing tube), and a horizontal stabilizer. The control surfaces are all precut for CA hinges, but none of the surfaces are glued in place.
There is a bag that contains all of the hardware needed to assemble the airplane, a large color decal sheet, carbon-fiber landing gear, and of course, an instruction manual.
The hardware bag has everything divided into smaller bags, which are labeled for each stage of construction. Extreme Flight also carries most of the additional components needed to get the airplane into the air.
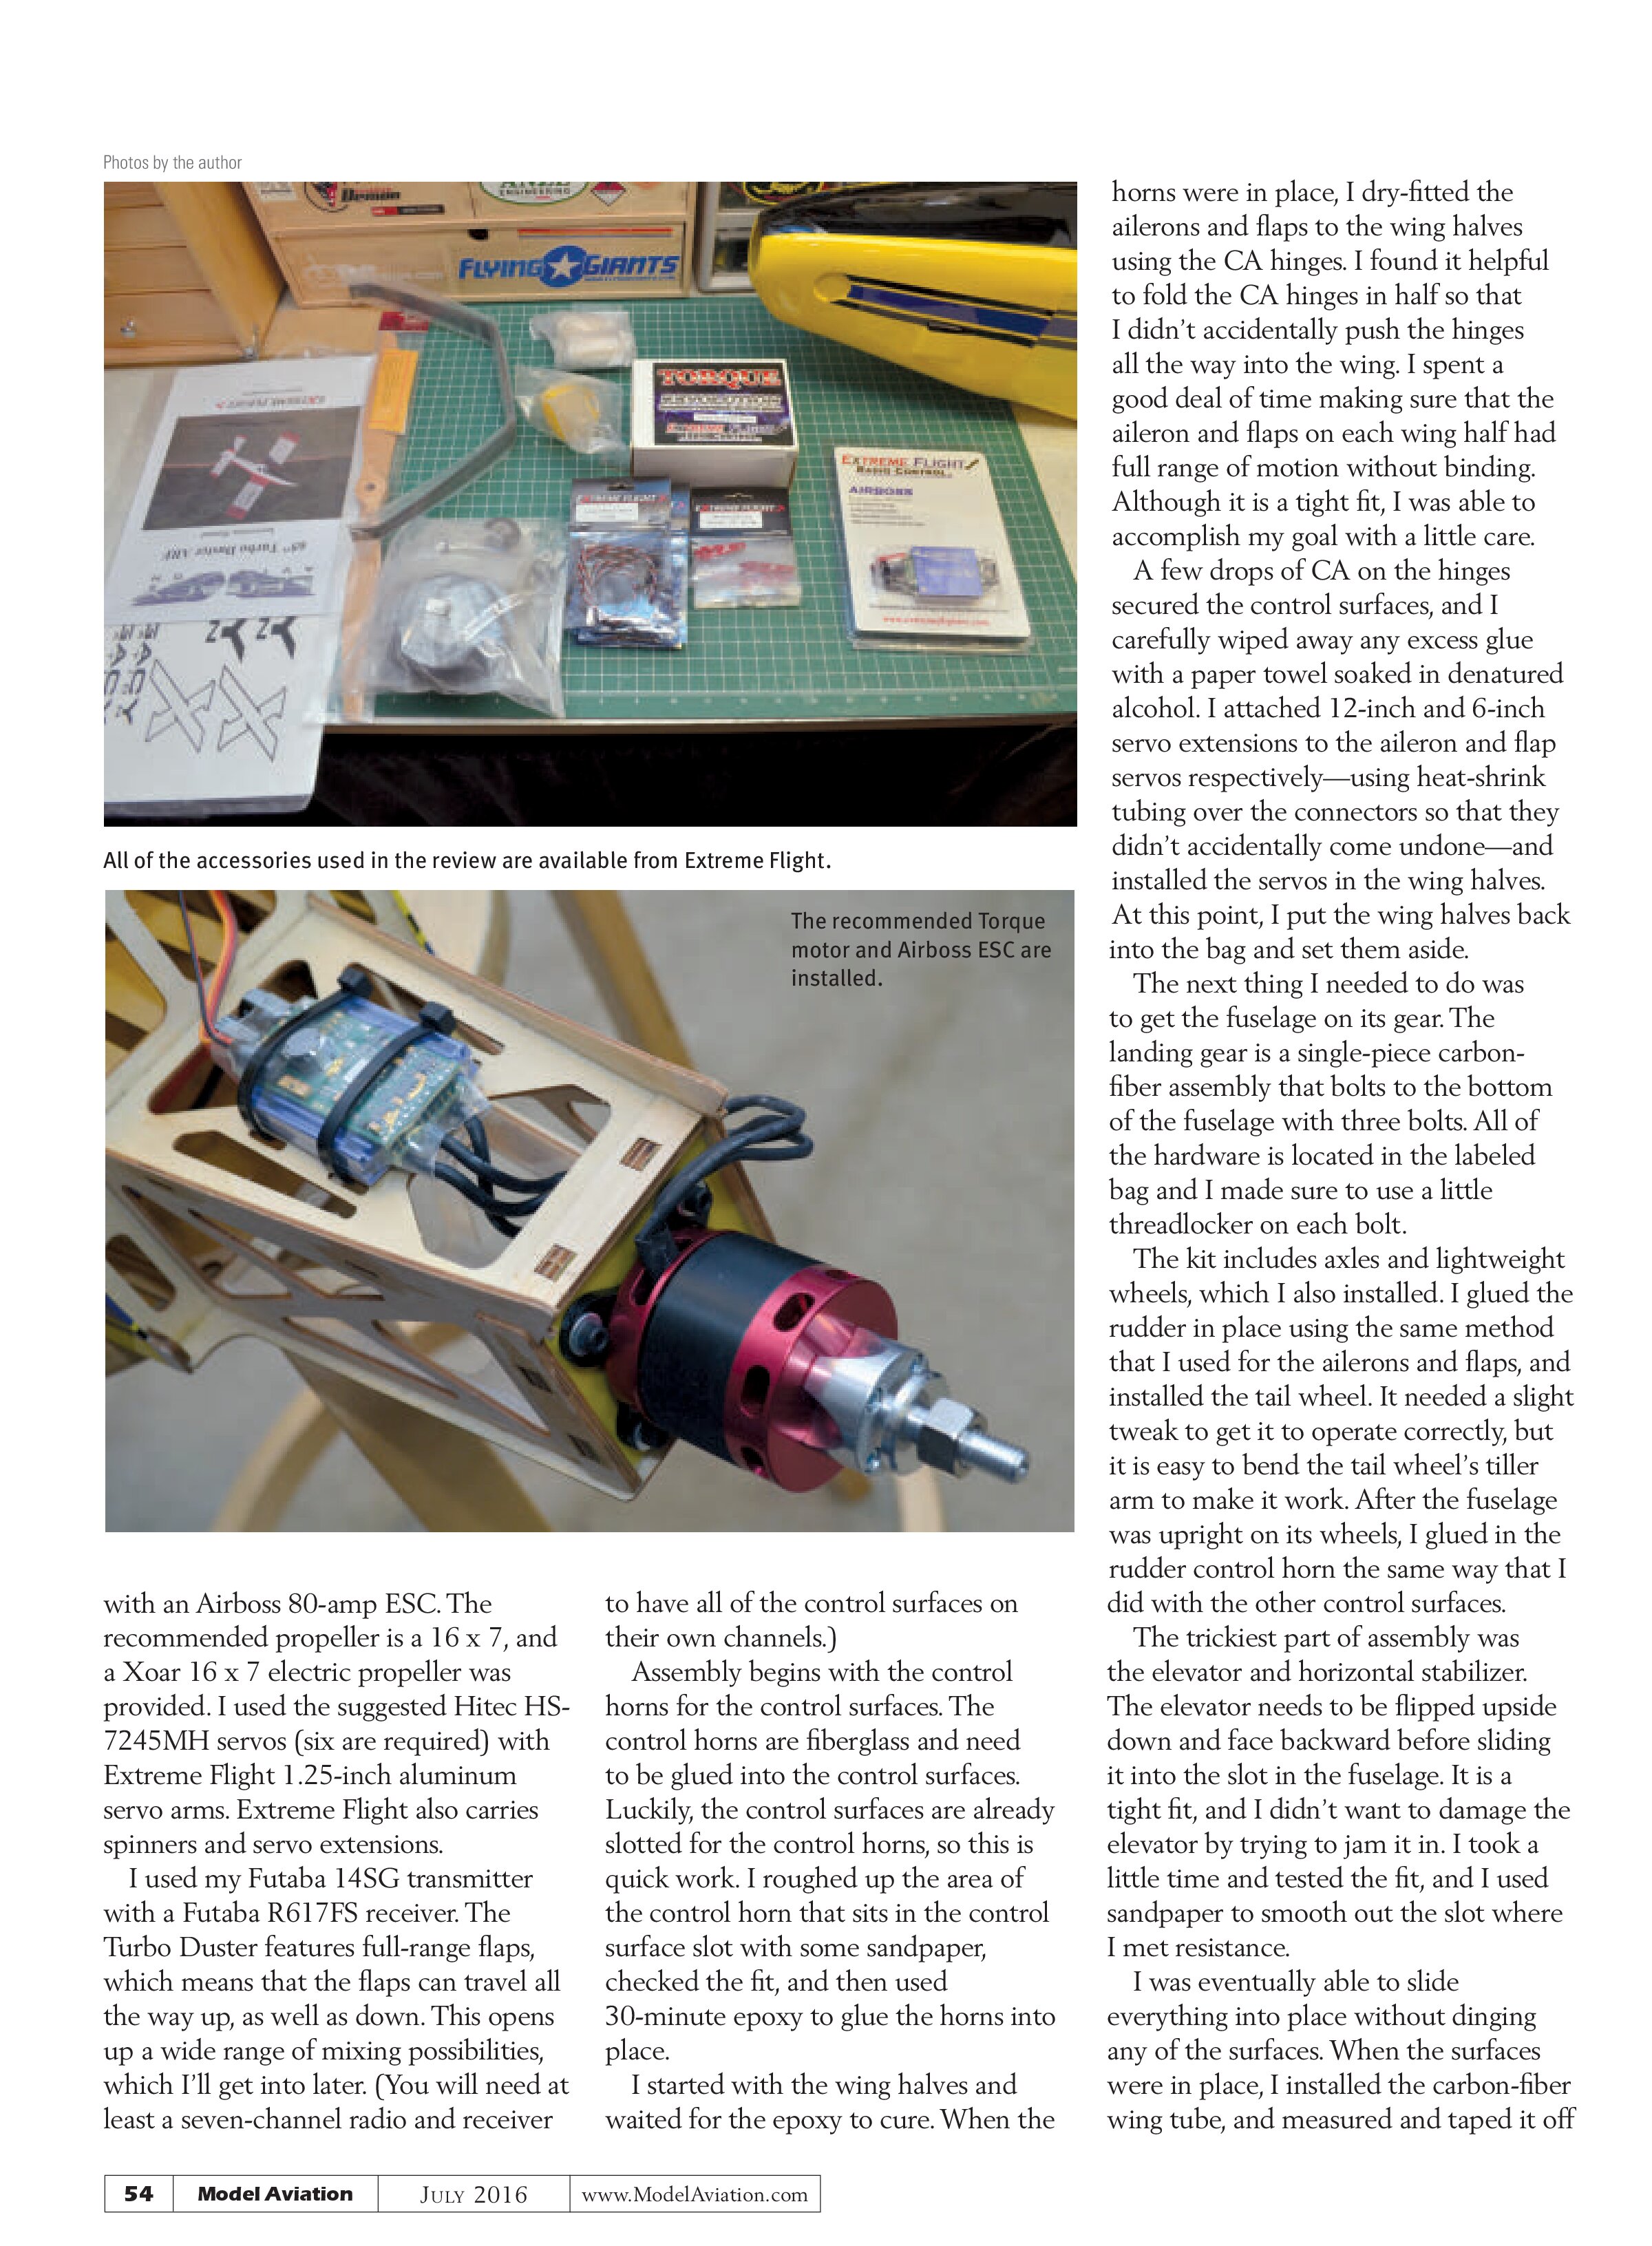
The power for the Turbo Duster comes from Extreme Flight’s recommended power system—in this case, a Torque 4016-500 motor coupled
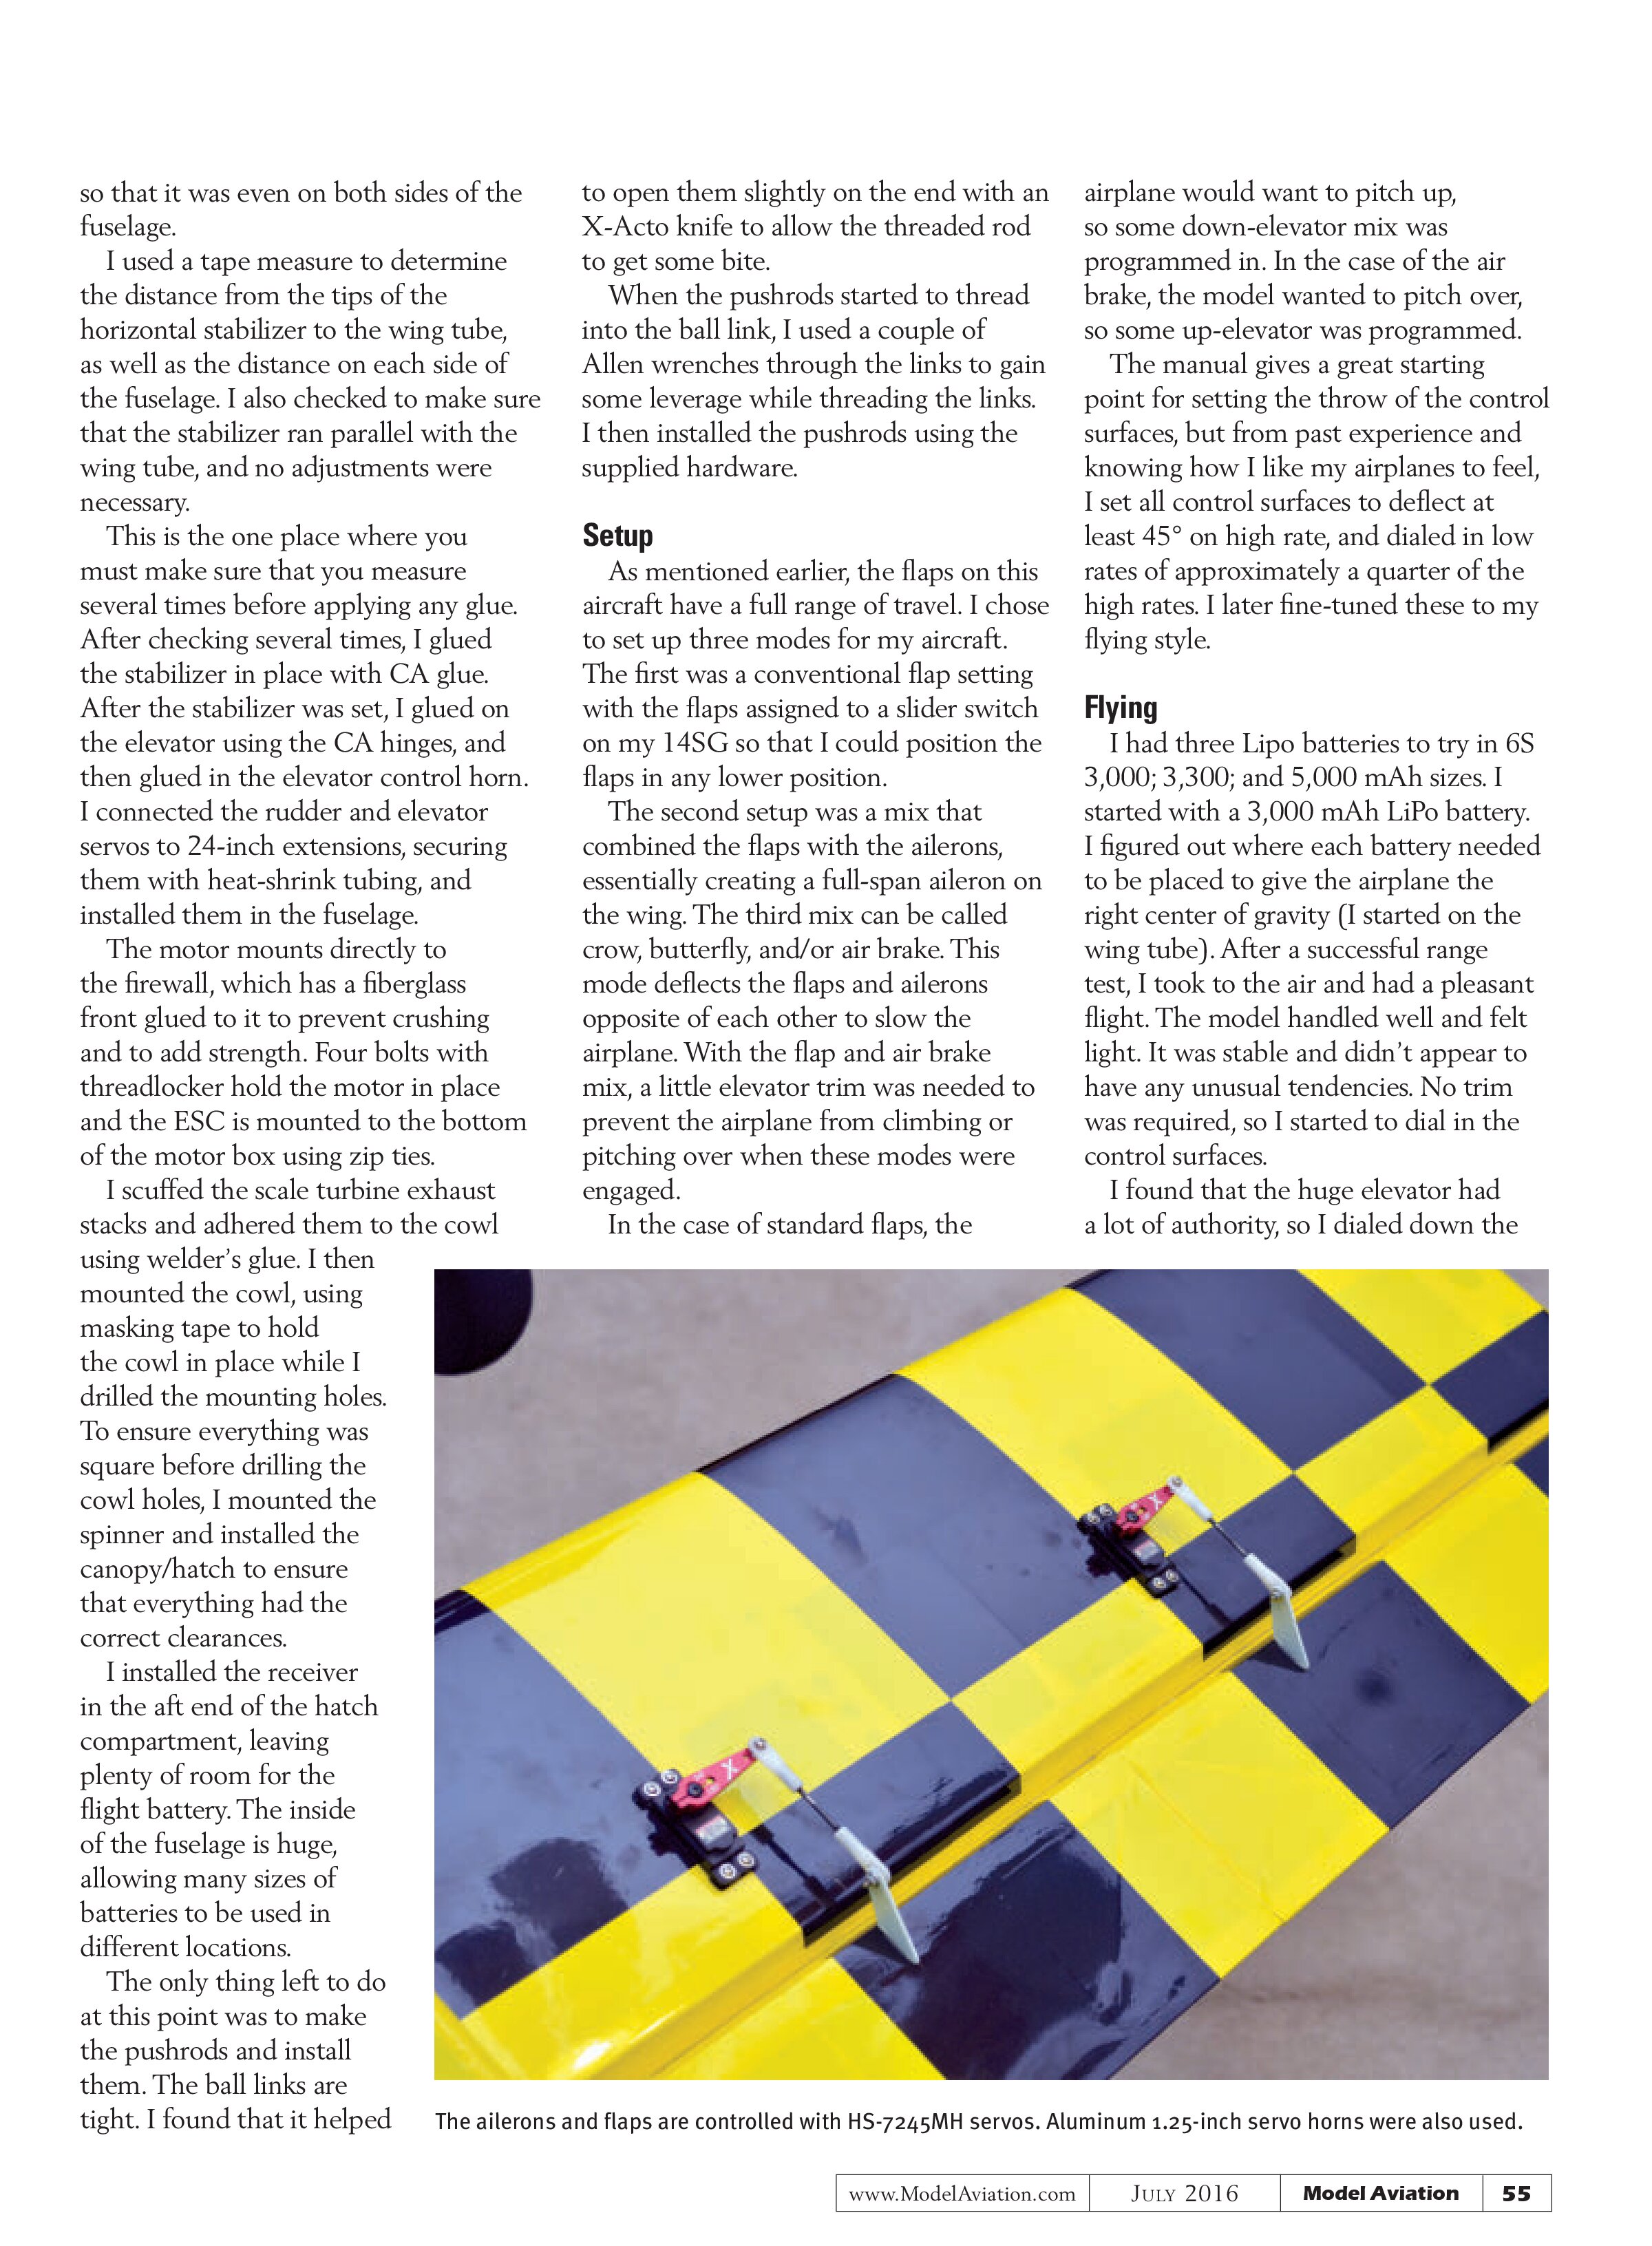
with an Airboss 80-amp ESC. The recommended propeller is a 16 x 7, and a Xoar 16 x 7 electric propeller was provided. I used the suggested Hitec HS-7245MH servos (six are required) with Extreme Flight 1.25-inch aluminum servo arms. Extreme Flight also carries spinners and servo extensions.
I used my Futaba 14SG transmitter with a Futaba R617FS receiver. The Turbo Duster features full-range flaps, which means that the flaps can travel all the way up, as well as down. This opens up a wide range of mixing possibilities, which I’ll get into later. (You will need at least a seven-channel radio and receiver to have all of the control surfaces on their own channels.)
Assembly begins with the control horns for the control surfaces. The control horns are fiberglass and need to be glued into the control surfaces. Luckily, the control surfaces are already slotted for the control horns, so this is quick work. I roughed up the area of the control horn that sits in the control surface slot with some sandpaper, checked the fit, and then used 30-minute epoxy to glue the horns into place.
I started with the wing halves and waited for the epoxy to cure. When the horns were in place, I dry-fitted the ailerons and flaps to the wing halves using the CA hinges. I found it helpful to fold the CA hinges in half so that I didn’t accidentally push the hinges all the way into the wing. I spent a good deal of time making sure that the aileron and flaps on each wing half had full range of motion without binding. Although it is a tight fit, I was able to accomplish my goal with a little care. A few drops of CA on the hinges secured the control surfaces, and I carefully wiped away any excess glue with a paper towel soaked in denatured alcohol. I attached 12-inch and 6-inch servo extensions to the aileron and flap servos respectively—using heat-shrink tubing over the connectors so that they didn’t accidentally come undone—and installed the servos in the wing halves. At this point, I put the wing halves back into the bag and set them aside.
The next thing I needed to do was to get the fuselage on its gear. The landing gear is a single-piece carbon-fiber assembly that bolts to the bottom of the fuselage with three bolts. All of the hardware is located in the labeled bag and I made sure to use a little threadlocker on each bolt.
The kit includes axles and lightweight wheels, which I also installed. I glued the rudder in place using the same method that I used for the ailerons and flaps, and installed the tail wheel. It needed a slight tweak to get it to operate correctly, but it is easy to bend the tail wheel’s tiller arm to make it work. After the fuselage was upright on its wheels, I glued in the rudder control horn the same way that I did with the other control surfaces.
The trickiest part of assembly was the elevator and horizontal stabilizer. The elevator needs to be flipped upside down and face backward before sliding it into the slot in the fuselage. It is a tight fit, and I didn’t want to damage the elevator by trying to jam it in. I took a little time and tested the fit, and I used sandpaper to smooth out the slot where I met resistance.
I was eventually able to slide everything into place without dinging any of the surfaces. When the surfaces were in place, I installed the carbon-fiber wing tube, and measured and taped it off so that it was even on both sides of the fuselage.
I used a tape measure to determine the distance from the tips of the horizontal stabilizer to the wing tube, as well as the distance on each side of the fuselage. I also checked to make sure that the stabilizer ran parallel with the wing tube, and no adjustments were necessary.
This is the one place where you must make sure that you measure several times before applying any glue. After checking several times, I glued the stabilizer in place with CA glue. After the stabilizer was set, I glued on the elevator using the CA hinges, and then glued in the elevator control horn. I connected the rudder and elevator servos to 24-inch extensions, securing them with heat-shrink tubing, and installed them in the fuselage.
The motor mounts directly to the firewall, which has a fiberglass front glued to it to prevent crushing and to add strength. Four bolts with threadlocker hold the motor in place and the ESC is mounted to the bottom of the motor box using zip ties.
I scuffed the scale turbine exhaust stacks and adhered them to the cowl using welder’s glue. I then mounted the cowl, using masking tape to hold the cowl in place while I drilled the mounting holes. To ensure everything was square before drilling the cowl holes, I mounted the spinner and installed the canopy/hatch to ensure that everything had the correct clearances.
I installed the receiver in the aft end of the hatch compartment, leaving plenty of room for the flight battery. The inside of the fuselage is huge, allowing many sizes of batteries to be used in different locations.
The only thing left to do at this point was to make the pushrods and install them. The ball links are tight. I found that it helped to open them slightly on the end with an X-Acto knife to allow the threaded rod to get some bite.
When the pushrods started to thread into the ball link, I used a couple of Allen wrenches through the links to gain some leverage while threading the links. I then installed the pushrods using the supplied hardware.
Setup
As mentioned earlier, the flaps on this aircraft have a full range of travel. I chose to set up three modes for my aircraft. The first was a conventional flap setting with the flaps assigned to a slider switch on my 14SG so that I could position the flaps in any lower position.
The second setup was a mix that combined the flaps with the ailerons, essentially creating a full-span aileron on the wing. The third mix can be called crow, butterfly, and/or air brake. This mode deflects the flaps and ailerons opposite of each other to slow the airplane. With the flap and air brake mix, a little elevator trim was needed to prevent the airplane from climbing or pitching over when these modes were engaged.
In the case of standard flaps, the airplane would want to pitch up, so some down-elevator mix was programmed in. In the case of the air brake, the model wanted to pitch over, so some up-elevator was programmed.
The manual gives a great starting point for setting the throw of the control surfaces, but from past experience and knowing how I like my airplanes to feel, I set all control surfaces to deflect at least 45° on high rate, and dialed in low rates of approximately a quarter of the high rates. I later fine-tuned these to my flying style.
Flying
I had three Lipo batteries to try in 6S 3,000; 3,300; and 5,000 mAh sizes. I started with a 3,000 mAh LiPo battery. I figured out where each battery needed to be placed to give the airplane the right center of gravity (I started on the wing tube). After a successful range test, I took to the air and had a pleasant flight. The model handled well and felt light. It was stable and didn’t appear to have any unusual tendencies. No trim was required, so I started to dial in the control surfaces.
I found that the huge elevator had a lot of authority, so I dialed down the


AT A GLANCE ...
SPECIFICATIONS
Model type: Sport scale ARF
Skill level: Intermediate
Wingspan: 65 inches
Wing area: 747 square inches
Length: 55 inches
Weight: 5 pounds without battery
Power system: Torque 4016T/500 MKII brushless motor; Airboss 80-amp ESC; 6S 3,000 to 4,000 mAh LiPo battery
Radio: Minimum five-channel transmitter and receiver; six servos
Street price: $349.95
TEST-MODEL DETAILS
Radio system: Futaba 14SG transmitter; Futaba R617FS receiver; six Hitec HS-7245MH servos; 6-, 12-, and 24-inch servo extensions; Extreme Flight aluminum 1.25-inch servo horns
Power system used: Torque 4016T/500 MKII brushless motor; Airboss 80-amp ESC; 6S 3,000, 3,300, and 5,000 mAh LiPo battery packs
Flying weight: 5.5 pounds without battery
Flight duration: 5 to 10 minutes, depending on battery size
PLUSES
- Stable, easy-to-fly aircraft.
- High-quality build and hardware.
- Lightweight.
- Wide range of power options.
- Floats available.
- Hard points for floats already installed.
MINUS
- Wheels were extremely noisy; needed grease.

rate for normal sport flying. There was a little knife-edge coupling, which was easy enough to dial out, and after those few adjustments, the airplane was a solid flier.
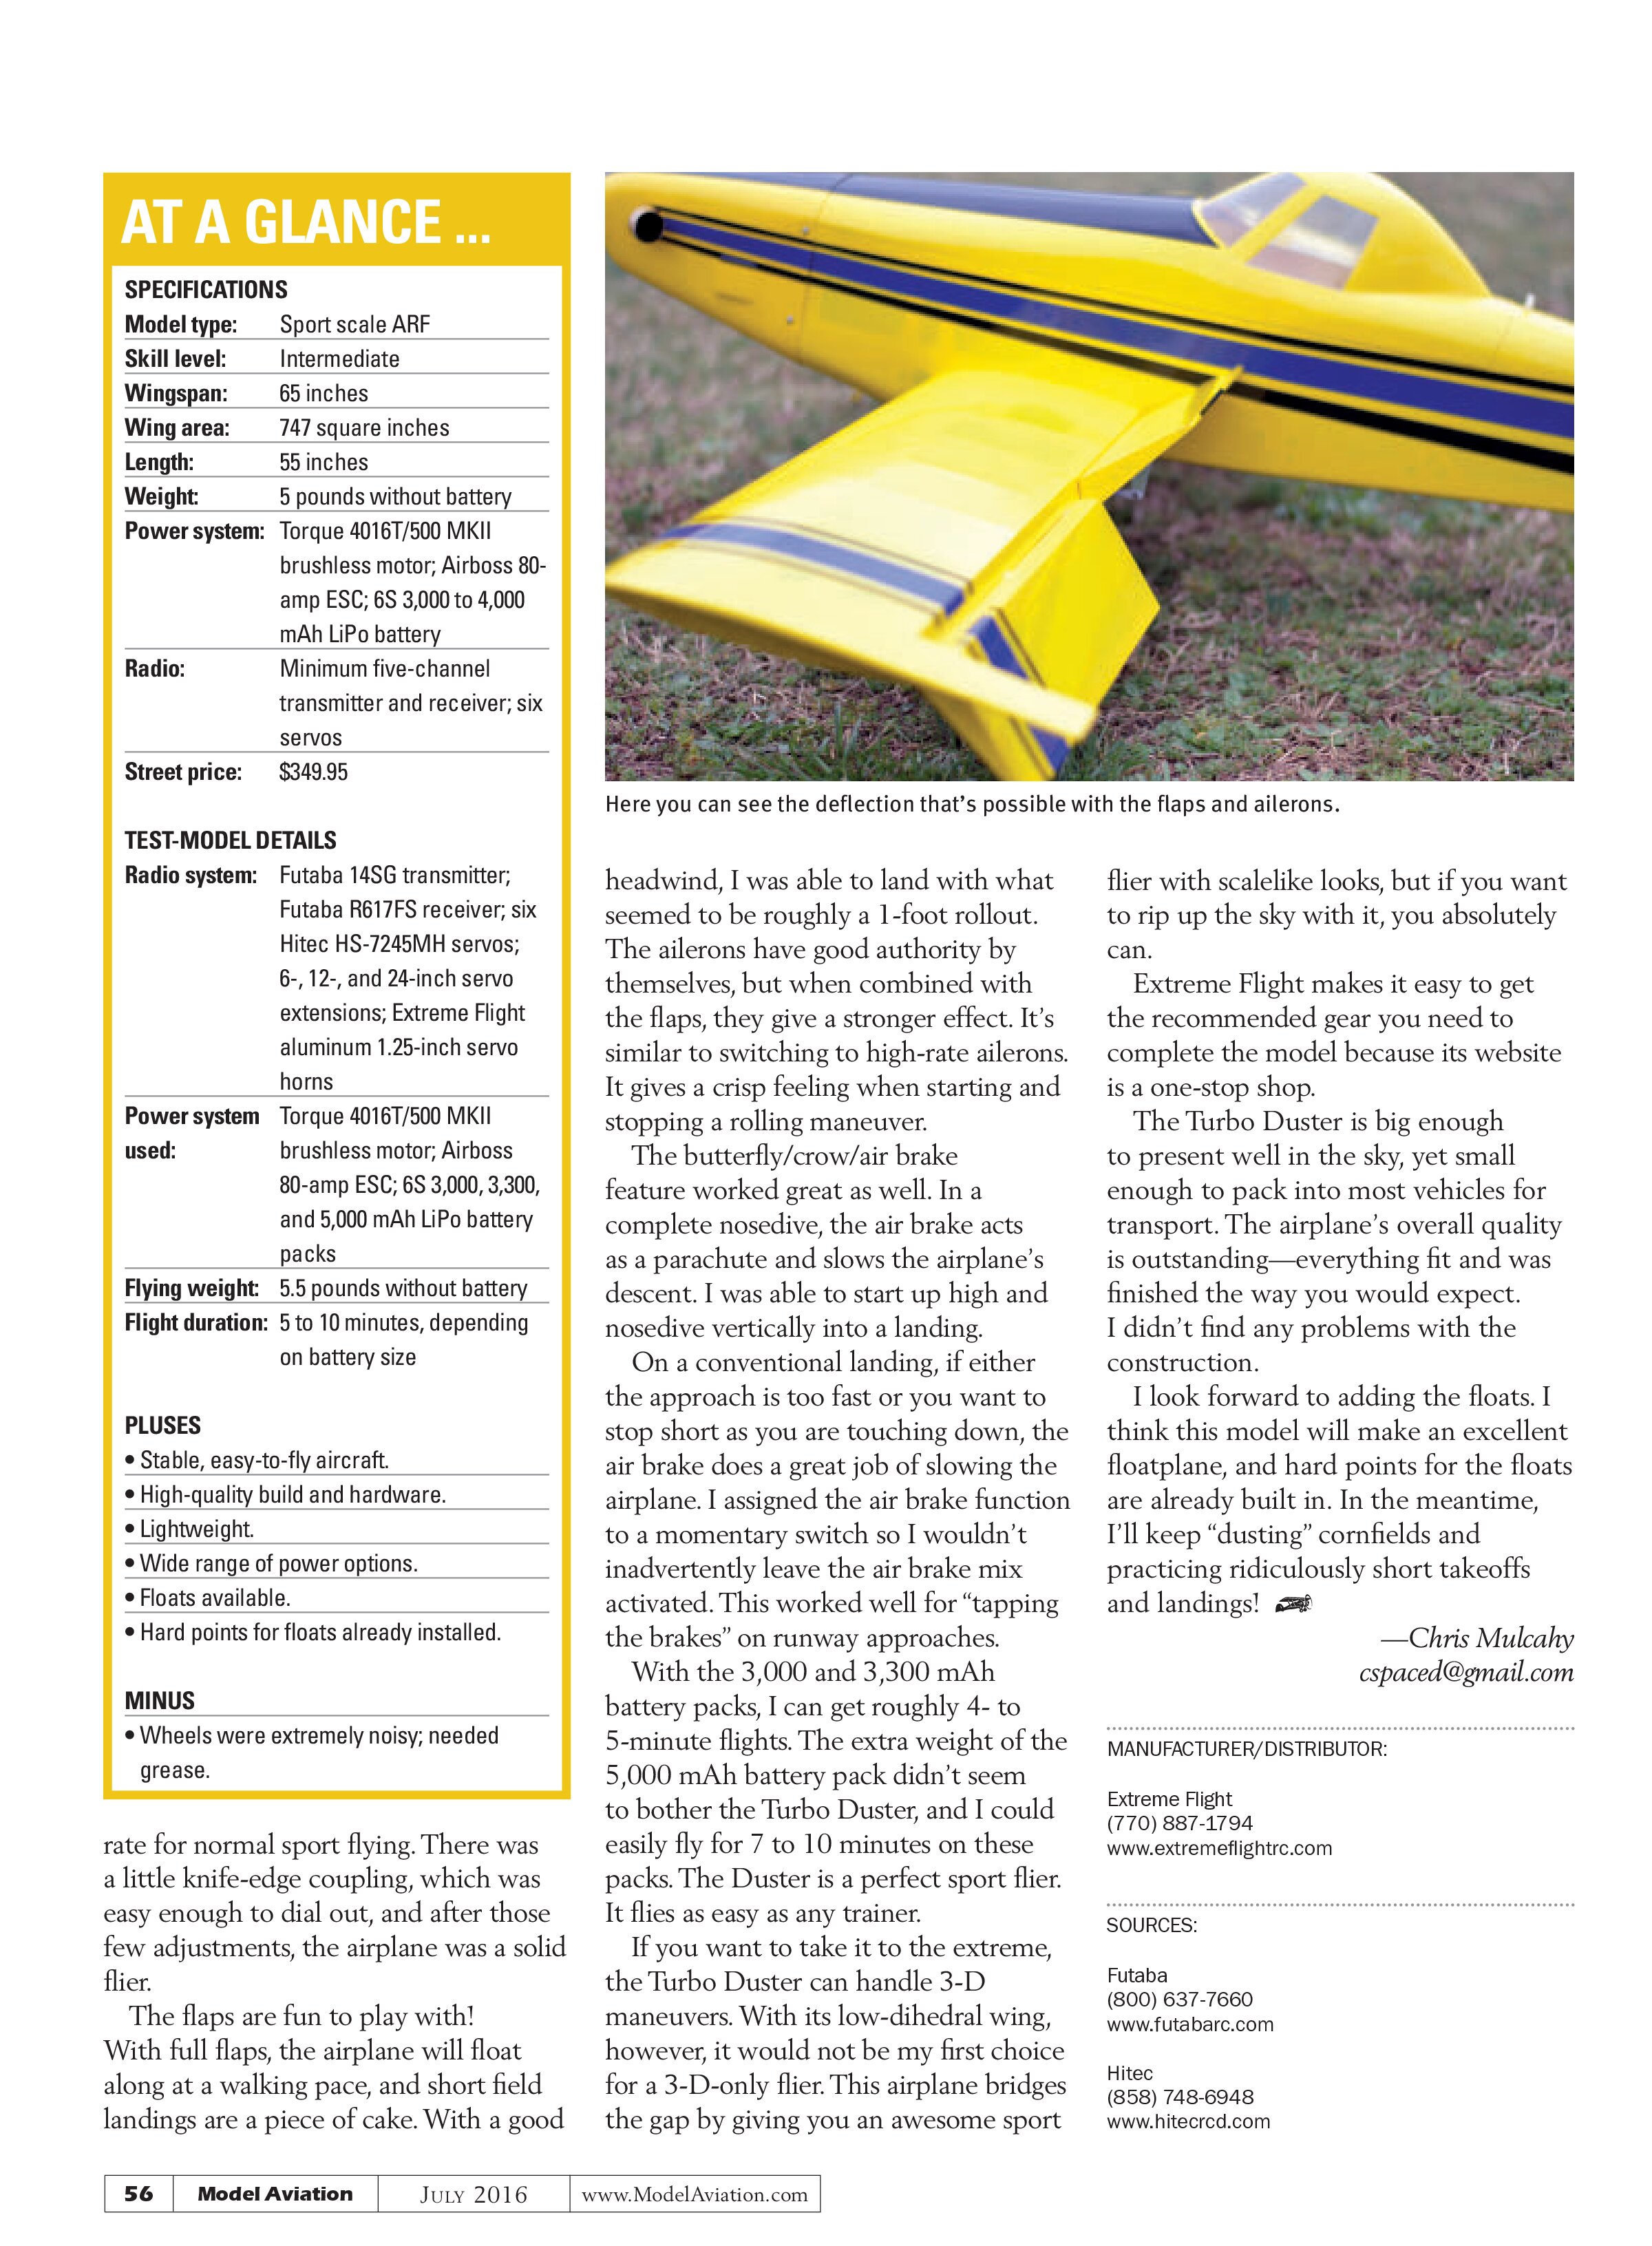
The flaps are fun to play with! With full flaps, the airplane will float along at a walking pace, and short field landings are a piece of cake. With a good headwind, I was able to land with what seemed to be roughly a 1-foot rollout. The ailerons have good authority by themselves, but when combined with the flaps, they give a stronger effect. It’s similar to switching to high-rate ailerons. It gives a crisp feeling when starting and stopping a rolling maneuver.
The butterfly/crow/air brake feature worked great as well. In a complete nosedive, the air brake acts as a parachute and slows the airplane’s descent. I was able to start up high and nosedive vertically into a landing.
On a conventional landing, if either the approach is too fast or you want to stop short as you are touching down, the air brake does a great job of slowing the airplane. I assigned the air brake function to a momentary switch so I wouldn’t inadvertently leave the air brake mix activated. This worked well for “tapping the brakes” on runway approaches.
With the 3,000 and 3,300 mAh battery packs, I can get roughly 4- to 5-minute flights. The extra weight of the 5,000 mAh battery pack didn’t seem to bother the Turbo Duster, and I could easily fly for 7 to 10 minutes on these packs. The Duster is a perfect sport flier. It flies as easy as any trainer.
If you want to take it to the extreme, the Turbo Duster can handle 3-D maneuvers. With its low-dihedral wing, however, it would not be my first choice for a 3-D-only flier. This airplane bridges the gap by giving you an awesome sport flier with scalelike looks, but if you want to rip up the sky with it, you absolutely can.
Extreme Flight makes it easy to get the recommended gear you need to complete the model because its website is a one-stop shop.
The Turbo Duster is big enough to present well in the sky, yet small enough to pack into most vehicles for transport. The airplane’s overall quality is outstanding—everything fit and was finished the way you would expect. I didn’t find any problems with the construction.
I look forward to adding the floats. I think this model will make an excellent floatplane, and hard points for the floats are already built in. In the meantime, I’ll keep “dusting” cornfields and practicing ridiculously short takeoffs and landings!
—Chris Mulcahy
cspaced@gmail.com
MANUFACTURER/DISTRIBUTOR:
Extreme Flight
(770) 887-1794
www.extremeflightrc.com
SOURCES:
Futaba
(800) 637-7660
www.futaba.com
Hitec
(858) 748-6948
www.hitecrcd.com