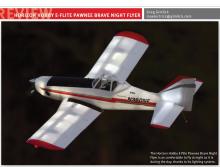
Horizon Hobby E-Flite Pawnee Brave Night Flyer
Greg Gimlick
maelectrics@gimlick.com

Simulated crop dusting day or night
After admiring this airplane on the Horizon Hobby website, I was excited to actually get my hands on one. I did some crop dusting years ago in a full-scale Bell 47 helicopter and loved watching “the big boys” spray from their Cessna AGwagons, AGtrucks, and Piper Pawnees.
When I got the E-flite Pawnee Brave Night Flyer out of its well-packed foam box, I wasn’t disappointed with the look! Everything was wrapped and protected so the finish was pristine, until I started handling it. I immediately noticed that the black paint around the edges of the battery hatch had chipped off, exposing the white beneath it. I touched it up, but during the assembly, it needed more touch up. Aside from that, everything was gorgeous and the box included the only two tools required for assembly: a screwdriver and a wrench.
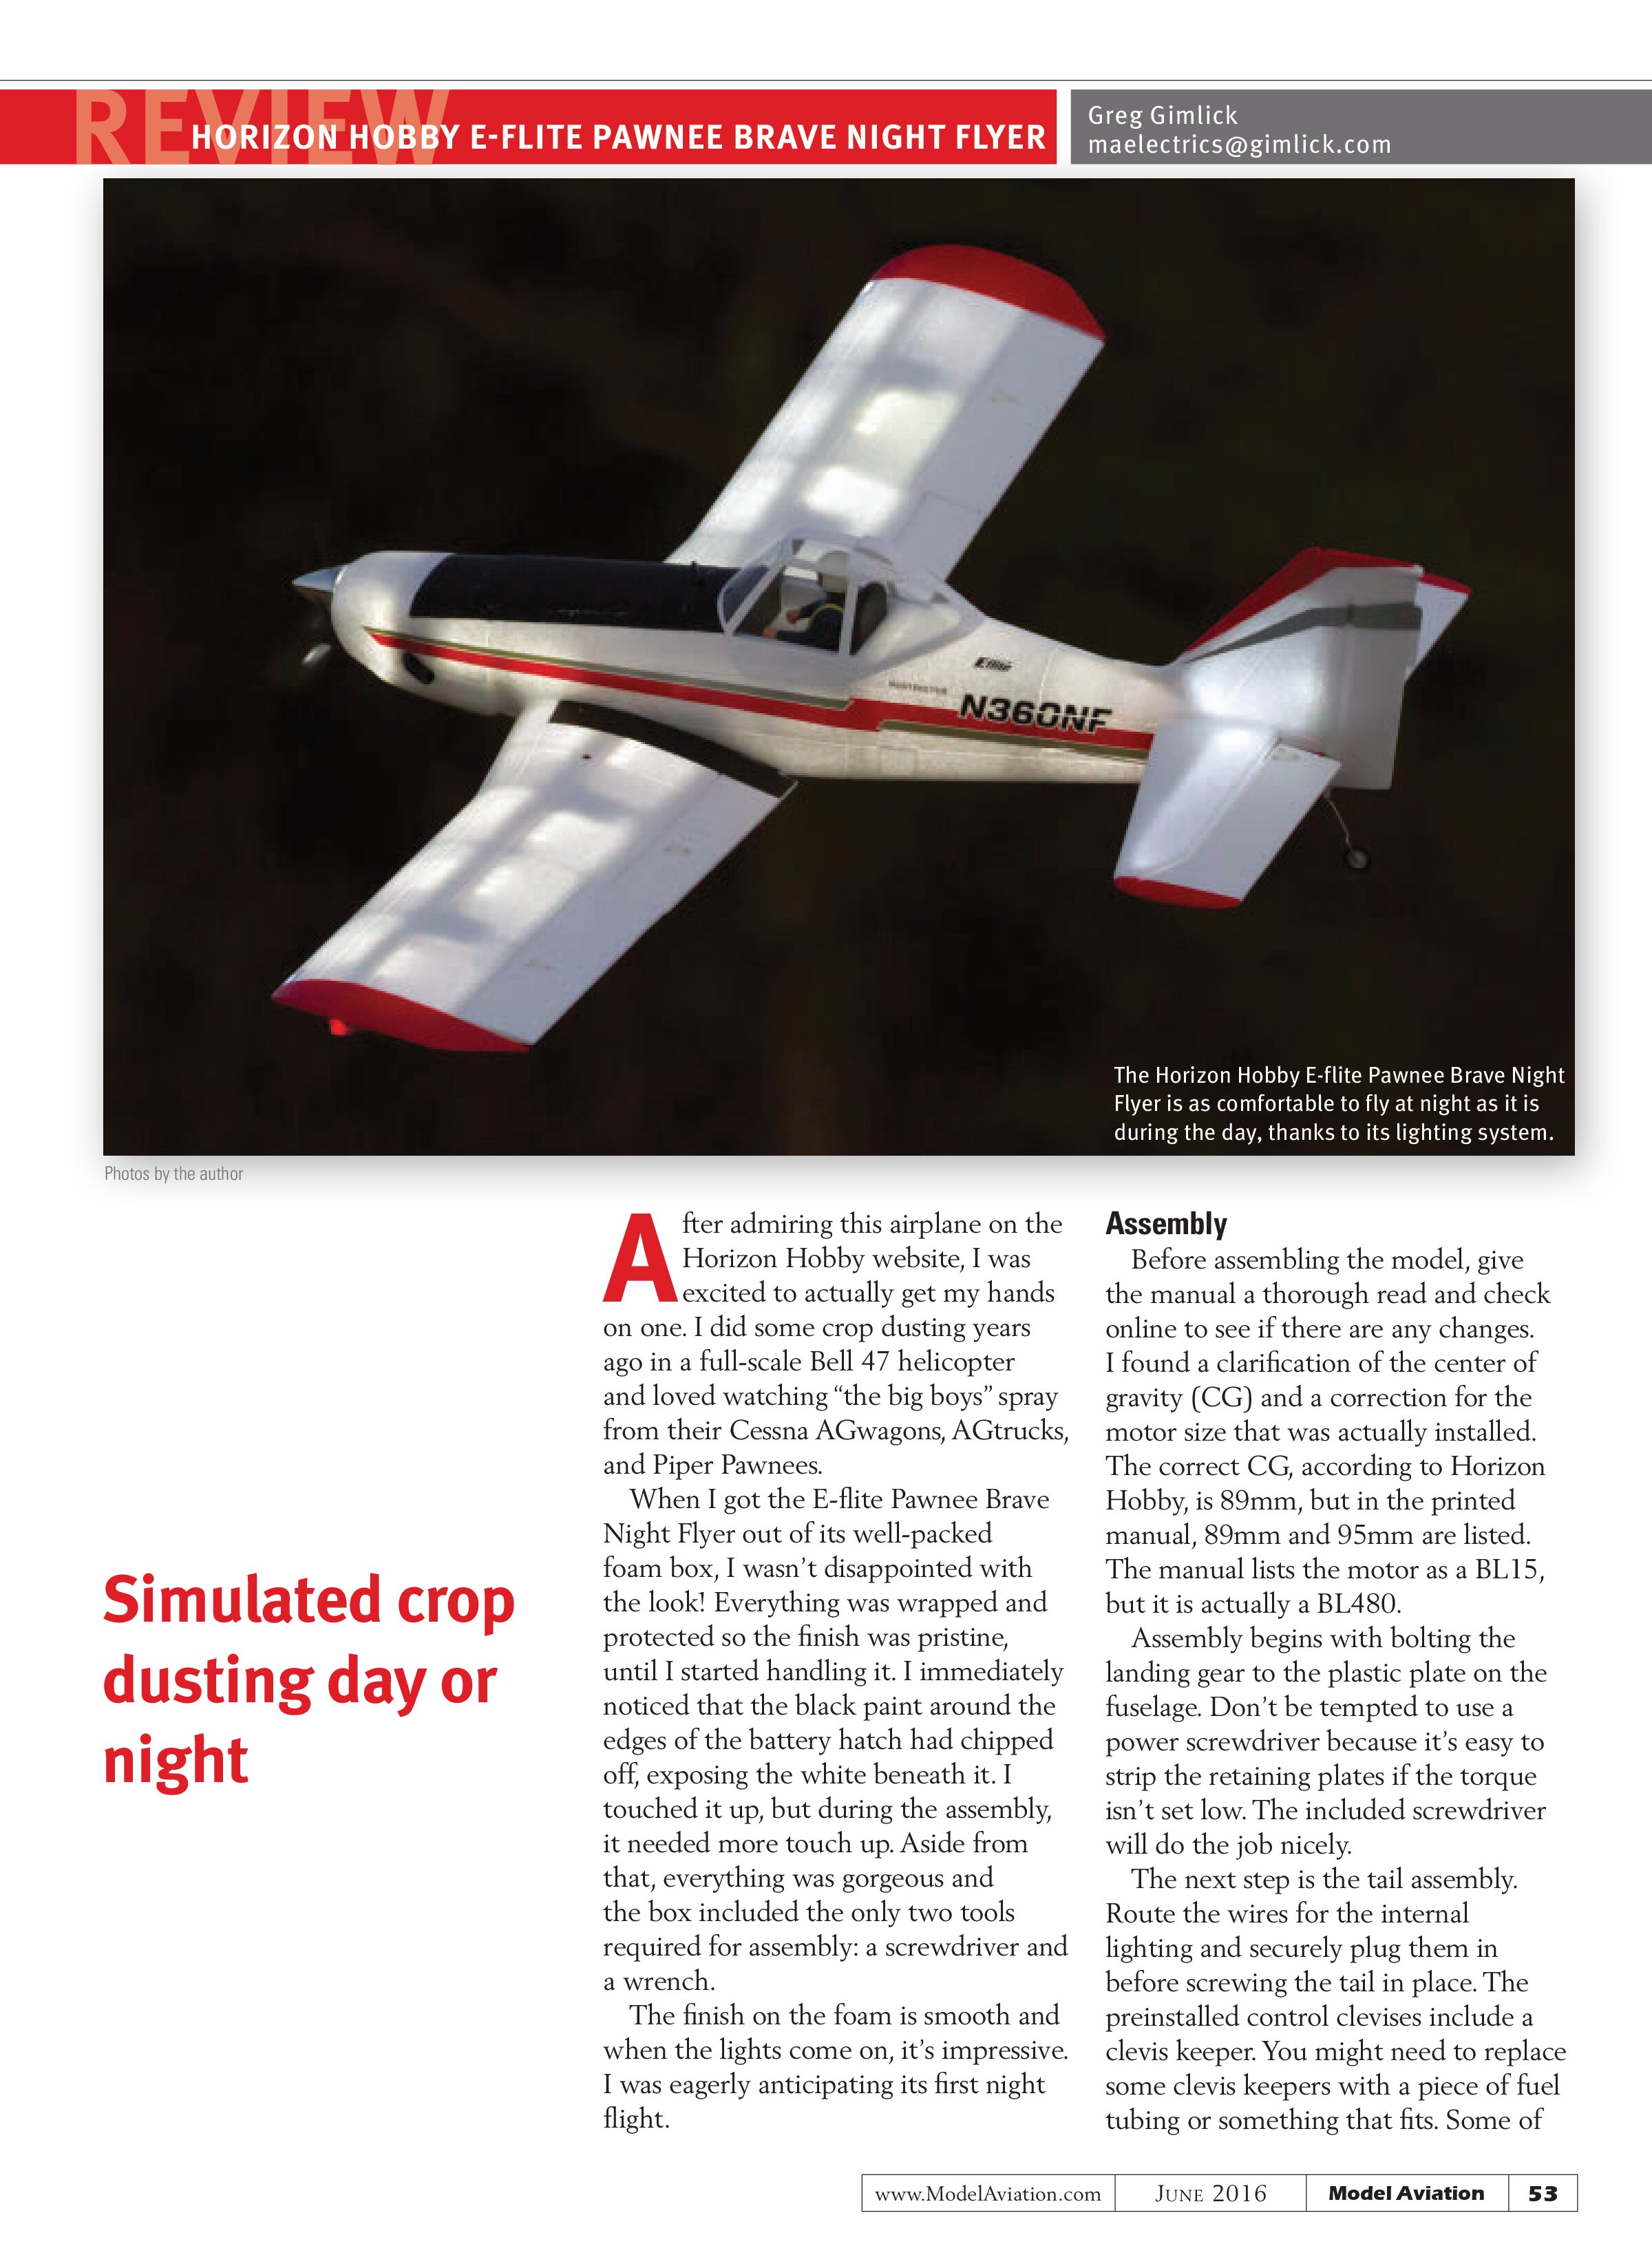
The finish on the foam is smooth and when the lights come on, it’s impressive. I was eagerly anticipating its first night flight.
Assembly
Before assembling the model, give the manual a thorough read and check online to see if there are any changes. I found a clarification of the center of gravity (CG) and a correction for the motor size that was actually installed. The correct CG, according to Horizon Hobby, is 89mm, but in the printed manual, 89mm and 95mm are listed. The manual lists the motor as a BL15, but it is actually a BL480.
Assembly begins with bolting the landing gear to the plastic plate on the fuselage. Don’t be tempted to use a power screwdriver because it’s easy to strip the retaining plates if the torque isn’t set low. The included screwdriver will do the job nicely.
The next step is the tail assembly. Route the wires for the internal lighting and securely plug them in before screwing the tail in place. The preinstalled control clevises include a clevis keeper. You might need to replace some clevis keepers with a piece of fuel tubing or something that fits. Some of
mine were snug and others slid off.
As you begin the wing assembly, decide if you want to install the optional flaps. There was no decision there for me; I knew I’d want the flaps. The hardware is included, so you only need to add a couple of small servos. There
AT A GLANCE ...
SPECIFICATIONS
Model type: Sport scale BNF park flyer
Skill level: Intermediate pilot
Wingspan: 48 inches
Wing area: 382.6 square inches
Airfoil: Flat bottom
Length: 36.6 inches
Weight: 45.8 ounces
Power system: BL480 750 Kv outrunner motor (installed); E-flite 30-amp brushless ESC (installed); 11.1-volt 3S 2,200 mAh LiPo battery; 10 x 8 three-blade propeller (two included)
Radio: Spektrum six-channel AR636A DSMX receiver (installed)
Construction: Z-Foam
Street price: $279.99
TEST-MODEL DETAILS
Ready-to-fly weight: 48 ounces
Wing loading: 18 ounces per square foot
Flight duration: 6 to 7 minutes
Needed to complete: Five-plus channel Spektrum DSM2/DSMX-compatible transmitter; 2,200 mAh 3S 25C 11.1-volt LiPo battery and charger
PLUSES
- Fast assembly; includes a screwdriver and a wrench.
- Great lighting system.
- Extra propeller included.
- AS3X stability.
- Optional flap hardware included (except servos).
MINUSES
- Black paint around battery hatch chips off easily.
- Firewall wasn’t glued to fuselage formers so motor was loose.
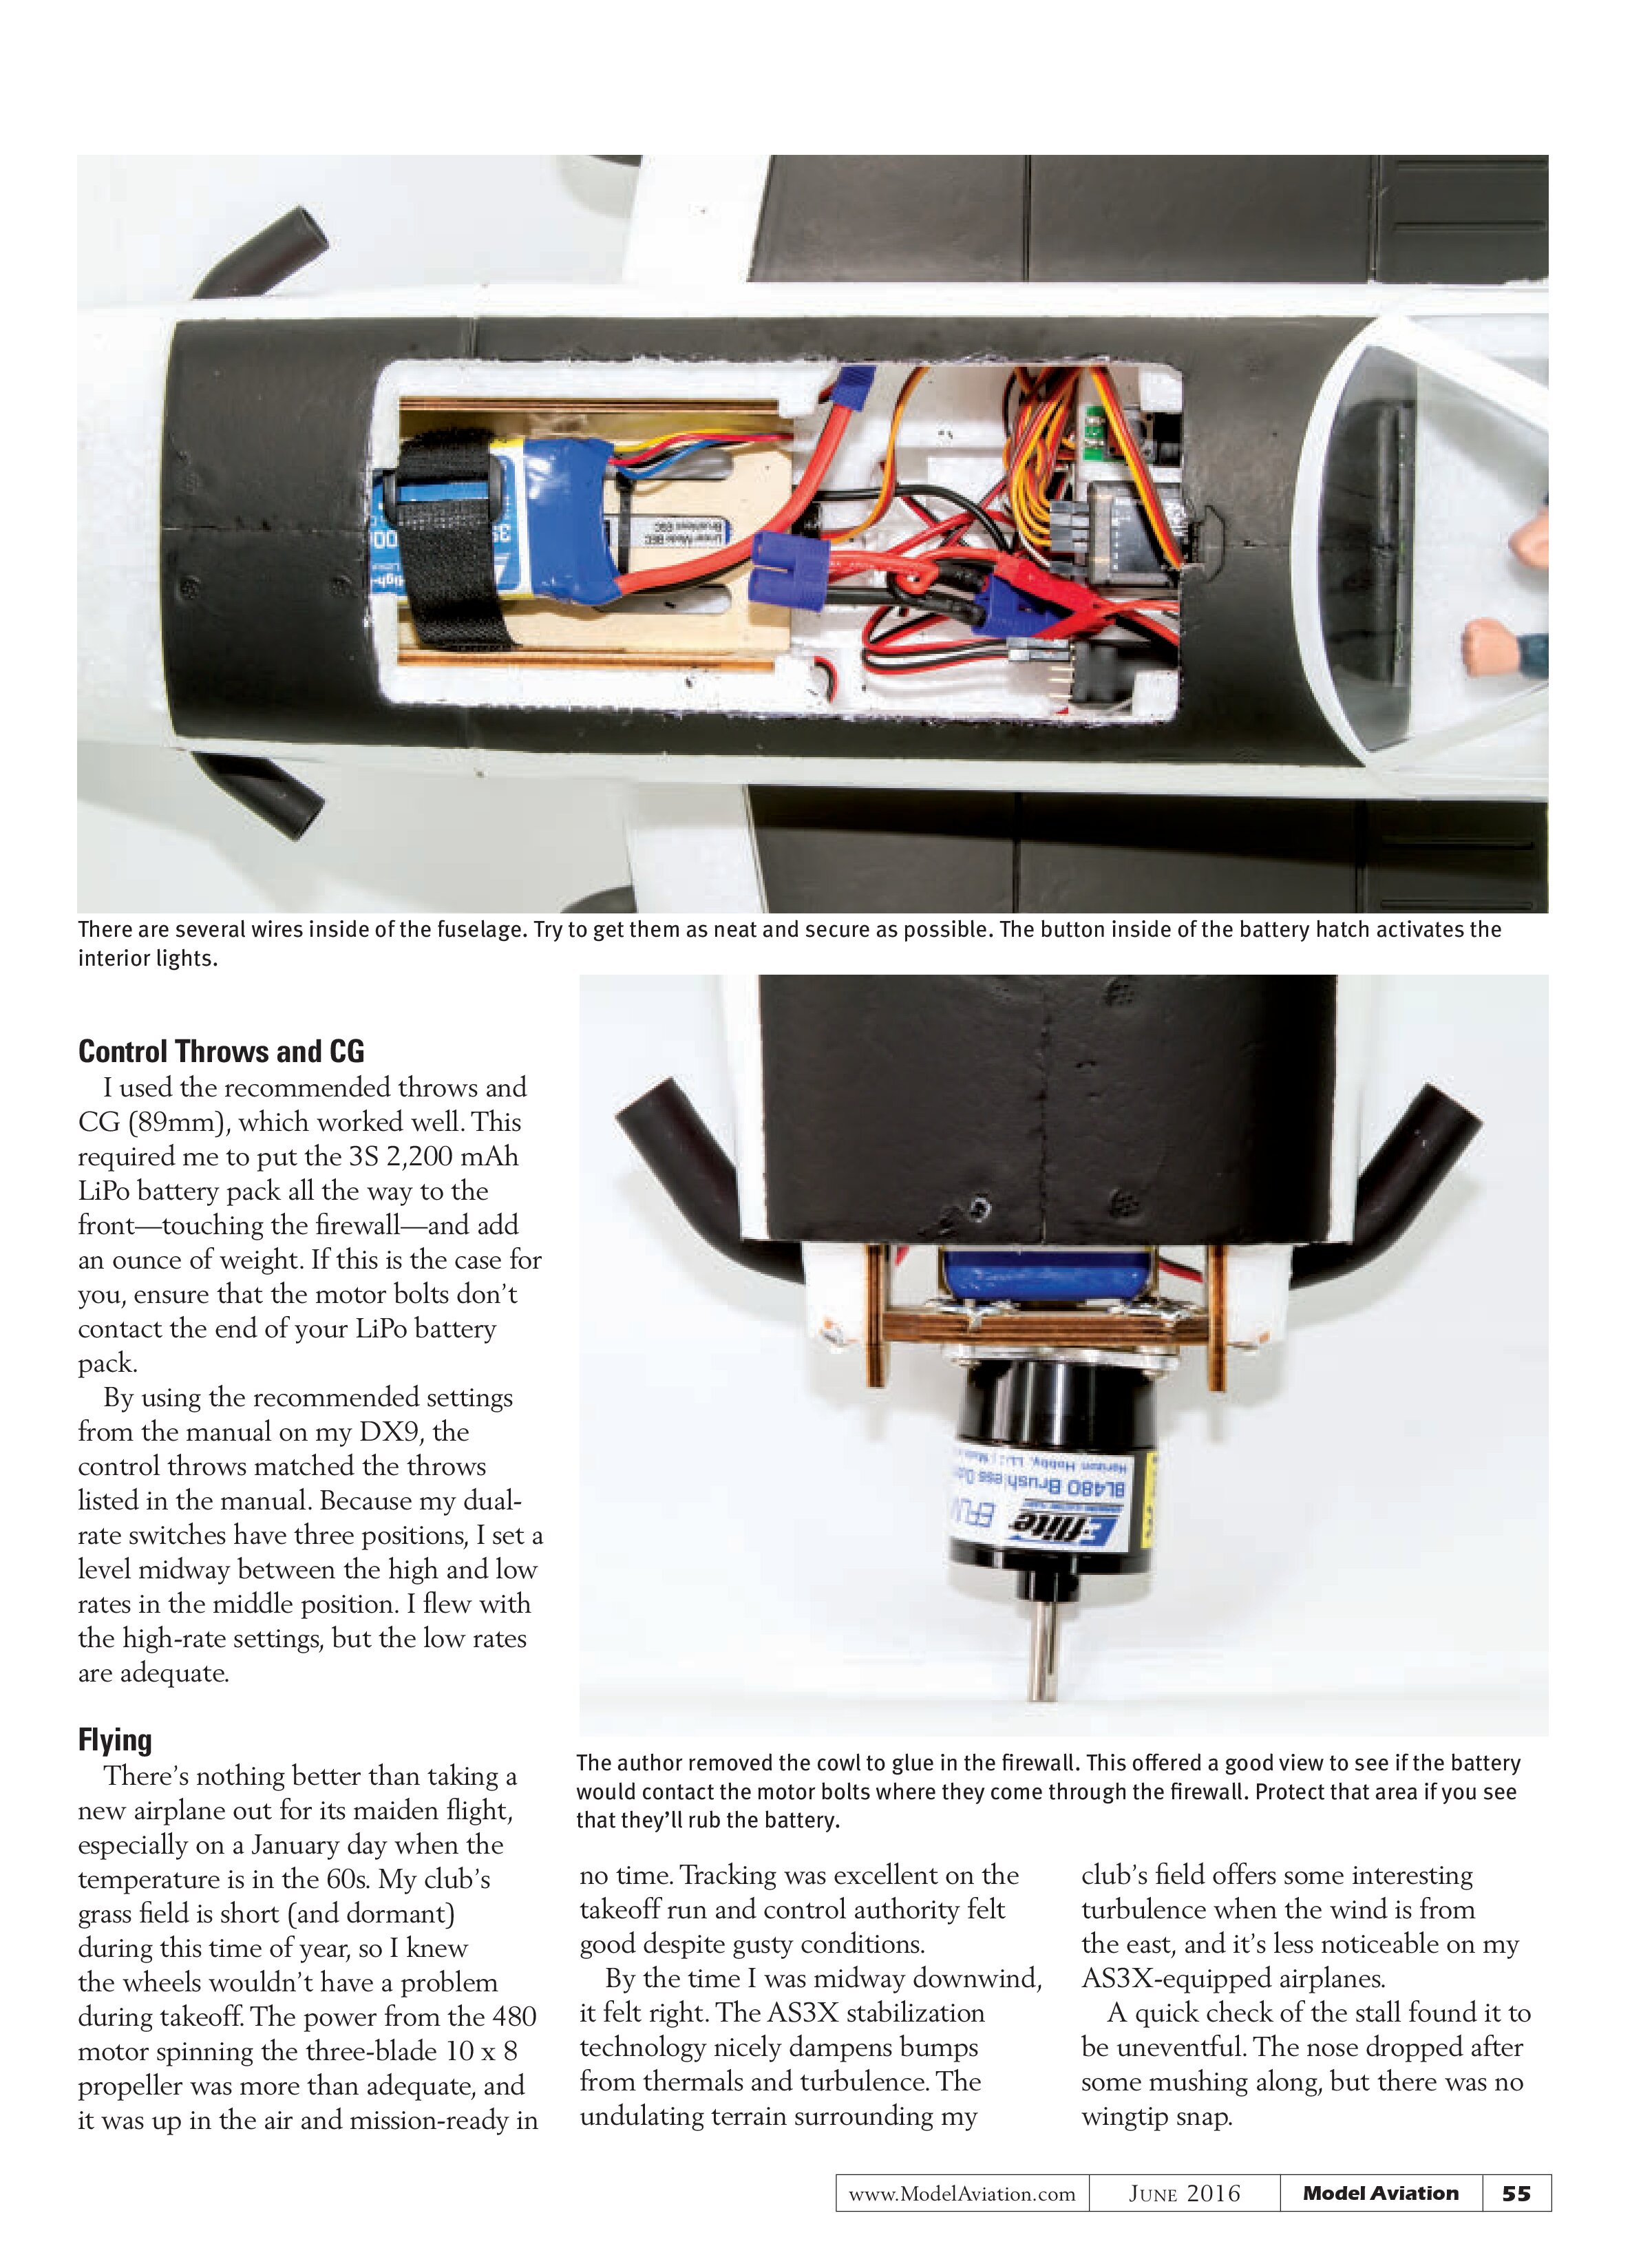
are three wires already in the wing, so sliding the new servo wire alongside them can be problematic. I have a tip for how to make that easy.
Purchase a piece of lamp chain from your local hardware store and tie a string to one end. Drop the other end down the wing channel from the servo opening and it will find its way to the exit in the root rib. Tie the string to the servo connection and pull it through the wing to the exit—easy!
Before you bolt the wing in place, be sure to plug the white plug for the lights into the connector in the bottom of the fuselage. It’s not mentioned in the instruction book, but if you install the wing first, you won’t be able to get to the plug. Route the wires through the access holes and secure the wing with the two bolts. The other lighting plugs go into the connector block near the receiver and into the two slots closest to the receiver.
The only problem I ran into was when I began to install the spinner and propeller. I noticed there was some play in the motor, as though it were loose. I assumed that the bolts to the firewall must have come loose, but a check of that found them to be tight. I removed the cowl to find that the firewall is tabbed into the sides of the fuselage formers, but wasn’t glued.
I added a little epoxy along those joints, and everything was secure. With the cowl off, it’s a good time to check to see if your battery will rub against anything on the firewall. Mine touched the ends of a couple of the motor bolts, so I installed a thin cushion between them.

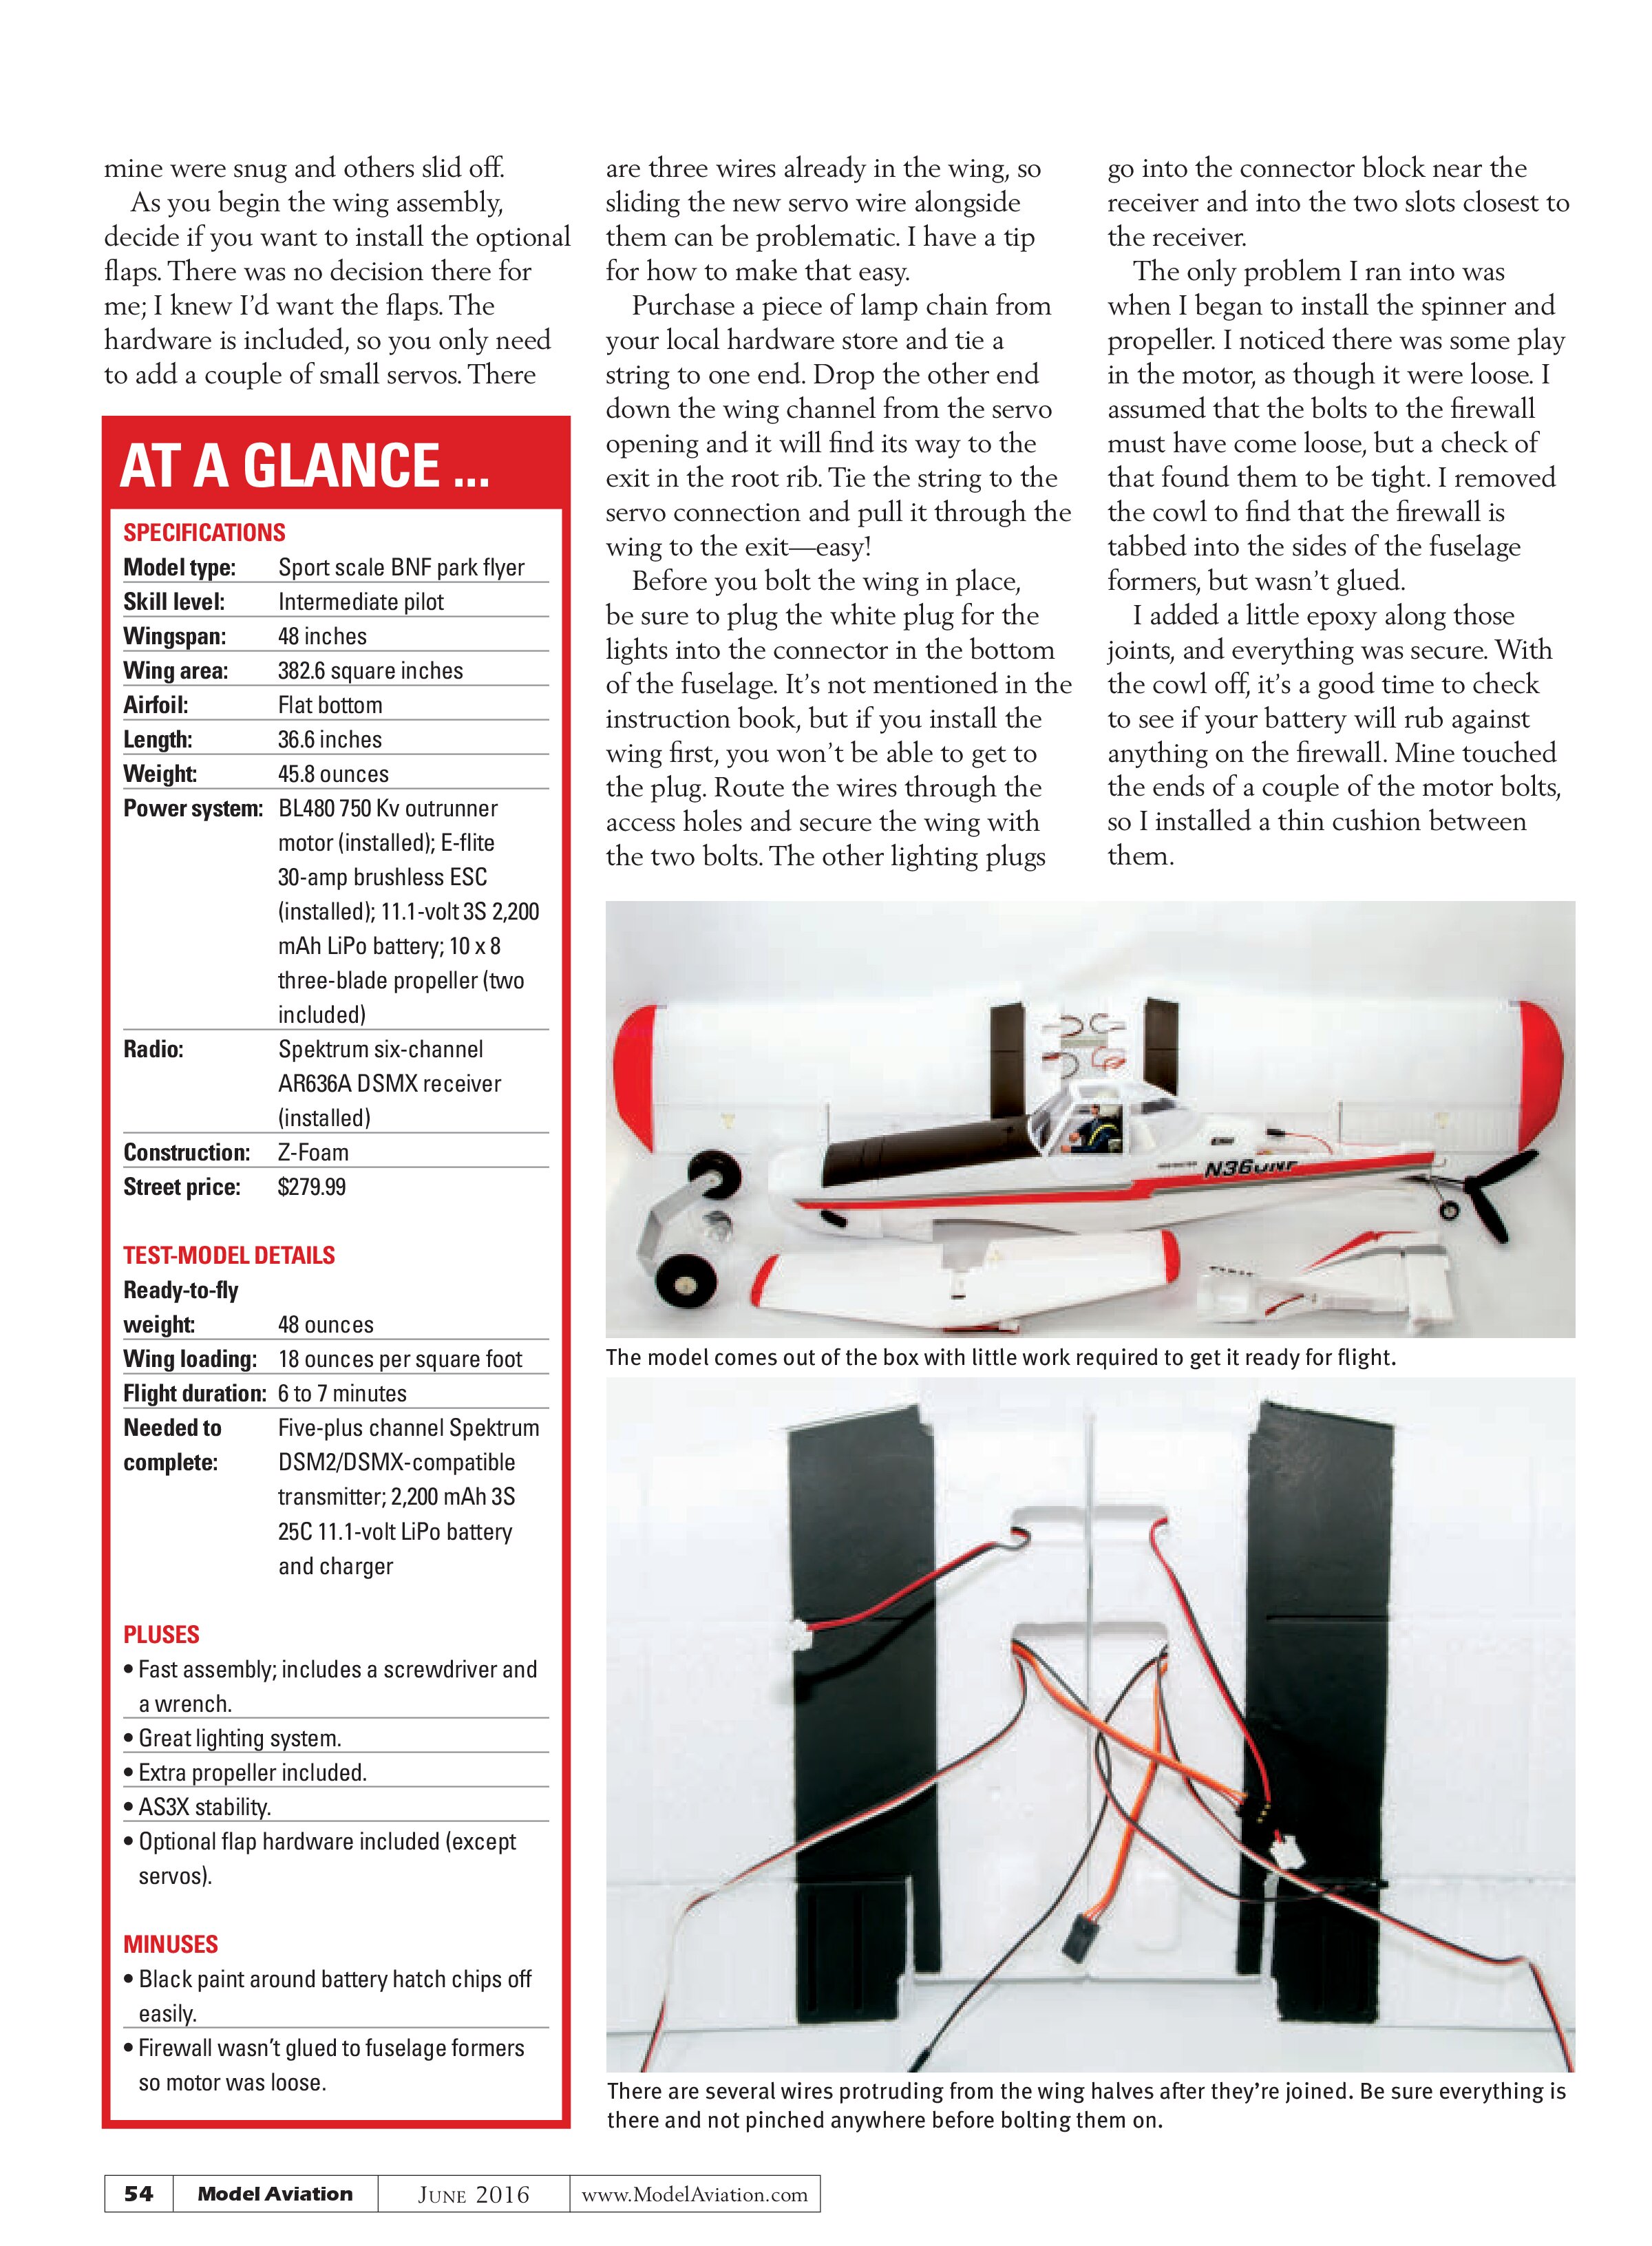
The model comes out of the box with little work required to get it ready for flight.

There are several wires protruding from the wing halves after they’re joined. Be sure everything is there and not pinched anywhere before bolting them on.

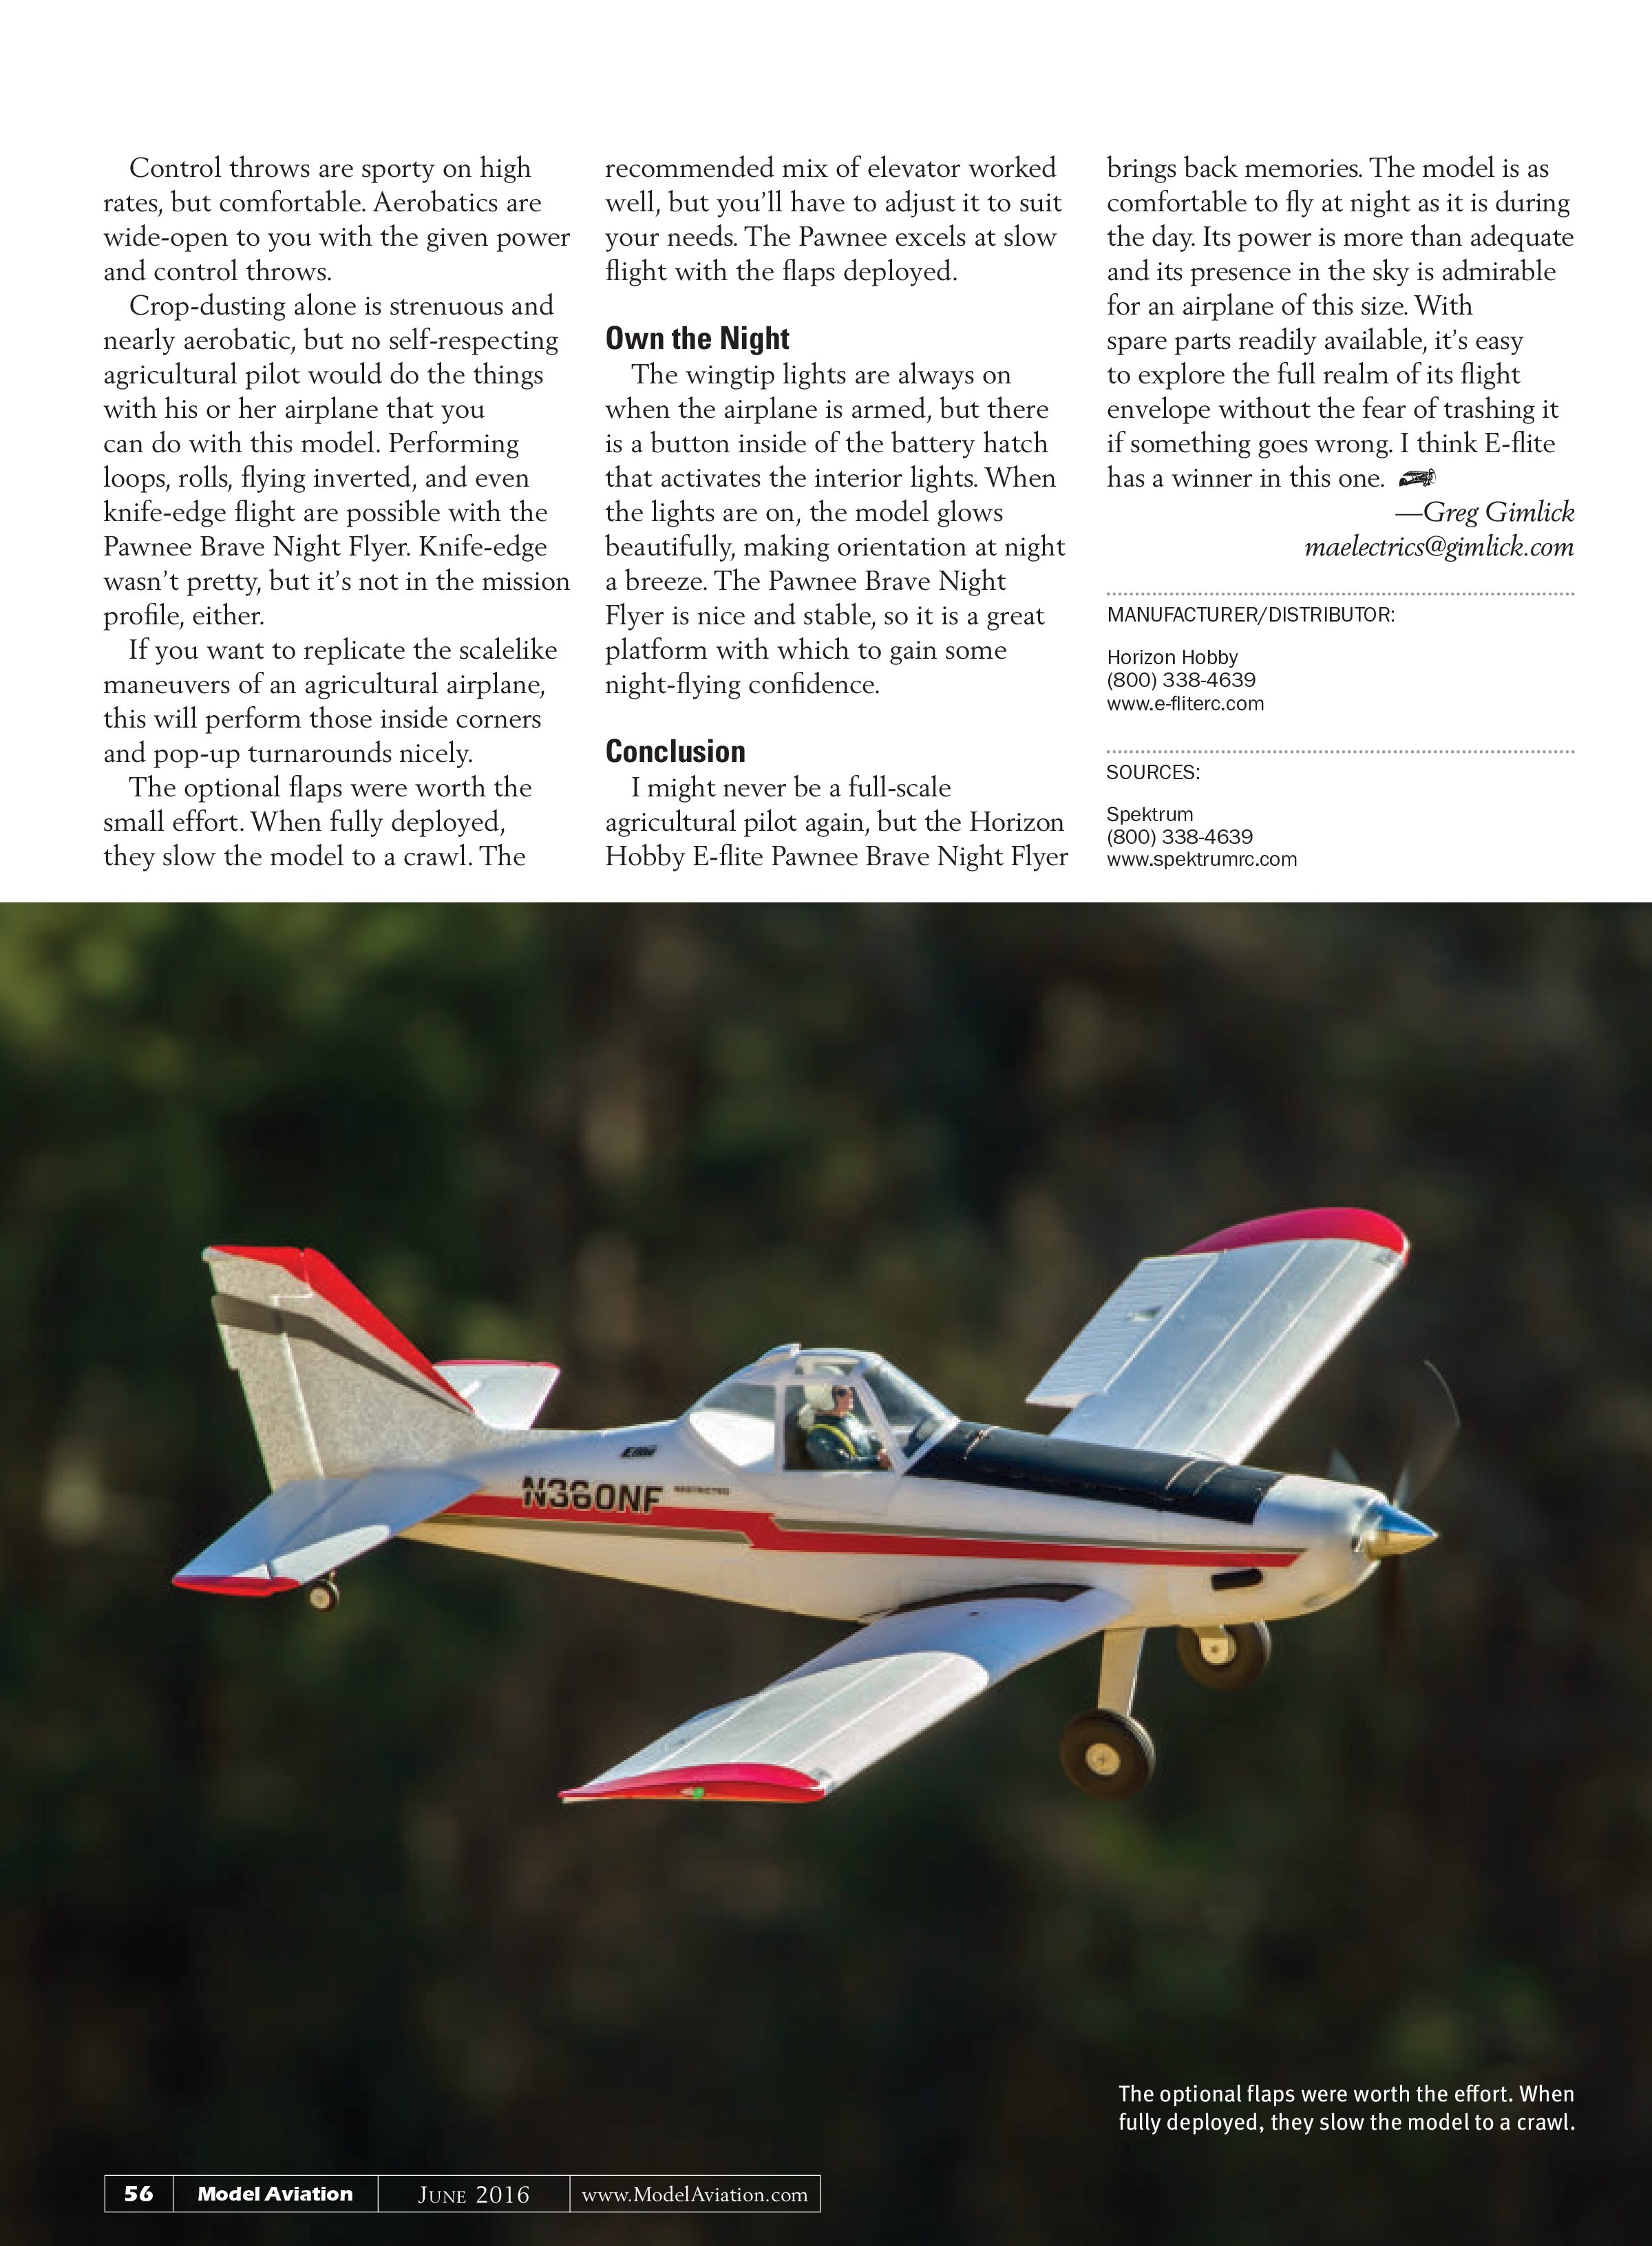
There are several wires inside of the fuselage. Try to get them as neat and secure as possible. The button inside of the battery hatch activates the interior lights.
Control Throws and CG
I used the recommended throws and CG (89mm), which worked well. This required me to put the 3S 2,200 mAh LiPo battery pack all the way to the front—touching the firewall—and add an ounce of weight. If this is the case for you, ensure that the motor bolts don’t contact the end of your LiPo battery pack.
By using the recommended settings from the manual on my DX9, the control throws matched the throws listed in the manual. Because my dual-rate switches have three positions, I set a level midway between the high and low rates in the middle position. I flew with the high-rate settings, but the low rates are adequate.
Flying
There’s nothing better than taking a new airplane out for its maiden flight, especially on a January day when the temperature is in the 60s. My club’s grass field is short (and dormant) during this time of year, so I knew the wheels wouldn’t have a problem during takeoff. The power from the 480 motor spinning the three-blade 10 x 8 propeller was more than adequate, and it was up in the air and mission-ready in no time. Tracking was excellent on the takeoff run and control authority felt good despite gusty conditions.
By the time I was midway downwind, it felt right. The AS3X stabilization technology nicely dampens bumps from thermals and turbulence. The undulating terrain surrounding my club’s field offers some interesting turbulence when the wind is from the east, and it’s less noticeable on my AS3X-equipped airplanes.
A quick check of the stall found it to be uneventful. The nose dropped after some mushing along, but there was no wingtip snap.

The author removed the cowl to glue in the firewall. This offered a good view to see if the battery would contact the motor bolts where they come through the firewall. Protect that area if you see that they’ll rub the battery.
Control throws are sporty on high rates, but comfortable. Aerobatics are wide-open to you with the given power and control throws.
Crop-dusting alone is strenuous and nearly aerobatic, but no self-respecting agricultural pilot would do the things with his or her airplane that you can do with this model. Performing loops, rolls, flying inverted, and even knife-edge flight are possible with the Pawnee Brave Night Flyer. Knife-edge wasn’t pretty, but it’s not in the mission profile, either.
If you want to replicate the scalelike maneuvers of an agricultural airplane, this will perform those inside corners and pop-up turnarounds nicely.
The optional flaps were worth the small effort. When fully deployed, they slow the model to a crawl. The recommended mix of elevator worked well, but you’ll have to adjust it to suit your needs. The Pawnee excels at slow flight with the flaps deployed.
Own the Night
The wingtip lights are always on when the airplane is armed, but there is a button inside of the battery hatch that activates the interior lights. When the lights are on, the model glows beautifully, making orientation at night a breeze. The Pawnee Brave Night Flyer is nice and stable, so it is a great platform with which to gain some night-flying confidence.
Conclusion
I might never be a full-scale agricultural pilot again, but the Horizon Hobby E-flite Pawnee Brave Night Flyer brings back memories. The model is as comfortable to fly at night as it is during the day. Its power is more than adequate and its presence in the sky is admirable for an airplane of this size. With spare parts readily available, it’s easy to explore the full realm of its flight envelope without the fear of trashing it if something goes wrong. I think E-flite has a winner in this one.
—Greg Gimlick
maelectrics@gimlick.com
MANUFACTURER/DISTRIBUTOR:
Horizon Hobby
(800) 338-4639
www.e-fliterc.com
SOURCES:
Spektrum
(800) 338-4639
www.spektrumrc.com