Mastering the aerobatic turn
by John Glezellis
Pilots can sometimes underestimate the difficulty of performing what might appear to be a simple aerobatic figure. One such maneuver that is found in the 2016 International Miniature Aerobatic Club (IMAC) Basic sequence is a 360° aerobatic turn. Although the aerobatic turn is not as difficult as a rolling turn, environmental factors such as a strong headwind or crosswind, as well as the pressure of being in front of a panel of judges, can make it easy to lose points.

Proper practice procedures, coupled with a thorough understanding of the criteria you must perform a figure to, are important elements of success. Equally important is the aircraft’s setup.
I will examine this turn and the rules that apply, in addition to a few airframe and programming fundamentals to assist a pilot in obtaining consistent performance.
Without further hesitation, let’s begin!
Criteria for Perfection
The 360° aerobatic turn is centered in the aerobatic airspace and is different from a traditional turn in that the roll and bank angle must be between 60° and 90° on the entry heading. A fair amount of skill is required for this turn because the bank angle is unconventional and the turn is not coordinated.
If the bank angle is not within this range, a judge will penalize the competitor 0.5 points for every 5° that the bank angle is incorrect. When the turn is complete, another roll to upright level flight will be performed. Any difference in roll rates results in a 1-point deduction.
When examining the rules, you will see that this figure must be wind corrected, which means that when viewed from above, the 360° turn will result in a perfect circle. Wind correction cannot be performed by visibly changing the bank angle. This action will need to occur in pitch, but the turn rate must be consistent throughout.
If you are flying this maneuver in a strong headwind, for example, you need to begin with little elevator input to initiate the turn. As the aircraft nears the crosswind and downwind leg, you need to make throttle adjustments and tighten the elevator input so that the figure will not become egg-shaped. Apply elevator and rudder input as needed to maintain the bank and altitude.
Many newcomers tend to fly a given sequence with a relatively quick flight speed. Decreasing the flight speed is beneficial because it gives the pilot more time to properly execute and focus on both the current and upcoming figures and keep airspace control in mind. The lines between maneuvers are also judged.
It is important to note that a pilot will receive an Airspace Control score, which differs in K-factors, depending on the sequence being flown. When flying the entire routine, the pilot must place the aircraft in such a way that allows it to be optimally judged at all times inside of the aerobatic airspace. The distance of the aircraft relative to the judges, as well as control of the aircraft at all times, is important!
Aircraft Fundamentals
Deciding when to make a change to an aircraft’s setup might be challenging for a competition newcomer. You should always start with the control surface deflection, exponential amounts, and center of gravity that the aircraft manufacturer recommends before making any change to the model’s configuration. At that point, you can make changes as needed to cater to the sequence being

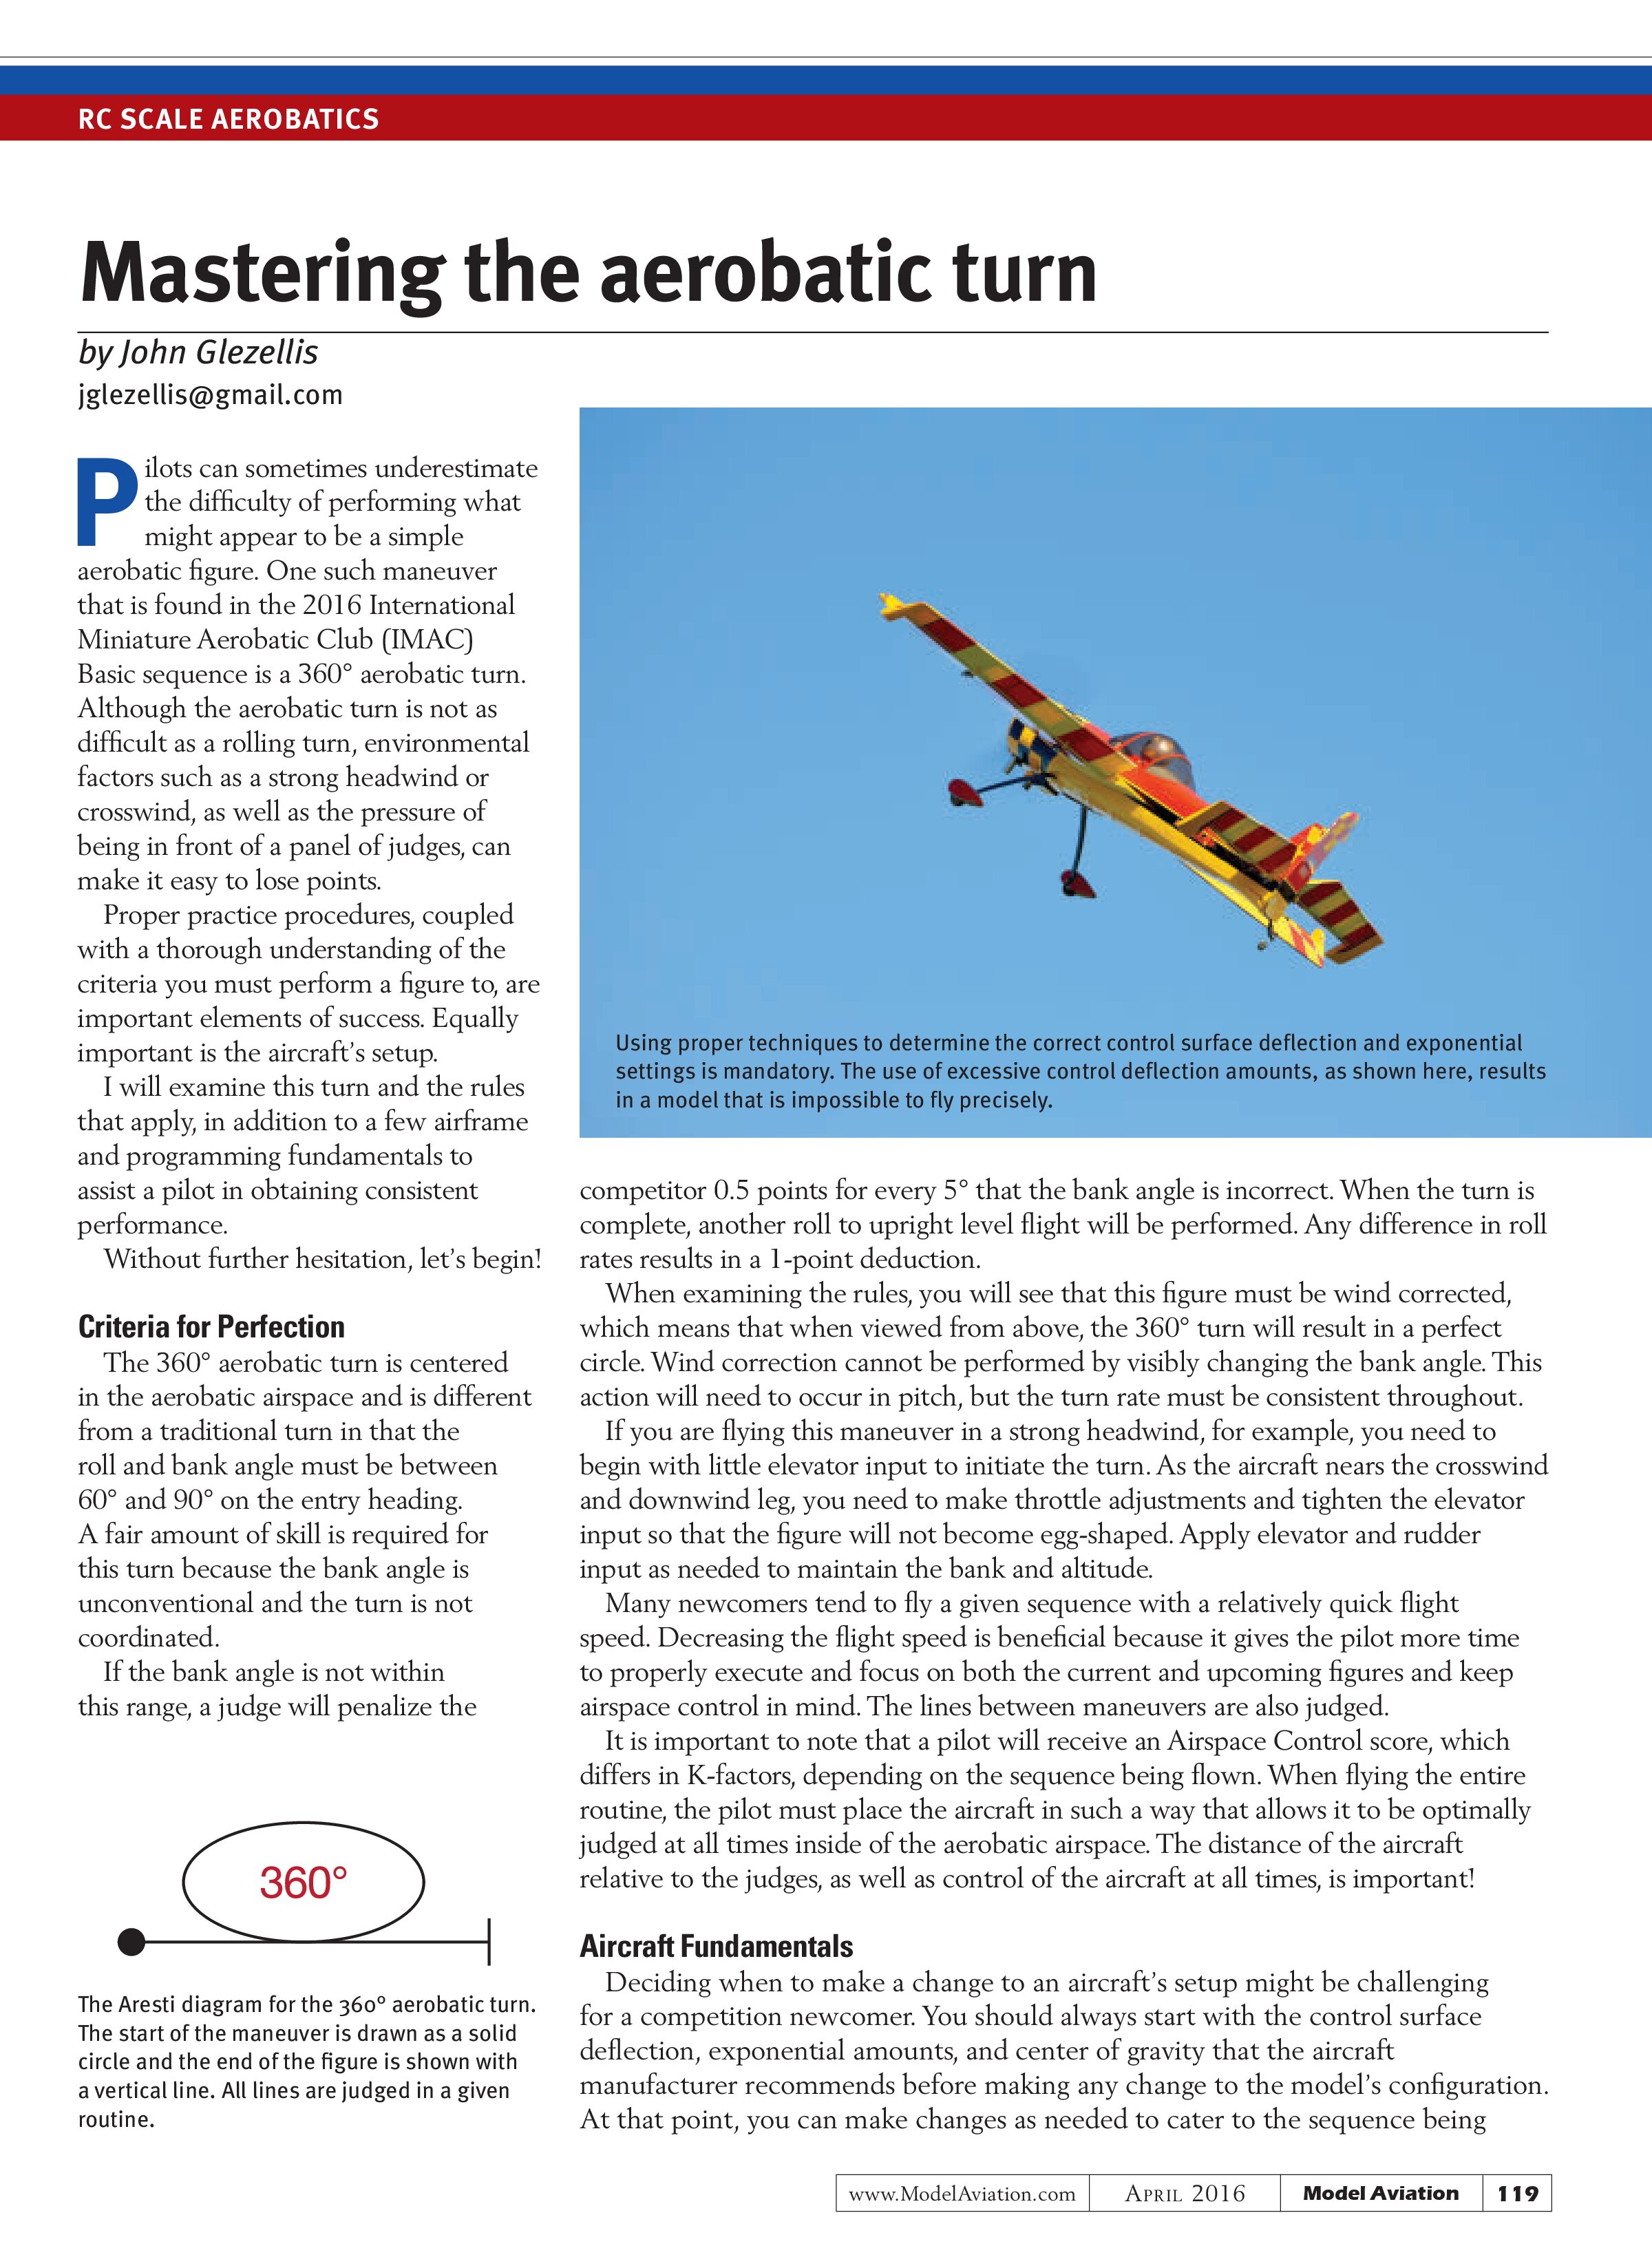
flown, as well as your preferences. Pilots often use too much control surface deflection for certain stunts and do not properly measure control surface deflection amounts while building a model. In the heat of a competition flight, nerves and wind might make it difficult to execute a flawless routine—sometimes resulting in erratic aircraft behavior and lost points.
Using a ruler or an angle meter, check the amount of maximum deflection obtained for each surface. Most Giant Scale aerobatic models feature multiple servos for a given control surface, so ensure that no binding exists. Verify that split control surfaces, such as an elevator that has one servo per elevator half, also result in the same deflection amount.
In the case of the aerobatic turn, if one elevator results in a different deflection amount compared with the other, the aircraft will naturally roll throughout the turn when elevator input is applied. A corrective input by the pilot will be required, resulting in a downgrade.
The radio should only provide you with enough control surface deflection to perform certain maneuvers. Although some pilots might argue that they can fly their aircraft using 3-D rates, they will not be competitive.
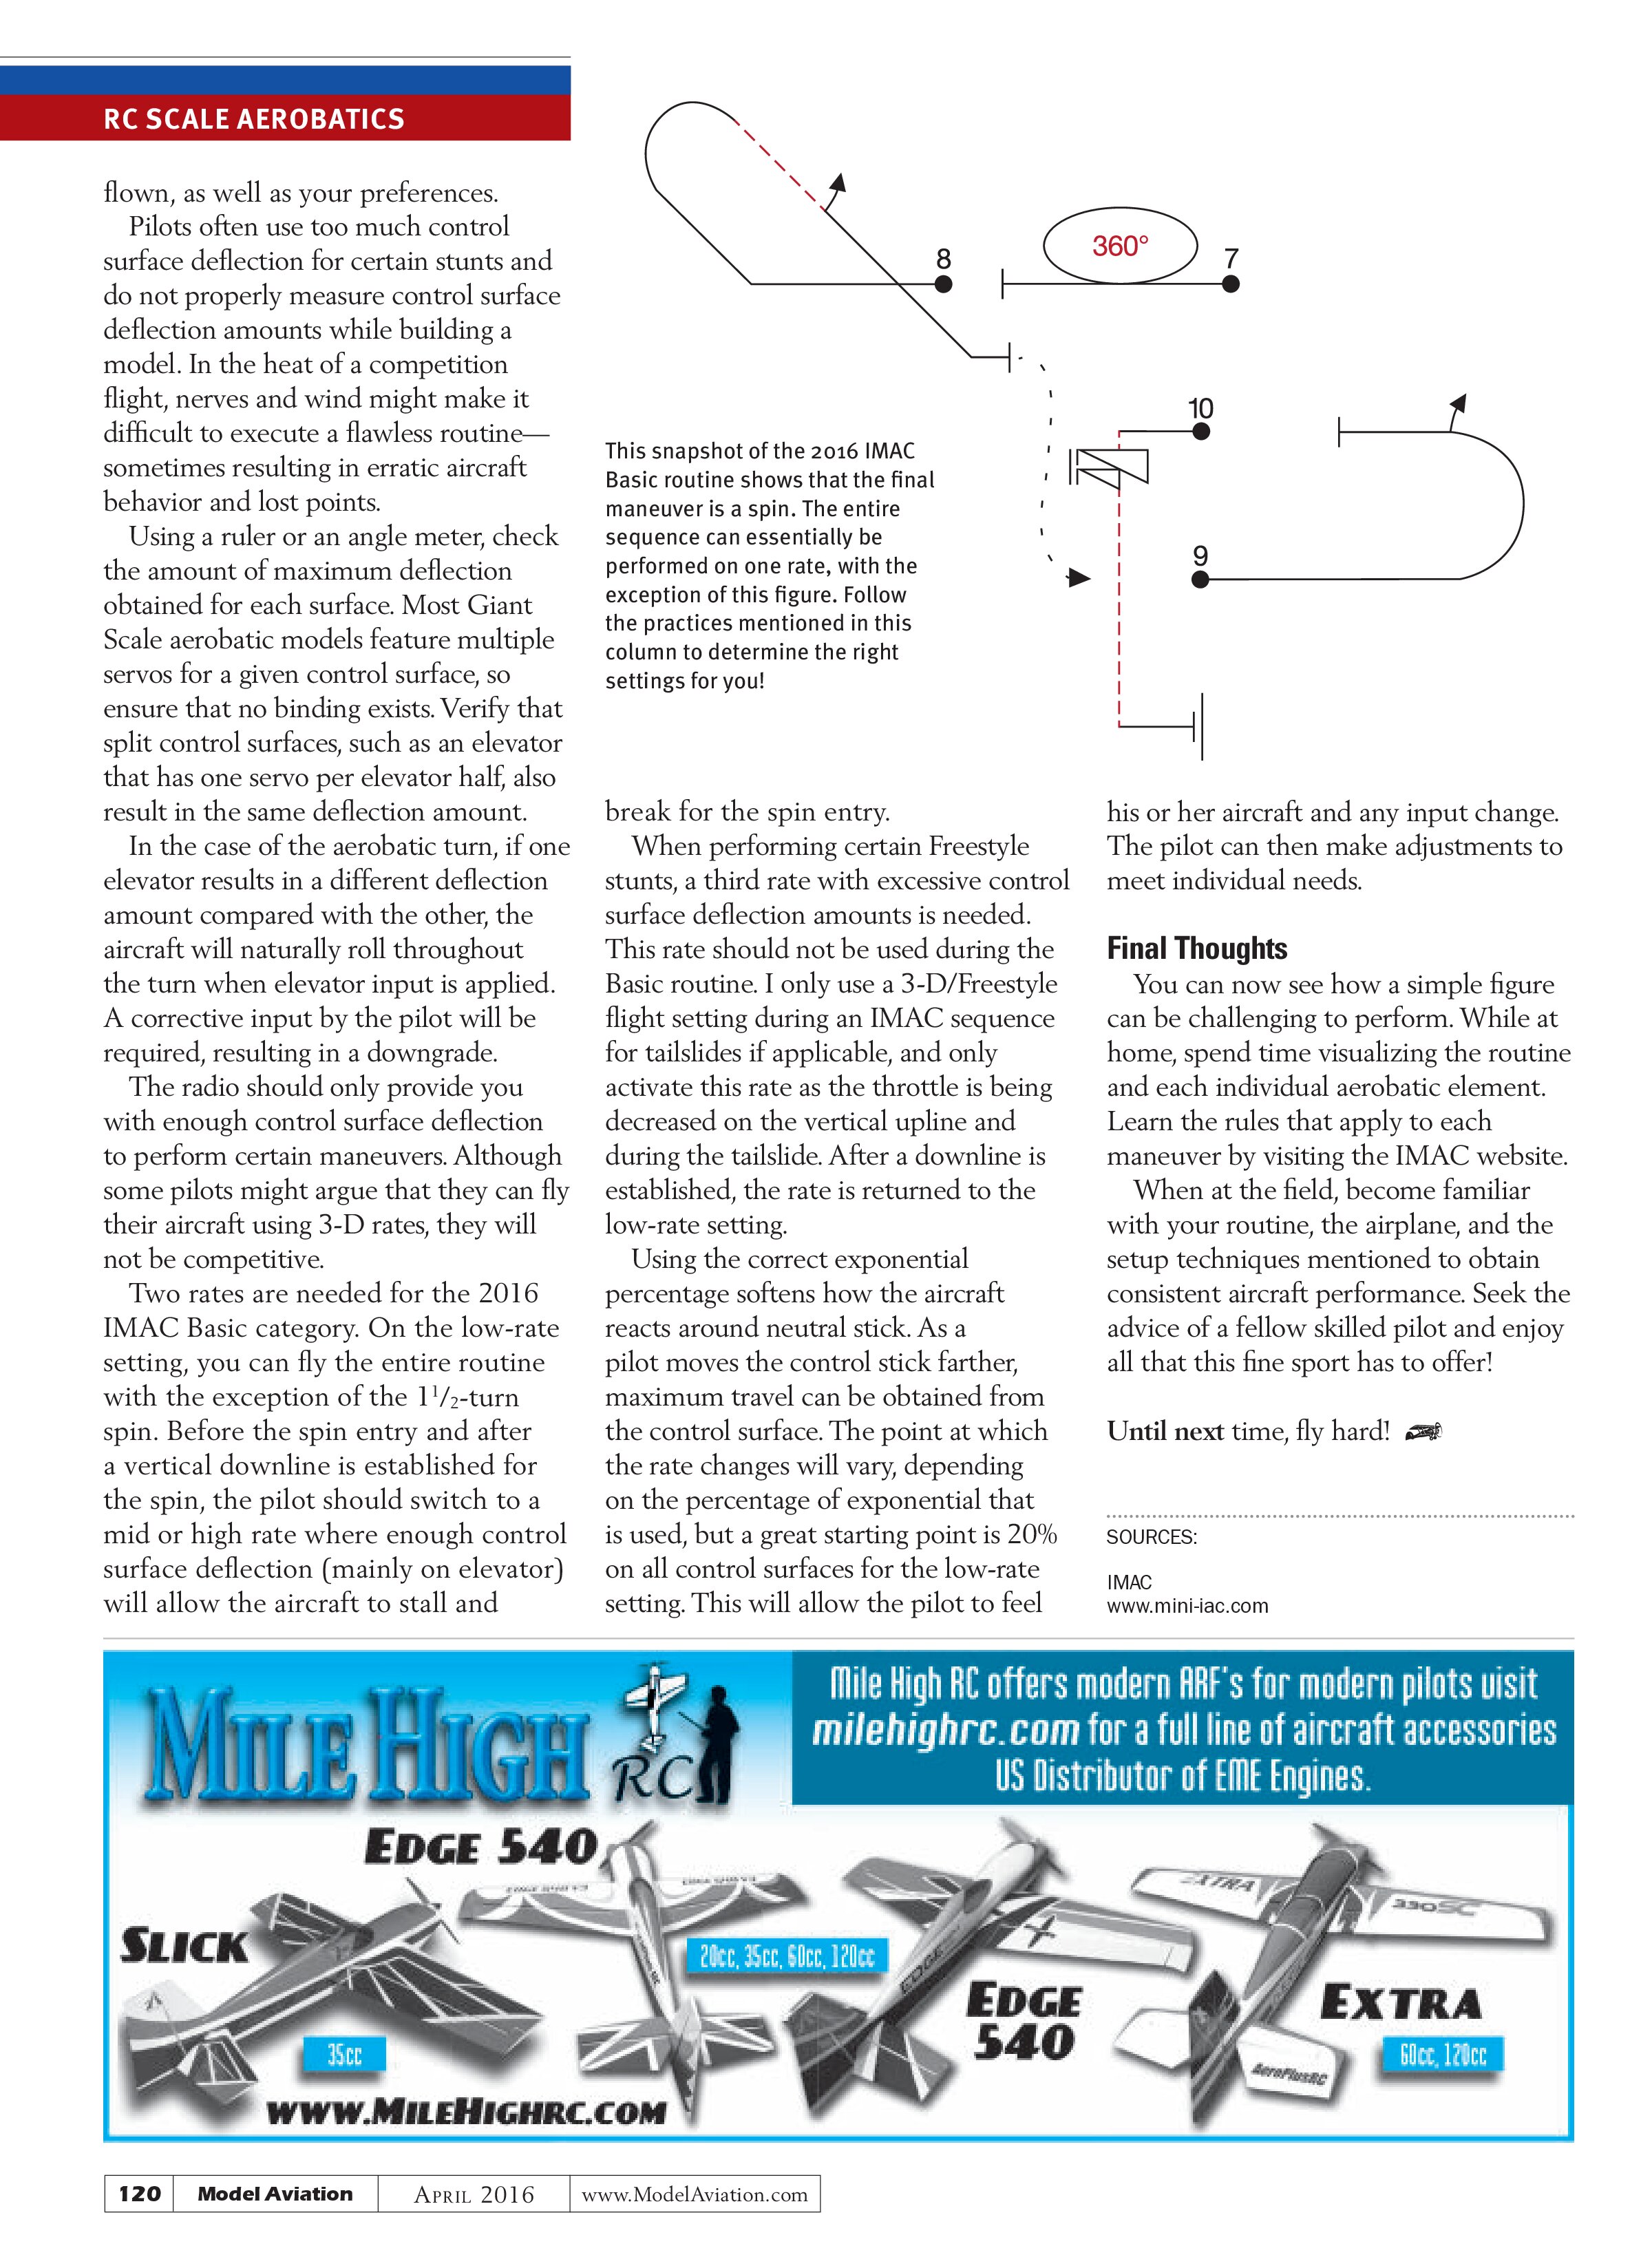
Two rates are needed for the 2016 IMAC Basic category. On the low-rate setting, you can fly the entire routine with the exception of the 1½-turn spin. Before the spin entry and after a vertical downline is established for the spin, the pilot should switch to a mid or high rate where enough control surface deflection (mainly on elevator) will allow the aircraft to stall and break for the spin entry.

When performing certain Freestyle stunts, a third rate with excessive control surface deflection amounts is needed. This rate should not be used during the Basic routine. I only use a 3-D/Freestyle flight setting during an IMAC sequence for tailslides if applicable, and only activate this rate as the throttle is being decreased on the vertical upline and during the tailslide. After a downline is established, the rate is returned to the low-rate setting.
Using the correct exponential percentage softens how the aircraft reacts around neutral stick. As a pilot moves the control stick farther, maximum travel can be obtained from the control surface. The point at which the rate changes will vary, depending on the percentage of exponential that is used, but a great starting point is 20% on all control surfaces for the low-rate setting. This will allow the pilot to feel his or her aircraft and any input change. The pilot can then make adjustments to meet individual needs.
Final Thoughts
You can now see how a simple figure can be challenging to perform. While at home, spend time visualizing the routine and each individual aerobatic element. Learn the rules that apply to each maneuver by visiting the IMAC website.
When at the field, become familiar with your routine, the airplane, and the setup techniques mentioned to obtain consistent aircraft performance. Seek the advice of a fellow skilled pilot and enjoy all that this fine sport has to offer!
Until next time, fly hard!
SOURCES:
IMAC
www.mini-iac.com