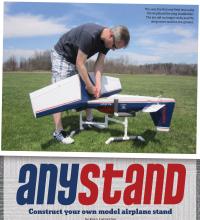
any+stand

Construct your own model airplane stand
by Ryan Livingston
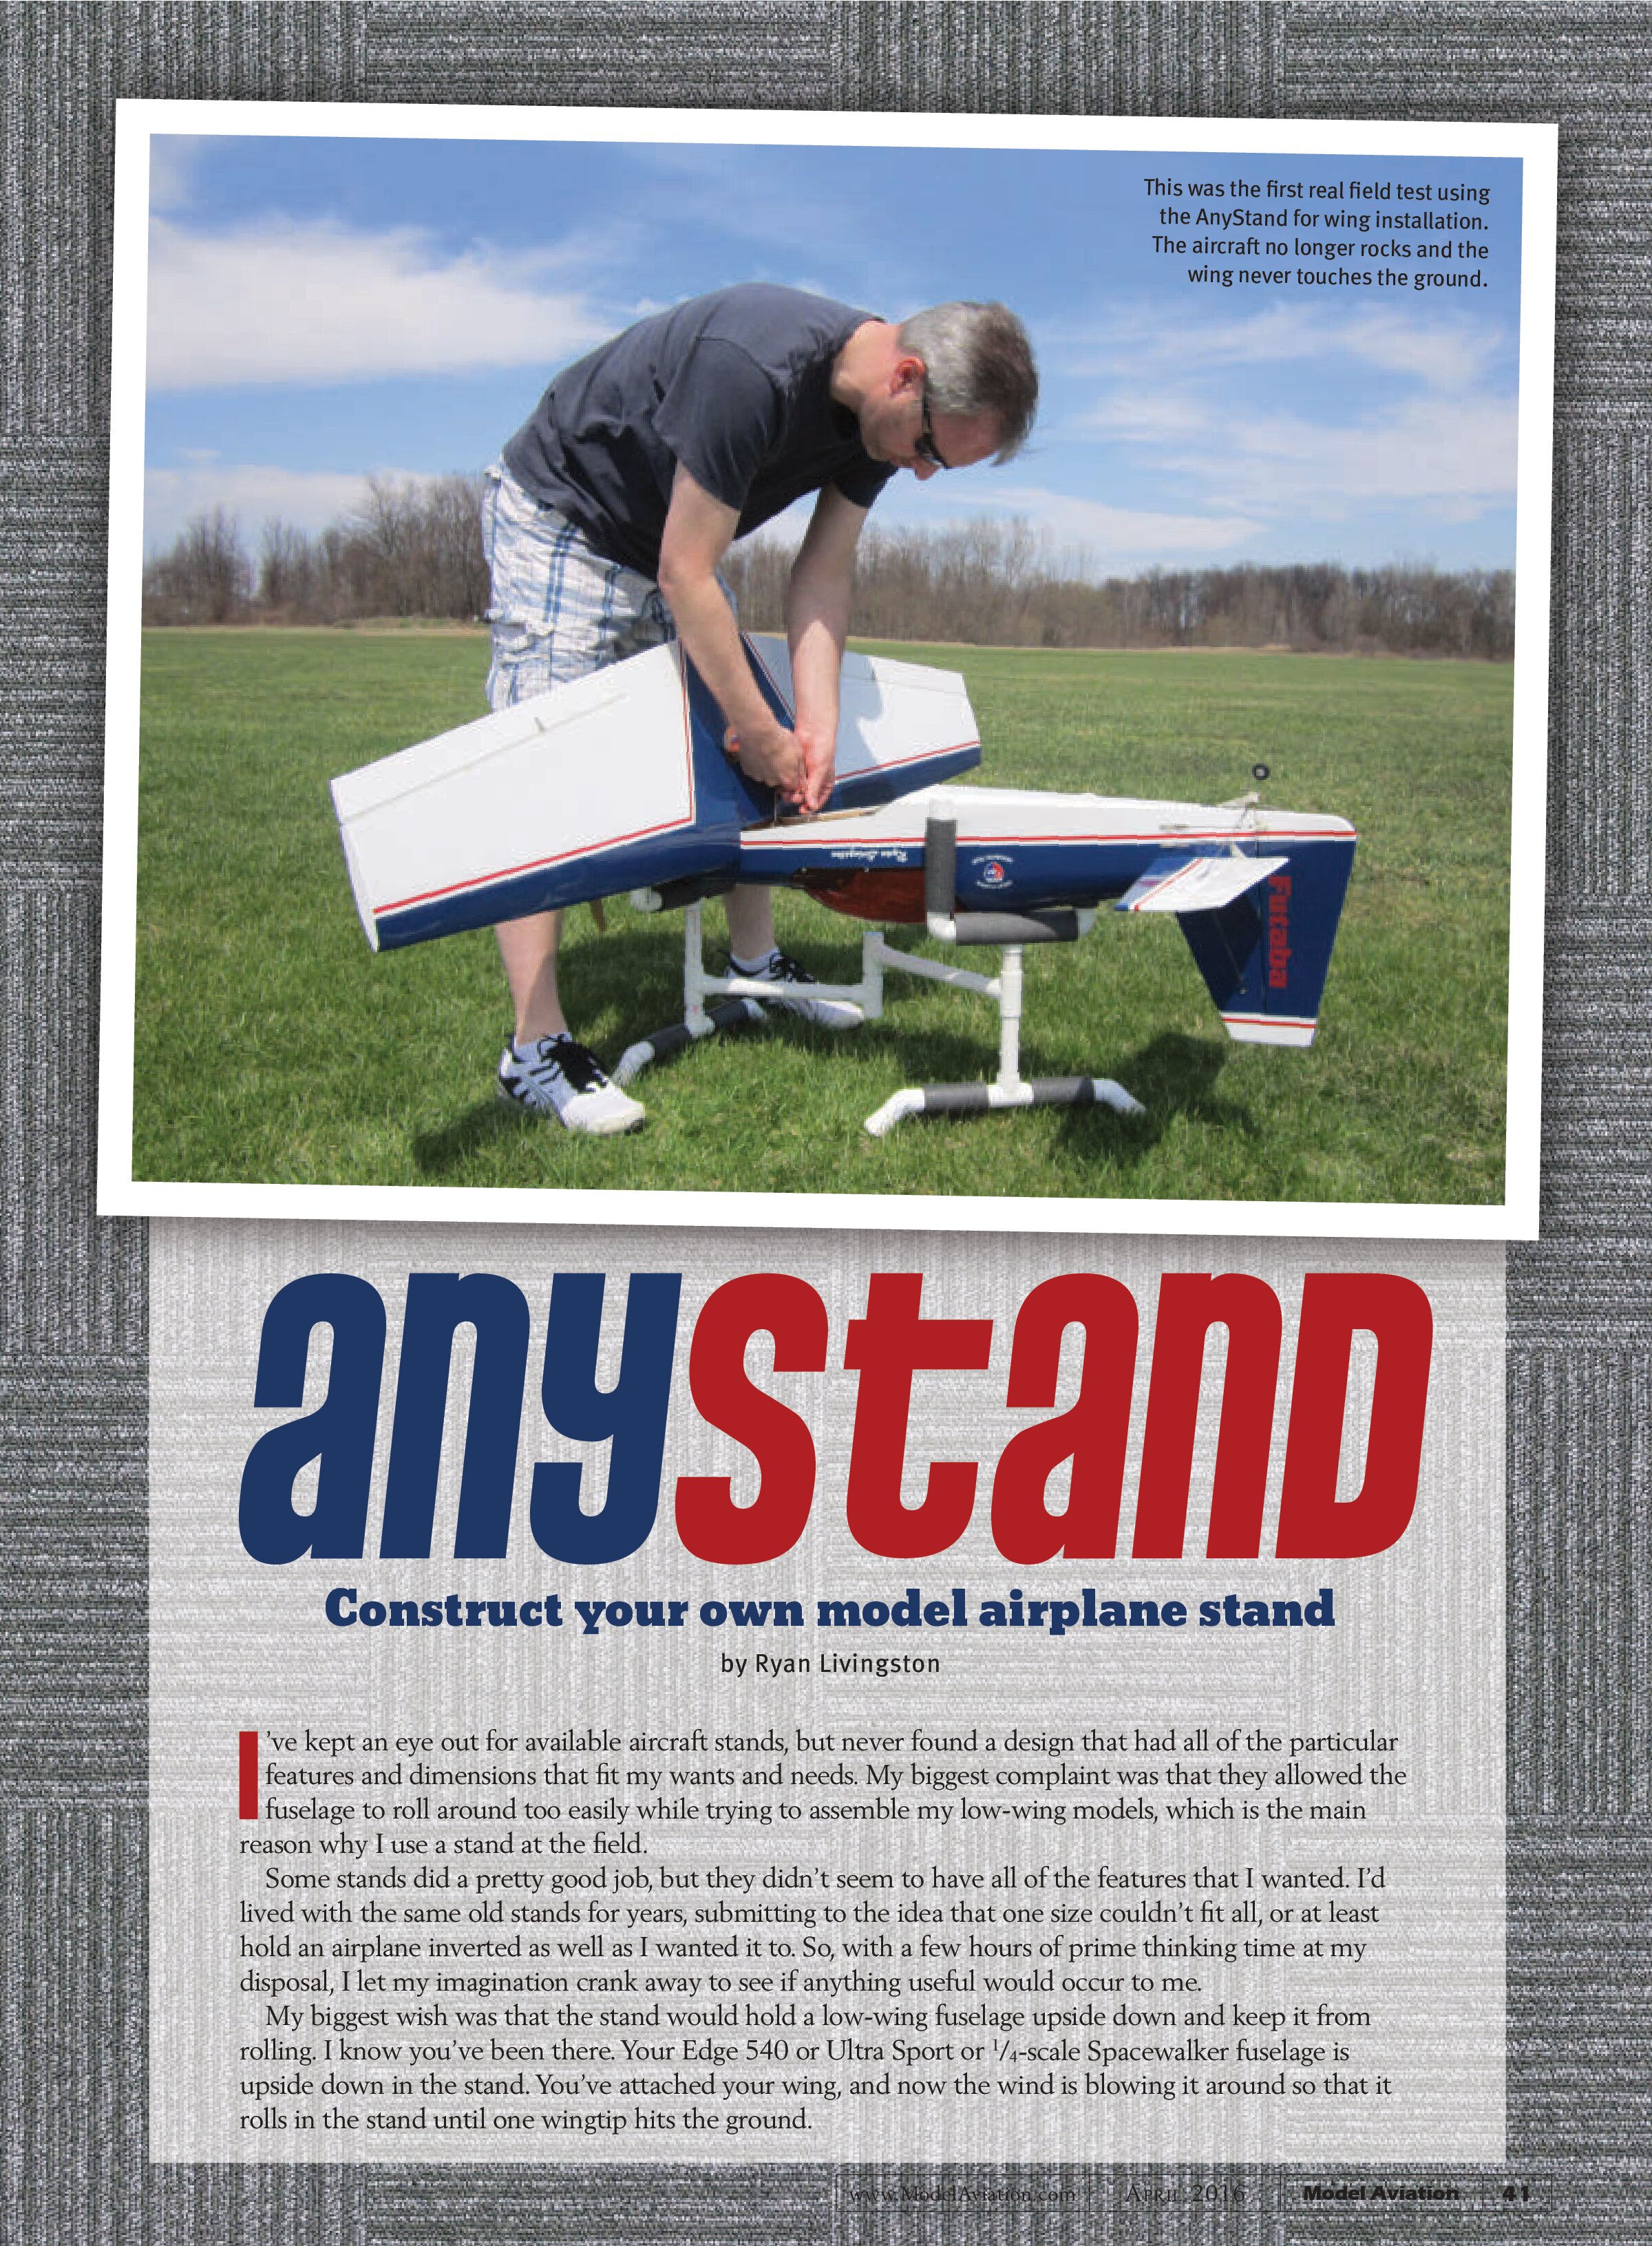
I’ve kept an eye out for available aircraft stands, but never found a design that had all of the particular features and dimensions that fit my wants and needs. My biggest complaint was that they allowed the fuselage to roll around too easily while trying to assemble my low-wing models, which is the main reason why I use a stand at the field.
Some stands did a pretty good job, but they didn’t seem to have all of the features that I wanted. I’d lived with the same old stands for years, submitting to the idea that one size couldn’t fit all, or at least hold an airplane inverted as well as I wanted it to. So, with a few hours of prime thinking time at my disposal, I let my imagination crank away to see if anything useful would occur to me.
My biggest wish was that the stand would hold a low-wing fuselage upside down and keep it from rolling. I know you’ve been there. Your Edge 540 or Ultra Sport or ¼-scale Spacewalker fuselage is upside down in the stand. You’ve attached your wing, and now the wind is blowing it around so that it rolls in the stand until one wingtip hits the ground.

Also on my list of requirements was the stability it would need to fit my airplanes. I have a small car, so it had to be compact. The design needed to be simple—something you could deploy in one motion with no separate parts, pins, or things that needed to be reconfigured for each model.
The Concept
Using PVC plumbing, I started to play with the trickiest problem of how to keep that pesky upside-down fuselage from rolling.
I started to look at all of my airplanes and realized something I’d never really noticed before. Most aircraft designs tend to have somewhat flat vertical sides between the wing and the tail.
Several concepts later, I landed on something I really liked: simple, rotating “goalposts” that were directly connected to the stand’s feet, but could pivot within T-fittings at each end of a crossbar that joined the two feet/post assemblies.
This would allow easy clamping onto the fuselage using the weight of the airplane on the feet to hold the posts rotated firmly against the fuselage. Being able to rotate the posts and feet would allow the entire assembly to remain flat for transport.
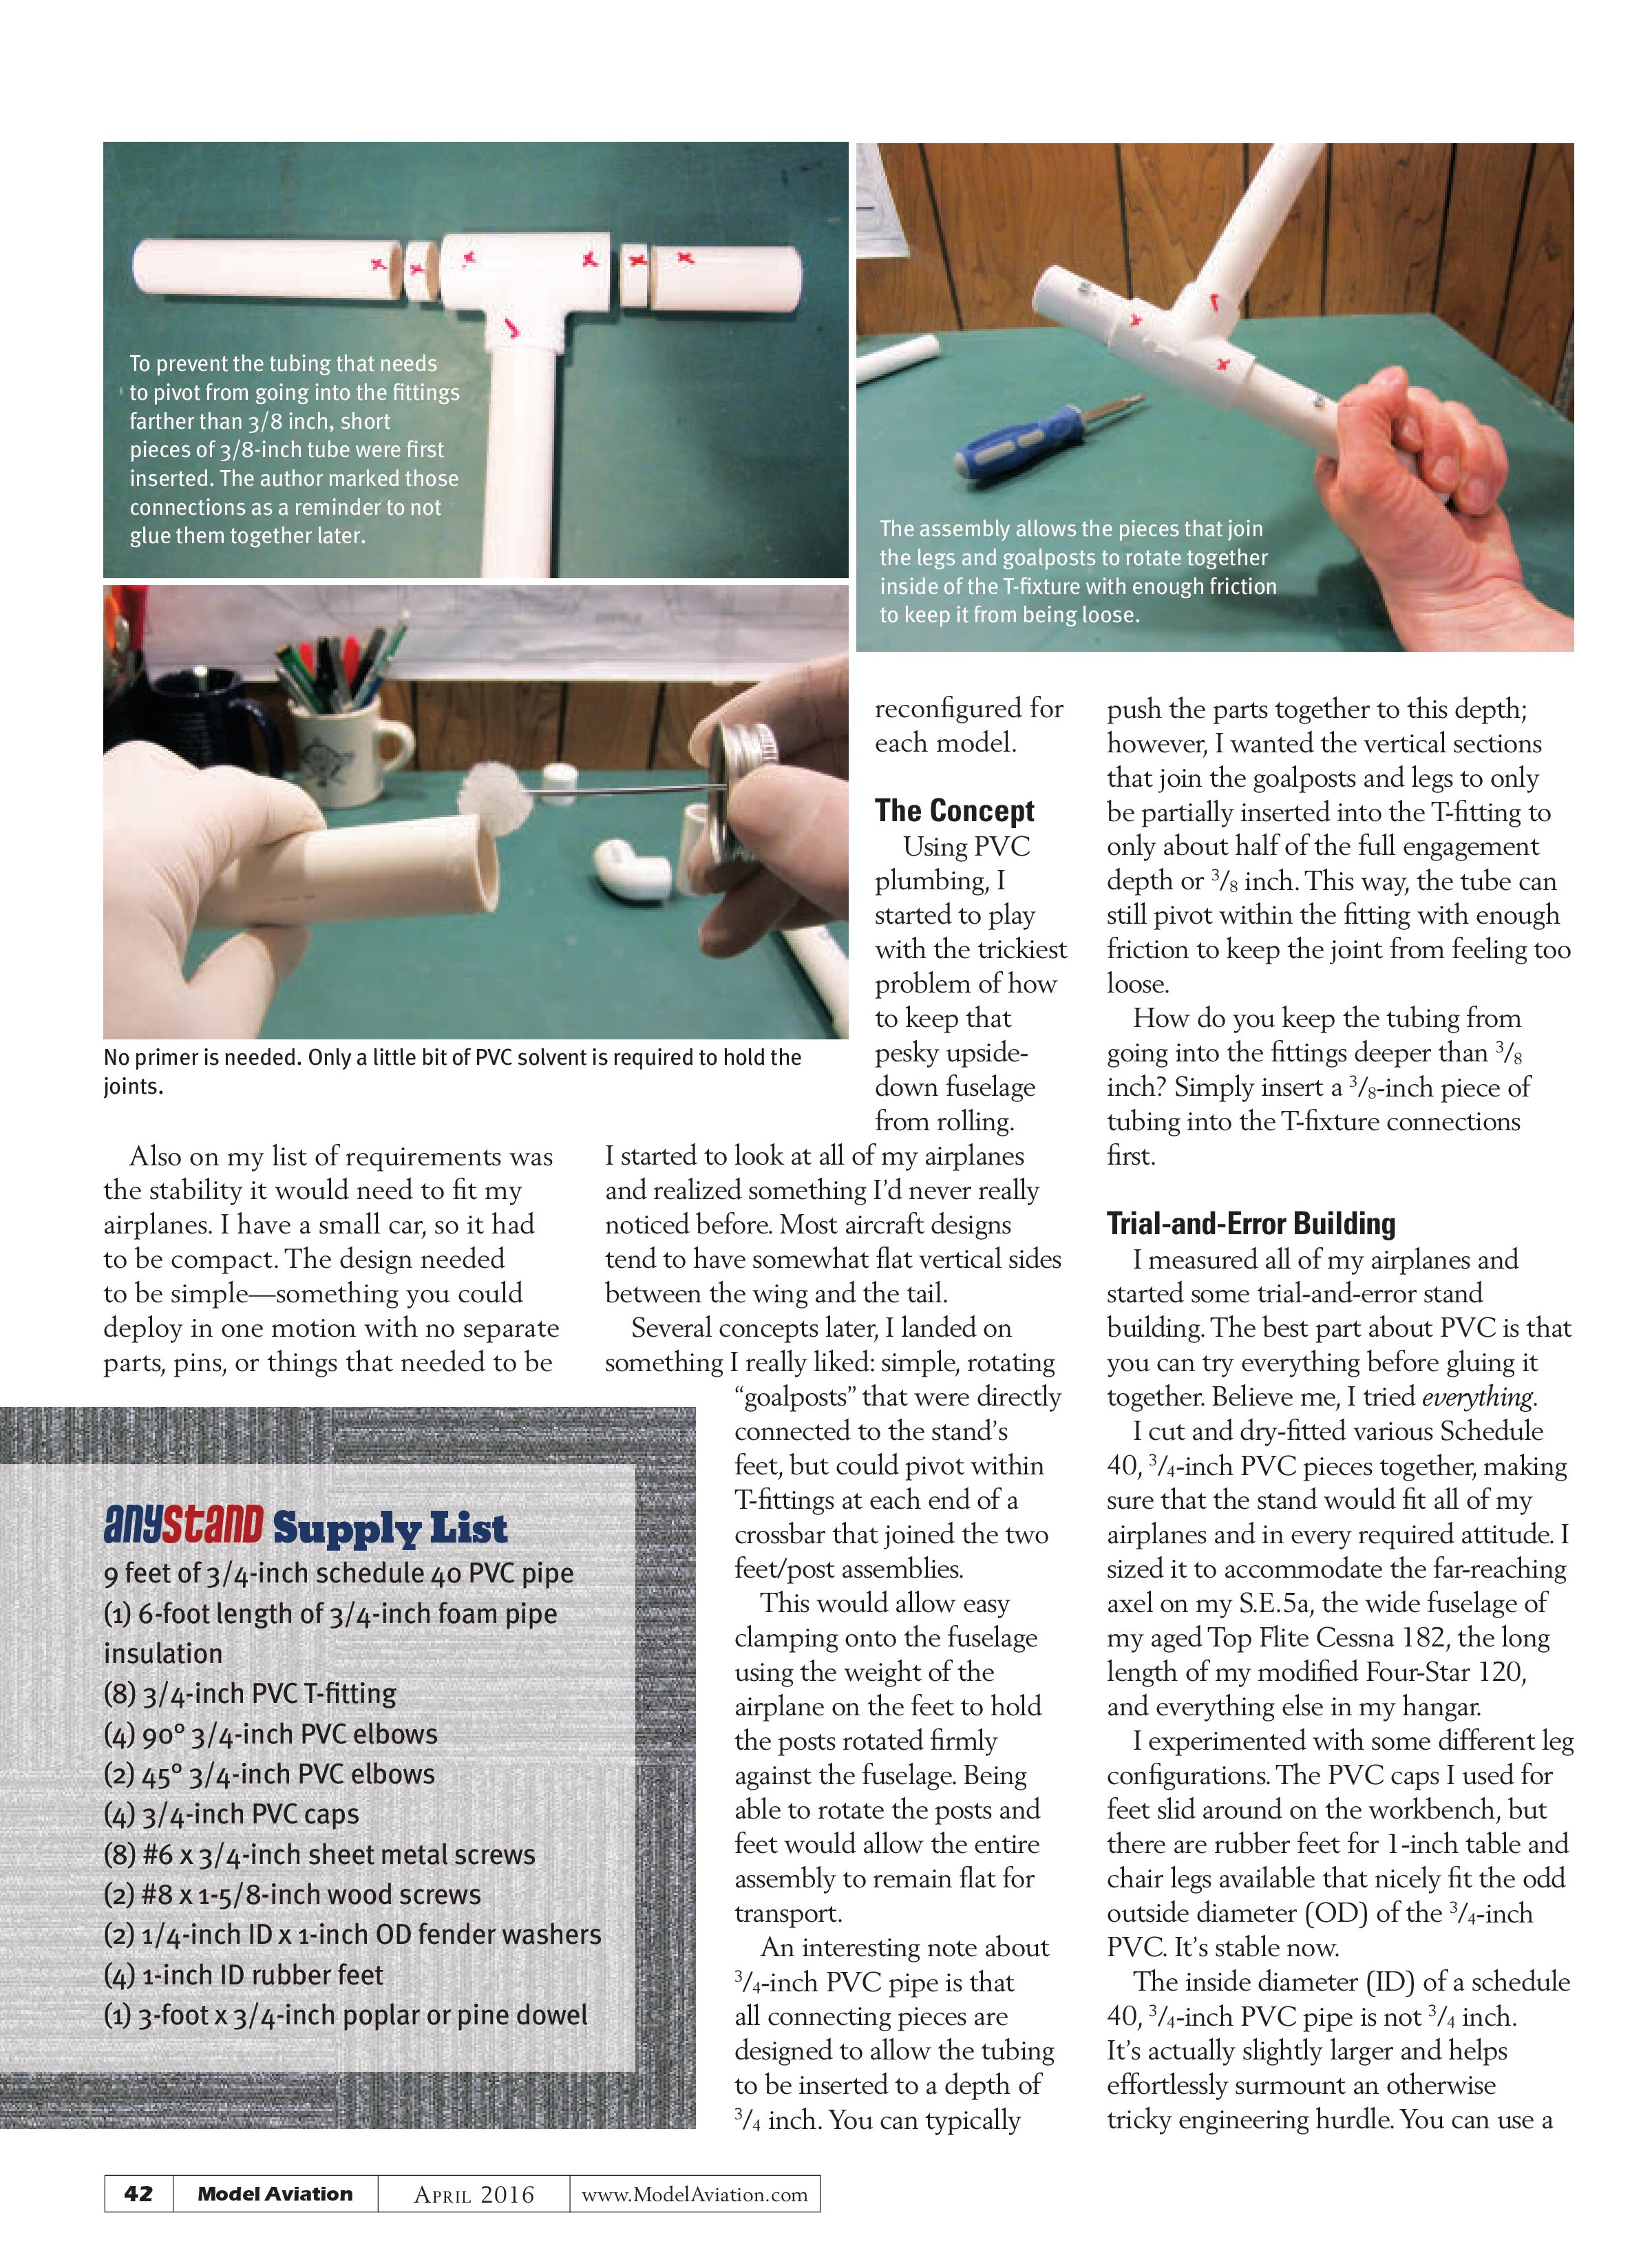
An interesting note about ¾-inch PVC pipe is that all connecting pieces are designed to allow the tubing to be inserted to a depth of ¾ inch. You can typically push the parts together to this depth; however, I wanted the vertical sections that join the goalposts and legs to only be partially inserted into the T-fitting to only about half of the full engagement depth or ⅜ inch. This way, the tube can still pivot within the fitting with enough friction to keep the joint from feeling too loose.
How do you keep the tubing from going into the fittings deeper than ⅜ inch? Simply insert a ⅜-inch piece of tubing into the T-fixture connections first.
Trial-and-Error Building
I measured all of my airplanes and started some trial-and-error stand building. The best part about PVC is that you can try everything before gluing it together. Believe me, I tried everything.
I cut and dry-fitted various Schedule 40, ¾-inch PVC pieces together, making sure that the stand would fit all of my airplanes and in every required attitude. I sized it to accommodate the far-reaching axel on my S.E.5a, the wide fuselage of my aged Top Flite Cessna 182, the long length of my modified Four-Star 120, and everything else in my hangar.
I experimented with some different leg configurations. The PVC caps I used for feet slid around on the workbench, but there are rubber feet for 1-inch table and chair legs available that nicely fit the odd outside diameter (OD) of the ¾-inch PVC. It’s stable now.
The inside diameter (ID) of a schedule 40, ¾-inch PVC pipe is not ¾ inch. It’s actually slightly larger and helps effortlessly surmount an otherwise tricky engineering hurdle. You can use a
anystand Supply List
- 9 feet of ¾-inch schedule 40 PVC pipe
- (1) 6-foot length of ¾-inch foam pipe insulation
- (8) ¾-inch PVC T-fitting
- (4) 90° ¾-inch PVC elbows
- (2) 45° ¾-inch PVC elbows
- (4) ¾-inch PVC caps
- (8) #6 x ¾-inch sheet metal screws
- (2) #8 x 1-5/8-inch wood screws
- (2) 1/4-inch ID x 1-inch OD fender washers
- (4) 1-inch ID rubber feet
- (1) 3-foot x ¾-inch poplar or pine dowel
No primer is needed. Only a little bit of PVC solvent is required to hold the joints.

standard ¾-inch wooden dowel to join the goalpost and leg assemblies through the T-fitting so that they turn together.
Two or three wraps of electric tape add a little more diameter to the dowel to make it a perfect fit inside the tubes. Finally, a couple of #6 x ¾-inch sheet metal screws in both vertical tubes exiting from the T-fitting secure the dowel to the PVC goalpost and feet assemblies. Predrilling holes into the PVC for the screws helps speed the assembly. Be sure to offset screw locations as needed to keep opposing screws from hitting each other.
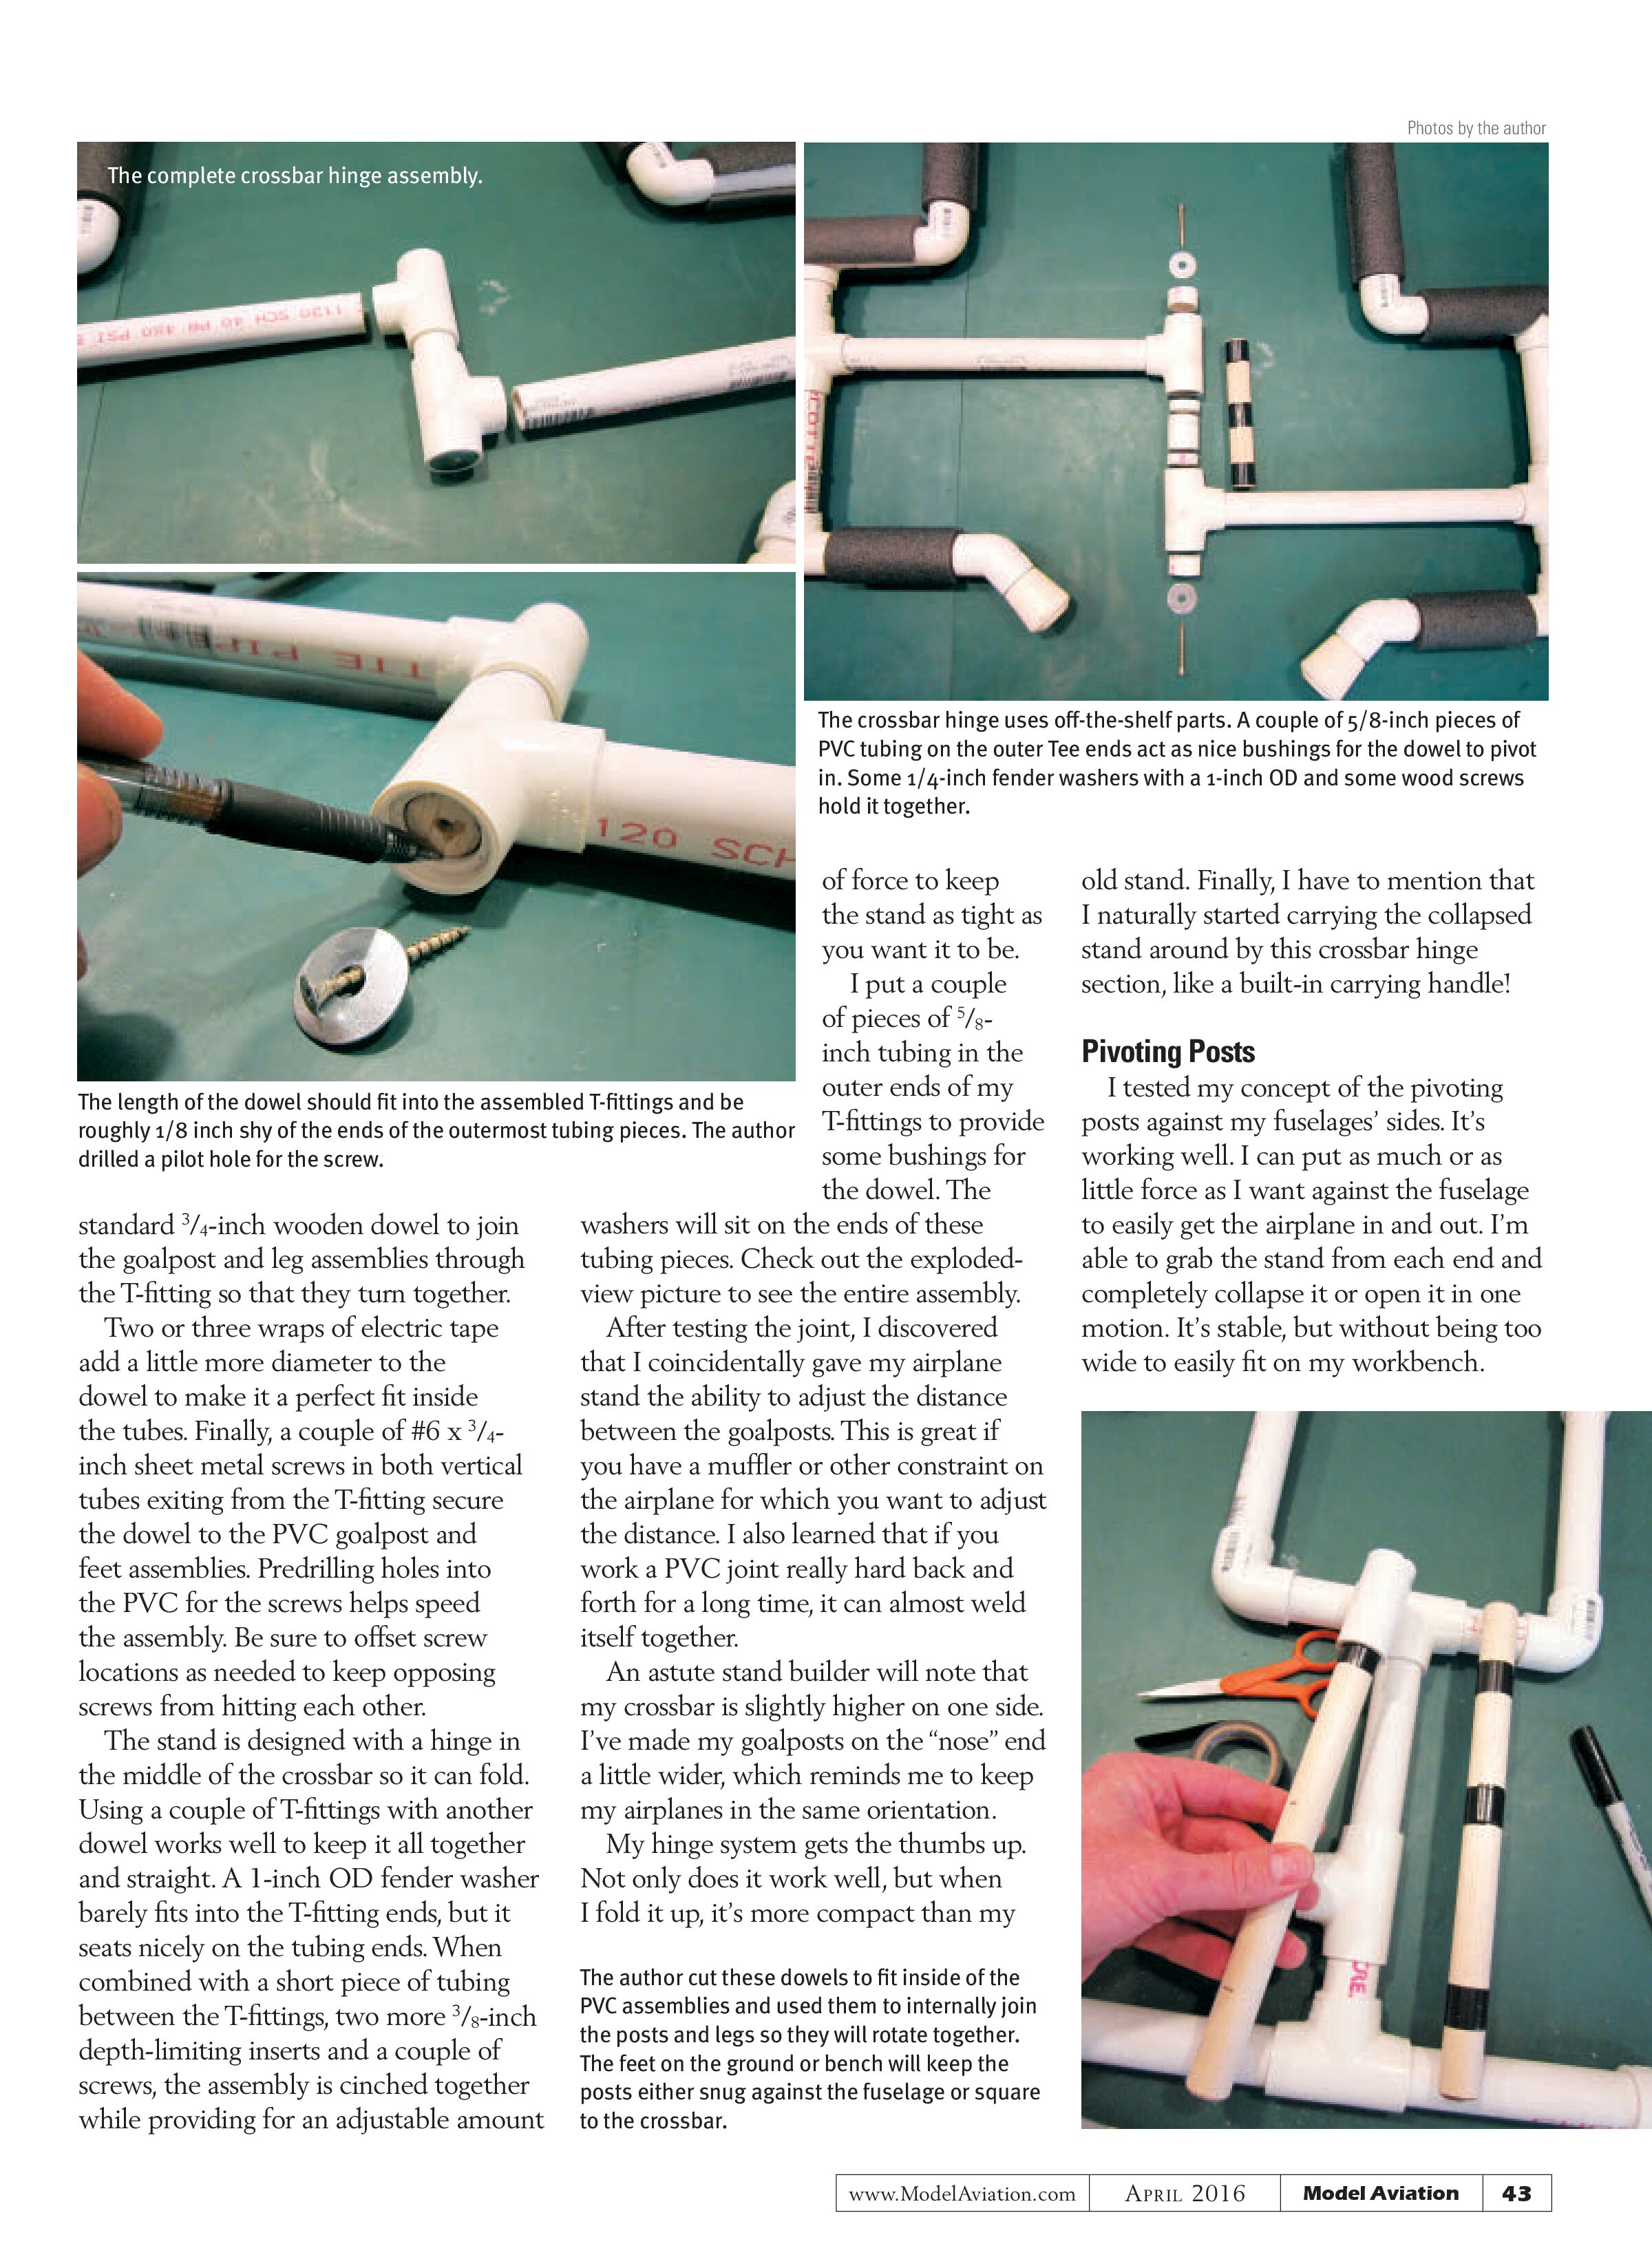
The stand is designed with a hinge in the middle of the crossbar so it can fold. Using a couple of T-fittings with another dowel works well to keep it all together and straight. A 1-inch OD fender washer barely fits into the T-fitting ends, but it seats nicely on the tubing ends. When combined with a short piece of tubing between the T-fittings, two more ⅜-inch depth-limiting inserts and a couple of screws, the assembly is cinched together while providing for an adjustable amount of force to keep the stand as tight as you want it to be.
I put a couple of pieces of ⅝-inch tubing in the outer ends of my T-fittings to provide some bushings for the dowel. The washers will sit on the ends of these tubing pieces. Check out the exploded-view picture to see the entire assembly.
After testing the joint, I discovered that I coincidentally gave my airplane stand the ability to adjust the distance between the goalposts. This is great if you have a muffler or other constraint on the airplane for which you want to adjust the distance. I also learned that if you work a PVC joint really hard back and forth for a long time, it can almost weld itself together.
An astute stand builder will note that my crossbar is slightly higher on one side. I’ve made my goalposts on the “nose” end a little wider, which reminds me to keep my airplanes in the same orientation.
My hinge system gets the thumbs up. Not only does it work well, but when I fold it up, it’s more compact than my old stand. Finally, I have to mention that I naturally started carrying the collapsed stand around by this crossbar hinge section, like a built-in carrying handle!
Pivoting Posts
I tested my concept of the pivoting posts against my fuselages’ sides. It’s working well. I can put as much or as little force as I want against the fuselage to easily get the airplane in and out. I’m able to grab the stand from each end and completely collapse it or open it in one motion. It’s stable, but without being too wide to easily fit on my workbench.


The crossbar hinge uses off-the-shelf parts. A couple of 5/8-inch pieces of PVC tubing on the outer Tee ends act as nice bushings for the dowel to pivot in. Some 1/4-inch fender washers with a 1-inch OD and some wood screws hold it together.
The length of the dowel should fit into the assembled T-fittings and be roughly 1/8 inch shy of the ends of the outermost tubing pieces. The author drilled a pilot hole for the screw.

The author cut these dowels to fit inside of the PVC assemblies and used them to internally join the posts and legs so they will rotate together. The feet on the ground or bench will keep the posts either snug against the fuselage or square to the crossbar.
The author cut and dry-fitted various Schedule 40, ¾-inch PVC pieces together, making sure that the stand would fit all of my airplanes and in every required attitude.


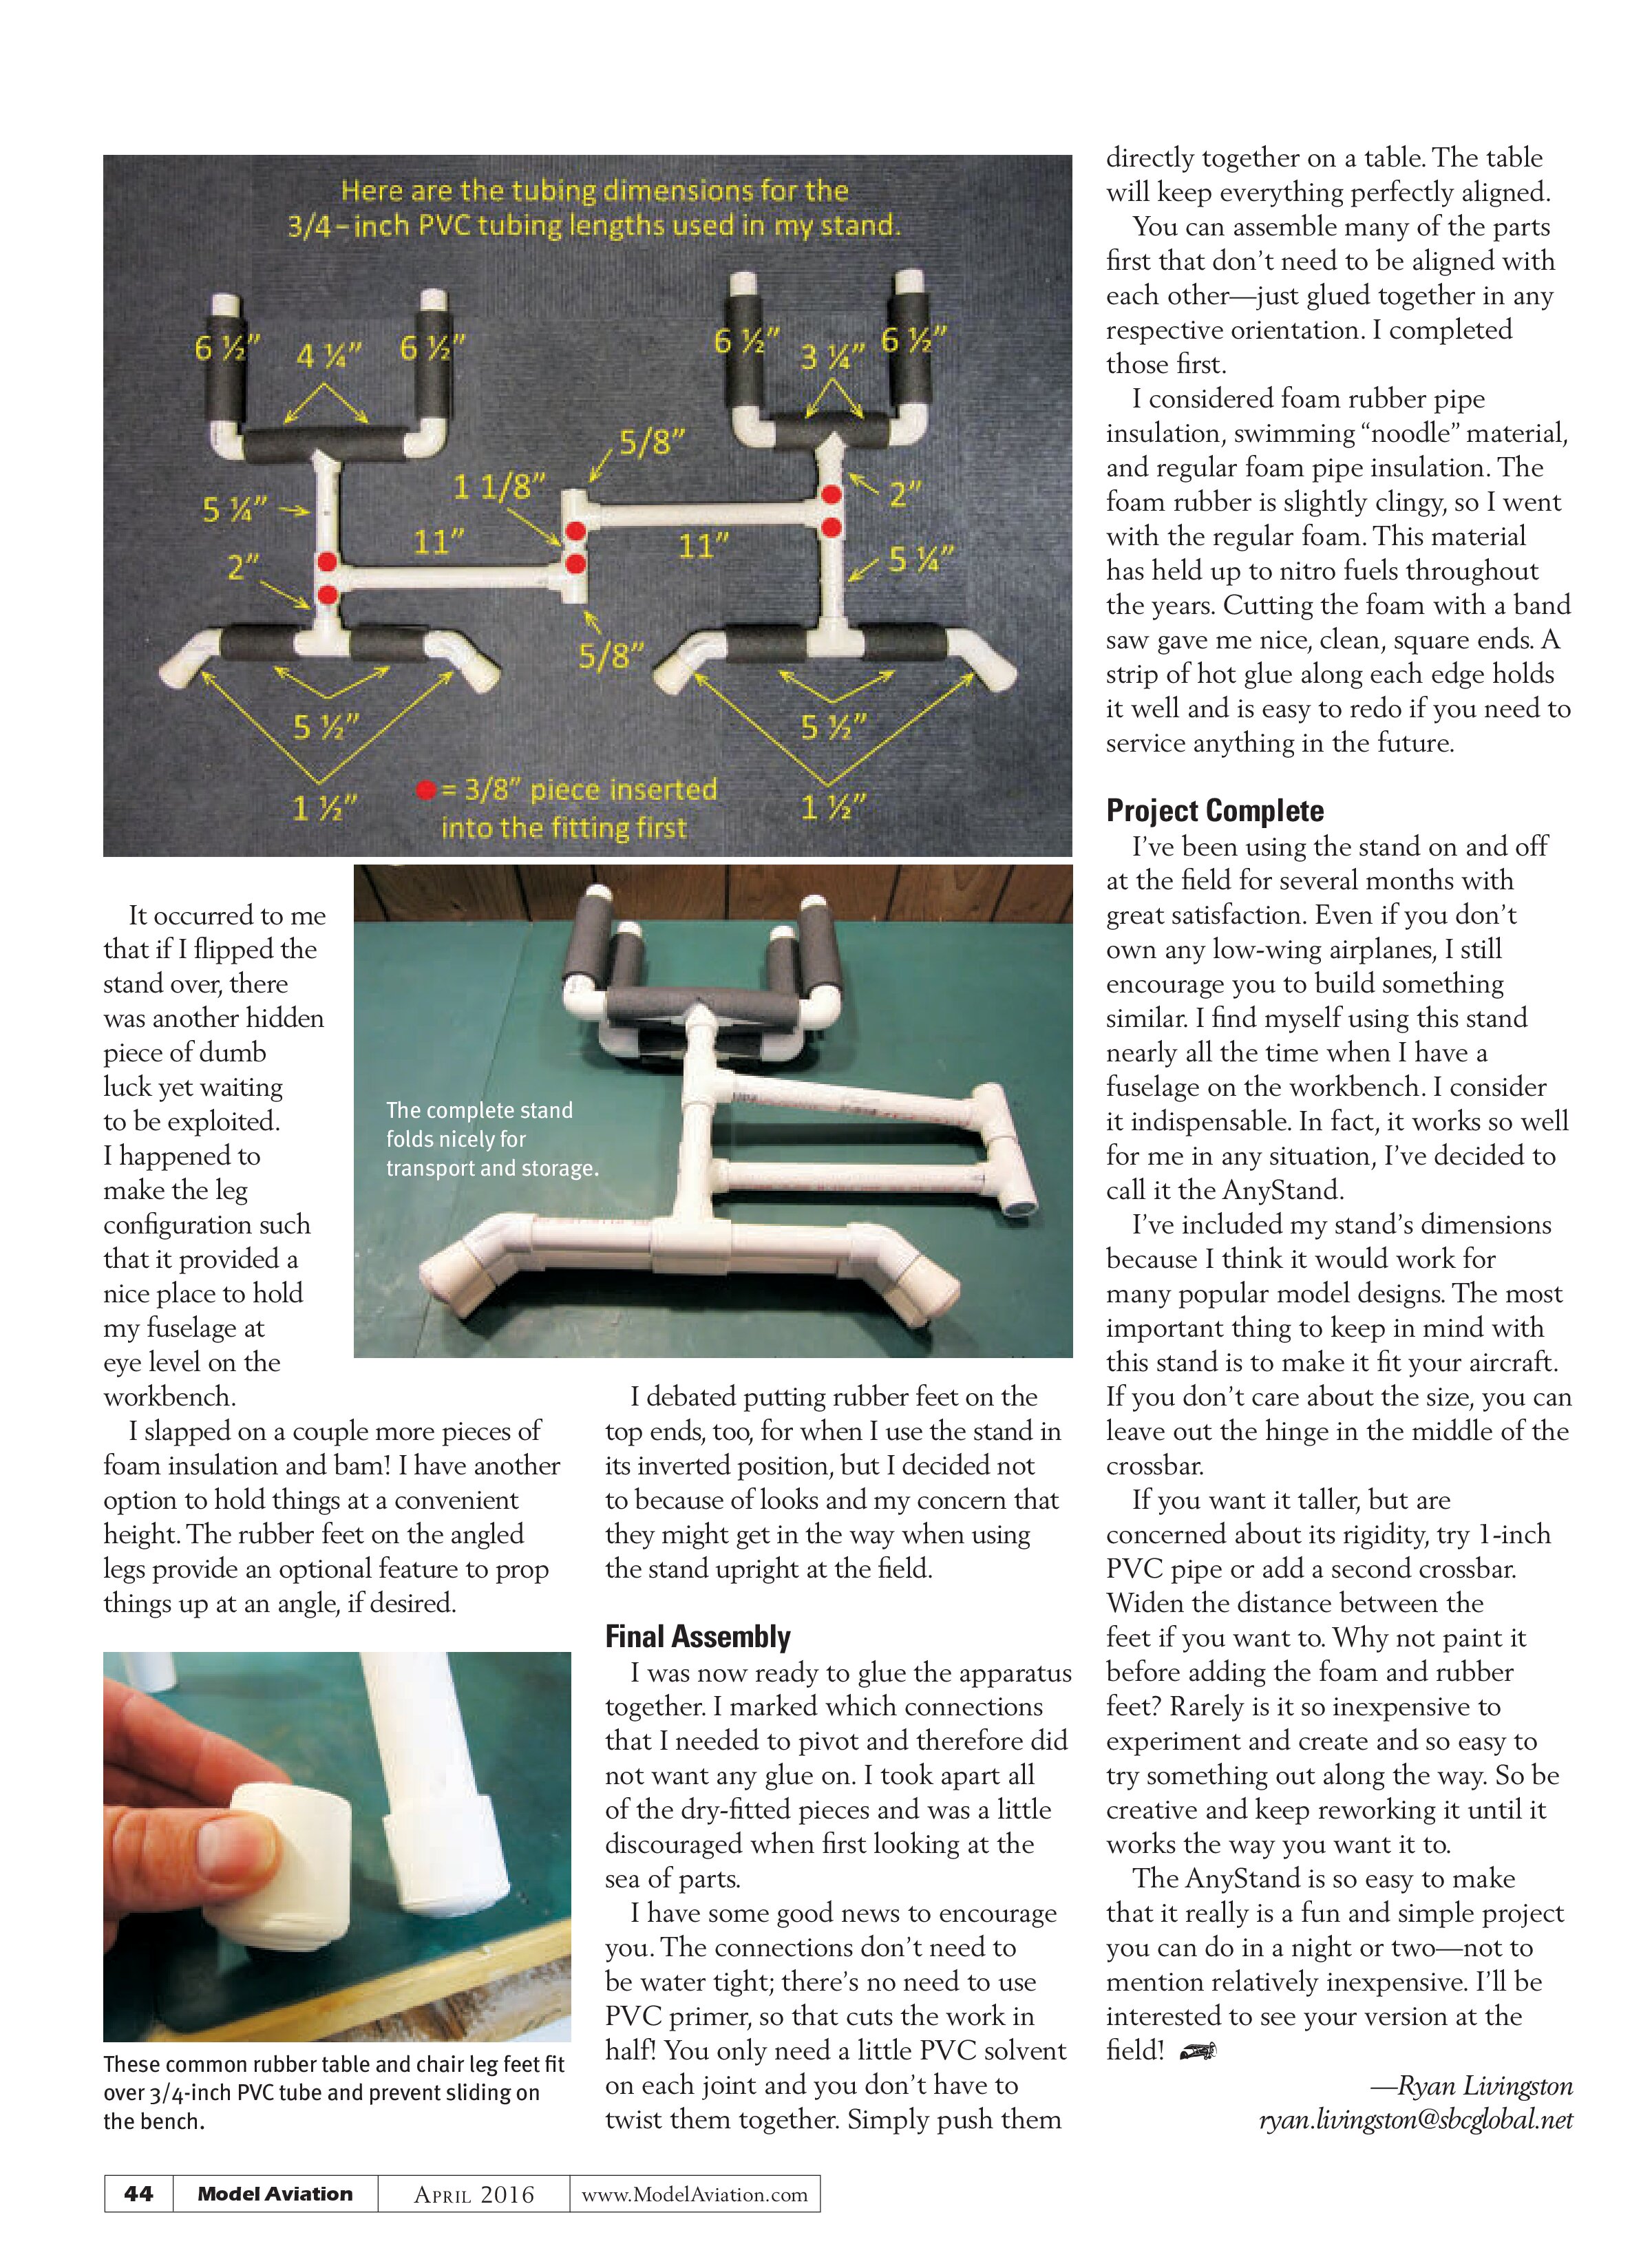
It occurred to me that if I flipped the stand over, there was another hidden piece of dumb luck yet waiting to be exploited. I happened to make the leg configuration such that it provided a nice place to hold my fuselage at eye level on the workbench.
I slapped on a couple more pieces of foam insulation and bam! I have another option to hold things at a convenient height. The rubber feet on the angled legs provide an optional feature to prop things up at an angle, if desired.

I debated putting rubber feet on the top ends, too, for when I use the stand in its inverted position, but I decided not to because of looks and my concern that they might get in the way when using the stand upright at the field.
Final Assembly
I was now ready to glue the apparatus together. I marked which connections that I needed to pivot and therefore did not want any glue on. I took apart all of the dry-fitted pieces and was a little discouraged when first looking at the sea of parts.
I have some good news to encourage you. The connections don’t need to be water tight; there’s no need to use PVC primer, so that cuts the work in half! You only need a little PVC solvent on each joint and you don’t have to twist them together. Simply push them directly together on a table. The table will keep everything perfectly aligned.
You can assemble many of the parts first that don’t need to be aligned with each other—just glued together in any respective orientation. I completed those first.
I considered foam rubber pipe insulation, swimming “noodle” material, and regular foam pipe insulation. The foam rubber is slightly clingy, so I went with the regular foam. This material has held up to nitro fuels throughout the years. Cutting the foam with a band saw gave me nice, clean, square ends. A strip of hot glue along each edge holds it well and is easy to redo if you need to service anything in the future.

Project Complete
I’ve been using the stand on and off at the field for several months with great satisfaction. Even if you don’t own any low-wing airplanes, I still encourage you to build something similar. I find myself using this stand nearly all the time when I have a fuselage on the workbench. I consider it indispensable. In fact, it works so well for me in any situation, I’ve decided to call it the AnyStand.
I’ve included my stand’s dimensions because I think it would work for many popular model designs. The most important thing to keep in mind with this stand is to make it fit your aircraft. If you don’t care about the size, you can leave out the hinge in the middle of the crossbar.
If you want it taller, but are concerned about its rigidity, try 1-inch PVC pipe or add a second crossbar. Widen the distance between the feet if you want to. Why not paint it before adding the foam and rubber feet? Rarely is it so inexpensive to experiment and create and so easy to try something out along the way. So be creative and keep reworking it until it works the way you want it to.
The AnyStand is so easy to make that it really is a fun and simple project you can do in a night or two—not to mention relatively inexpensive. I’ll be interested to see your version at the field!
—Ryan Livingston
ryan.livingston@sbcglobal.net