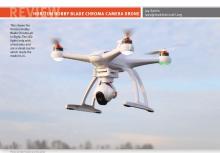
HORIZON HOBBY BLADE CHROMA CAMERA DRONE
Jay Smith
jays@modelaircraft.org

The next step in aerial photography and videography
The Blade Chroma Camera Drone with 1080p CGO2+ and ST-10+ is an impressive piece of machinery and technology. Although I prefer to call these types of aircraft multirotors instead of drones, I guess I don’t have a choice because drone is part of its name.
The Blade Chroma is available with two camera configurations—the CGO2+ which is capable of 1080p (1920 x 1080p) and the CGO3, which shoots video in 4K (4096 x 2160p). The difference in cost between the two versions is approximately $150. In this review I will focus on the 1080p version.
Beyond the two Chroma camera options, you also have the choice of purchasing the Chroma as part of the Backpack Bundle or the Flight Case Bundle. Both bundles include an additional flight battery, making them a great deal if you are looking for a way to store and transport the Chroma.
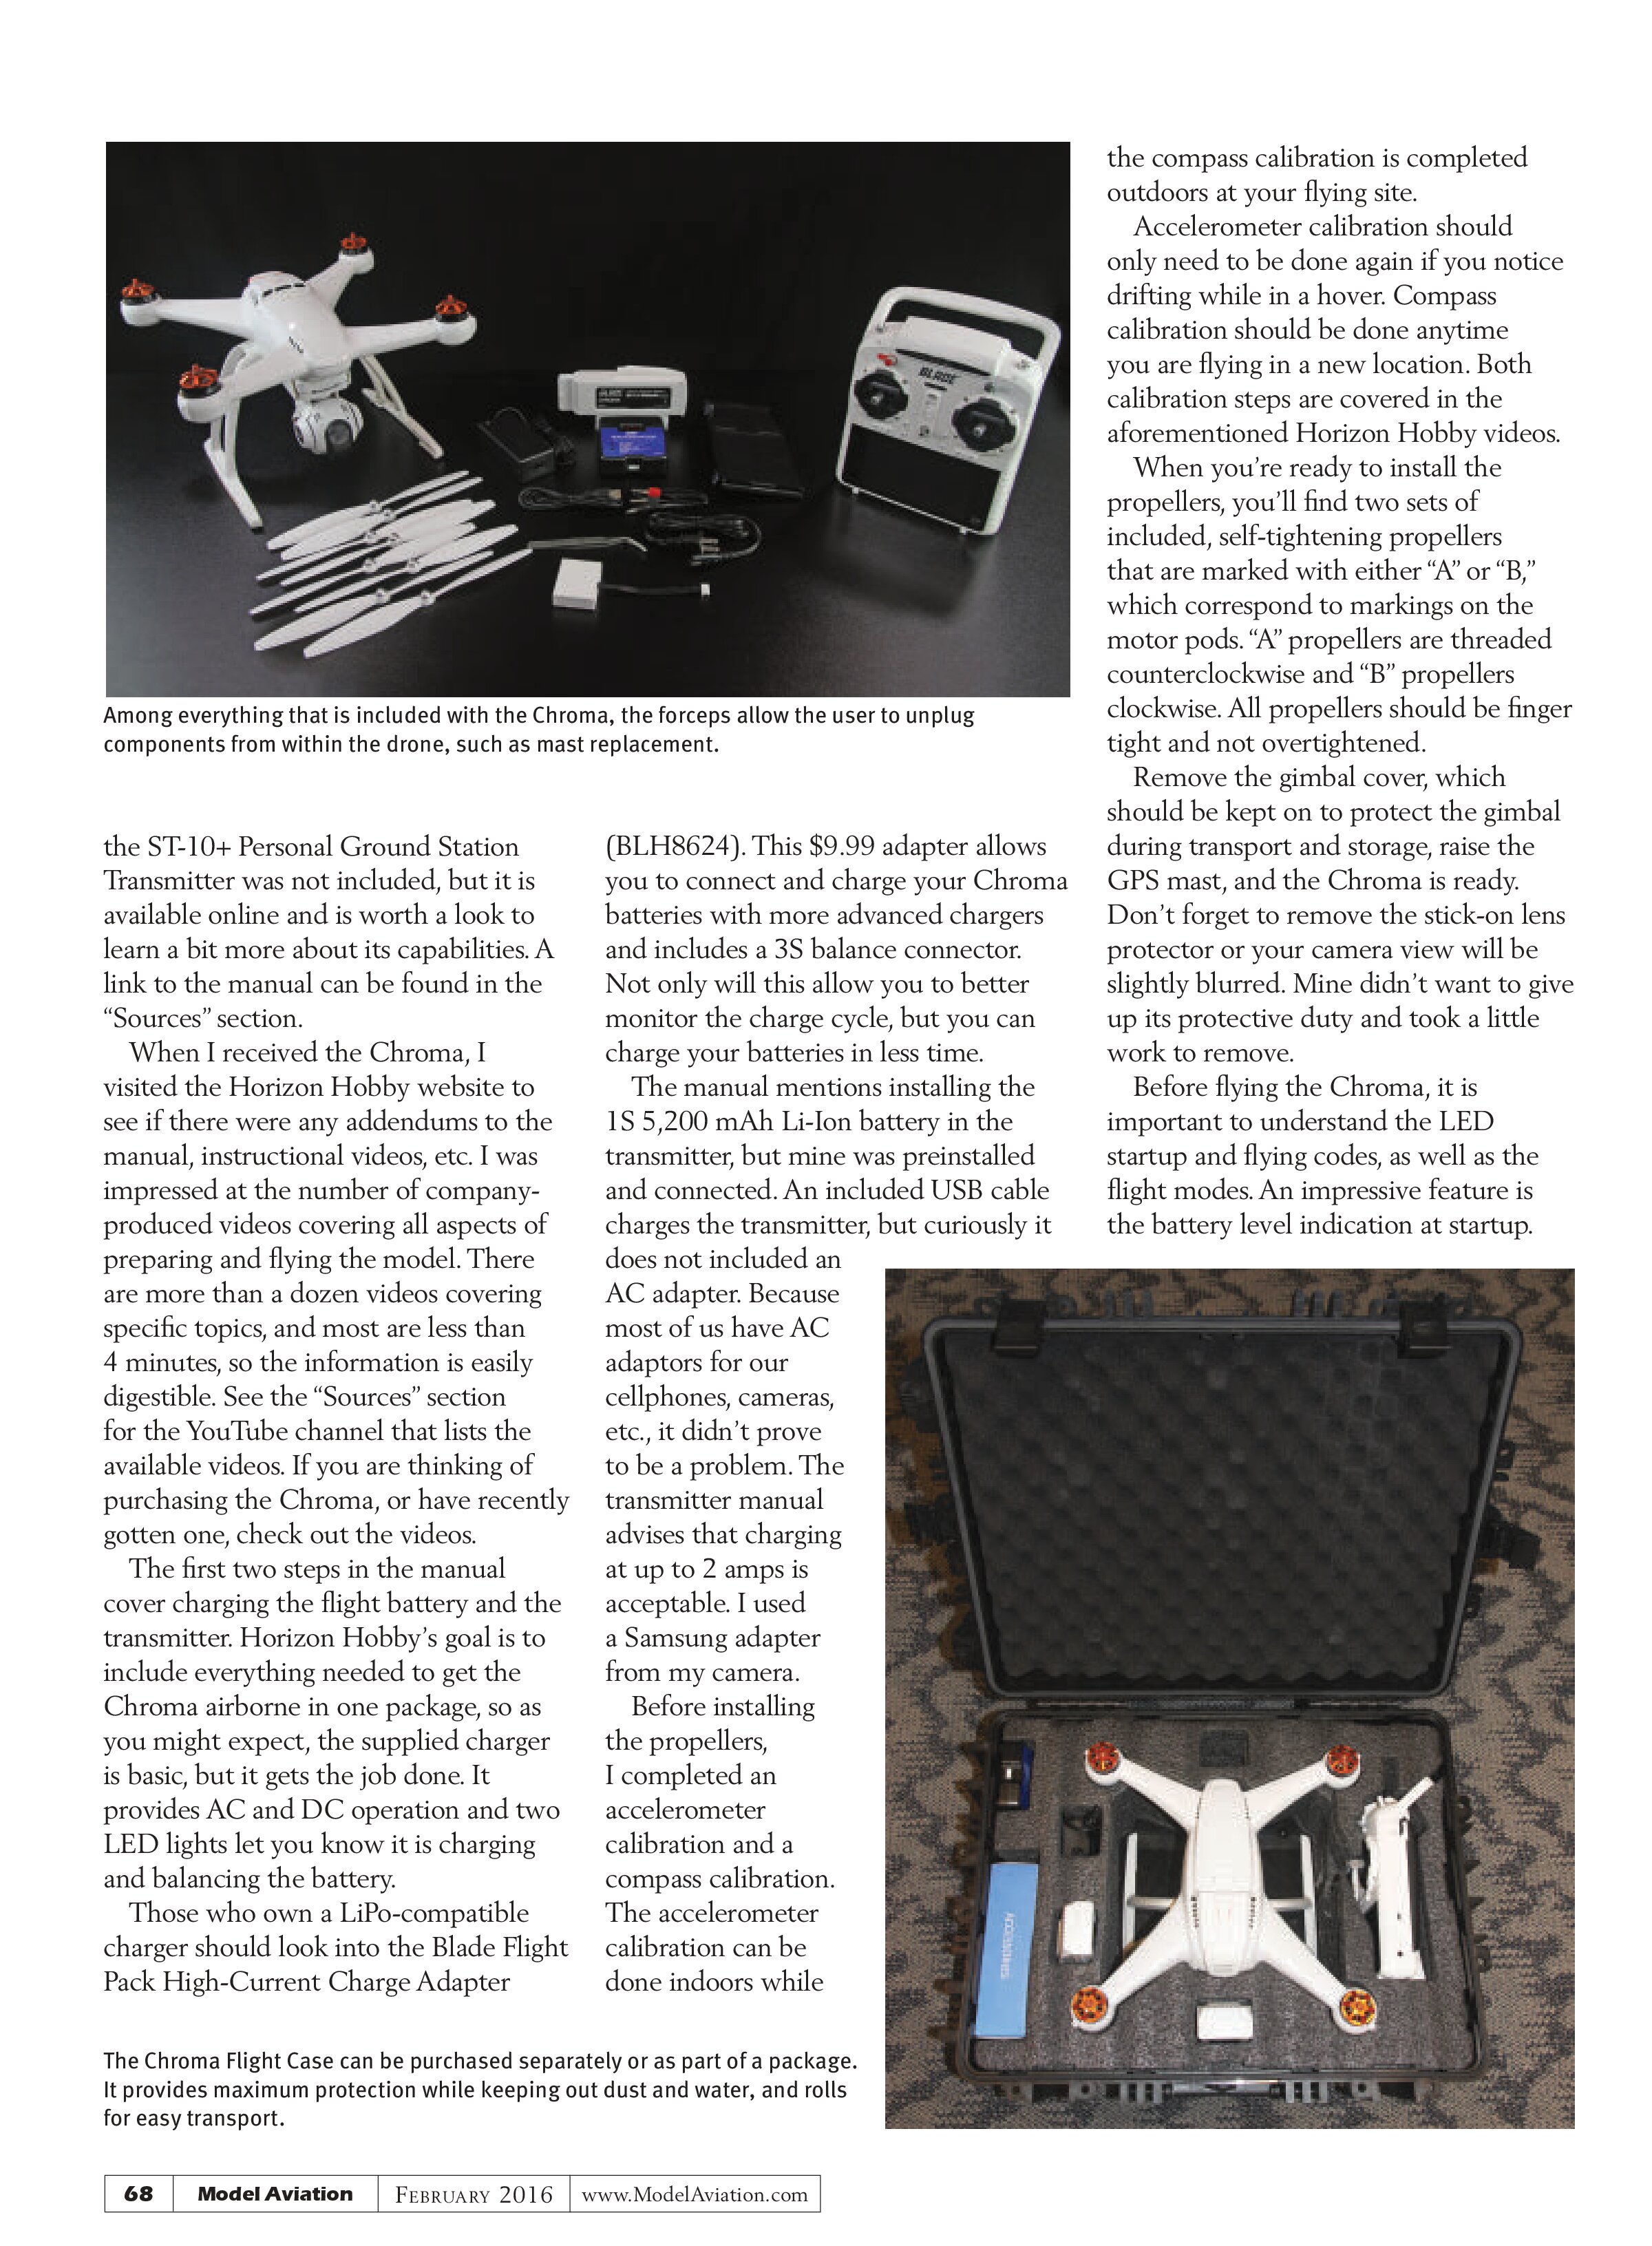
Inside the box is everything required to get this multirotor camera model into the air quickly, including the flight-ready Chroma Drone, CGO2+ 16mp 1080p/60 three-axis stabilized camera, ST-10+ controller, 6,300 mAh LiPo flight battery, flight battery charger, an extra set of propellers, ST-10+ display screen sunshade, USB programmer cable, and a micro SD card for the camera.
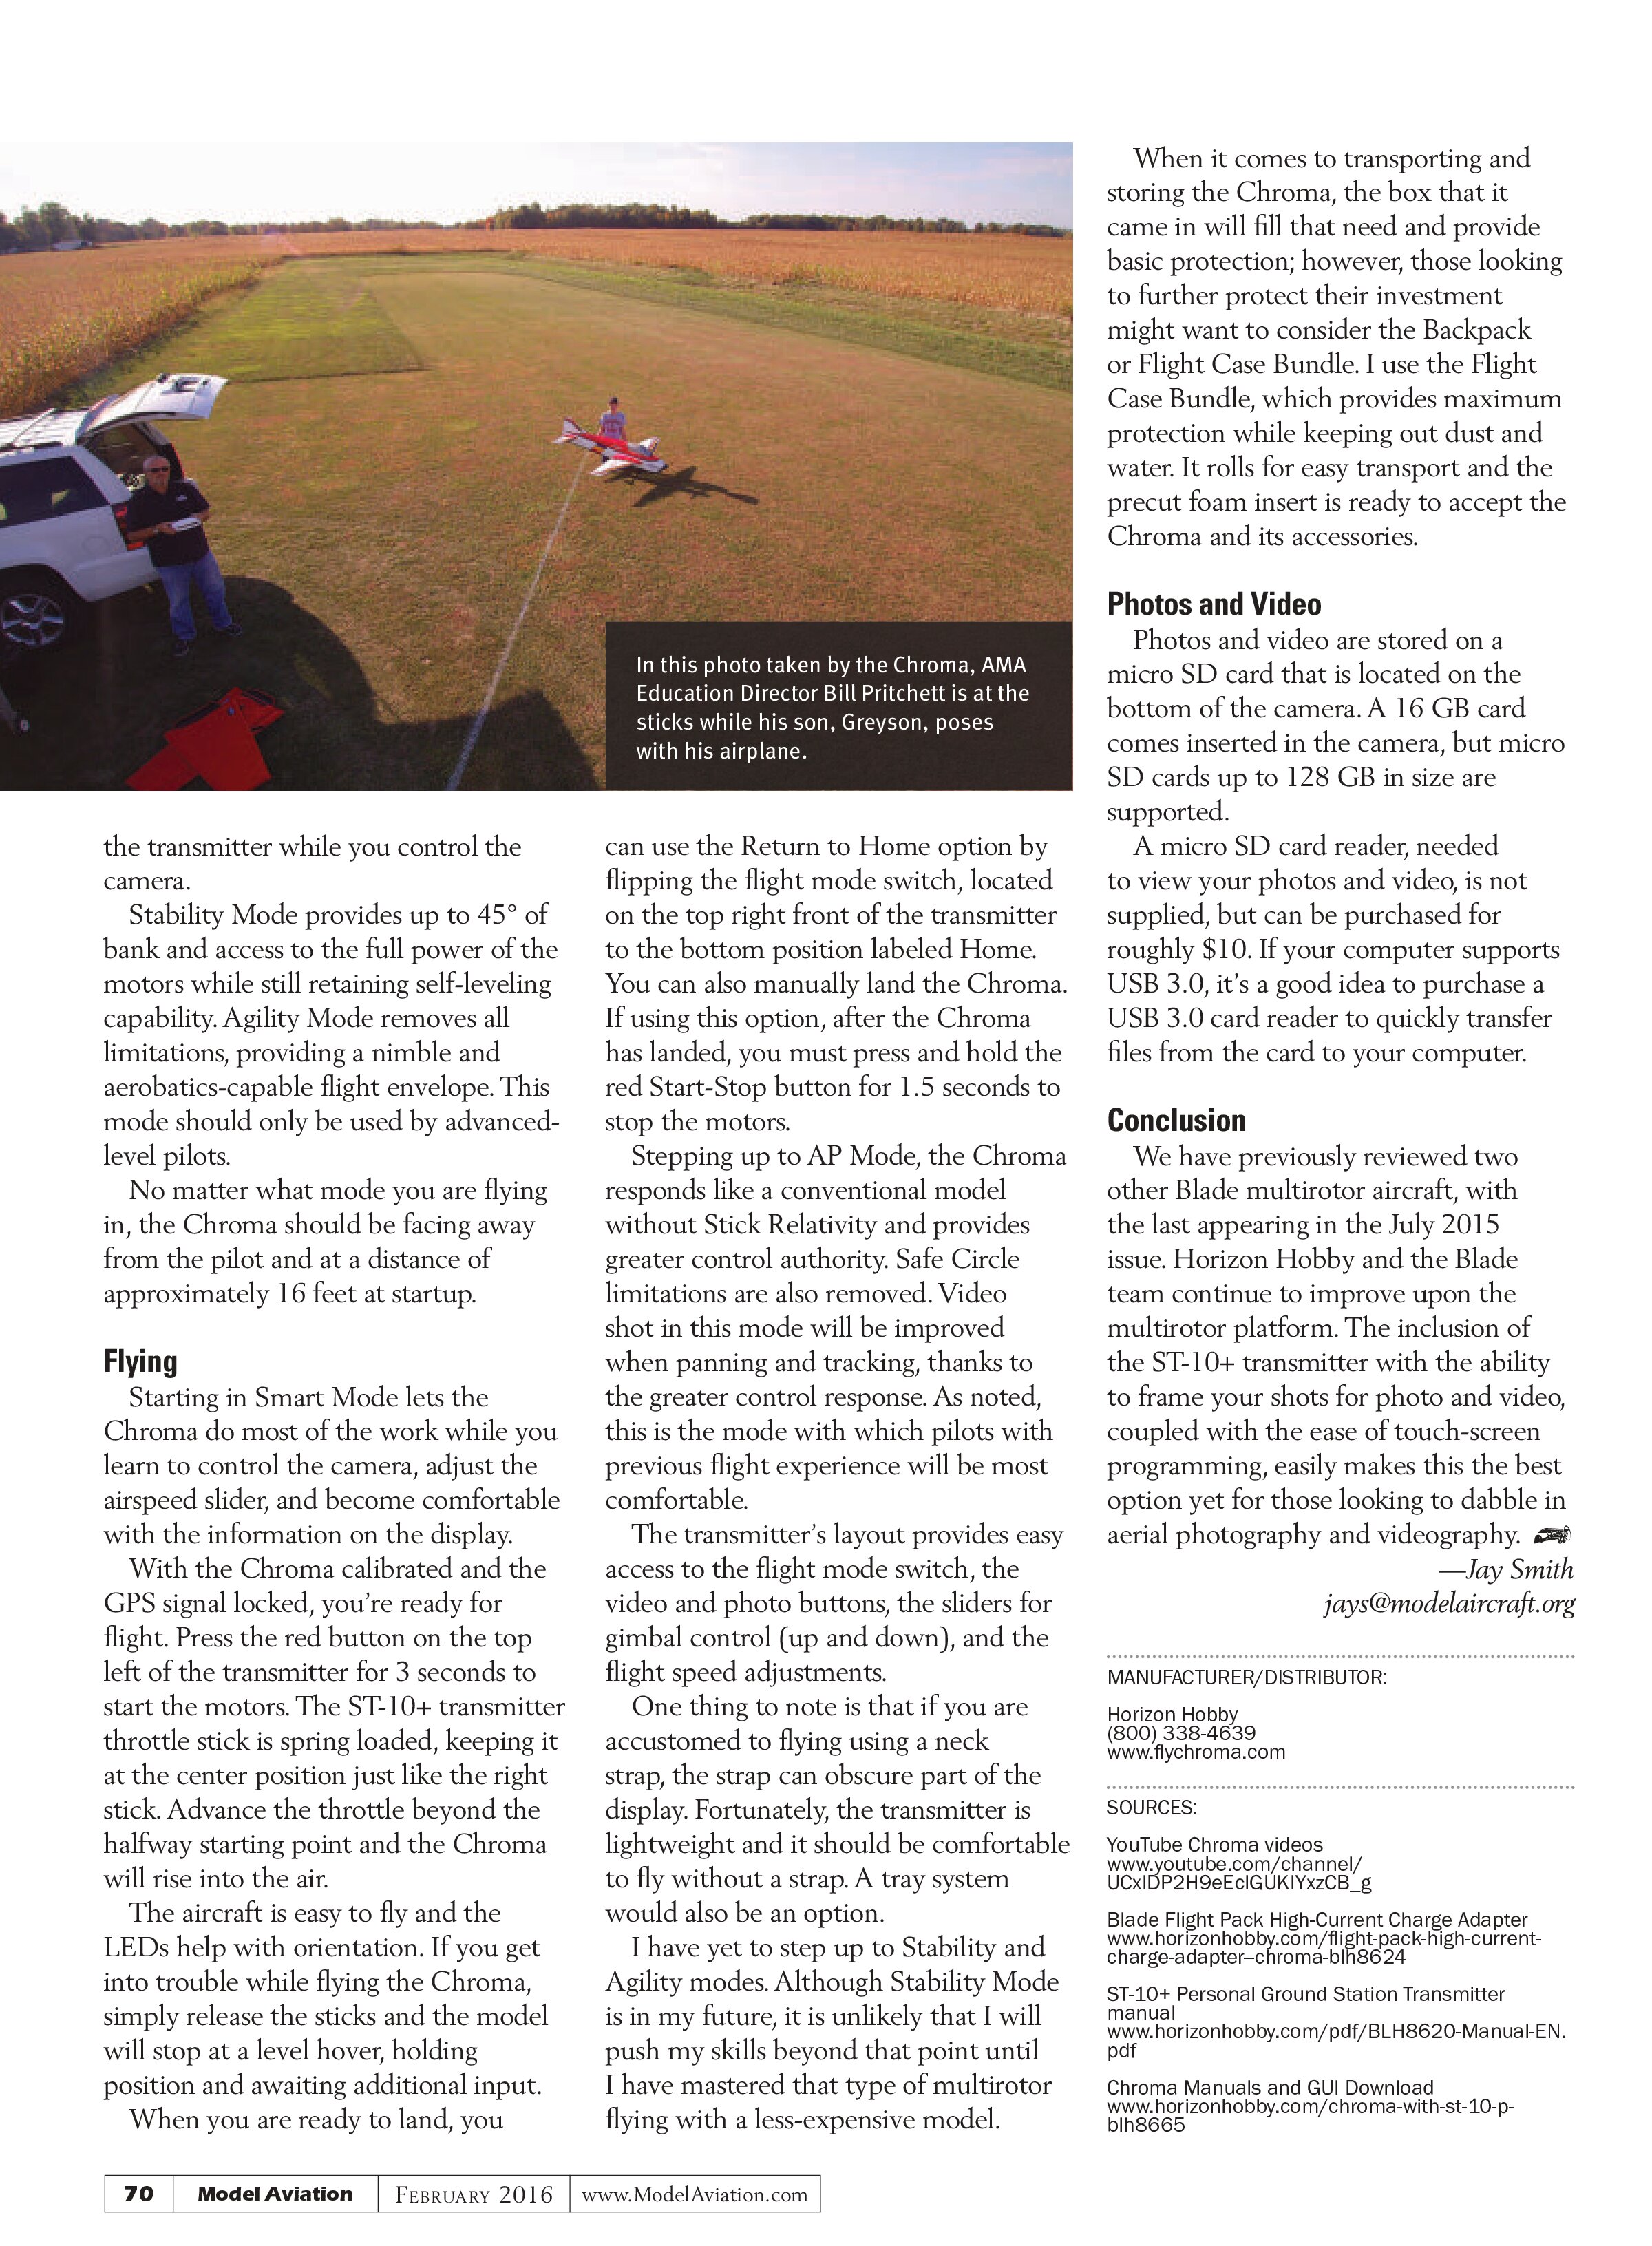
One important note regarding the flight battery: the first-run batteries have a label that reads 5,400 mAh, when the battery is actually a 6,300 mAh-capacity pack. This has been corrected, but it is worth noting to prevent confusion.
As for documentation, the Chroma includes a manual that could be better described as a quick-start guide, an LED reference card, and a warranty insert. The manual covers the basics of charging and flying the model, while the LED guide provides helpful information on startup and flying LED codes. The warranty that comes with the Chroma is impressive, offering a six-month warranty for any defects in materials and workmanship that applies to Chroma camera drones purchased after November 1, 2015.
I was surprised that a manual for

the ST-10+ Personal Ground Station Transmitter was not included, but it is available online and is worth a look to learn a bit more about its capabilities. A link to the manual can be found in the “Sources” section.
When I received the Chroma, I visited the Horizon Hobby website to see if there were any addendums to the manual, instructional videos, etc. I was impressed at the number of company-produced videos covering all aspects of preparing and flying the model. There are more than a dozen videos covering specific topics, and most are less than 4 minutes, so the information is easily digestible. See the “Sources” section for the YouTube channel that lists the available videos. If you are thinking of purchasing the Chroma, or have recently gotten one, check out the videos.
The first two steps in the manual cover charging the flight battery and the transmitter. Horizon Hobby’s goal is to include everything needed to get the Chroma airborne in one package, so as you might expect, the supplied charger is basic, but it gets the job done. It provides AC and DC operation and two LED lights let you know it is charging and balancing the battery.
Those who own a LiPo-compatible charger should look into the Blade Flight Pack High-Current Charge Adapter (BLH8624). This $9.99 adapter allows you to connect and charge your Chroma batteries with more advanced chargers and includes a 3S balance connector. Not only will this allow you to better monitor the charge cycle, but you can charge your batteries in less time.
The manual mentions installing the 1S 5,200 mAh Li-Ion battery in the transmitter, but mine was preinstalled and connected. An included USB cable charges the transmitter, but curiously it does not include an AC adapter. Because most of us have AC adaptors for our cellphones, cameras, etc., it didn’t prove to be a problem. The transmitter manual advises that charging at up to 2 amps is acceptable. I used a Samsung adapter from my camera.
Before installing the propellers, I completed an accelerometer calibration and a compass calibration. The accelerometer calibration can be done indoors while the compass calibration is completed outdoors at your flying site. Accelerometer calibration should only need to be done again if you notice drifting while in a hover. Compass calibration should be done anytime you are flying in a new location. Both calibration steps are covered in the aforementioned Horizon Hobby videos.
When you’re ready to install the propellers, you’ll find two sets of included, self-tightening propellers that are marked with either “A” or “B,” which correspond to markings on the motor pods. “A” propellers are threaded counterclockwise and “B” propellers clockwise. All propellers should be finger tight and not overtightened.
Remove the gimbal cover, which should be kept on to protect the gimbal during transport and storage, raise the GPS mast, and the Chroma is ready. Don’t forget to remove the stick-on lens protector or your camera view will be slightly blurred. Mine didn’t want to give up its protective duty and took a little work to remove.
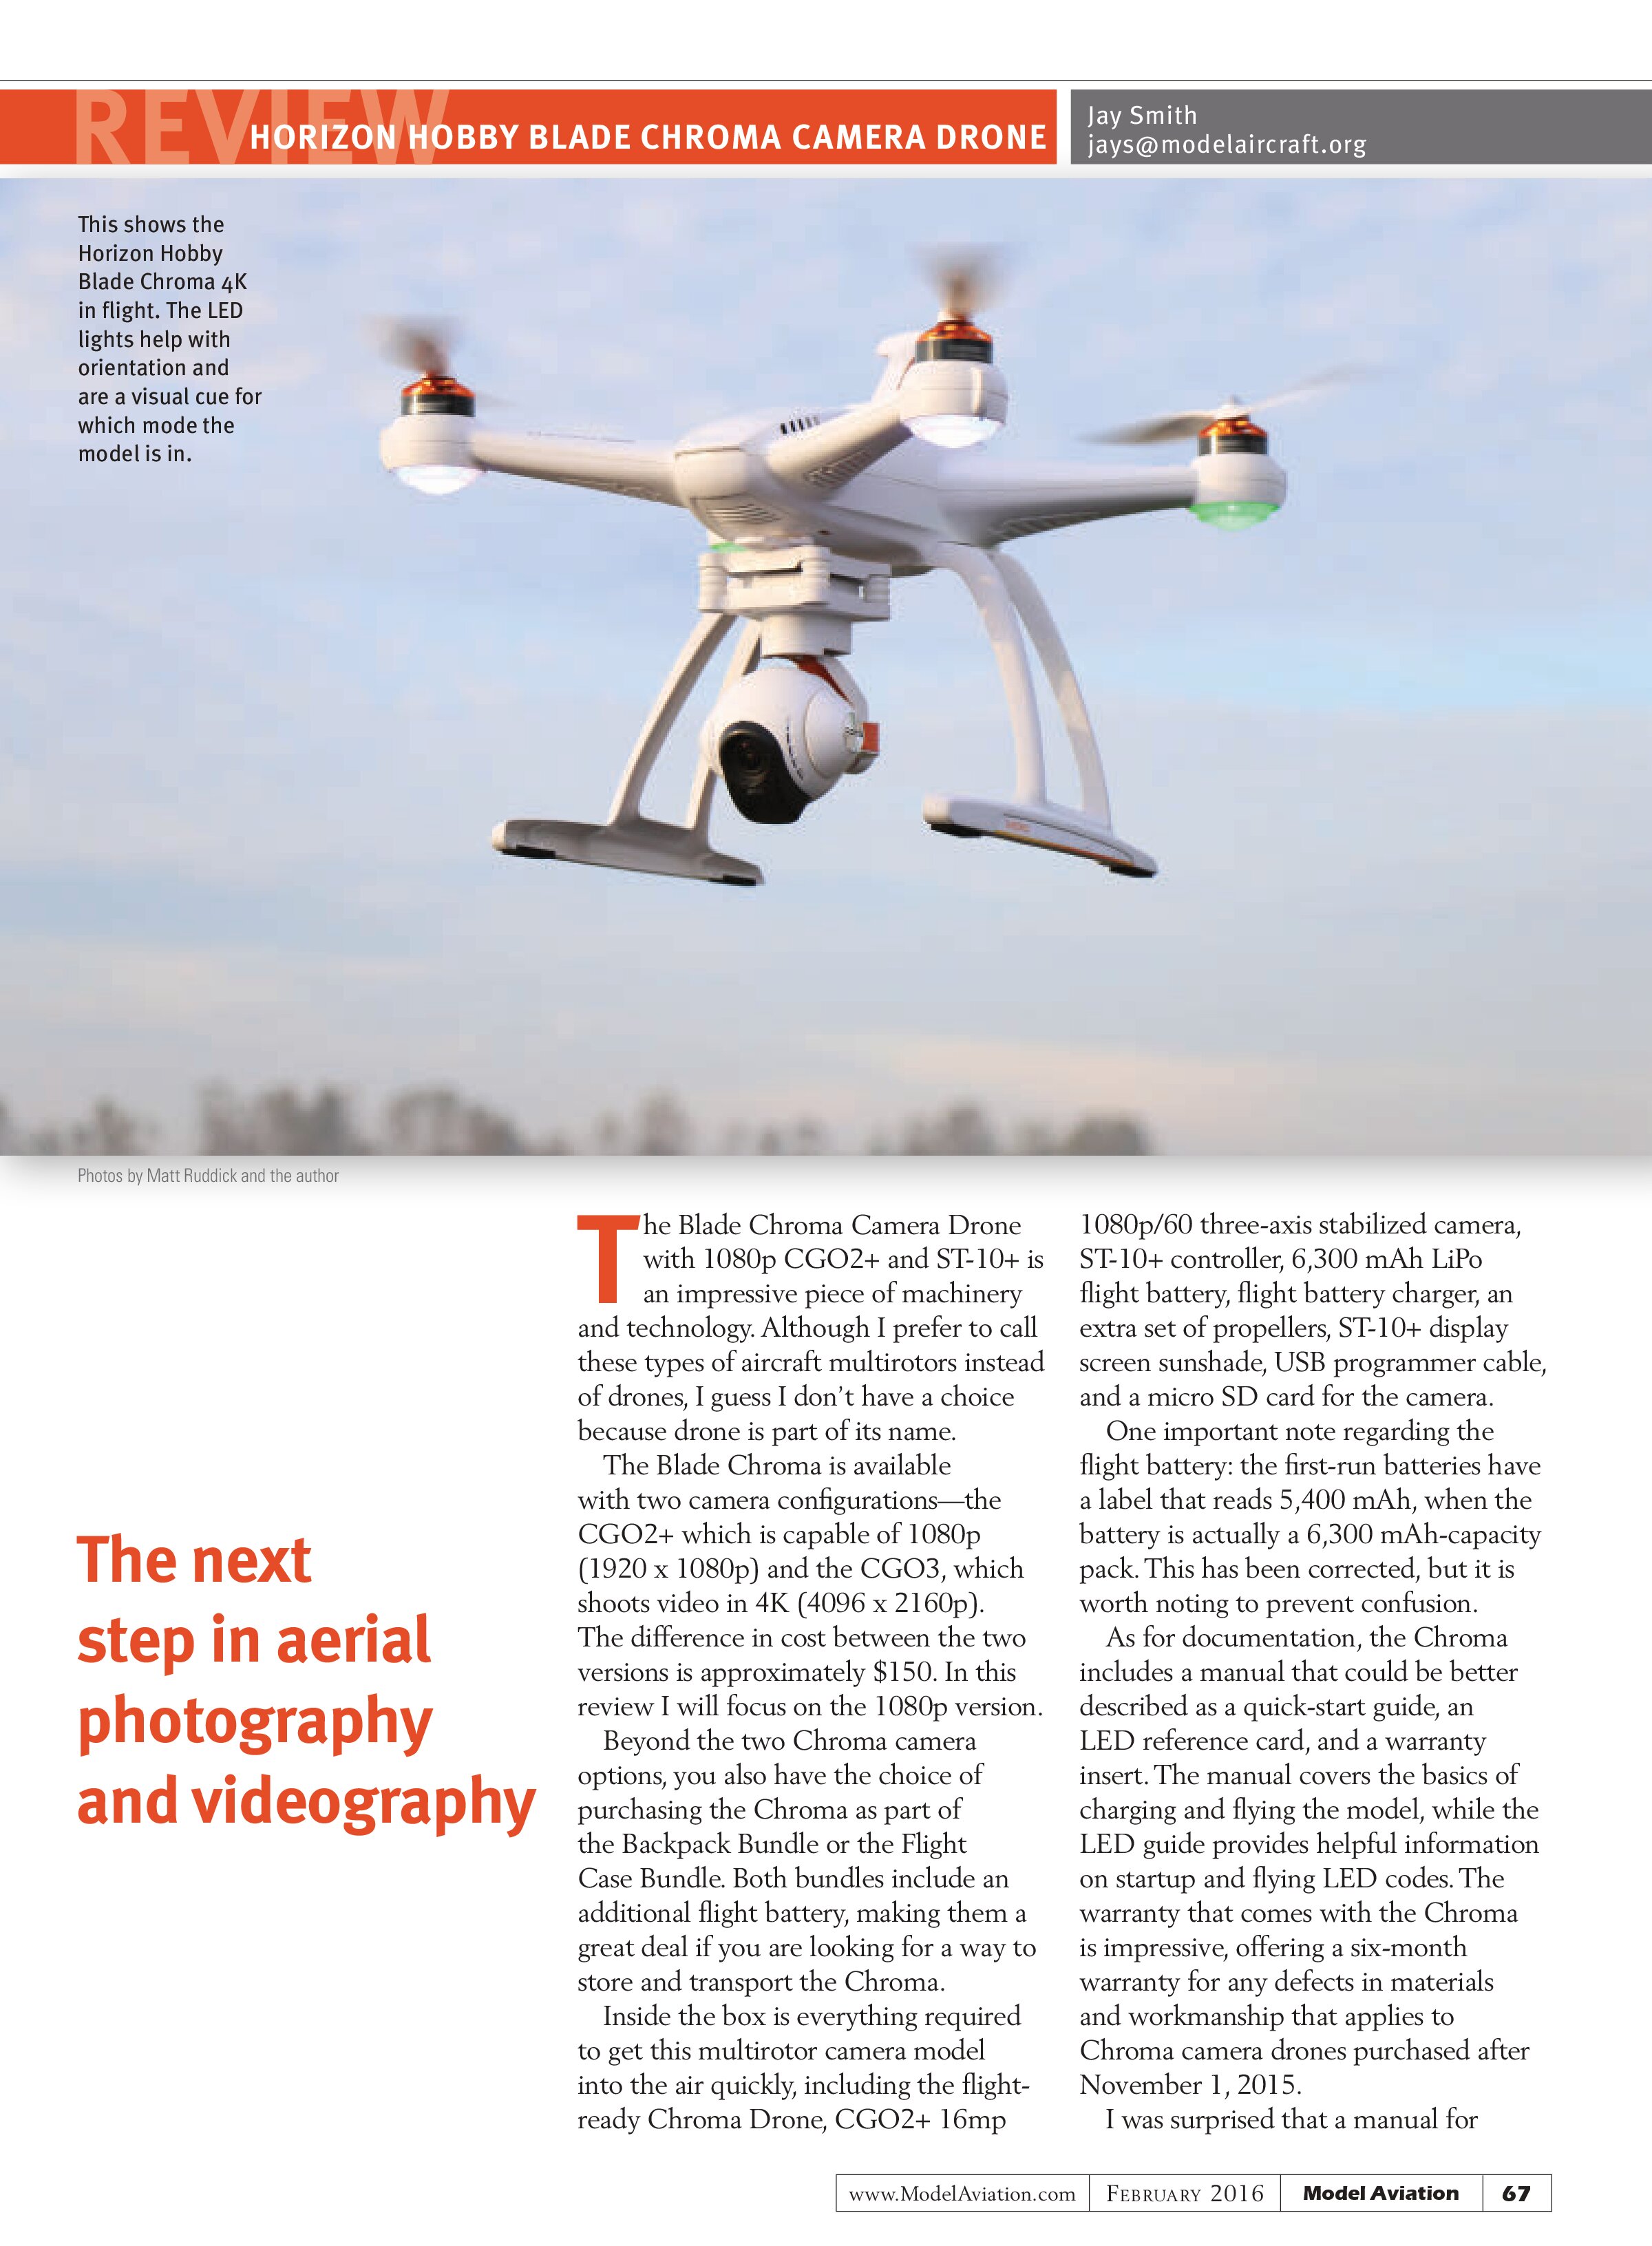
Before flying the Chroma, it is important to understand the LED startup and flying codes, as well as the flight modes. An impressive feature is the battery level indication at startup.

The Chroma Flight Case can be purchased separately or as part of a package. It provides maximum protection while keeping out dust and water, and rolls for easy transport.
The red and green LED lights provide a visual reference on the flight battery’s status—reporting 100%, 75%, and 50% power, and do not fly status.
Chroma GUI
A graphical user interface (GUI) can be downloaded from the Horizon Hobby website. A link to the Chroma GUI is in the “Sources” listing. You will need to extract and run the installer and it works on both a PC and a Mac.
After the software is installed, connect the Chroma to your computer using the provided USB cable. The plug to attach the USB cable to the Chroma can be found on the bottom next to the gimbal and camera. I chose to remove the propellers as a safety measure when using the software.

AT A GLANCE ...
SPECIFICATIONS
Model type: Quadcopter
Skill level: Intermediate
Motor-to-motor distance: 15.7 inches
Height: 9.5 inches
Weight: 45.9 ounces
Power system: Four 780 Kv brushless outrunner motors
Propellers: Eight 10-inch self-tightening
Battery: 3S 11.1-volt 6,300 mAh LiPo
Street price: $999.99 (Standard); $1,099.99 (Backpack Bundle); or $1,149.99 (Flight Case Bundle)
ST-10+ TRANSMITTER SPECIFICATIONS
Number of channels: 10
RC band: 2.4 GHz
RC modulation: QPSK
Video downlink band: 5.1 GHz and 5.8 GHz
Telemetry/OSD: Yes
Micro SD card compatible: Yes
LCD screen size: 4.5 inches
Touch screen: Yes
DETAILS
Battery: 1S 5,200 mAh 3.6-volt 1C Li-Ion
Camera: CGO2+ three-axis gimbal camera 1080p 60FPS; 16mp still capture
Gimbal: Three-axis stabilization
Radio system: ST-10+ with 5.8 GHz video downlink; 4.5-inch touch-screen display; 5,200 1S Li-Ion battery
Battery charger: 3.5-amp; 44-watt output
Flight duration: Up to 30 minutes, depending on flying condition
PLUSES
- Complete ready-to-fly package.
- Ability to see the camera feed on the display for photos and video.
- 4.5-inch touch-screen display with intuitive Android interface.
- GUI for firmware updates and programming.
- High-quality images and video.
MINUSES
- Proprietary flight battery.
- No lens protector for transport and storage.
The software offers the ability to upgrade the firmware, adjust settings, confirm proper operation of the sensors, and perform calibration of the gimbal. You can also adjust flight boundaries for Smart and Aerial Photo (AP) Flight Modes. An overview video of the Chroma GUI is available.
Flight Modes
Flight modes include Smart, AP, Tracking, Follow Me, Stability, Agility, and Return to Home. Smart Mode provides the most sedate flight experience using Stick Relativity, allowing the Chroma to respond to stick inputs the same way, whether it is facing the pilot or facing away. Right, left, forward, and backward all respond the same. This will be helpful to a beginner; however, more experienced pilots will find it counterintuitive.
Smart Mode also provides a Safe Circle feature that encompasses the pilot within a 30-foot virtual “fence” and will not allow the Chroma to enter that circle.
AP Mode will likely be the mode generally used by those looking to take photos and video. In this mode, the Chroma is capable of hands-off flight by releasing the sticks and employs self-leveling while responding to stick input the way experienced pilots are accustomed to.
In Return to Home Mode, the Chroma will return to the point it was launched and land at the flick of a switch. This can also be used if the Chroma goes beyond line of sight or if orientation becomes an issue.
As the model returns home, you can switch back to the previous flying mode at any point and take control of the Chroma without having to land—a useful feature.
Tracking and Follow Me modes need to be selected through the menu when the Chroma is on the ground. In Tracking Mode, the Chroma and the camera follow the transmitter, while in Follow Me Mode, the Chroma follows

the transmitter while you control the camera.
Stability Mode provides up to 45° of bank and access to the full power of the motors while still retaining self-leveling capability. Agility Mode removes all limitations, providing a nimble and aerobatics-capable flight envelope. This mode should only be used by advanced-level pilots.
No matter what mode you are flying in, the Chroma should be facing away from the pilot and at a distance of approximately 16 feet at startup.
Flying
Starting in Smart Mode lets the Chroma do most of the work while you learn to control the camera, adjust the airspeed slider, and become comfortable with the information on the display.
With the Chroma calibrated and the GPS signal locked, you’re ready for flight. Press the red button on the top left of the transmitter for 3 seconds to start the motors. The ST-10+ transmitter throttle stick is spring loaded, keeping it at the center position just like the right stick. Advance the throttle beyond the halfway starting point and the Chroma will rise into the air.
The aircraft is easy to fly and the LEDs help with orientation. If you get into trouble while flying the Chroma, simply release the sticks and the model will stop at a level hover, holding position and awaiting additional input.
When you are ready to land, you can use the Return to Home option by flipping the flight mode switch, located on the top right front of the transmitter to the bottom position labeled Home. You can also manually land the Chroma. If using this option, after the Chroma has landed, you must press and hold the red Start-Stop button for 1.5 seconds to stop the motors.
Stepping up to AP Mode, the Chroma responds like a conventional model without Stick Relativity and provides greater control authority. Safe Circle limitations are also removed. Video shot in this mode will be improved when panning and tracking, thanks to the greater control response. As noted, this is the mode with which pilots with previous flight experience will be most comfortable.
The transmitter’s layout provides easy access to the flight mode switch, the video and photo buttons, the sliders for gimbal control (up and down), and the flight speed adjustments.
One thing to note is that if you are accustomed to flying using a neck strap, the strap can obscure part of the display. Fortunately, the transmitter is lightweight and it should be comfortable to fly without a strap. A tray system would also be an option.
I have yet to step up to Stability and Agility modes. Although Stability Mode is in my future, it is unlikely that I will push my skills beyond that point until I have mastered that type of multirotor flying with a less-expensive model.
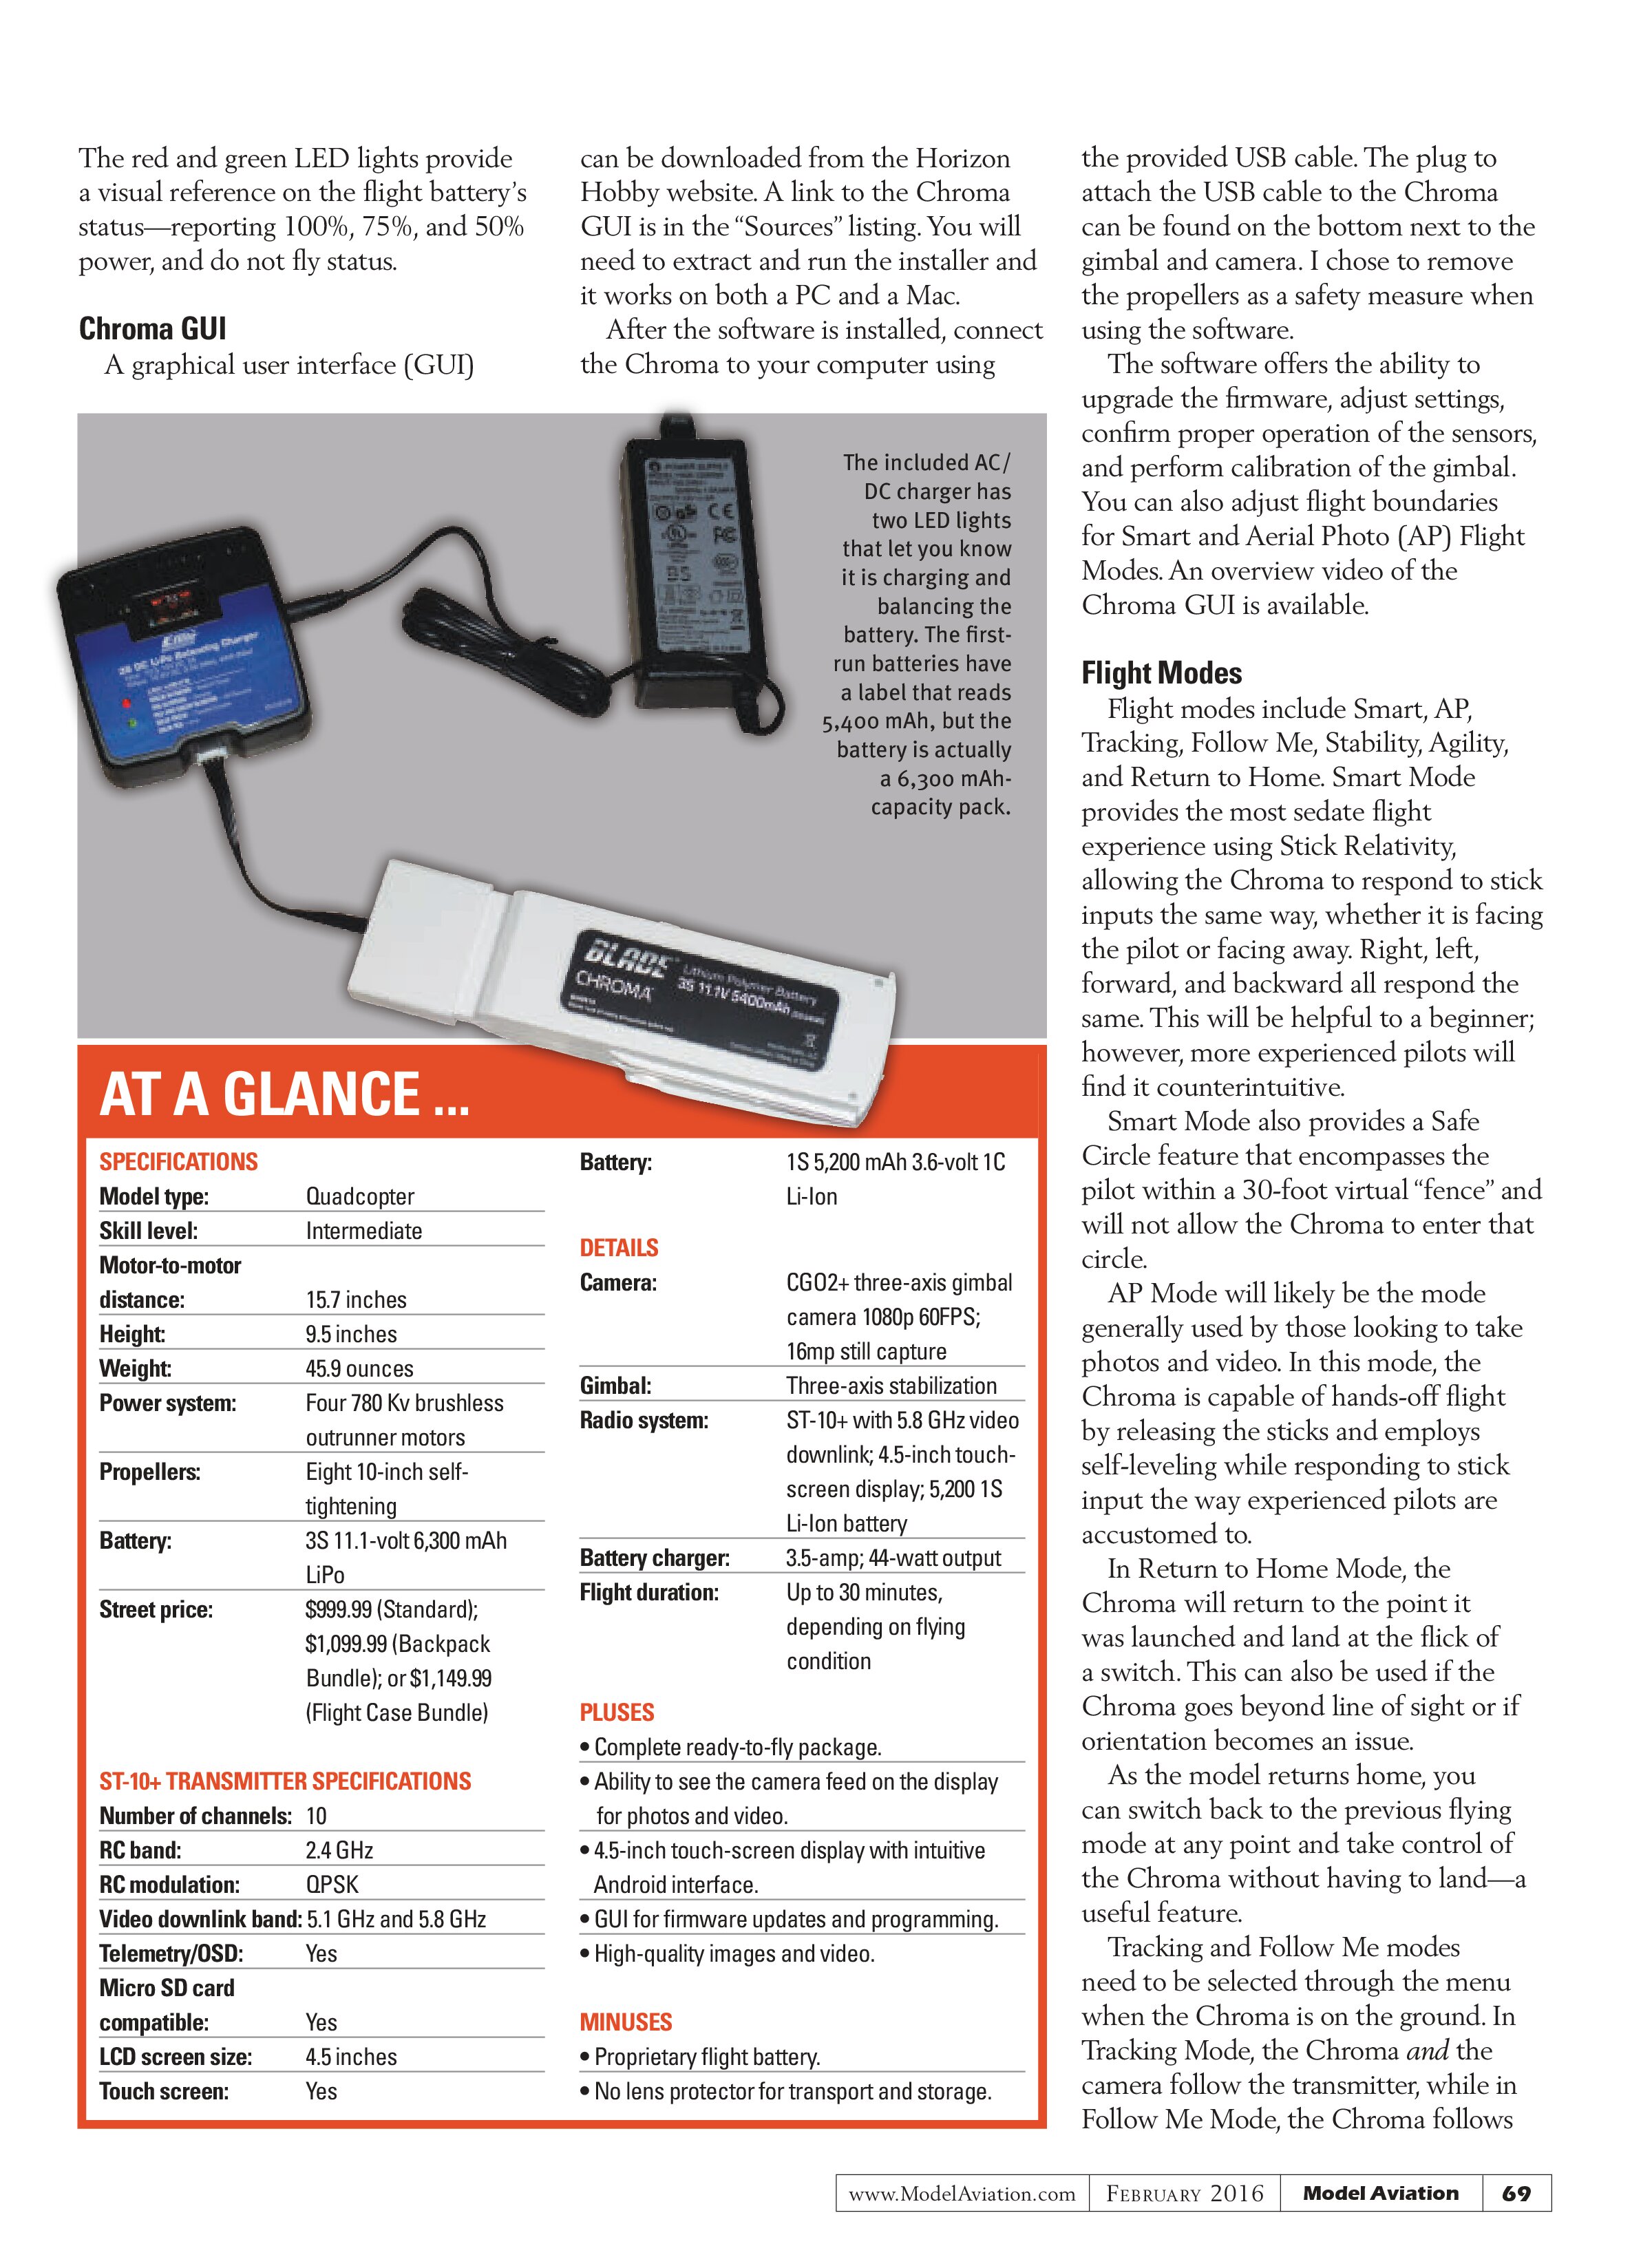
When it comes to transporting and storing the Chroma, the box that it came in will fill that need and provide basic protection; however, those looking to further protect their investment might want to consider the Backpack or Flight Case Bundle. I use the Flight Case Bundle, which provides maximum protection while keeping out dust and water. It rolls for easy transport and the precut foam insert is ready to accept the Chroma and its accessories.
Photos and Video
Photos and video are stored on a micro SD card that is located on the bottom of the camera. A 16 GB card comes inserted in the camera, but micro SD cards up to 128 GB in size are supported.
A micro SD card reader, needed to view your photos and video, is not supplied, but can be purchased for roughly $10. If your computer supports USB 3.0, it’s a good idea to purchase a USB 3.0 card reader to quickly transfer files from the card to your computer.
Conclusion
We have previously reviewed two other Blade multirotor aircraft, with the last appearing in the July 2015 issue. Horizon Hobby and the Blade team continue to improve upon the multirotor platform. The inclusion of the ST-10+ transmitter with the ability to frame your shots for photo and video, coupled with the ease of touch-screen programming, easily makes this the best option yet for those looking to dabble in aerial photography and videography.
—Jay Smith
jays@modelaircraft.org
MANUFACTURER/DISTRIBUTOR:
Horizon Hobby
(800) 338-4639
www.flychroma.com
SOURCES:
YouTube Chroma videos
www.youtube.com/channel/UCxIDP2H9eEclGUlKYxzCB_g
Blade Flight Pack High-Current Charge Adapter
www.horizonhobby.com/flight-pack-high-current-charge-adapter--chroma-blh...
ST-10+ Personal Ground Station Transmitter manual
www.horizonhobby.com/pdf/BLH8620-Manual-EN.pdf
Chroma Manuals and GUI Download
www.horizonhobby.com/chroma-with-st-10-p-blh8665