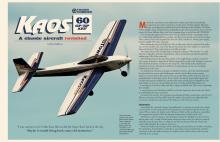
Tower Hobbies Kaos 60 Gp/Ep Arf
A classic aircraft revisited
by Tom Sullivan

“I was curious to see if this Kaos flies as did the Super Kaos back in the day.
Maybe it would bring back some old memories.”
Mention the name Kaos to any old-school modeler, and it will be immediately recognized as one of the cornerstones of early sport or Pattern designs. The Kaos family was designed by Joe Bridi and was first featured in the February 1970 issue of R/C Modeler. Many variations of the original Kaos came afterward, and I’m very excited to review the Tower Hobbies Kaos, which the company refers to as the Kaos 60 GP/EP ARF.
One constant throughout the Kaos series was the airfoil and basic wing design. These are credited with making the Kaos a gentle, easy flier at low speeds and an all-out aerobat when pushed. True to the original Kaos, this new ARF is sized for a .60-size glow engine, but has roughly 15% more wing area.
When taking the parts out of the box, I like to take some time to examine what makes up a review model. In the case of the Kaos, I found that the entire airframe is made from balsa and plywood. This construction is very light and rigid.
The wing comes as left and right halves, designed as plug-ins. They fit onto 1 1/16-inch diameter wing tubes and each wing half has a plastic antirotation pin fitted toward the trailing edge (TE) of the center rib.
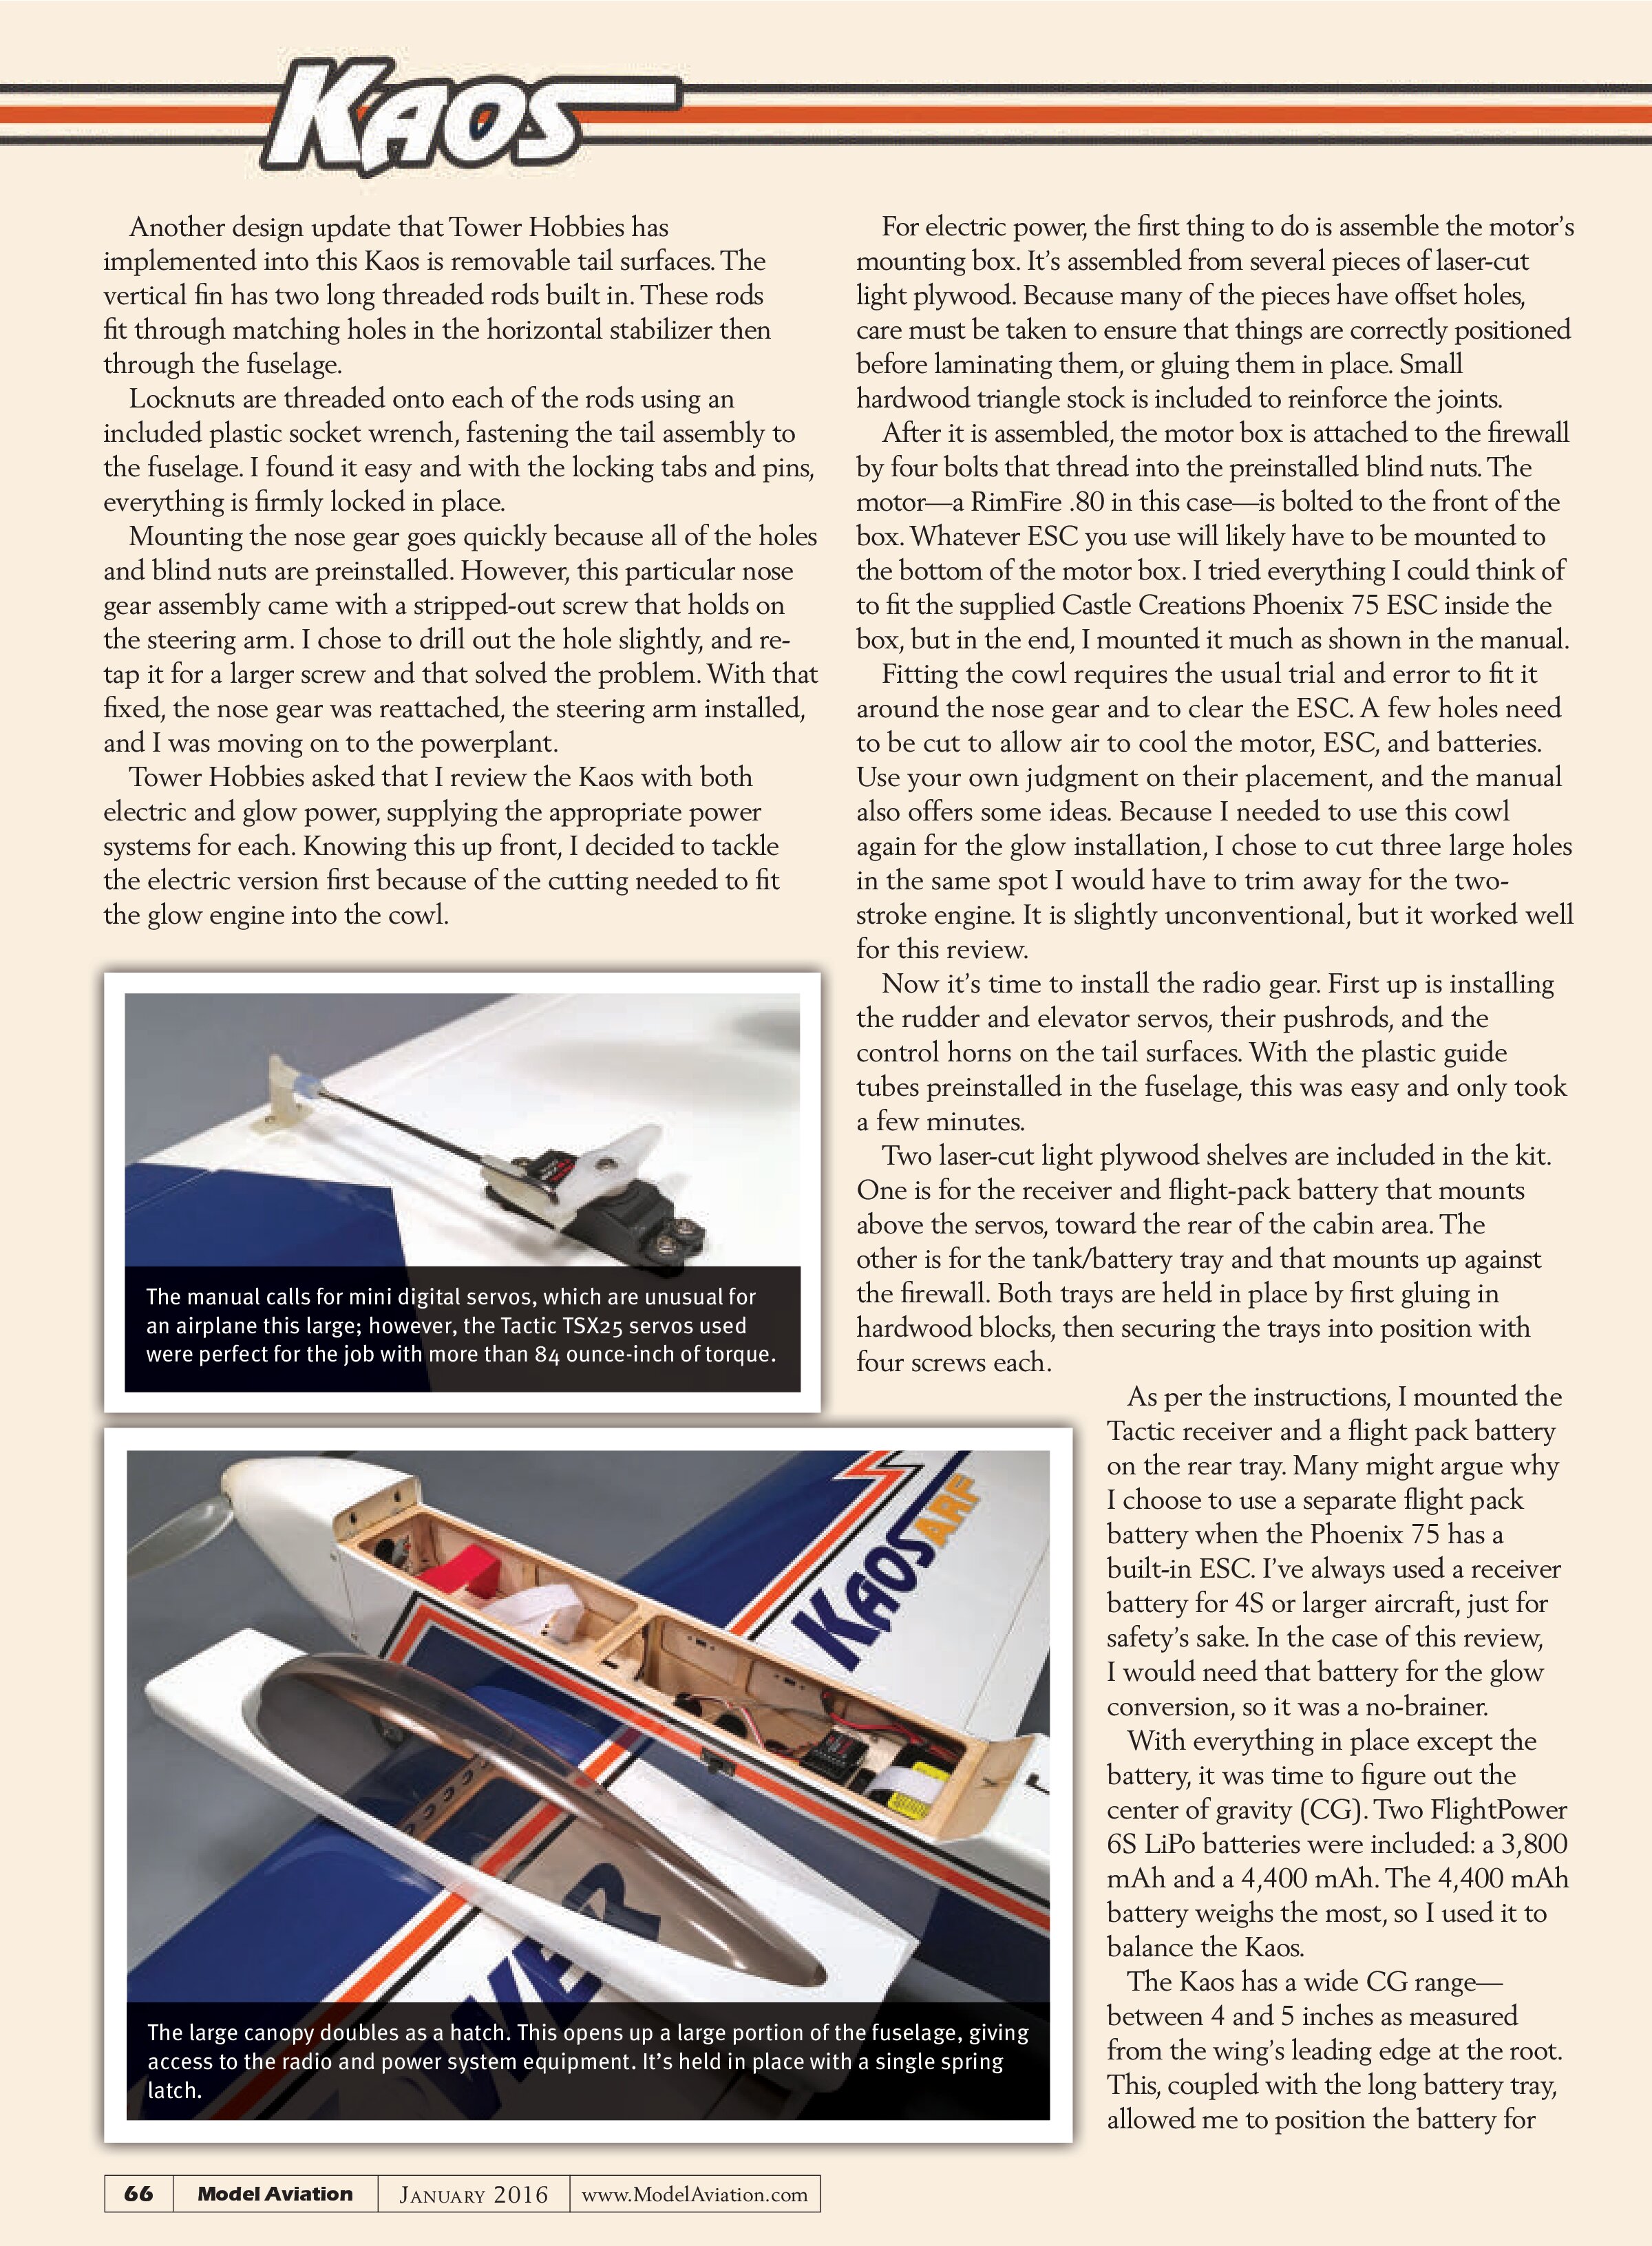
The fuselage features the same boxy shape as the original Kaos, with one exception. The canopy is fitted to a huge hatch. When removed, the inside of the fuselage is exposed from the firewall all the way back to the wing’s TE. This should make installing any equipment a breeze. This hatch is held in by a spring-release on the rear and plastic locating pins in the front.
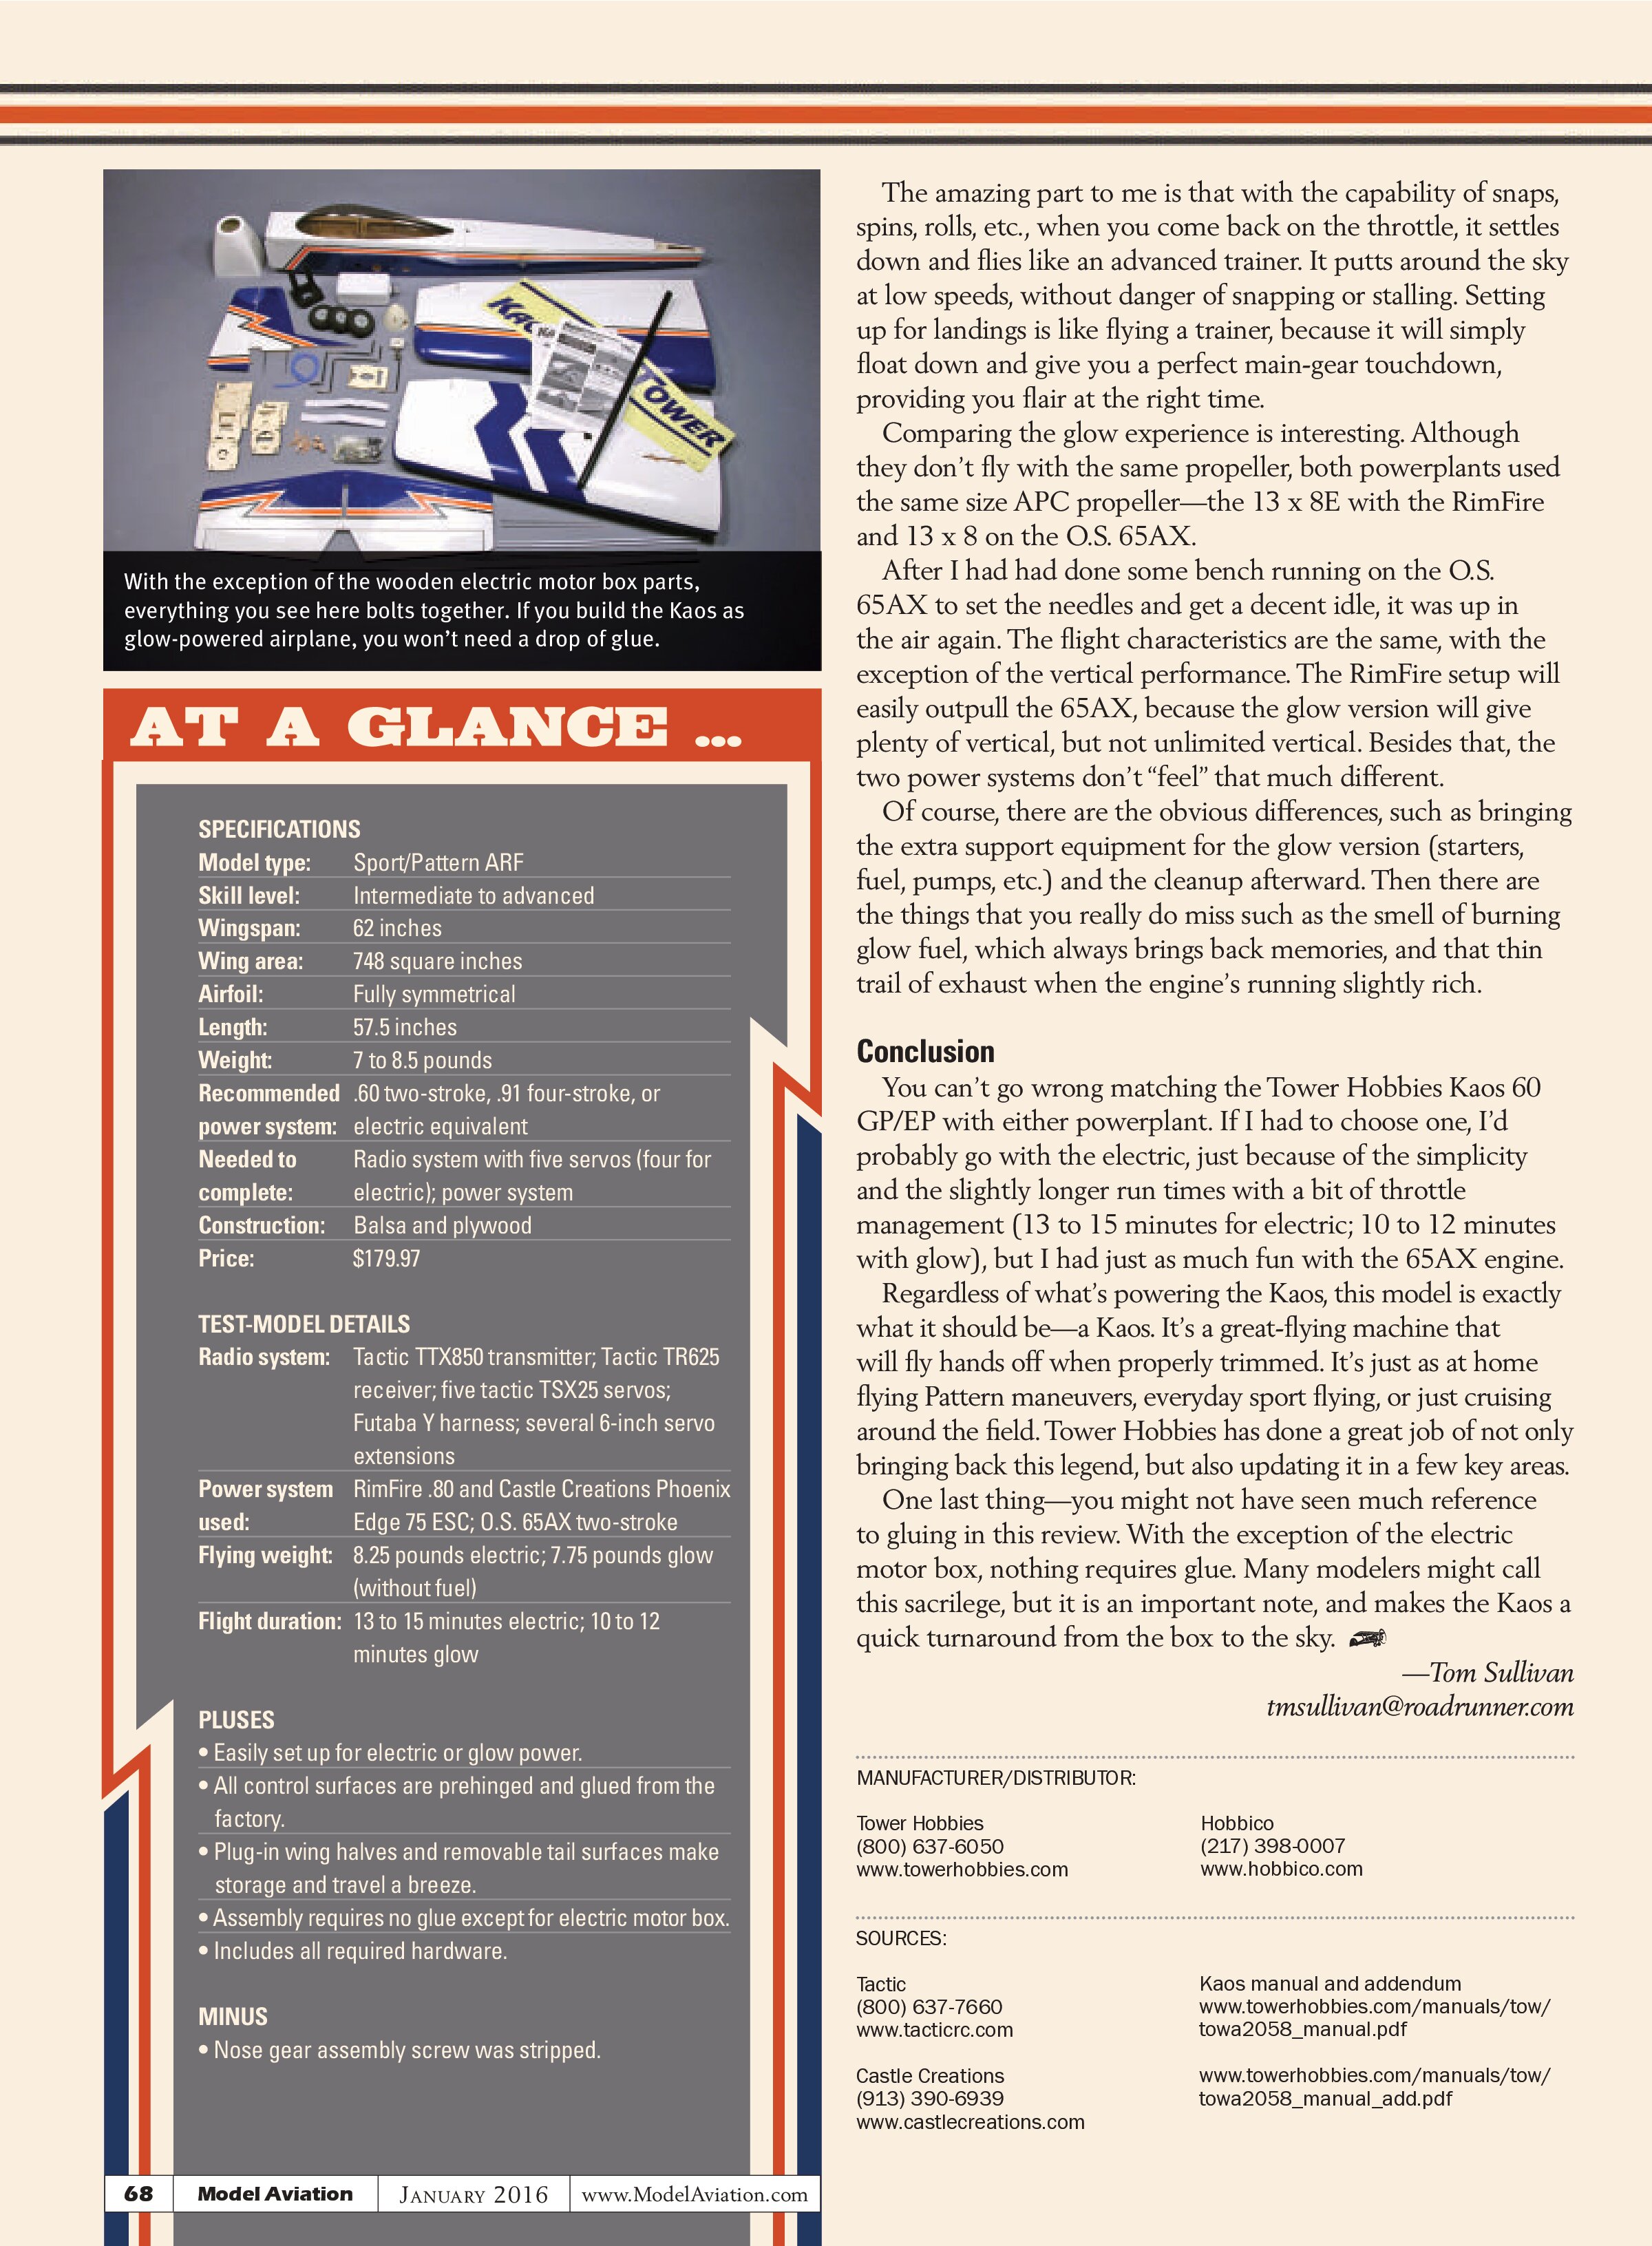
A comprehensive hardware package is included in the kit—all of the pushrods, plastic clevises and horns, screws, nuts, landing gear, wheels, wheel collars, motor mounts, spinner, etc. If you choose glow power, you can use the 420cc plastic fuel tank, which is preplumbed for a three-line system. If you want to try electric power, lightweight, laser-cut plywood parts are included to construct the motor mounting box. Regardless of the powerplant you use, you can streamline the looks with the included fiberglass cowl.
Everything is covered in white, with blue, orange, and black trim. There were surprisingly few wrinkles.
I was curious to see if this Kaos would fly as did the Super Kaos back in the day. Maybe it would bring back some memories.
As usual in my reviews, I’m not going to go through all of the construction steps. If you’d like to see the steps, the Kaos ARF’s manual is online. Also online is an addendum that covers a few omissions in the manual. The links are in the “Sources” section.
Construction
Assembling the wing halves begins by installing the two aileron servos into the cutouts on the bottom of each wing half, then threading the servo leads through the wing to the center. When in place, the plastic control horns are fitted and the pushrods are assembled and snapped into position. With the hinging already done, it makes quick work.
The Kaos is a tricycle design, so the main gear needs to be installed next. Each strut is held in place with a couple of thick plastic straps and four screws. Be careful to correctly install the struts because there is a slight sweep back to the gear. With the wheels and wheel collars finished, the wings are good to go.
Work now shifts to the fuselage and the first thing the manual has you tackle is attaching the tail surfaces. In hindsight, I would skip to mounting your powerplant first, and then come back to the tail surfaces because it would be easier without them in the way, but we’ll follow the manual.
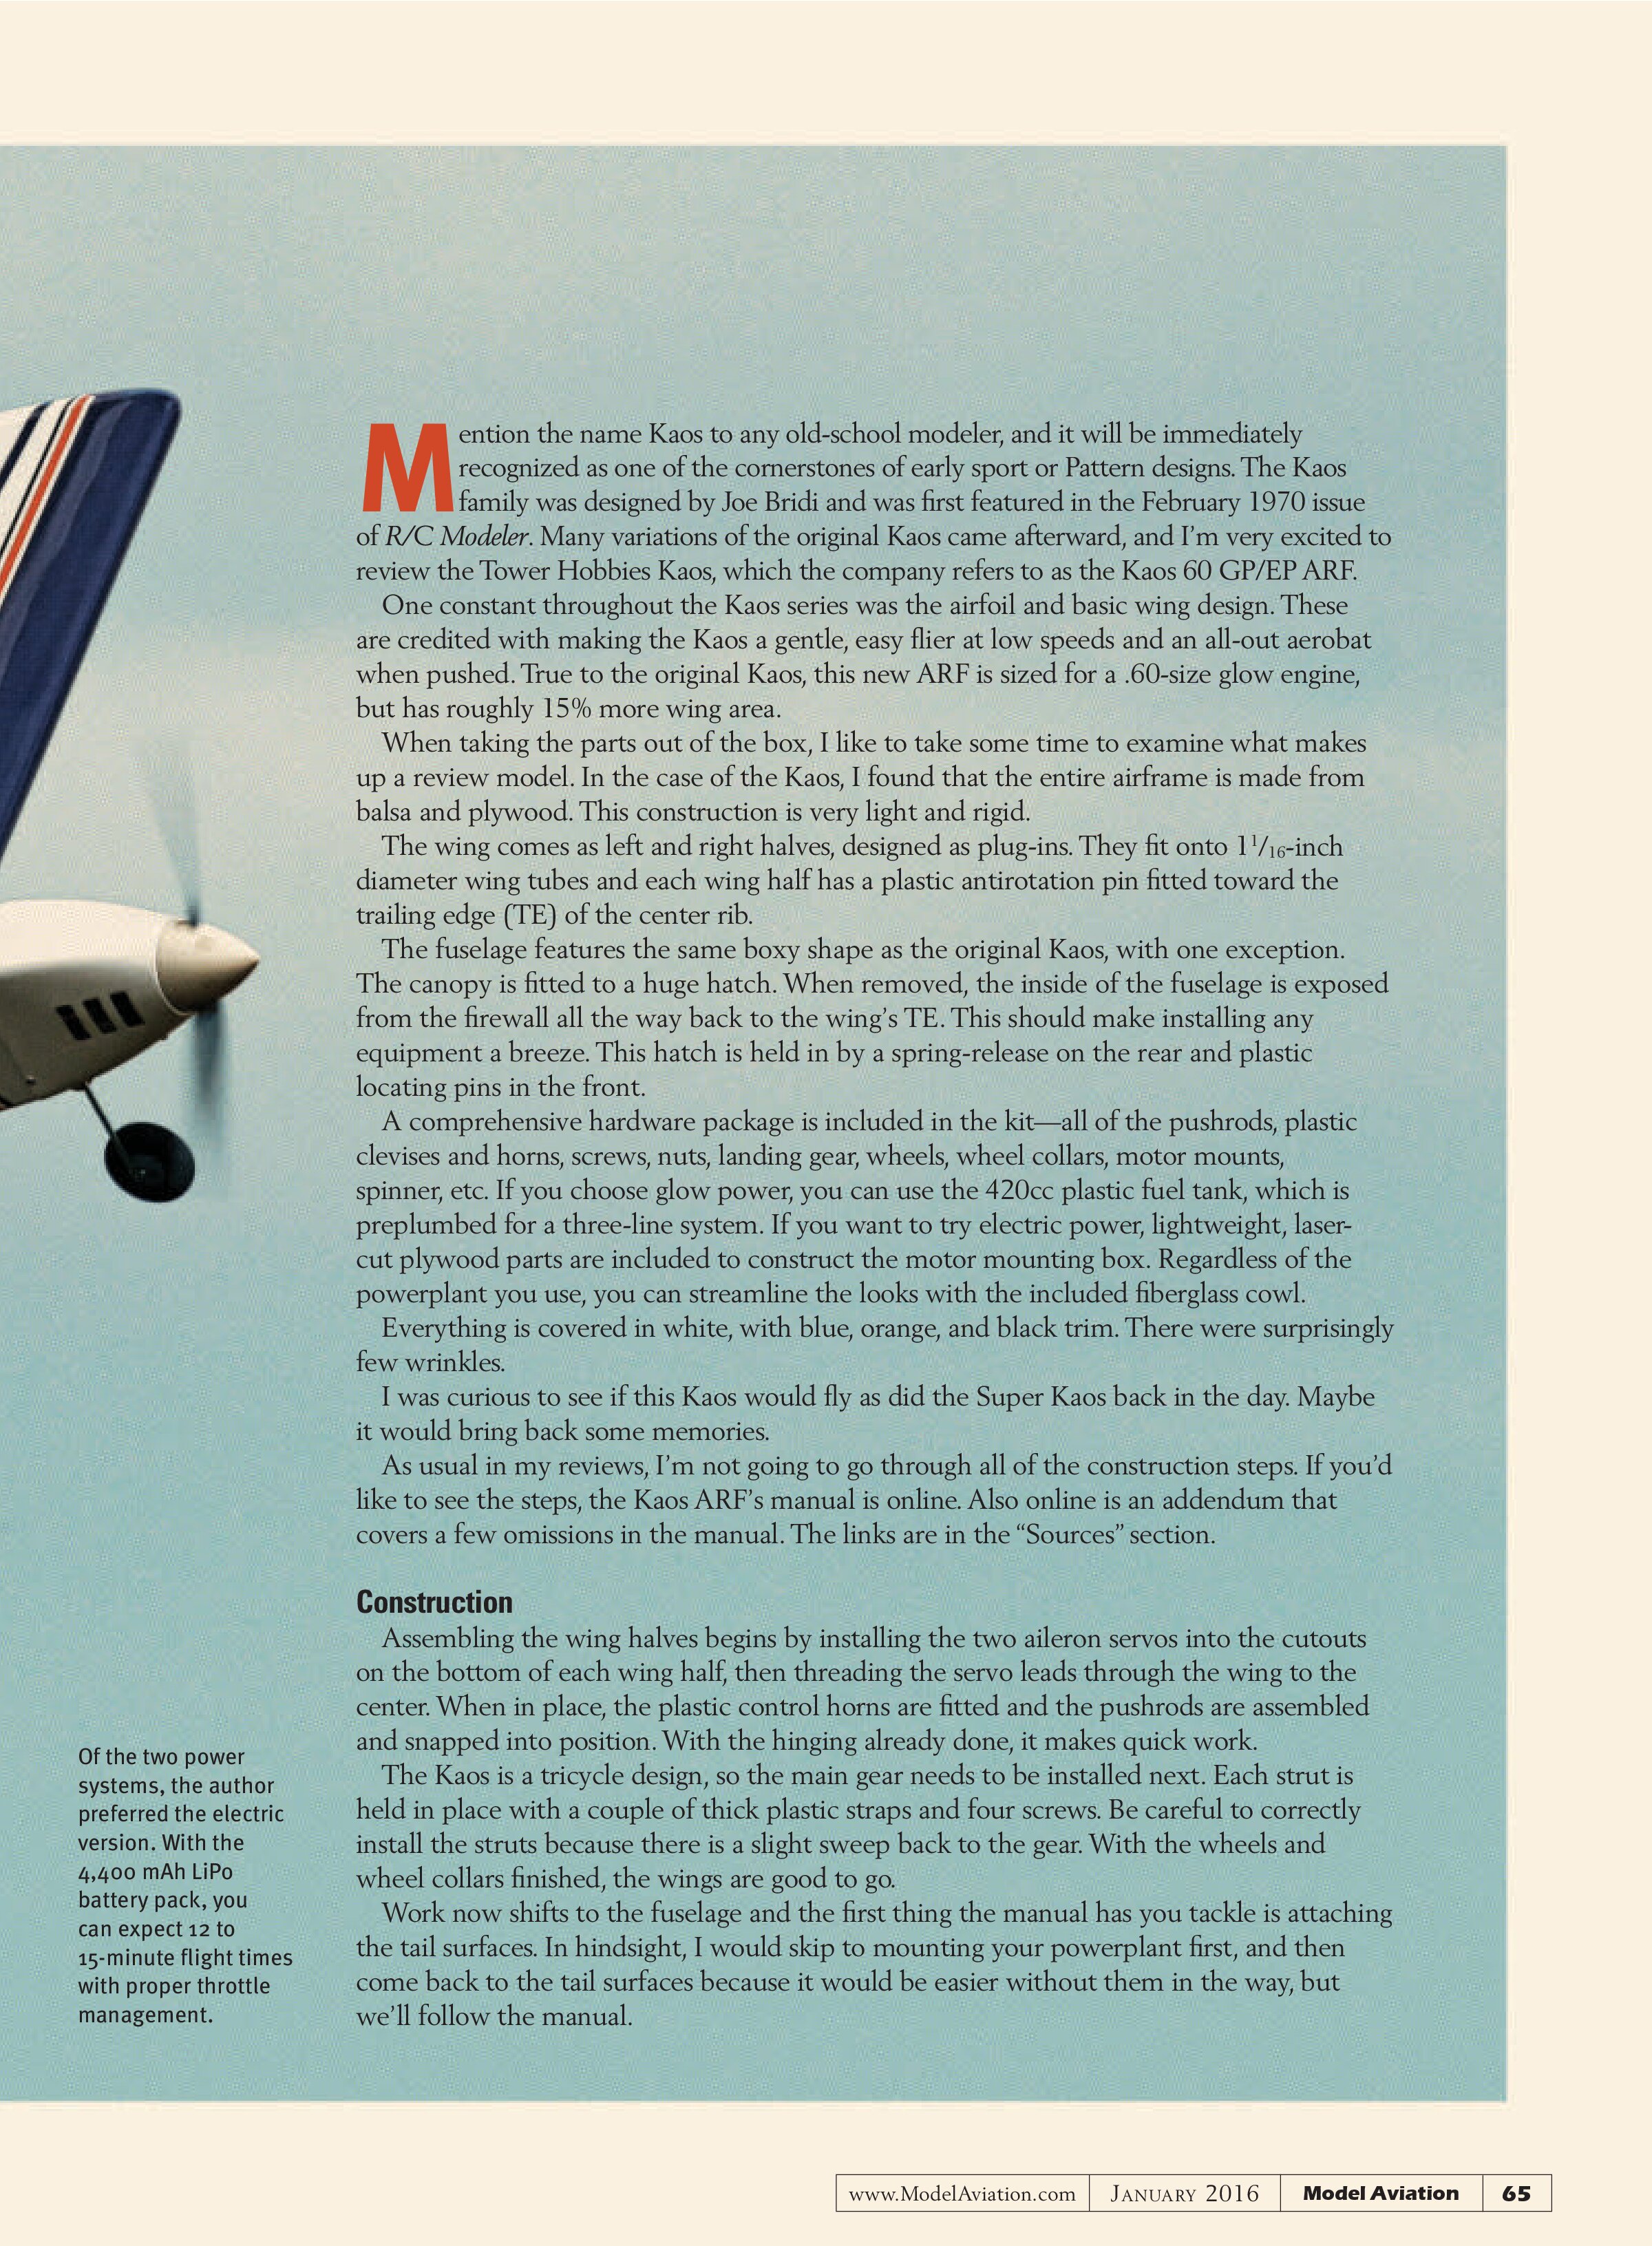
Of the two power systems, the author preferred the electric version. With the 4,400 mAh LiPo battery pack, you can expect 12 to 15-minute flight times with proper throttle management.
Another design update that Tower Hobbies has implemented into this Kaos is removable tail surfaces. The vertical fin has two long threaded rods built in. These rods fit through matching holes in the horizontal stabilizer then through the fuselage.
Locknuts are threaded onto each of the rods using an included plastic socket wrench, fastening the tail assembly to the fuselage. I found it easy and with the locking tabs and pins, everything is firmly locked in place.
Mounting the nose gear goes quickly because all of the holes and blind nuts are preinstalled. However, this particular nose gear assembly came with a stripped-out screw that holds on the steering arm. I chose to drill out the hole slightly, and re-tap it for a larger screw and that solved the problem. With that fixed, the nose gear was reattached, the steering arm installed, and I was moving on to the powerplant.
Tower Hobbies asked that I review the Kaos with both electric and glow power, supplying the appropriate power systems for each. Knowing this up front, I decided to tackle the electric version first because of the cutting needed to fit the glow engine into the cowl.


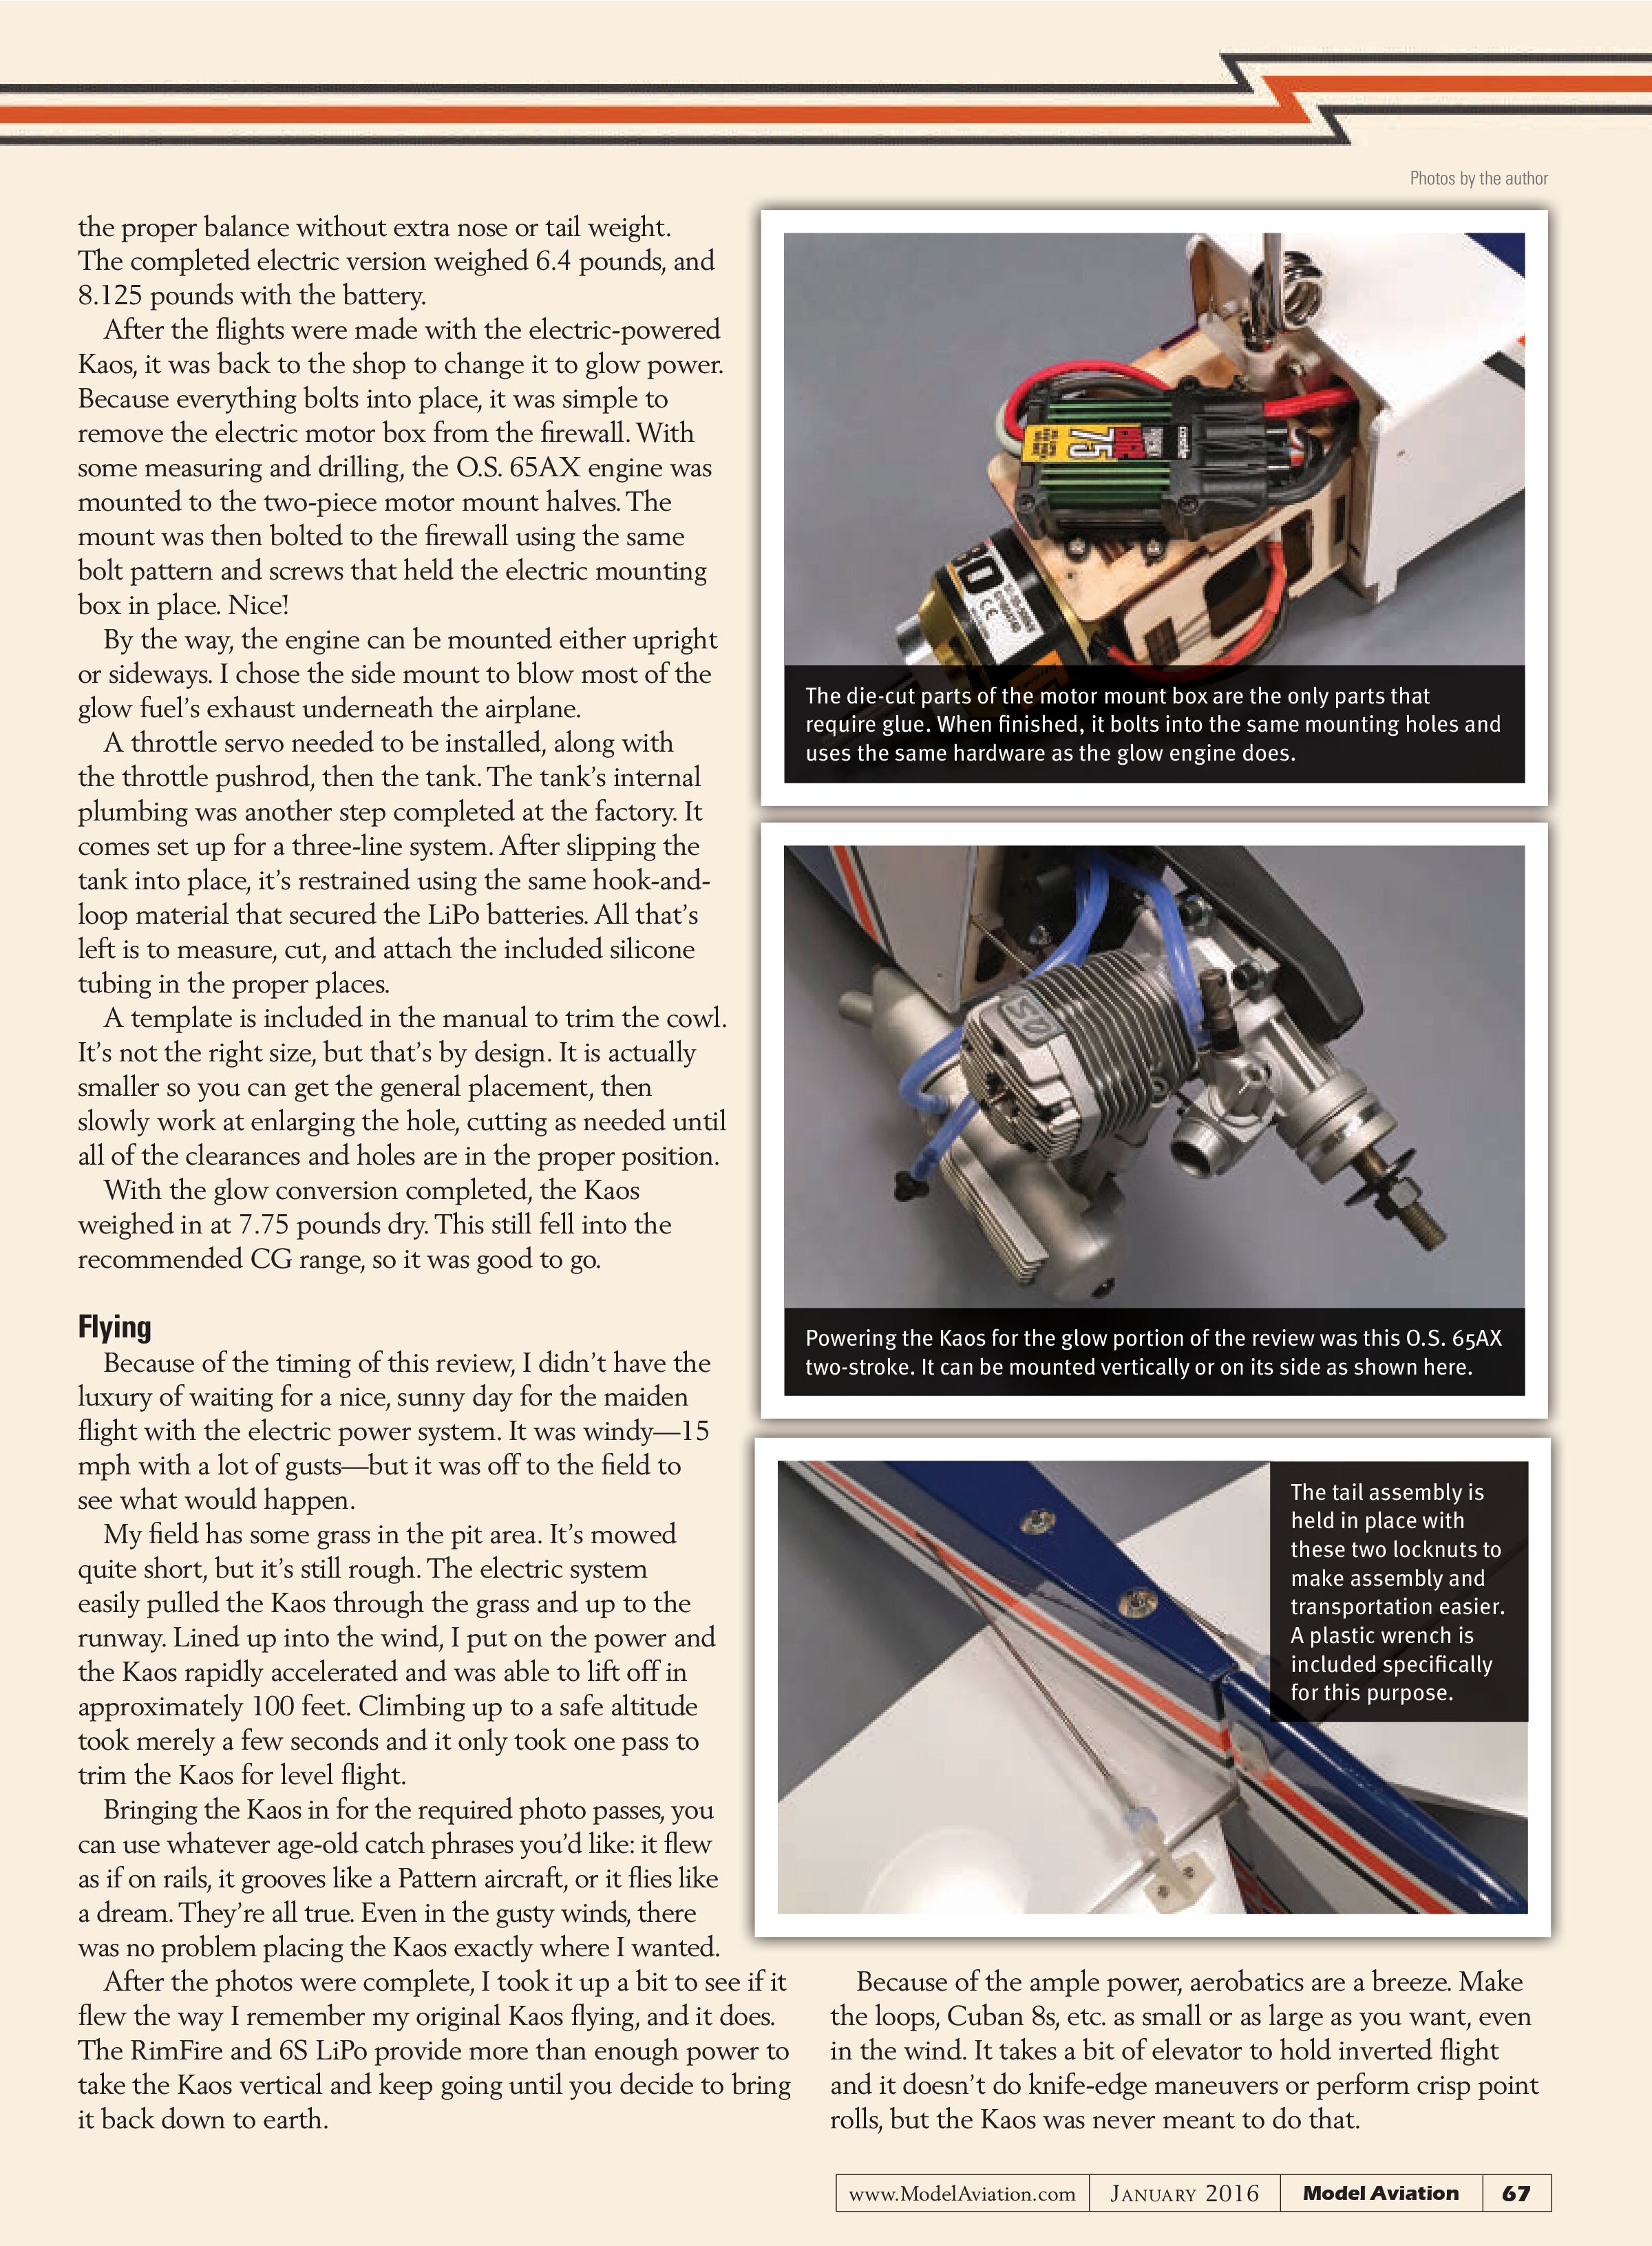
For electric power, the first thing to do is assemble the motor’s mounting box. It’s assembled from several pieces of laser-cut light plywood. Because many of the pieces have offset holes, care must be taken to ensure that things are correctly positioned before laminating them, or gluing them in place. Small hardwood triangle stock is included to reinforce the joints.
After it is assembled, the motor box is attached to the firewall by four bolts that thread into the preinstalled blind nuts. The motor—a RimFire .80 in this case—is bolted to the front of the box. Whatever ESC you use will likely have to be mounted to the bottom of the motor box. I tried everything I could think of to fit the supplied Castle Creations Phoenix 75 ESC inside the box, but in the end, I mounted it much as shown in the manual.
Fitting the cowl requires the usual trial and error to fit it around the nose gear and to clear the ESC. A few holes need to be cut to allow air to cool the motor, ESC, and batteries. Use your own judgment on their placement, and the manual also offers some ideas. Because I needed to use this cowl again for the glow installation, I chose to cut three large holes in the same spot I would have to trim away for the two-stroke engine. It is slightly unconventional, but it worked well for this review.
Now it’s time to install the radio gear. First up is installing the rudder and elevator servos, their pushrods, and the control horns on the tail surfaces. With the plastic guide tubes preinstalled in the fuselage, this was easy and only took a few minutes.
Two laser-cut light plywood shelves are included in the kit. One is for the receiver and flight-pack battery that mounts above the servos, toward the rear of the cabin area. The other is for the tank/battery tray and that mounts up against the firewall. Both trays are held in place by first gluing in hardwood blocks, then securing the trays into position with four screws each.
As per the instructions, I mounted the Tactic receiver and a flight pack battery on the rear tray. Many might argue why I choose to use a separate flight pack battery when the Phoenix 75 has a built-in ESC. I’ve always used a receiver battery for 4S or larger aircraft, just for safety’s sake. In the case of this review, I would need that battery for the glow conversion, so it was a no-brainer.
With everything in place except the battery, it was time to figure out the center of gravity (CG). Two FlightPower 6S LiPo batteries were included: a 3,800 mAh and a 4,400 mAh. The 4,400 mAh battery weighs the most, so I used it to balance the Kaos.
The Kaos has a wide CG range—between 4 and 5 inches as measured from the wing’s leading edge at the root. This, coupled with the long battery tray, allowed me to position the battery for
the proper balance without extra nose or tail weight. The completed electric version weighed 6.4 pounds, and 8.125 pounds with the battery.
After the flights were made with the electric-powered Kaos, it was back to the shop to change it to glow power. Because everything bolts into place, it was simple to remove the electric motor box from the firewall. With some measuring and drilling, the O.S. 65AX engine was mounted to the two-piece motor mount halves. The mount was then bolted to the firewall using the same bolt pattern and screws that held the electric mounting box in place. Nice!
By the way, the engine can be mounted either upright or sideways. I chose the side mount to blow most of the glow fuel’s exhaust underneath the airplane.
A throttle servo needed to be installed, along with the throttle pushrod, then the tank. The tank’s internal plumbing was another step completed at the factory. It comes set up for a three-line system. After slipping the tank into place, it’s restrained using the same hook-and-loop material that secured the LiPo batteries. All that’s left is to measure, cut, and attach the included silicone tubing in the proper places.
A template is included in the manual to trim the cowl. It’s not the right size, but that’s by design. It is actually smaller so you can get the general placement, then slowly work at enlarging the hole, cutting as needed until all of the clearances and holes are in the proper position.
With the glow conversion completed, the Kaos weighed in at 7.75 pounds dry. This still fell into the recommended CG range, so it was good to go.
Flying
Because of the timing of this review, I didn’t have the luxury of waiting for a nice, sunny day for the maiden flight with the electric power system. It was windy—15 mph with a lot of gusts—but it was off to the field to see what would happen.
My field has some grass in the pit area. It’s mowed quite short, but it’s still rough. The electric system easily pulled the Kaos through the grass and up to the runway. Lined up into the wind, I put on the power and the Kaos rapidly accelerated and was able to lift off in approximately 100 feet. Climbing up to a safe altitude took merely a few seconds and it only took one pass to trim the Kaos for level flight.
Bringing the Kaos in for the required photo passes, you can use whatever age-old catch phrases you’d like: it flew as if on rails, it grooves like a Pattern aircraft, or it flies like a dream. They’re all true. Even in the gusty winds, there was no problem placing the Kaos exactly where I wanted.
After the photos were complete, I took it up a bit to see if it flew the way I remember my original Kaos flying, and it does. The RimFire and 6S LiPo provide more than enough power to take the Kaos vertical and keep going until you decide to bring it back down to earth.
Because of the ample power, aerobatics are a breeze. Make the loops, Cuban 8s, etc. as small or as large as you want, even in the wind. It takes a bit of elevator to hold inverted flight and it doesn’t do knife-edge maneuvers or perform crisp point rolls, but the Kaos was never meant to do that.


AT A GLANCE ...
SPECIFICATIONS
Model type: Sport/Pattern ARF
Skill level: Intermediate to advanced
Wingspan: 62 inches
Wing area: 748 square inches
Airfoil: Fully symmetrical
Length: 57.5 inches
Weight: 7 to 8.5 pounds
Recommended power system: .60 two-stroke, .91 four-stroke, or electric equivalent
Needed to complete: Radio system with five servos (four for electric); power system
Construction: Balsa and plywood
Price: $179.97
TEST-MODEL DETAILS
Radio system: Tactic TTX850 transmitter; Tactic TR625 receiver; five tactic TSX25 servos; Futaba Y harness; several 6-inch servo extensions
Power system used: RimFire .80 and Castle Creations Phoenix Edge 75 ESC; O.S. 65AX two-stroke
Flying weight: 8.25 pounds electric; 7.75 pounds glow (without fuel)
Flight duration: 13 to 15 minutes electric; 10 to 12 minutes glow
PLUSES
- Easily set up for electric or glow power.
- All control surfaces are prehinged and glued from the factory.
- Plug-in wing halves and removable tail surfaces make storage and travel a breeze.
- Assembly requires no glue except for electric motor box.
- Includes all required hardware.
MINUS
- Nose gear assembly screw was stripped.
The amazing part to me is that with the capability of snaps, spins, rolls, etc., when you come back on the throttle, it settles down and flies like an advanced trainer. It putts around the sky at low speeds, without danger of snapping or stalling. Setting up for landings is like flying a trainer, because it will simply float down and give you a perfect main-gear touchdown, providing you flair at the right time.
Comparing the glow experience is interesting. Although they don’t fly with the same propeller, both powerplants used the same size APC propeller—the 13 x 8E with the RimFire and 13 x 8 on the O.S. 65AX.
After I had had done some bench running on the O.S. 65AX to set the needles and get a decent idle, it was up in the air again. The flight characteristics are the same, with the exception of the vertical performance. The RimFire setup will easily outpull the 65AX, because the glow version will give plenty of vertical, but not unlimited vertical. Besides that, the two power systems don’t “feel” that much different.
Of course, there are the obvious differences, such as bringing the extra support equipment for the glow version (starters, fuel, pumps, etc.) and the cleanup afterward. Then there are the things that you really do miss such as the smell of burning glow fuel, which always brings back memories, and that thin trail of exhaust when the engine’s running slightly rich.
Conclusion
You can’t go wrong matching the Tower Hobbies Kaos 60 GP/EP with either powerplant. If I had to choose one, I’d probably go with the electric, just because of the simplicity and the slightly longer run times with a bit of throttle management (13 to 15 minutes for electric; 10 to 12 minutes with glow), but I had just as much fun with the 65AX engine.
Regardless of what’s powering the Kaos, this model is exactly what it should be—a Kaos. It’s a great-flying machine that will fly hands off when properly trimmed. It’s just as at home flying Pattern maneuvers, everyday sport flying, or just cruising around the field. Tower Hobbies has done a great job of not only bringing back this legend, but also updating it in a few key areas.
One last thing—you might not have seen much reference to gluing in this review. With the exception of the electric motor box, nothing requires glue. Many modelers might call this sacrilege, but it is an important note, and makes the Kaos a quick turnaround from the box to the sky.
—Tom Sullivan
tmsullivan@roadrunner.com
MANUFACTURER/DISTRIBUTOR:
Tower Hobbies
(800) 637-6050
www.towerhobbies.com
Hobbico
(217) 398-0007
www.hobbico.com
SOURCES:
Tactic
(800) 637-7660
www.tacticrc.com
Kaos manual and addendum
www.towerhobbies.com/manuals/tow/towa2058_manual.pdf
Castle Creations
(913) 390-6939
www.castlecreations.com