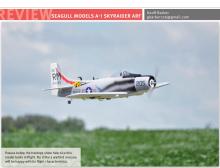
SEAGULL MODELS A-1 SKYRAIDER ARF
Geoff Barber

Fly the attack and close-air-support aircraft
Seagull Models opened its doors in 1998, and has turned out some great models. It offers many standard aircraft, but also manufactures some lesser-known models. Located in Ho Chi Minh City, Vietnam, Seagull Models might be half a world away, but it definitely has a finger on what airplanes to bring into the US.
Sig Manufacturing is the new distributor for Seagull Models. With 38 Seagull Models airplanes available as of this publication, Sig is well on its way to pleasing modelers in every discipline of flying!
I was given the opportunity to test a preproduction sample of one of the newest Seagull Models aircraft: the A-1 Skyraider. Although it’s an honor, the task has its drawbacks.
When I received the ARF, the manual was not yet available, and it was missing some minor hardware. Drawing on my 23 years of RC airplane experience and miscellaneous hardware bins, I set out to assemble the Skyraider, but by the time you read this review, the airplane will be in stock at Sig, complete with manual and all of the correct hardware! Let’s get started!
Assembly
Normally, my first task with assembly is to read the manual, but I didn’t have the manual, so I pulled all of the parts from the box and started putting the airplane together.
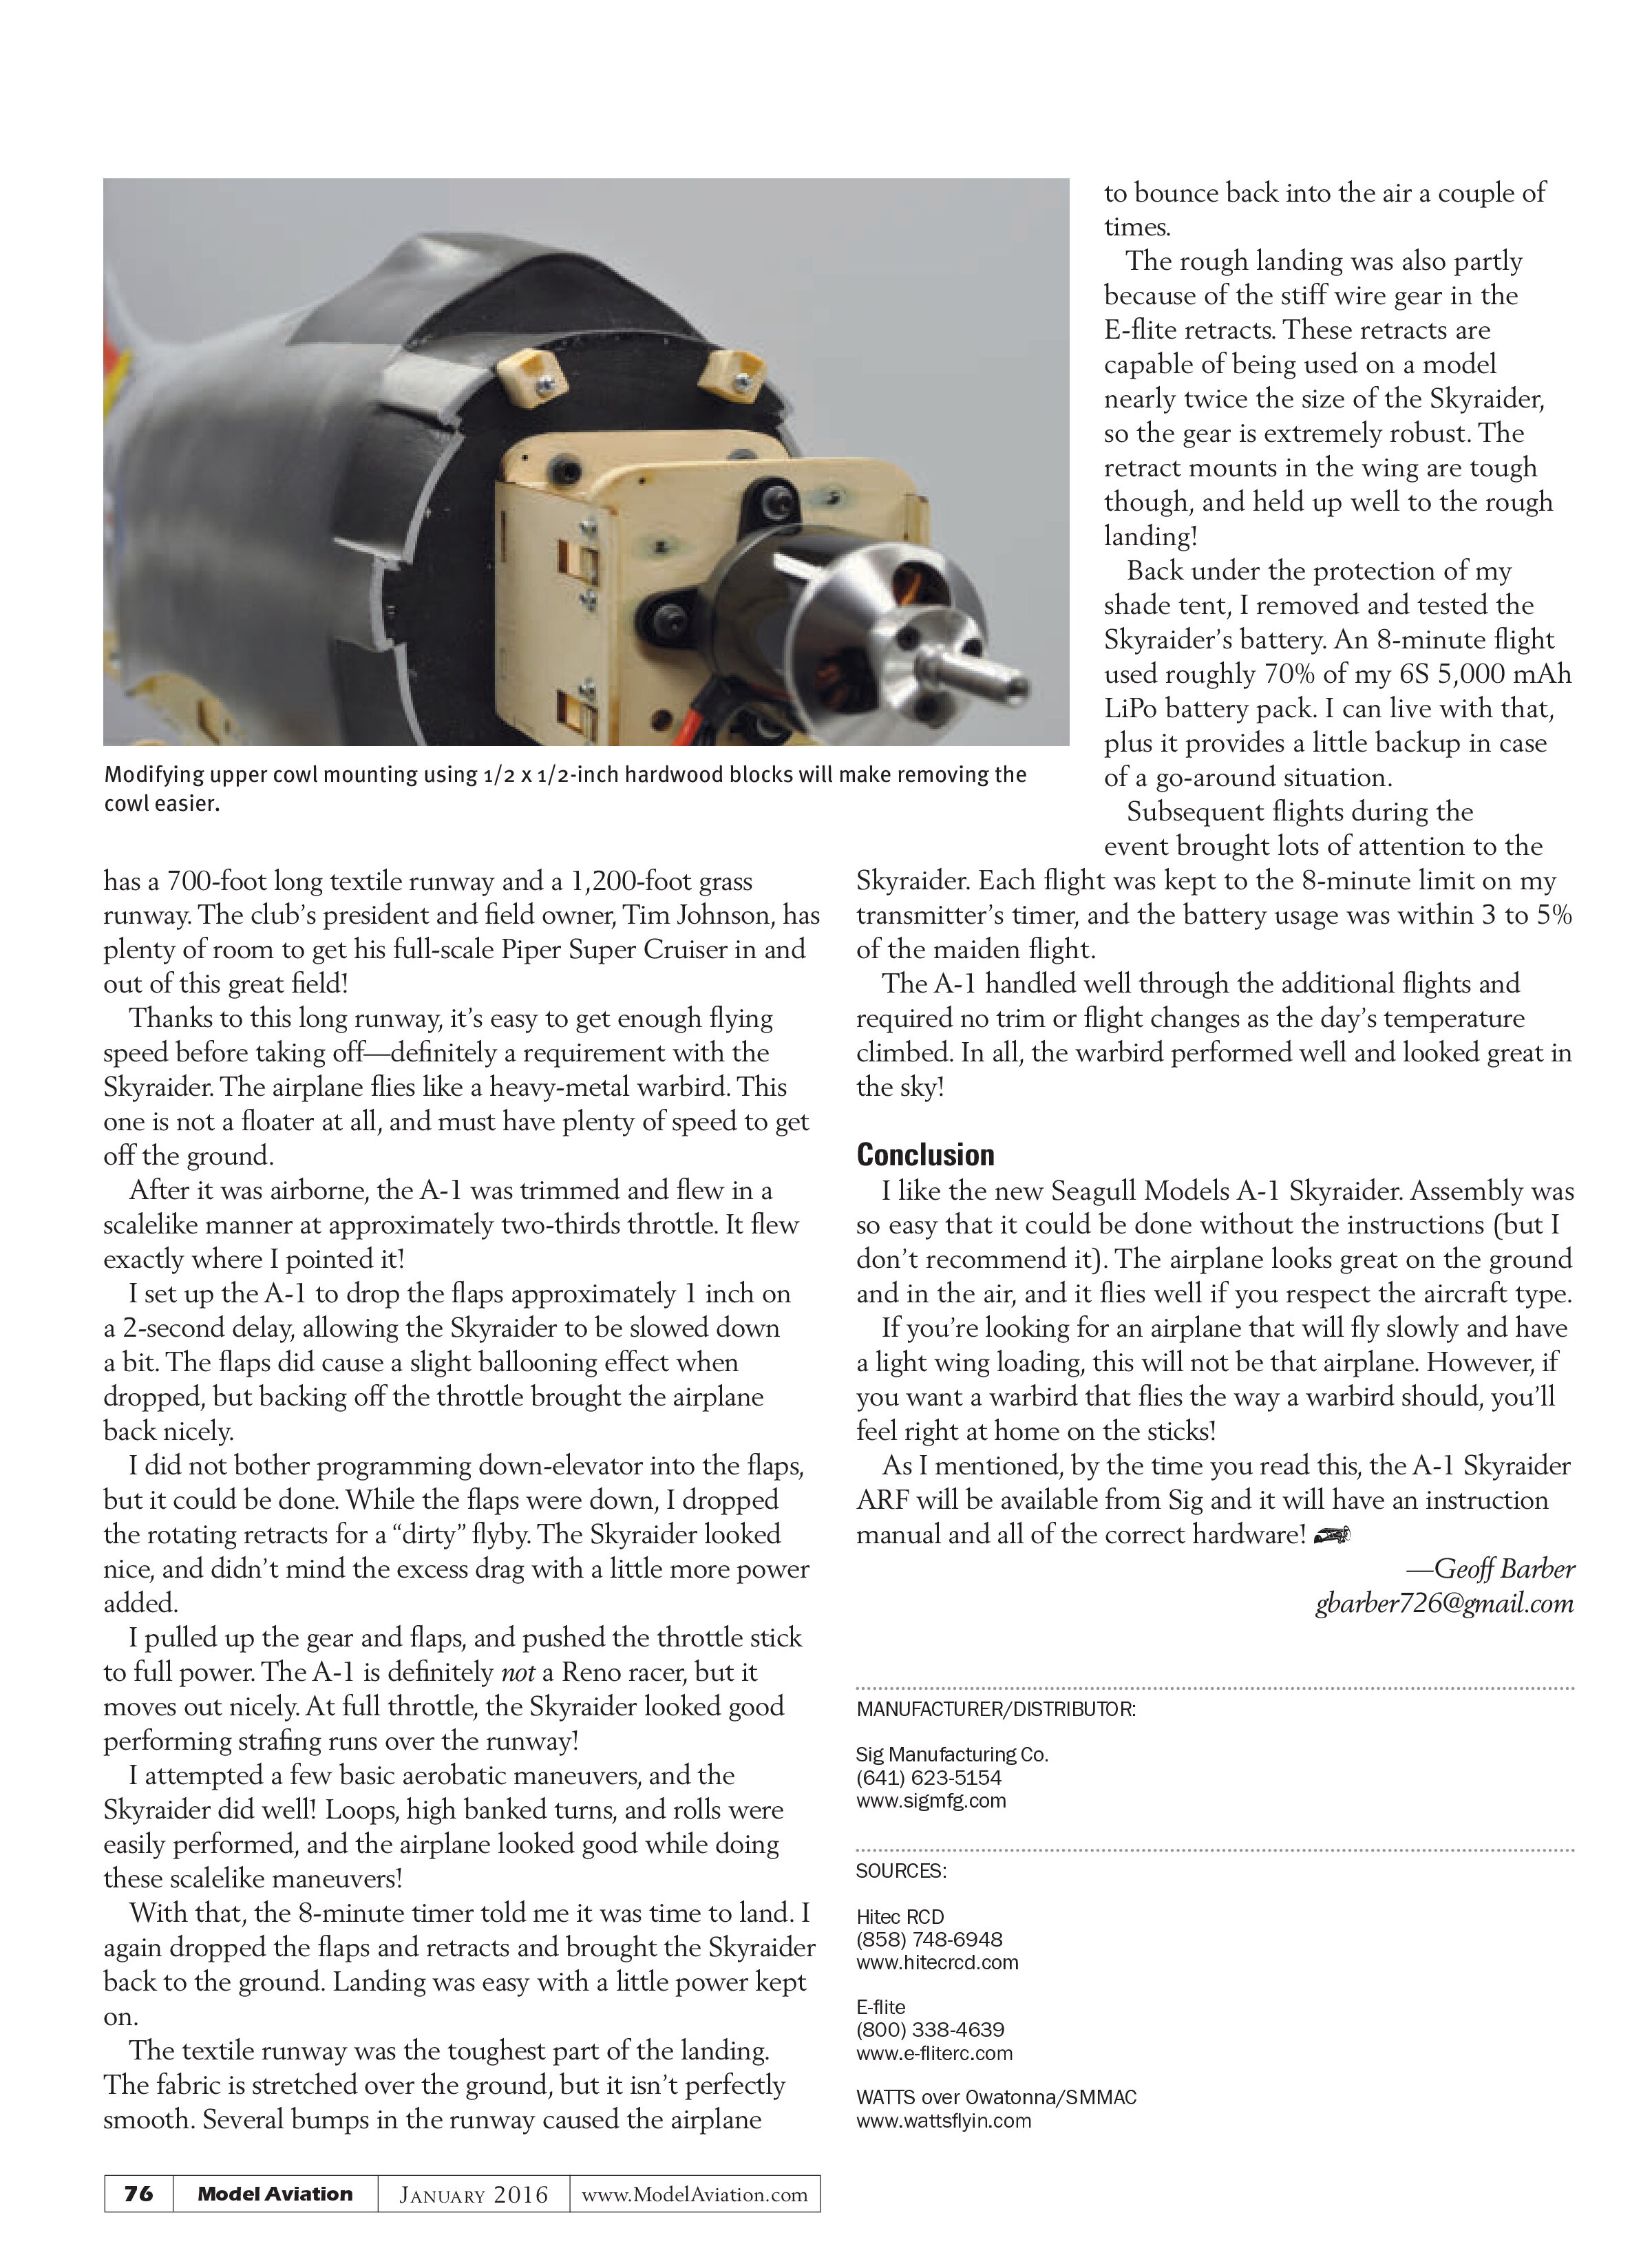
Assembly began with installing the E-flite 60-120 90° rotating retracts. This involved some work with my Dremel tool and a high-speed cutting bit, but it was nothing an average modeler couldn’t handle. I’d trim a bit of the wood away, then try to fit the retract unit in place. This step probably took longer than any during the entire assembly!
With retracts and wheels mounted, I attached the flaps and ailerons to the wings. The flaps were attached using three two-piece plastic hinges and six screws per hinge, while the ailerons were attached with three CA hinges and thin CA adhesive. The control horns were epoxied into
precut slots in the flaps and ailerons.
I like the fiberglass control horns. They require no screws and are extremely robust! I had mixed up enough 30-minute epoxy so I could install the elevator and rudder control horns at the same time.
Back to the wings, the aileron and flap servos were installed. They are a simple drop-in setup that make adjustments easy. An 18-inch servo extension was secured to each aileron servo wire, while the flap servos required 6-inch extensions. The aileron servos were attached to a Y harness and the Hitec Optima 9 receiver, while the flaps were each plugged into their own channel.
With the four servos connected to the receiver, I assembled and installed the pushrods. The Optima 9 receiver and Hitec Flash 7 transmitter gave me the advantage to split the flaps to separate channels. This was handy when it was time to program the flaps!
With the wings completed, I set them aside and started

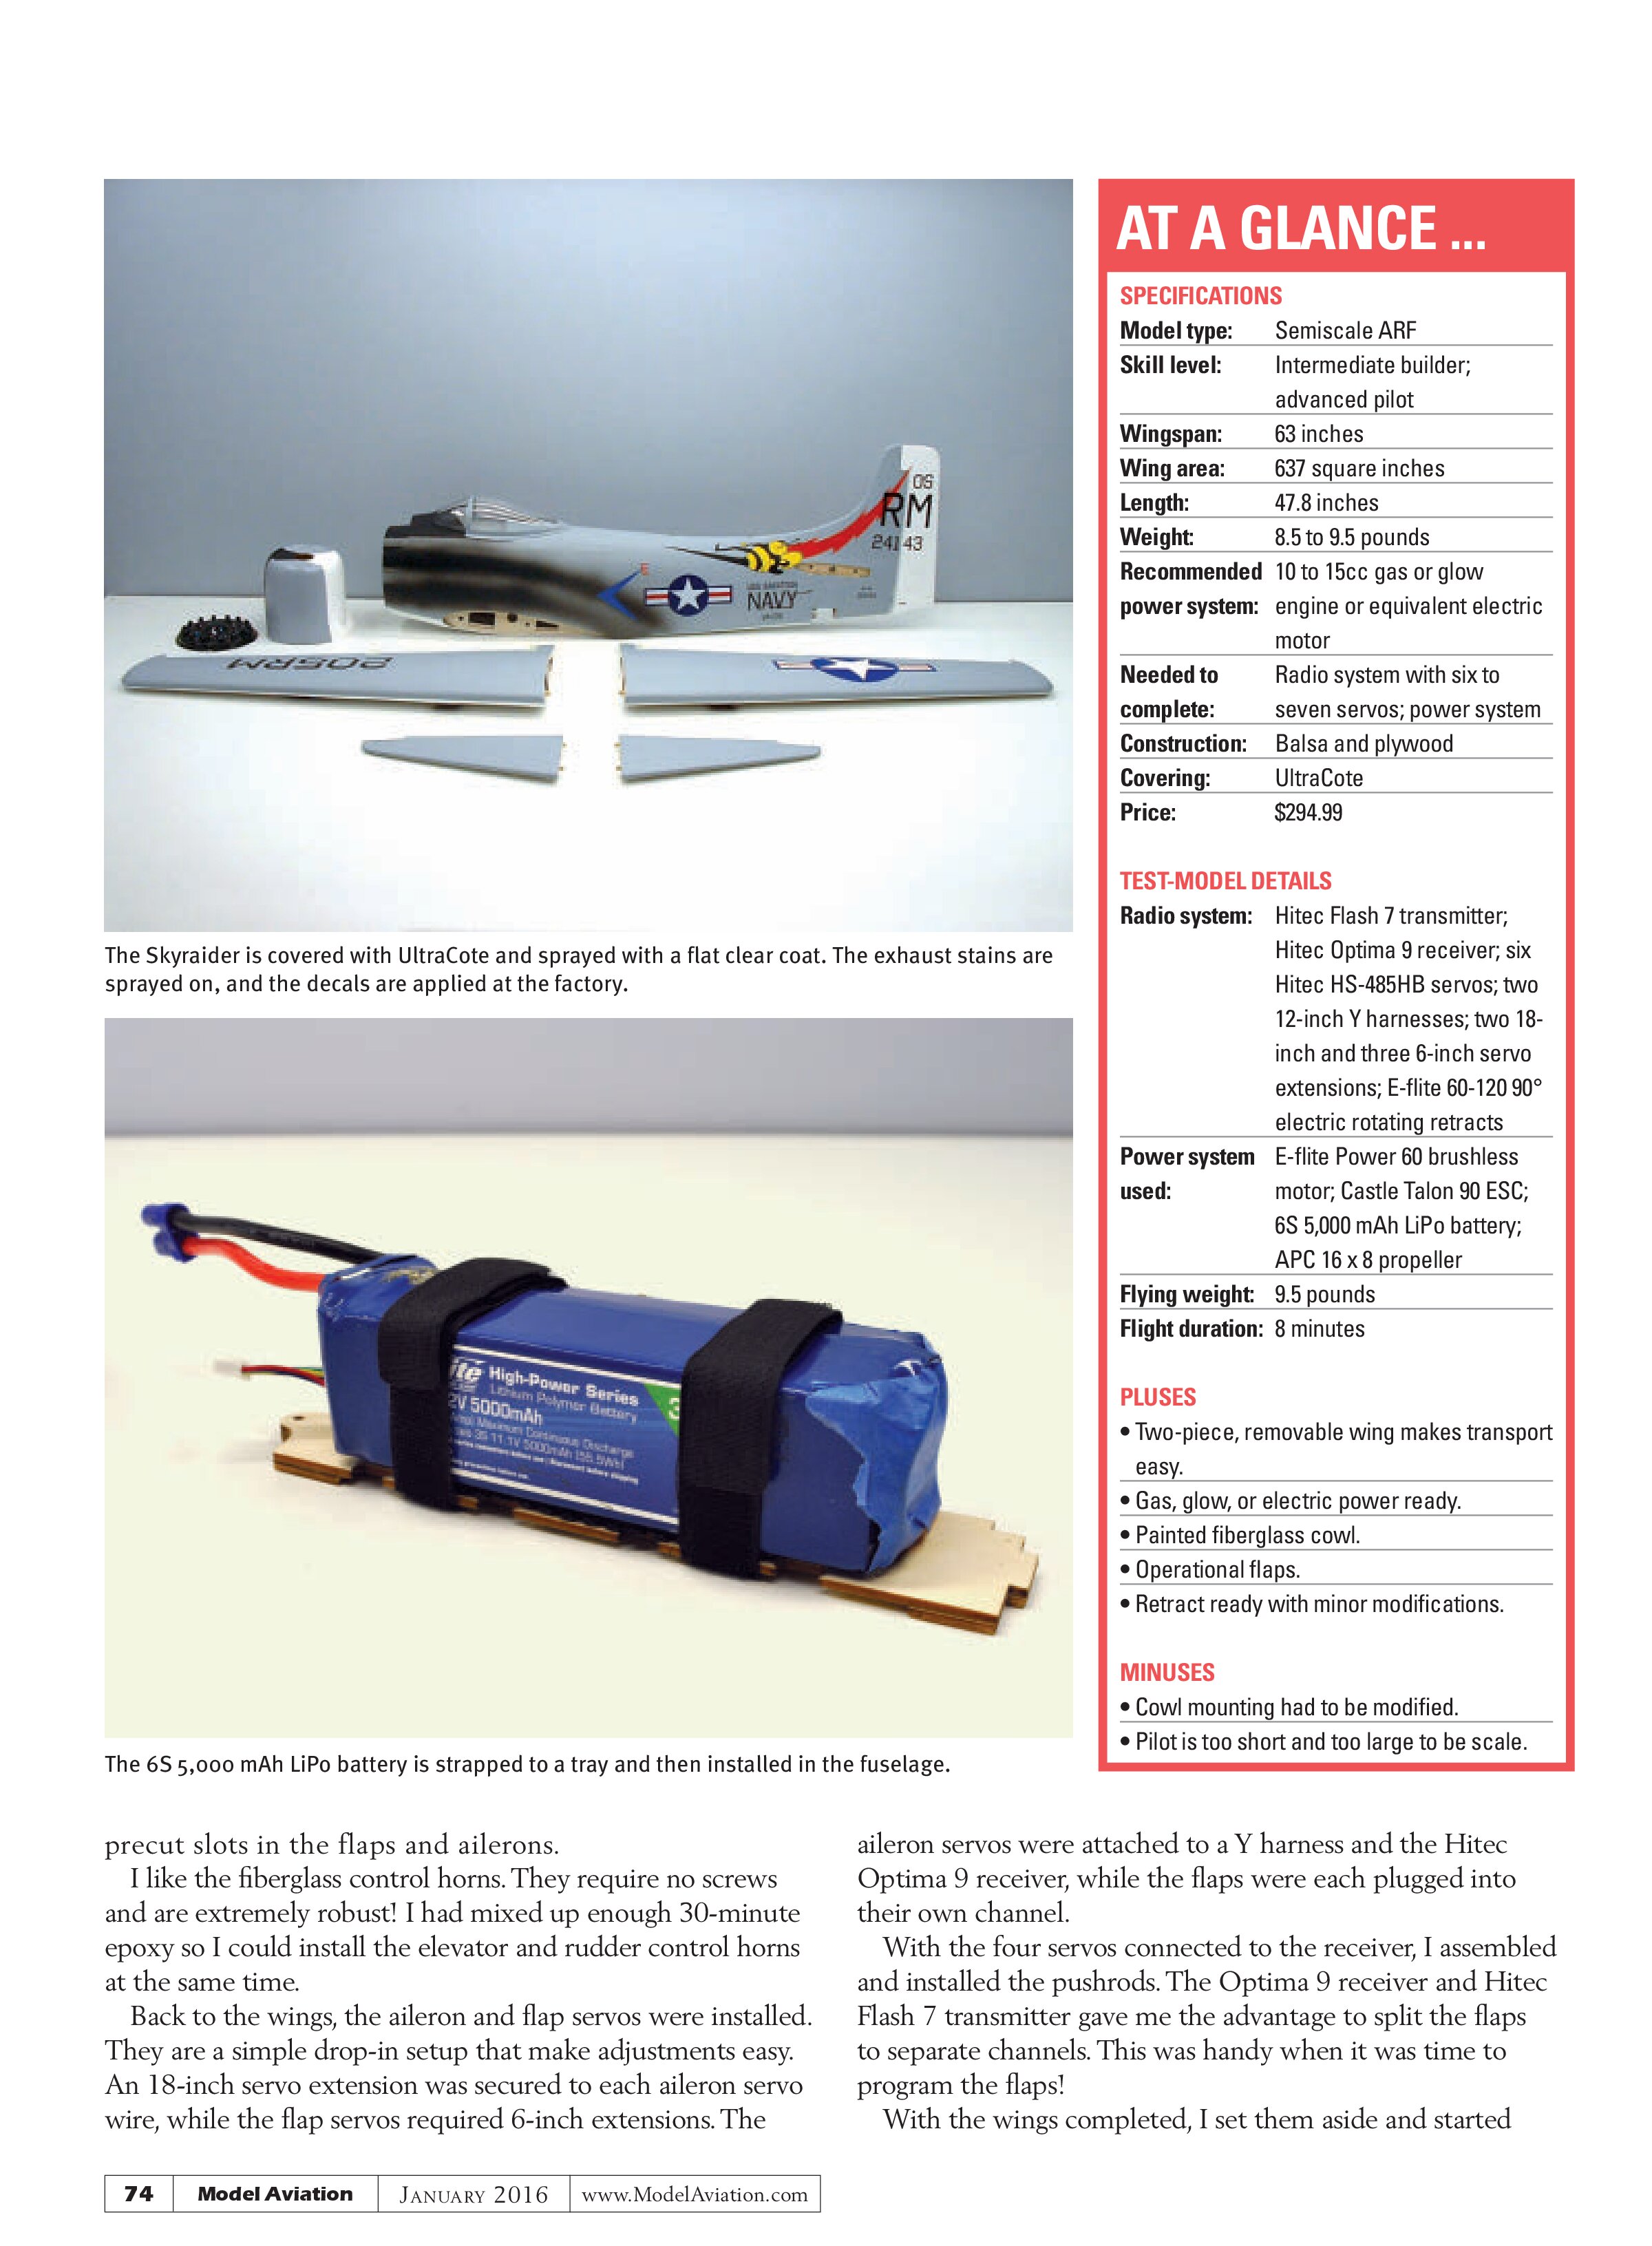
The Skyraider is covered with UltraCote and sprayed with a flat clear coat. The exhaust stains are sprayed on, and the decals are applied at the factory.

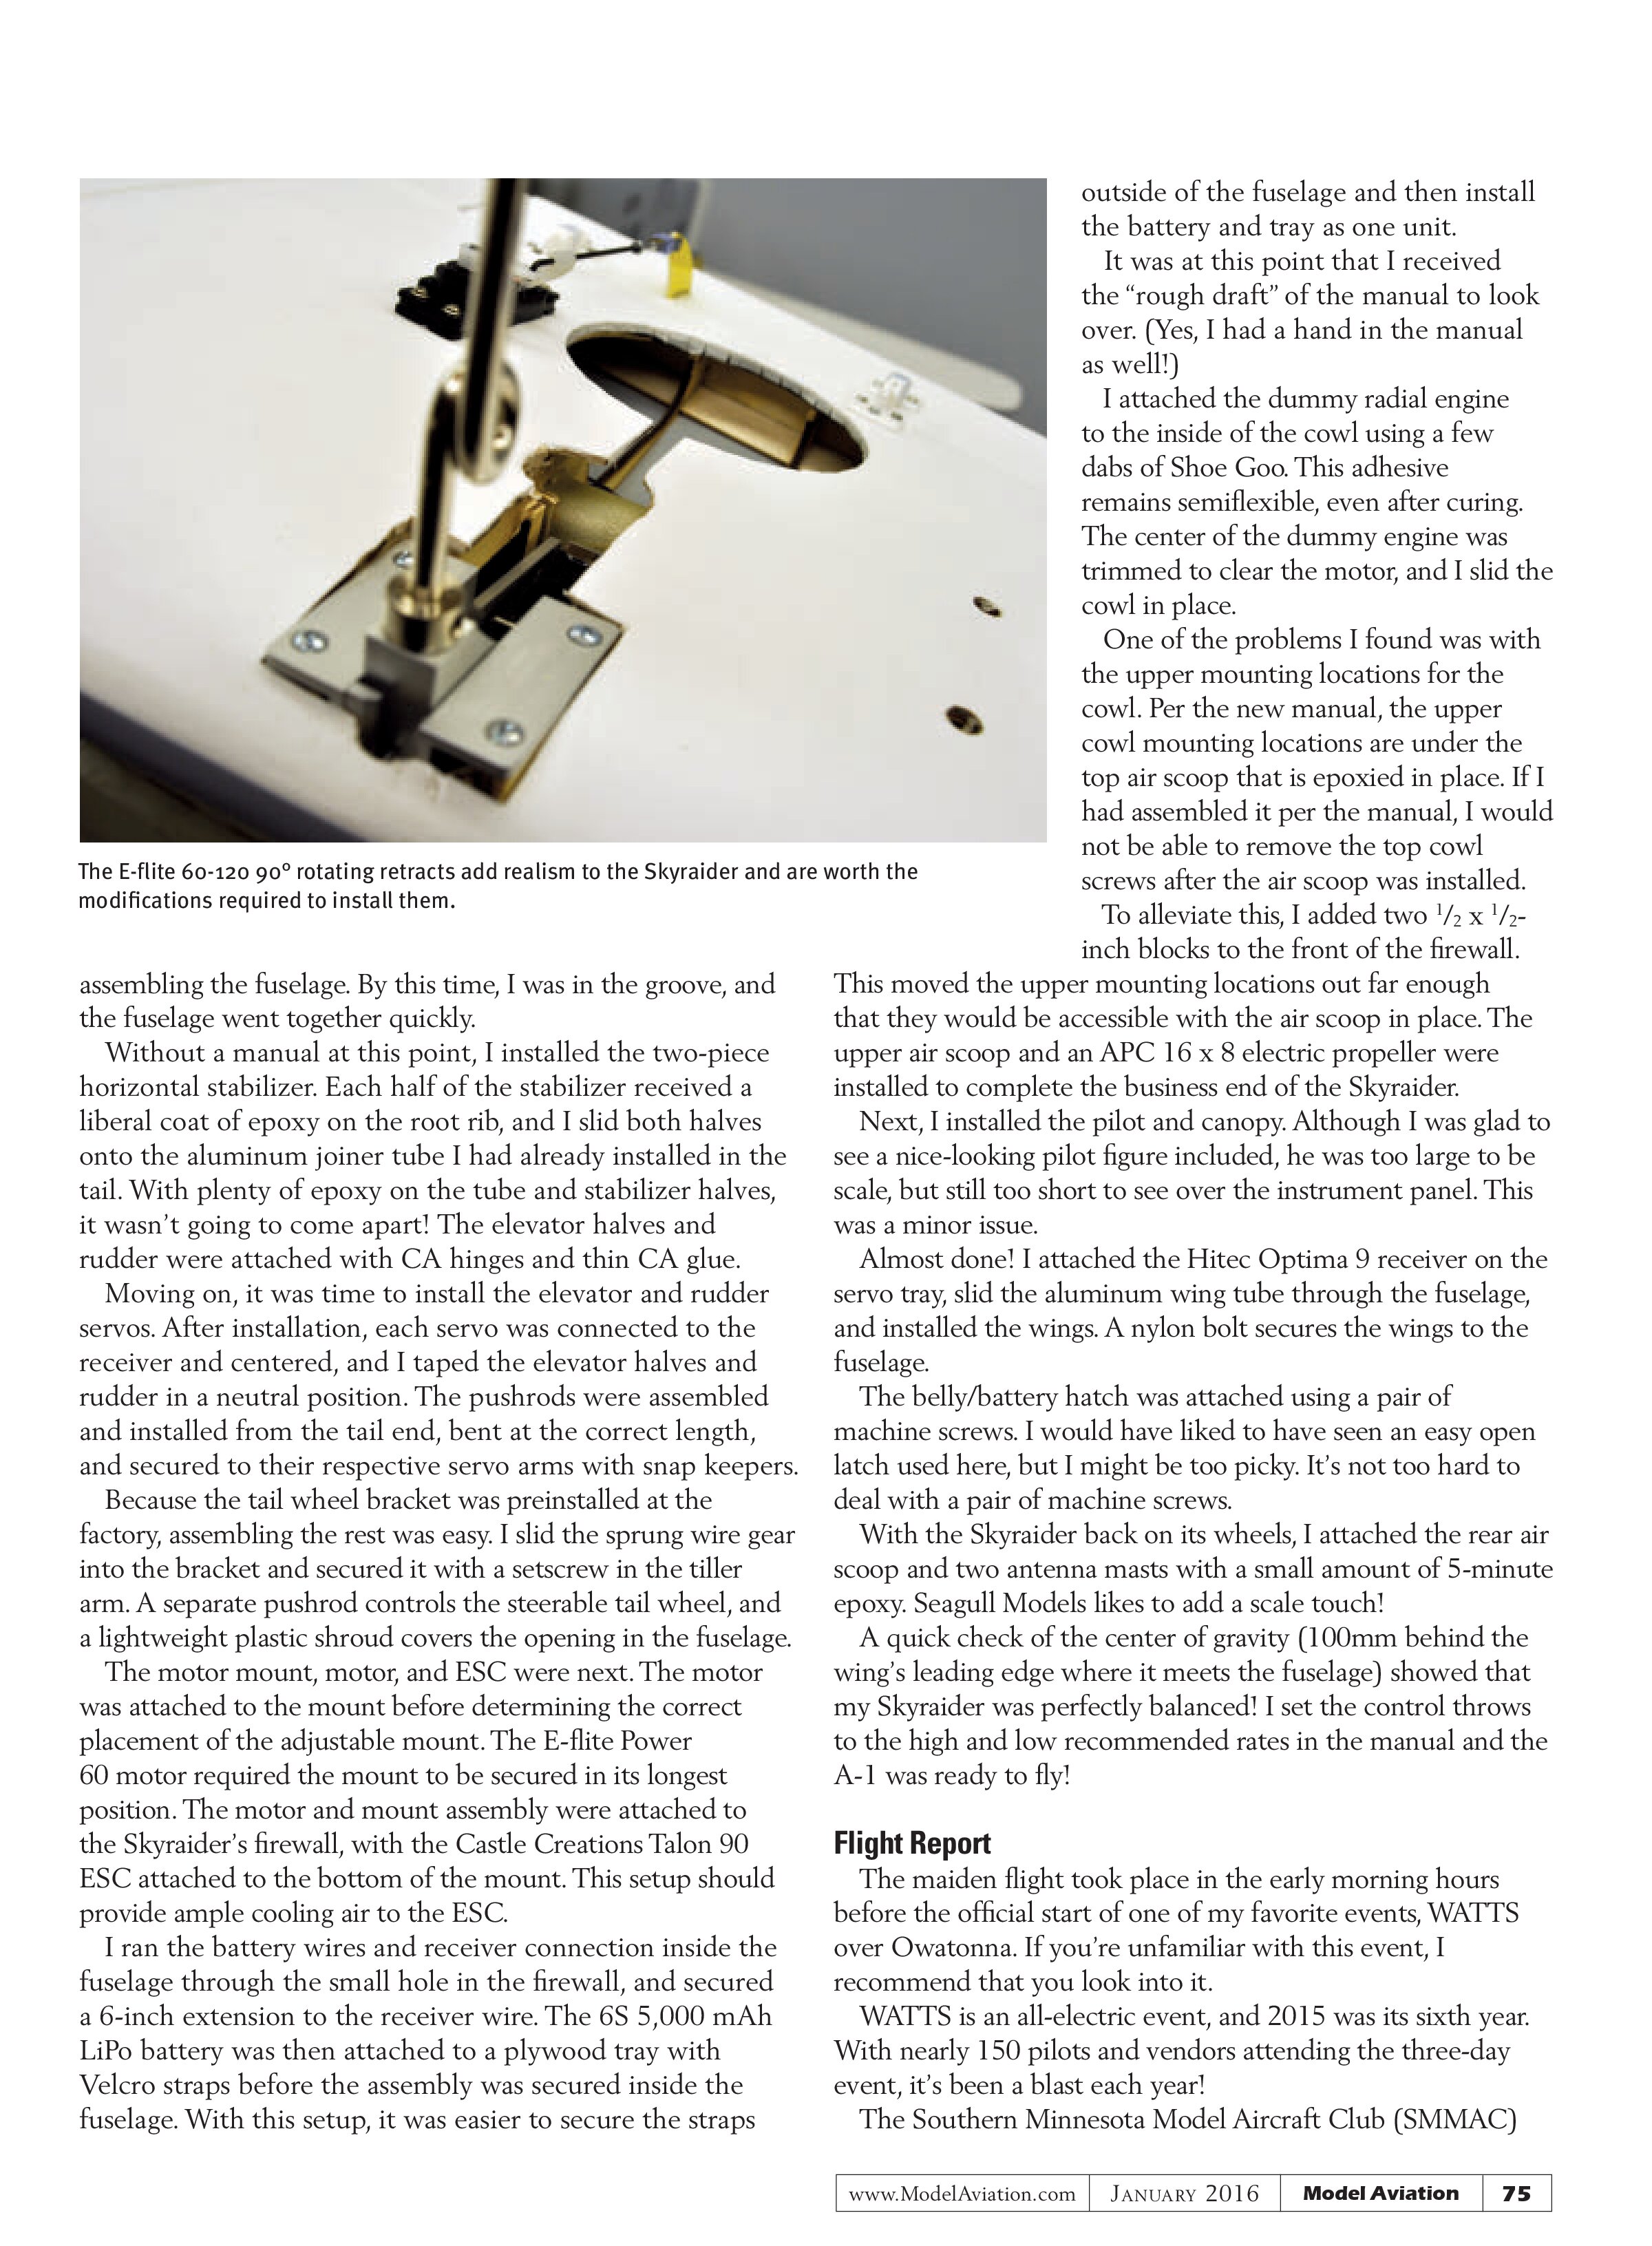
The 6S 5,000 mAh LiPo battery is strapped to a tray and then installed in the fuselage.
AT A GLANCE ...
SPECIFICATIONS
Model type: Semiscale ARF
Skill level: Intermediate builder; advanced pilot
Wingspan: 63 inches
Wing area: 637 square inches
Length: 47.8 inches
Weight: 8.5 to 9.5 pounds
Recommended power system: 10 to 15cc gas or glow engine or equivalent electric motor
Needed to complete: Radio system with six to seven servos; power system
Construction: Balsa and plywood
Covering: UltraCote
Price: $294.99
TEST-MODEL DETAILS
Radio system: Hitec Flash 7 transmitter; Hitec Optima 9 receiver; six Hitec HS-485HB servos; two 12-inch Y harnesses; two 18-inch and three 6-inch servo extensions; E-flite 60-120 90° electric rotating retracts
Power system used: E-flite Power 60 brushless motor; Castle Talon 90 ESC; 6S 5,000 mAh LiPo battery; APC 16 x 8 propeller
Flying weight: 9.5 pounds
Flight duration: 8 minutes
PLUSES
- Two-piece, removable wing makes transport easy.
- Gas, glow, or electric power ready.
- Painted fiberglass cowl.
- Operational flaps.
- Retract ready with minor modifications.
MINUSES
- Cowl mounting had to be modified.
- Pilot is too short and too large to be scale.
assembling the fuselage. By this time, I was in the groove, and the fuselage went together quickly.
Without a manual at this point, I installed the two-piece horizontal stabilizer. Each half of the stabilizer received a liberal coat of epoxy on the root rib, and I slid both halves onto the aluminum joiner tube I had already installed in the tail. With plenty of epoxy on the tube and stabilizer halves, it wasn’t going to come apart! The elevator halves and rudder were attached with CA hinges and thin CA glue.
Moving on, it was time to install the elevator and rudder servos. After installation, each servo was connected to the receiver and centered, and I taped the elevator halves and rudder in a neutral position. The pushrods were assembled and installed from the tail end, bent at the correct length, and secured to their respective servo arms with snap keepers.
Because the tail wheel bracket was preinstalled at the factory, assembling the rest was easy. I slid the sprung wire gear into the bracket and secured it with a setscrew in the tiller arm. A separate pushrod controls the steerable tail wheel, and a lightweight plastic shroud covers the opening in the fuselage.
The motor mount, motor, and ESC were next. The motor was attached to the mount before determining the correct placement of the adjustable mount. The E-flite Power 60 motor required the mount to be secured in its longest position. The motor and mount assembly were attached to the Skyraider’s firewall, with the Castle Creations Talon 90 ESC attached to the bottom of the mount. This setup should provide ample cooling air to the ESC.
I ran the battery wires and receiver connection inside the fuselage through the small hole in the firewall, and secured a 6-inch extension to the receiver wire. The 6S 5,000 mAh LiPo battery was then attached to a plywood tray with Velcro straps before the assembly was secured inside the fuselage. With this setup, it was easier to secure the straps outside of the fuselage and then install the battery and tray as one unit.
It was at this point that I received the “rough draft” of the manual to look over. (Yes, I had a hand in the manual as well!)
I attached the dummy radial engine to the inside of the cowl using a few dabs of Shoe Goo. This adhesive remains semiflexible, even after curing. The center of the dummy engine was trimmed to clear the motor, and I slid the cowl in place.
One of the problems I found was with the upper mounting locations for the cowl. Per the new manual, the upper cowl mounting locations are under the top air scoop that is epoxied in place. If I had assembled it per the manual, I would not be able to remove the top cowl screws after the air scoop was installed.
To alleviate this, I added two ½ x ½-inch blocks to the front of the firewall. This moved the upper mounting locations out far enough that they would be accessible with the air scoop in place. The upper air scoop and an APC 16 x 8 electric propeller were installed to complete the business end of the Skyraider.
Next, I installed the pilot and canopy. Although I was glad to see a nice-looking pilot figure included, he was too large to be scale, but still too short to see over the instrument panel. This was a minor issue.
Almost done! I attached the Hitec Optima 9 receiver on the servo tray, slid the aluminum wing tube through the fuselage, and installed the wings. A nylon bolt secures the wings to the fuselage.
The belly/battery hatch was attached using a pair of machine screws. I would have liked to have seen an easy open latch used here, but I might be too picky. It’s not too hard to deal with a pair of machine screws.
With the Skyraider back on its wheels, I attached the rear air scoop and two antenna masts with a small amount of 5-minute epoxy. Seagull Models likes to add a scale touch!
A quick check of the center of gravity (100mm behind the wing’s leading edge where it meets the fuselage) showed that my Skyraider was perfectly balanced! I set the control throws to the high and low recommended rates in the manual and the A-1 was ready to fly!
Flight Report
The maiden flight took place in the early morning hours before the official start of one of my favorite events, WATTS over Owatonna. If you’re unfamiliar with this event, I recommend that you look into it.
WATTS is an all-electric event, and 2015 was its sixth year. With nearly 150 pilots and vendors attending the three-day event, it’s been a blast each year!
The Southern Minnesota Model Aircraft Club (SMMAC)

The E-flite 60-120 90° rotating retracts add realism to the Skyraider and are worth the modifications required to install them.

has a 700-foot long textile runway and a 1,200-foot grass runway. The club’s president and field owner, Tim Johnson, has plenty of room to get his full-scale Piper Super Cruiser in and out of this great field!
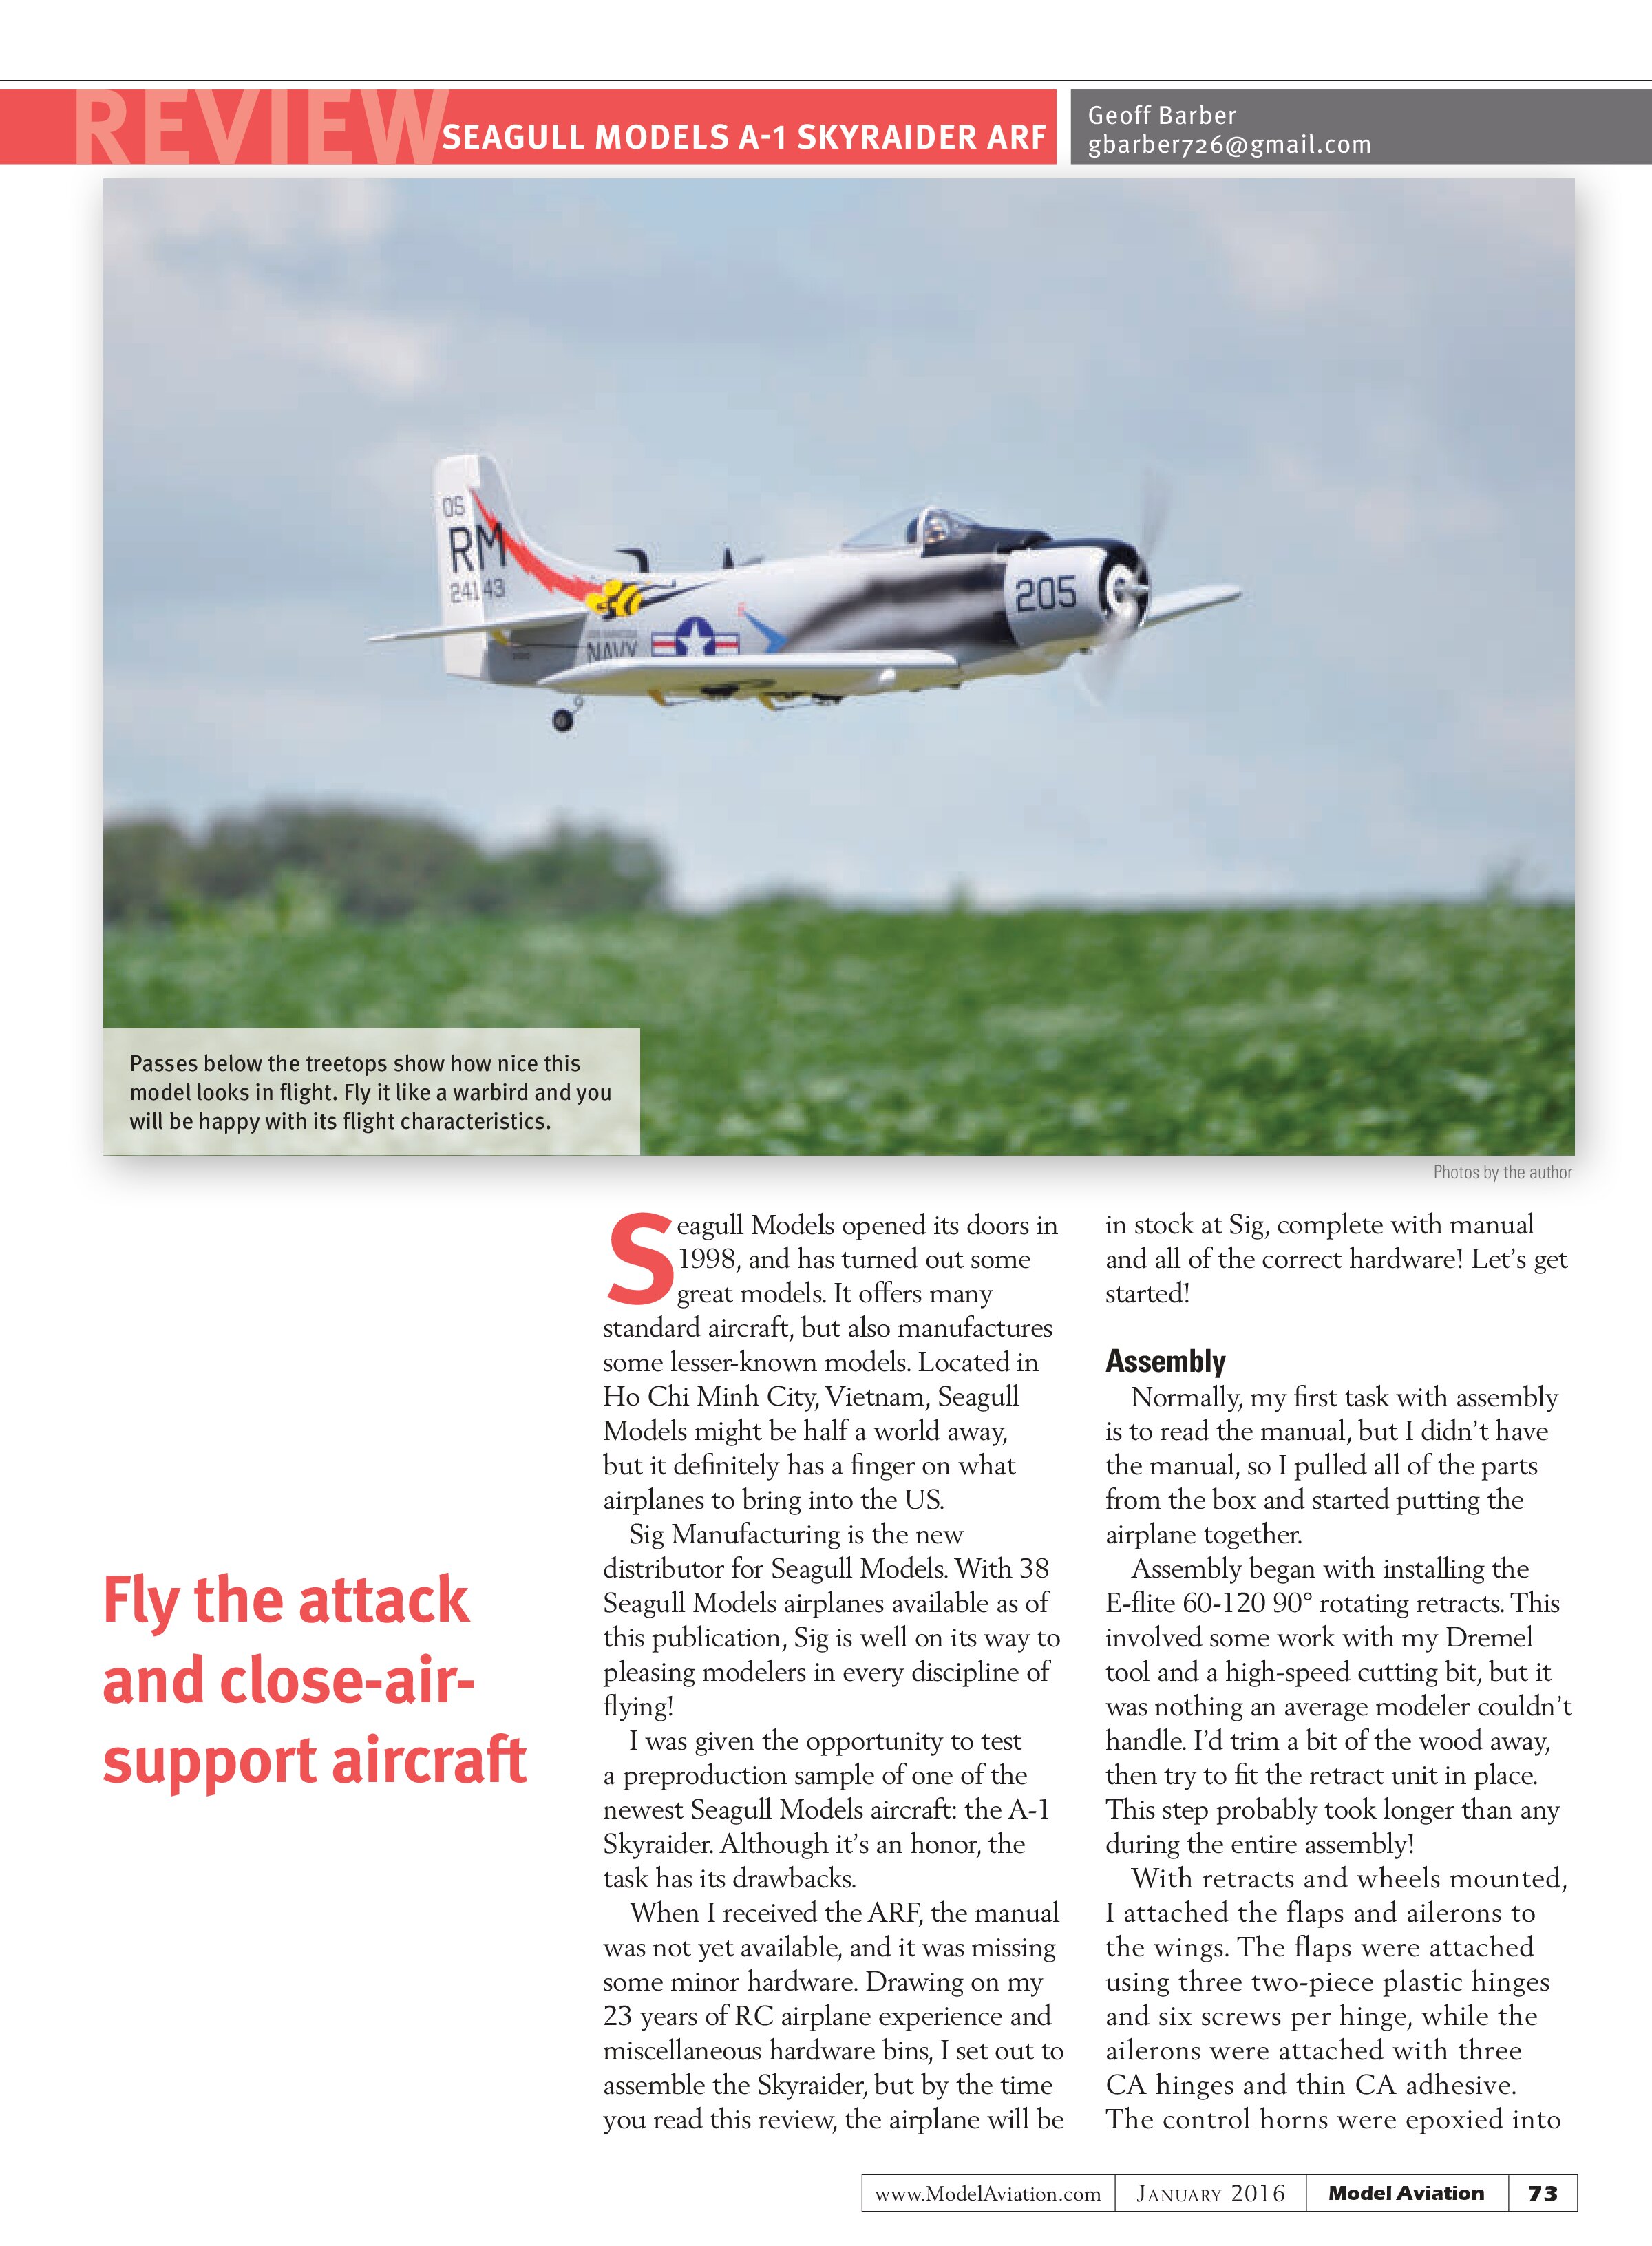
Thanks to this long runway, it’s easy to get enough flying speed before taking off—definitely a requirement with the Skyraider. The airplane flies like a heavy-metal warbird. This one is not a floater at all, and must have plenty of speed to get off the ground.
After it was airborne, the A-1 was trimmed and flew in a scalelike manner at approximately two-thirds throttle. It flew exactly where I pointed it!
I set up the A-1 to drop the flaps approximately 1 inch on a 2-second delay, allowing the Skyraider to be slowed down a bit. The flaps did cause a slight ballooning effect when dropped, but backing off the throttle brought the airplane back nicely.
I did not bother programming down-elevator into the flaps, but it could be done. While the flaps were down, I dropped the rotating retracts for a “dirty” flyby. The Skyraider looked nice, and didn’t mind the excess drag with a little more power added.
I pulled up the gear and flaps, and pushed the throttle stick to full power. The A-1 is definitely not a Reno racer, but it moves out nicely. At full throttle, the Skyraider looked good performing strafing runs over the runway!
I attempted a few basic aerobatic maneuvers, and the Skyraider did well! Loops, high banked turns, and rolls were easily performed, and the airplane looked good while doing these scalelike maneuvers!
With that, the 8-minute timer told me it was time to land. I again dropped the flaps and retracts and brought the Skyraider back to the ground. Landing was easy with a little power kept on.
The textile runway was the toughest part of the landing. The fabric is stretched over the ground, but it isn’t perfectly smooth. Several bumps in the runway caused the airplane to bounce back into the air a couple of times.
The rough landing was also partly because of the stiff wire gear in the E-flite retracts. These retracts are capable of being used on a model nearly twice the size of the Skyraider, so the gear is extremely robust. The retract mounts in the wing are tough though, and held up well to the rough landing!
Back under the protection of my shade tent, I removed and tested the Skyraider’s battery. An 8-minute flight used roughly 70% of my 6S 5,000 mAh LiPo battery pack. I can live with that, plus it provides a little backup in case of a go-around situation.
Subsequent flights during the event brought lots of attention to the Skyraider. Each flight was kept to the 8-minute limit on my transmitter’s timer, and the battery usage was within 3 to 5% of the maiden flight.
The A-1 handled well through the additional flights and required no trim or flight changes as the day’s temperature climbed. In all, the warbird performed well and looked great in the sky!
Conclusion
I like the new Seagull Models A-1 Skyraider. Assembly was so easy that it could be done without the instructions (but I don’t recommend it). The airplane looks great on the ground and in the air, and it flies well if you respect the aircraft type.
If you’re looking for an airplane that will fly slowly and have a light wing loading, this will not be that airplane. However, if you want a warbird that flies the way a warbird should, you’ll feel right at home on the sticks!
As I mentioned, by the time you read this, the A-1 Skyraider ARF will be available from Sig and it will have an instruction manual and all of the correct hardware!
—Geoff Barber
gbarber726@gmail.com
MANUFACTURER/DISTRIBUTOR:
Sig Manufacturing Co.
(641) 623-5154
www.sigmfg.com
SOURCES:
Hitec RCD
(858) 748-6948
www.hitecrcd.com
E-flite
(800) 338-4639
www.e-fliterc.com
WATTS over Owatonna/SMMAC
www.wattsflyin.com