Three-views and sheet foam: A quick way to develop a new model
Paul Bradley
Now that we are in the traditional building season, I thought it might be appropriate to look at some reader projects that could inspire your builds for the 2016 flying season.
One of the quickest ways to get a new model out of your shop and ready for the flying season is flat-foam sheeting and a drawing. If you don’t feel comfortable developing your own drawing, don’t despair—many three-views of full-scale aircraft are available on the Internet.
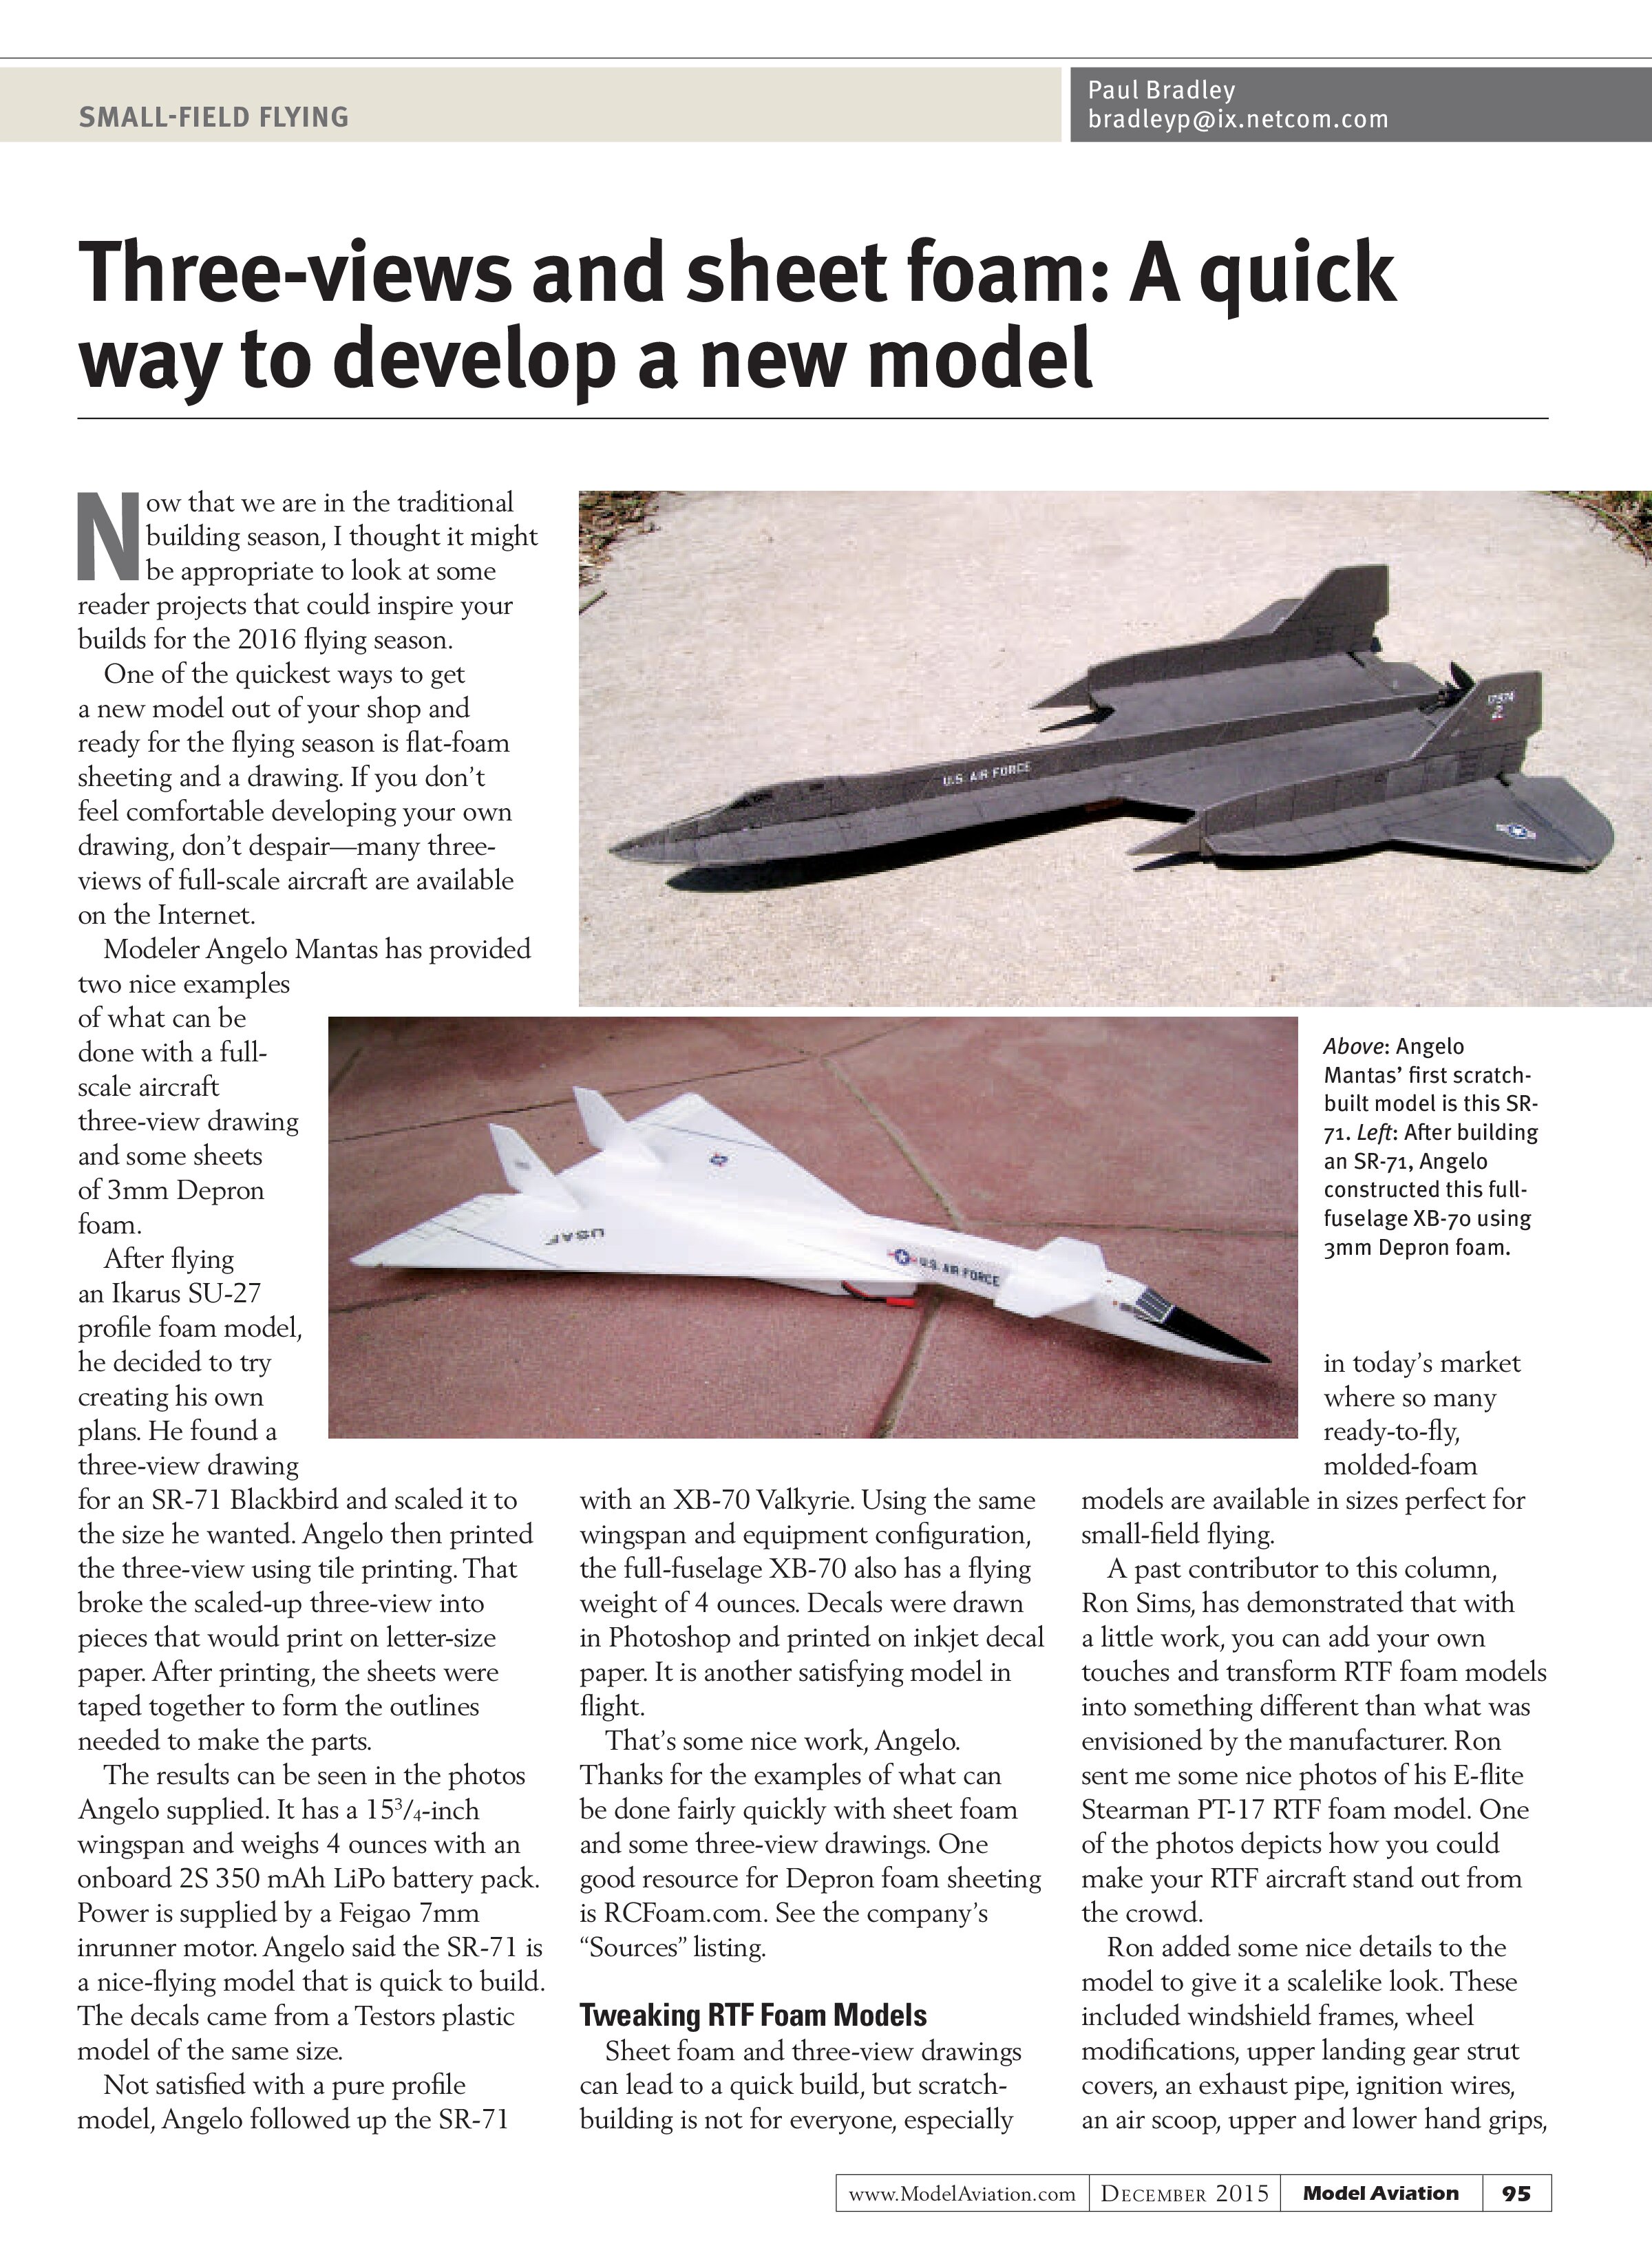
Modeler Angelo Mantas has provided two nice examples of what can be done with a full-scale aircraft three-view drawing and some sheets of 3mm Depron foam.
After flying an Ikarus SU-27 profile foam model, he decided to try creating his own plans. He found a three-view drawing for an SR-71 Blackbird and scaled it to the size he wanted. Angelo then printed the three-view using tile printing. That broke the scaled-up three-view into pieces that would print on letter-size paper. After printing, the sheets were taped together to form the outlines needed to make the parts.
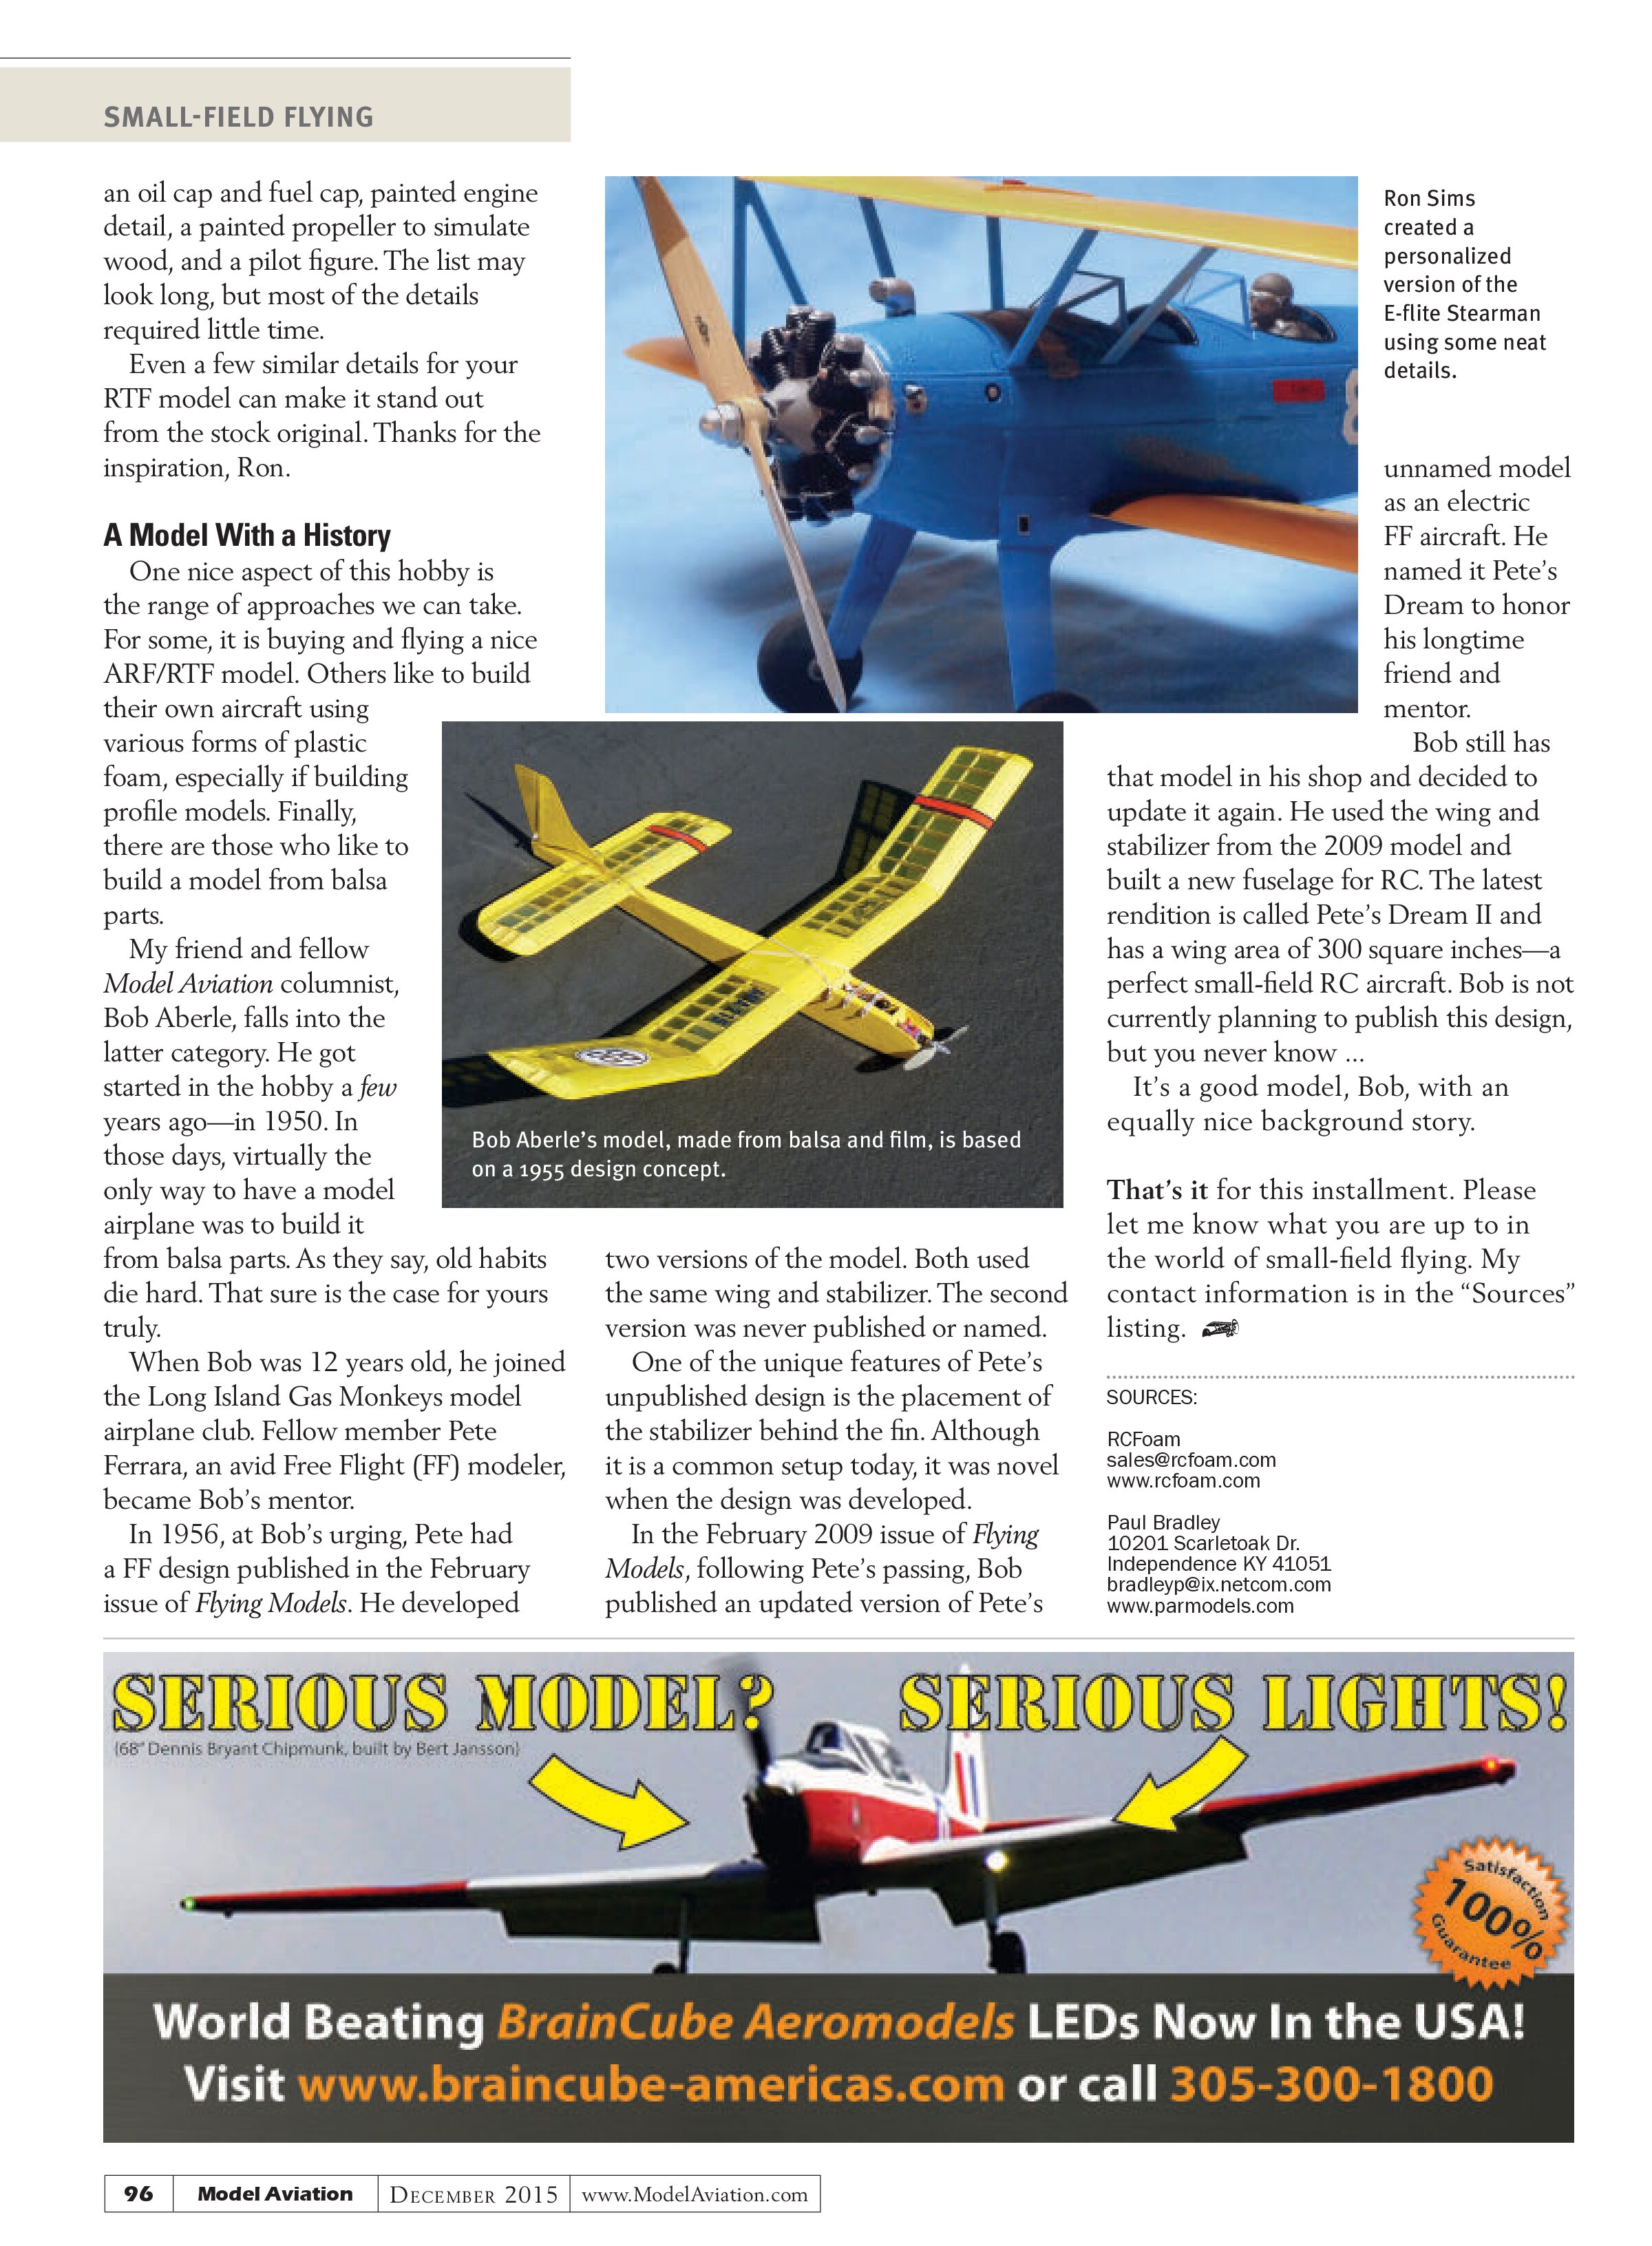
The results can be seen in the photos Angelo supplied. It has a 15¾-inch wingspan and weighs 4 ounces with an onboard 2S 350 mAh LiPo battery pack. Power is supplied by a Feigao 7mm inrunner motor. Angelo said the SR-71 is a nice-flying model that is quick to build. The decals came from a Testors plastic model of the same size.
Not satisfied with a pure profile model, Angelo followed up the SR-71

That’s some nice work, Angelo. Thanks for the examples of what can be done fairly quickly with sheet foam and some three-view drawings. One good resource for Depron foam sheeting is RCFoam.com. See the company’s “Sources” listing.
Tweaking RTF Foam Models
Sheet foam and three-view drawings can lead to a quick build, but scratch-building is not for everyone, especially in today’s market where so many ready-to-fly, molded-foam models are available in sizes perfect for small-field flying.
A past contributor to this column, Ron Sims, has demonstrated that with a little work, you can add your own touches and transform RTF foam models into something different than what was envisioned by the manufacturer. Ron sent me some nice photos of his E-flite Stearman PT-17 RTF foam model. One of the photos depicts how you could make your RTF aircraft stand out from the crowd.
Ron added some nice details to the model to give it a scalelike look. These included windshield frames, wheel modifications, upper landing gear strut covers, an exhaust pipe, ignition wires, an air scoop, upper and lower hand grips,

an oil cap and fuel cap, painted engine detail, a painted propeller to simulate wood, and a pilot figure. The list may look long, but most of the details required little time.
Even a few similar details for your RTF model can make it stand out from the stock original. Thanks for the inspiration, Ron.

A Model With a History
One nice aspect of this hobby is the range of approaches we can take. For some, it is buying and flying a nice ARF/RTF model. Others like to build their own aircraft using various forms of plastic foam, especially if building profile models. Finally, there are those who like to build a model from balsa parts.
My friend and fellow Model Aviation columnist, Bob Aberle, falls into the latter category. He got started in the hobby a few years ago—in 1950. In those days, virtually the only way to have a model airplane was to build it from balsa parts. As they say, old habits die hard. That sure is the case for yours truly.
When Bob was 12 years old, he joined the Long Island Gas Monkeys model airplane club. Fellow member Pete Ferrara, an avid Free Flight (FF) modeler, became Bob’s mentor.
In 1956, at Bob’s urging, Pete had a FF design published in the February issue of Flying Models. He developed two versions of the model. Both used the same wing and stabilizer. The second version was never published or named.

One of the unique features of Pete’s unpublished design is the placement of the stabilizer behind the fin. Although it is a common setup today, it was novel when the design was developed.
In the February 2009 issue of Flying Models, following Pete’s passing, Bob published an updated version of Pete’s unnamed model as an electric FF aircraft. He named it Pete’s Dream to honor his longtime friend and mentor.
Bob still has that model in his shop and decided to update it again. He used the wing and stabilizer from the 2009 model and built a new fuselage for RC. The latest rendition is called Pete’s Dream II and has a wing area of 300 square inches—a perfect small-field RC aircraft. Bob is not currently planning to publish this design, but you never know ...
It’s a good model, Bob, with an equally nice background story.
That’s it for this installment. Please let me know what you are up to in the world of small-field flying. My contact information is in the “Sources” listing.
Sources:
RCFoam
sales@rcfoam.com
www.rcfoam.com
Paul Bradley
10201 Scarl… Dr.
Independence KY 41051
bradley@ix.netcom.com
www.parmodels.com