Building with blue foam
Bob Aberle
Q622: I’ve heard that modelers have successfully built RC airplanes using basic foam insulation that can be purchased at home improvement stores. I’m curious about the type of material, the cements used, and the paints for finishing. Can you shed some light on this subject?


A622: I was hoping for a question about this subject, because I had something interesting in my files. A while back, Chuck Cawthon, from Texas, sent me a group of photos showing what he was able to do with common blue insulation foam.
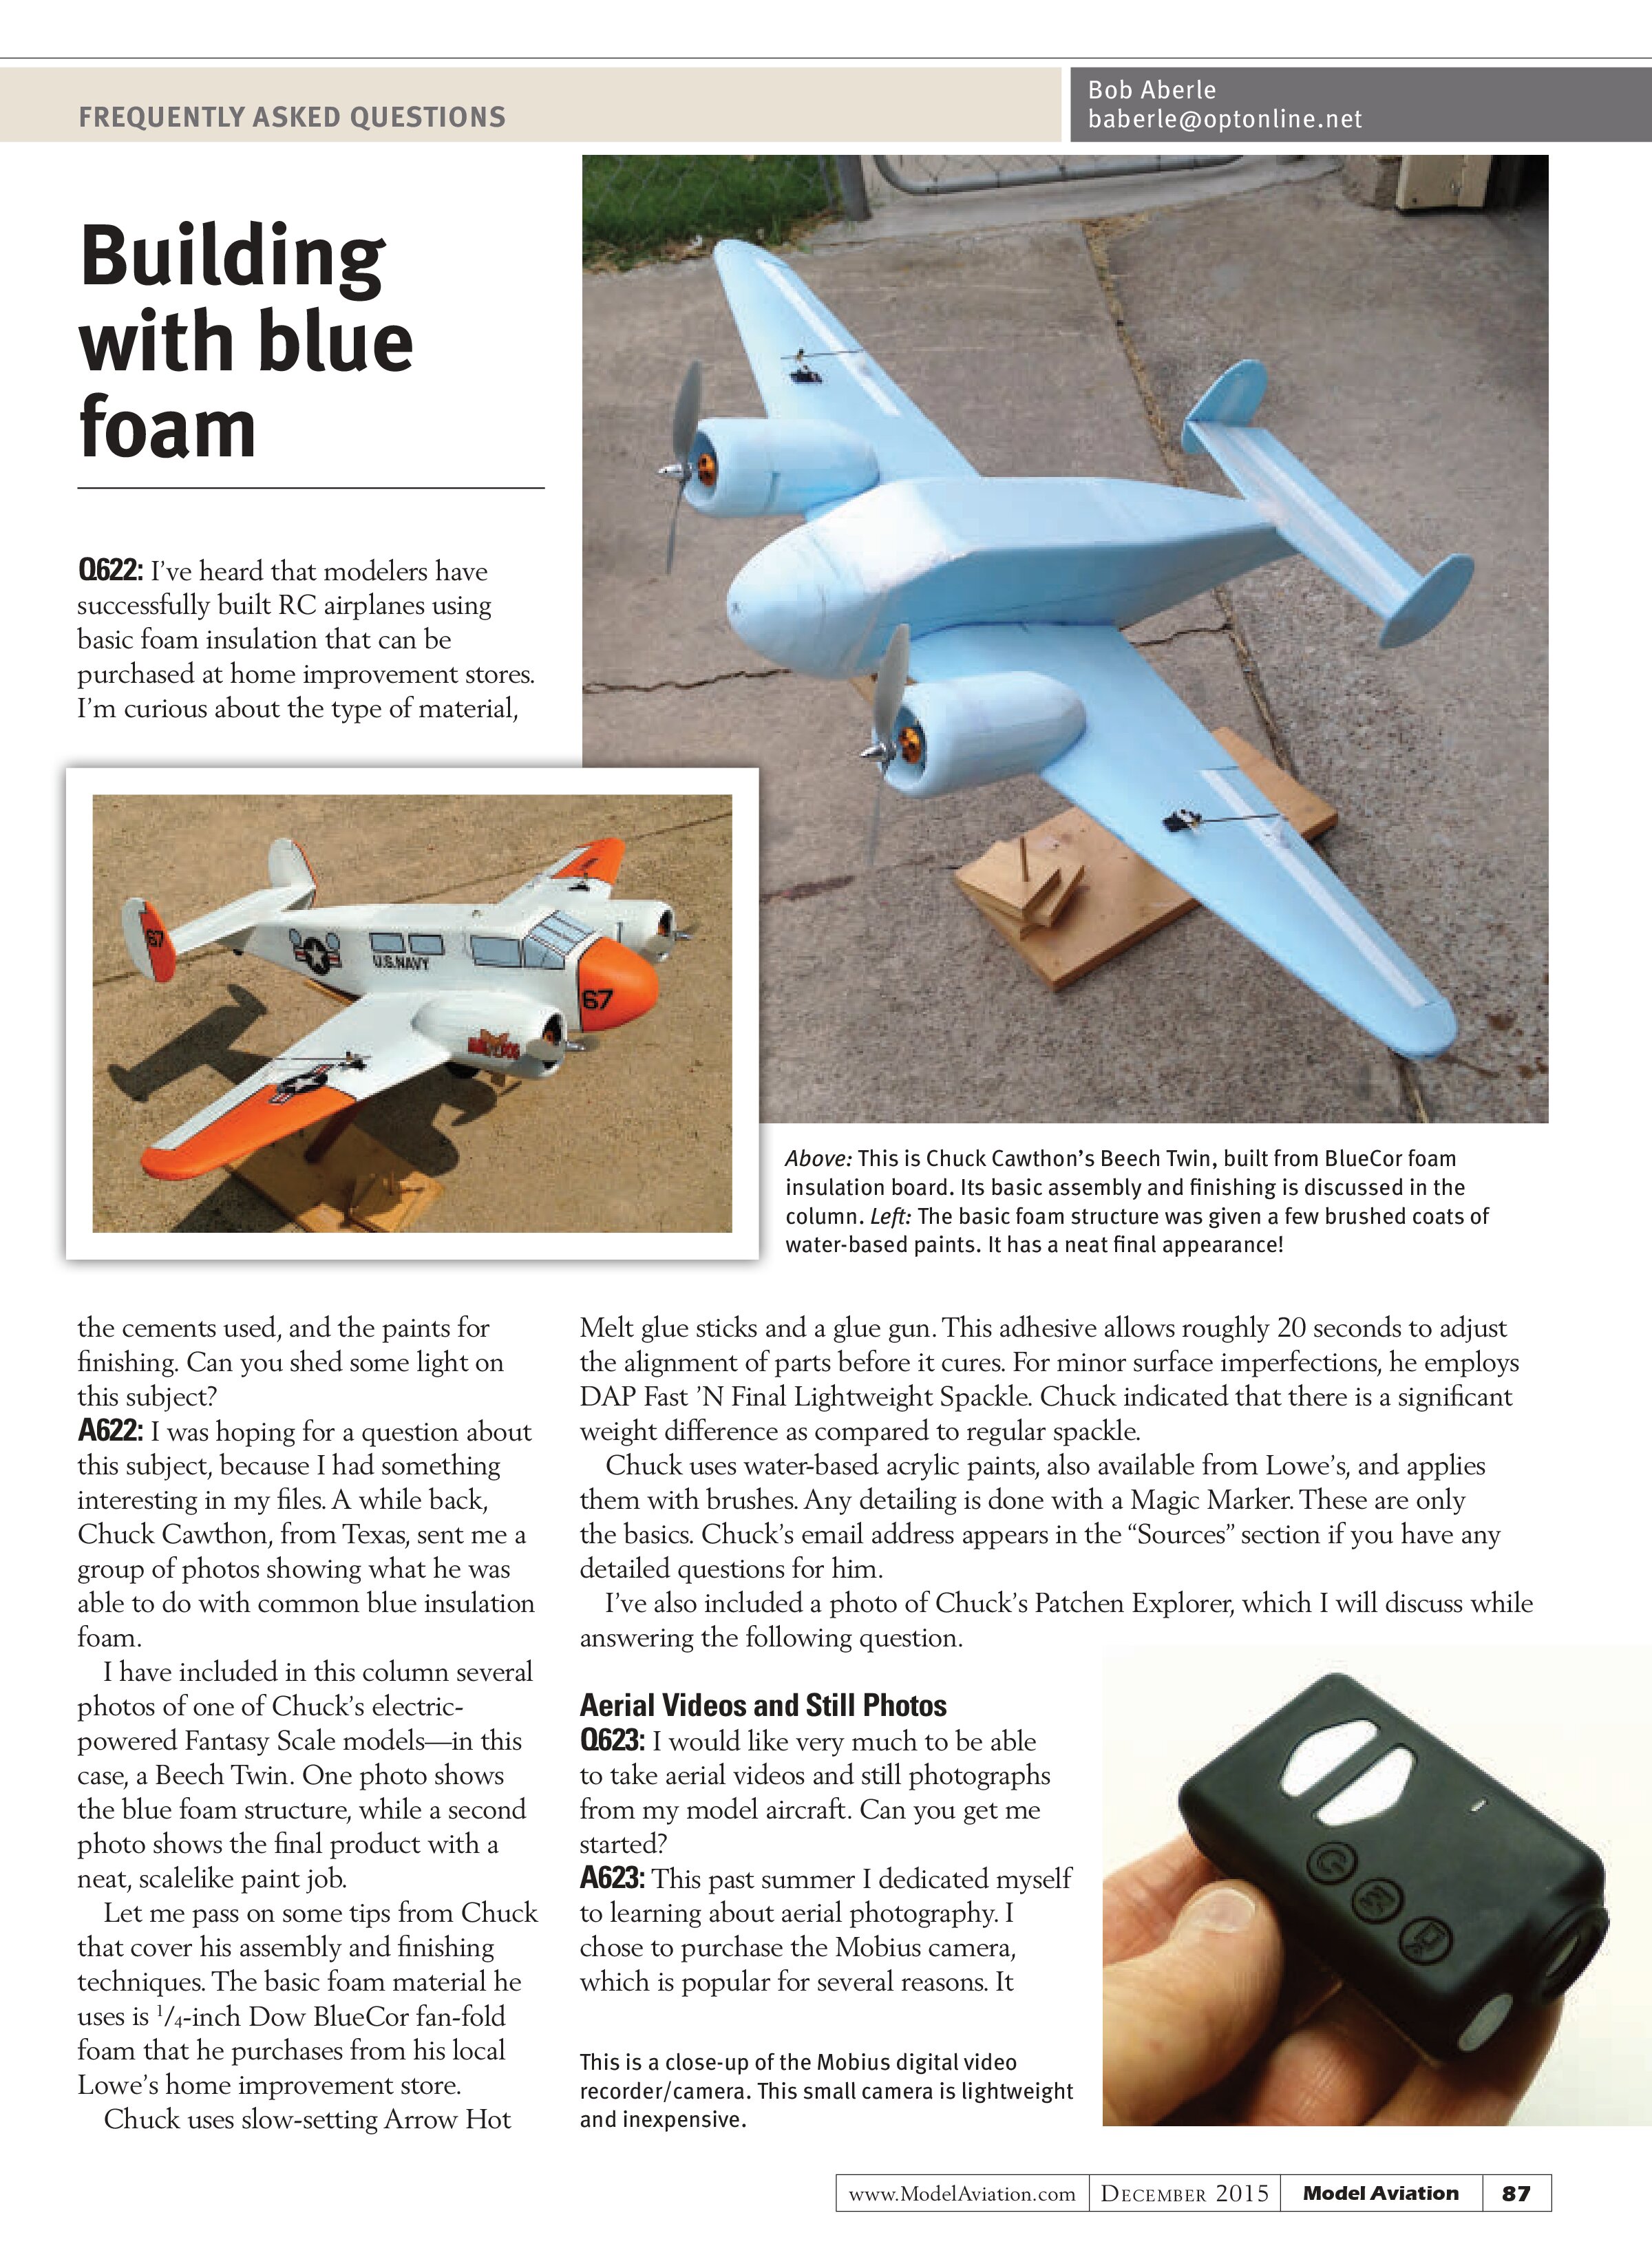
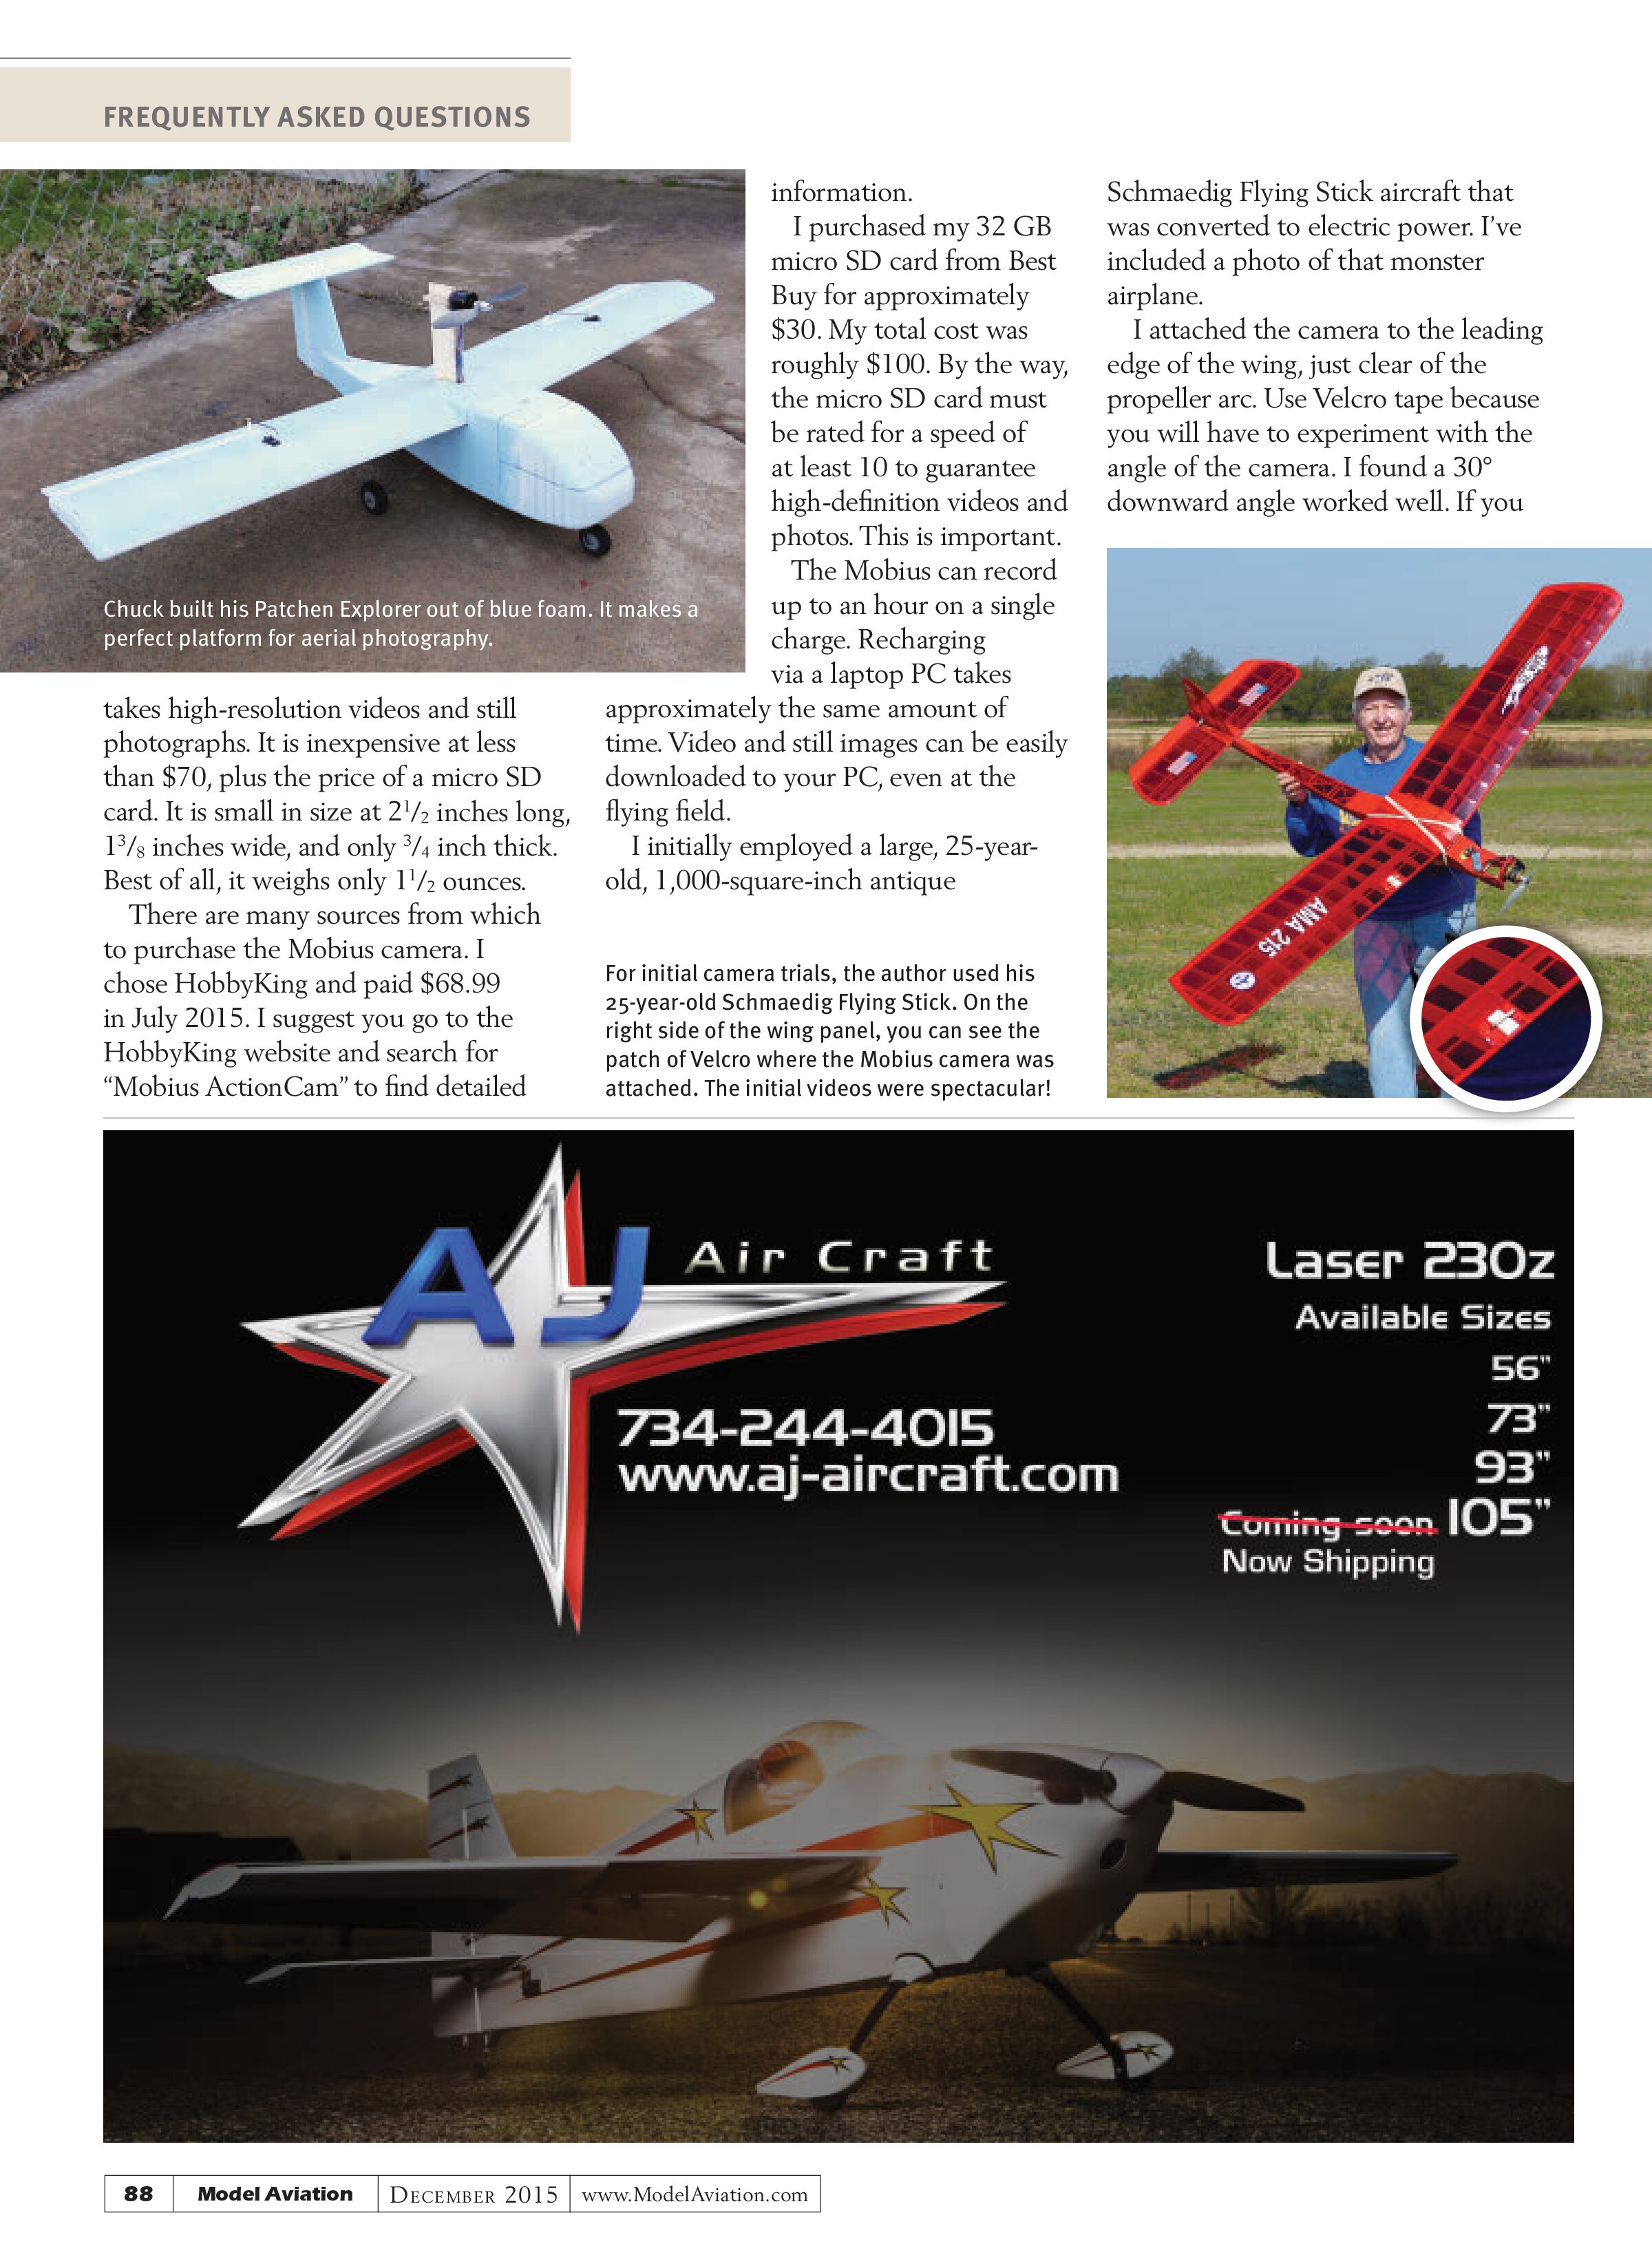
I have included in this column several photos of one of Chuck’s electric-powered Fantasy Scale models—in this case, a Beech Twin. One photo shows the blue foam structure, while a second photo shows the final product with a neat, scalelike paint job.
Let me pass on some tips from Chuck that cover his assembly and finishing techniques. The basic foam material he uses is ¼-inch Dow BlueCor fan-fold foam that he purchases from his local Lowe’s home improvement store.
Chuck uses slow-setting Arrow Hot Melt glue sticks and a glue gun. This adhesive allows roughly 20 seconds to adjust the alignment of parts before it cures. For minor surface imperfections, he employs DAP Fast ’N Final Lightweight Spackle. Chuck indicated that there is a significant weight difference as compared to regular spackle.
Chuck uses water-based acrylic paints, also available from Lowe’s, and applies them with brushes. Any detailing is done with a Magic Marker. These are only the basics. Chuck’s email address appears in the “Sources” section if you have any detailed questions for him.
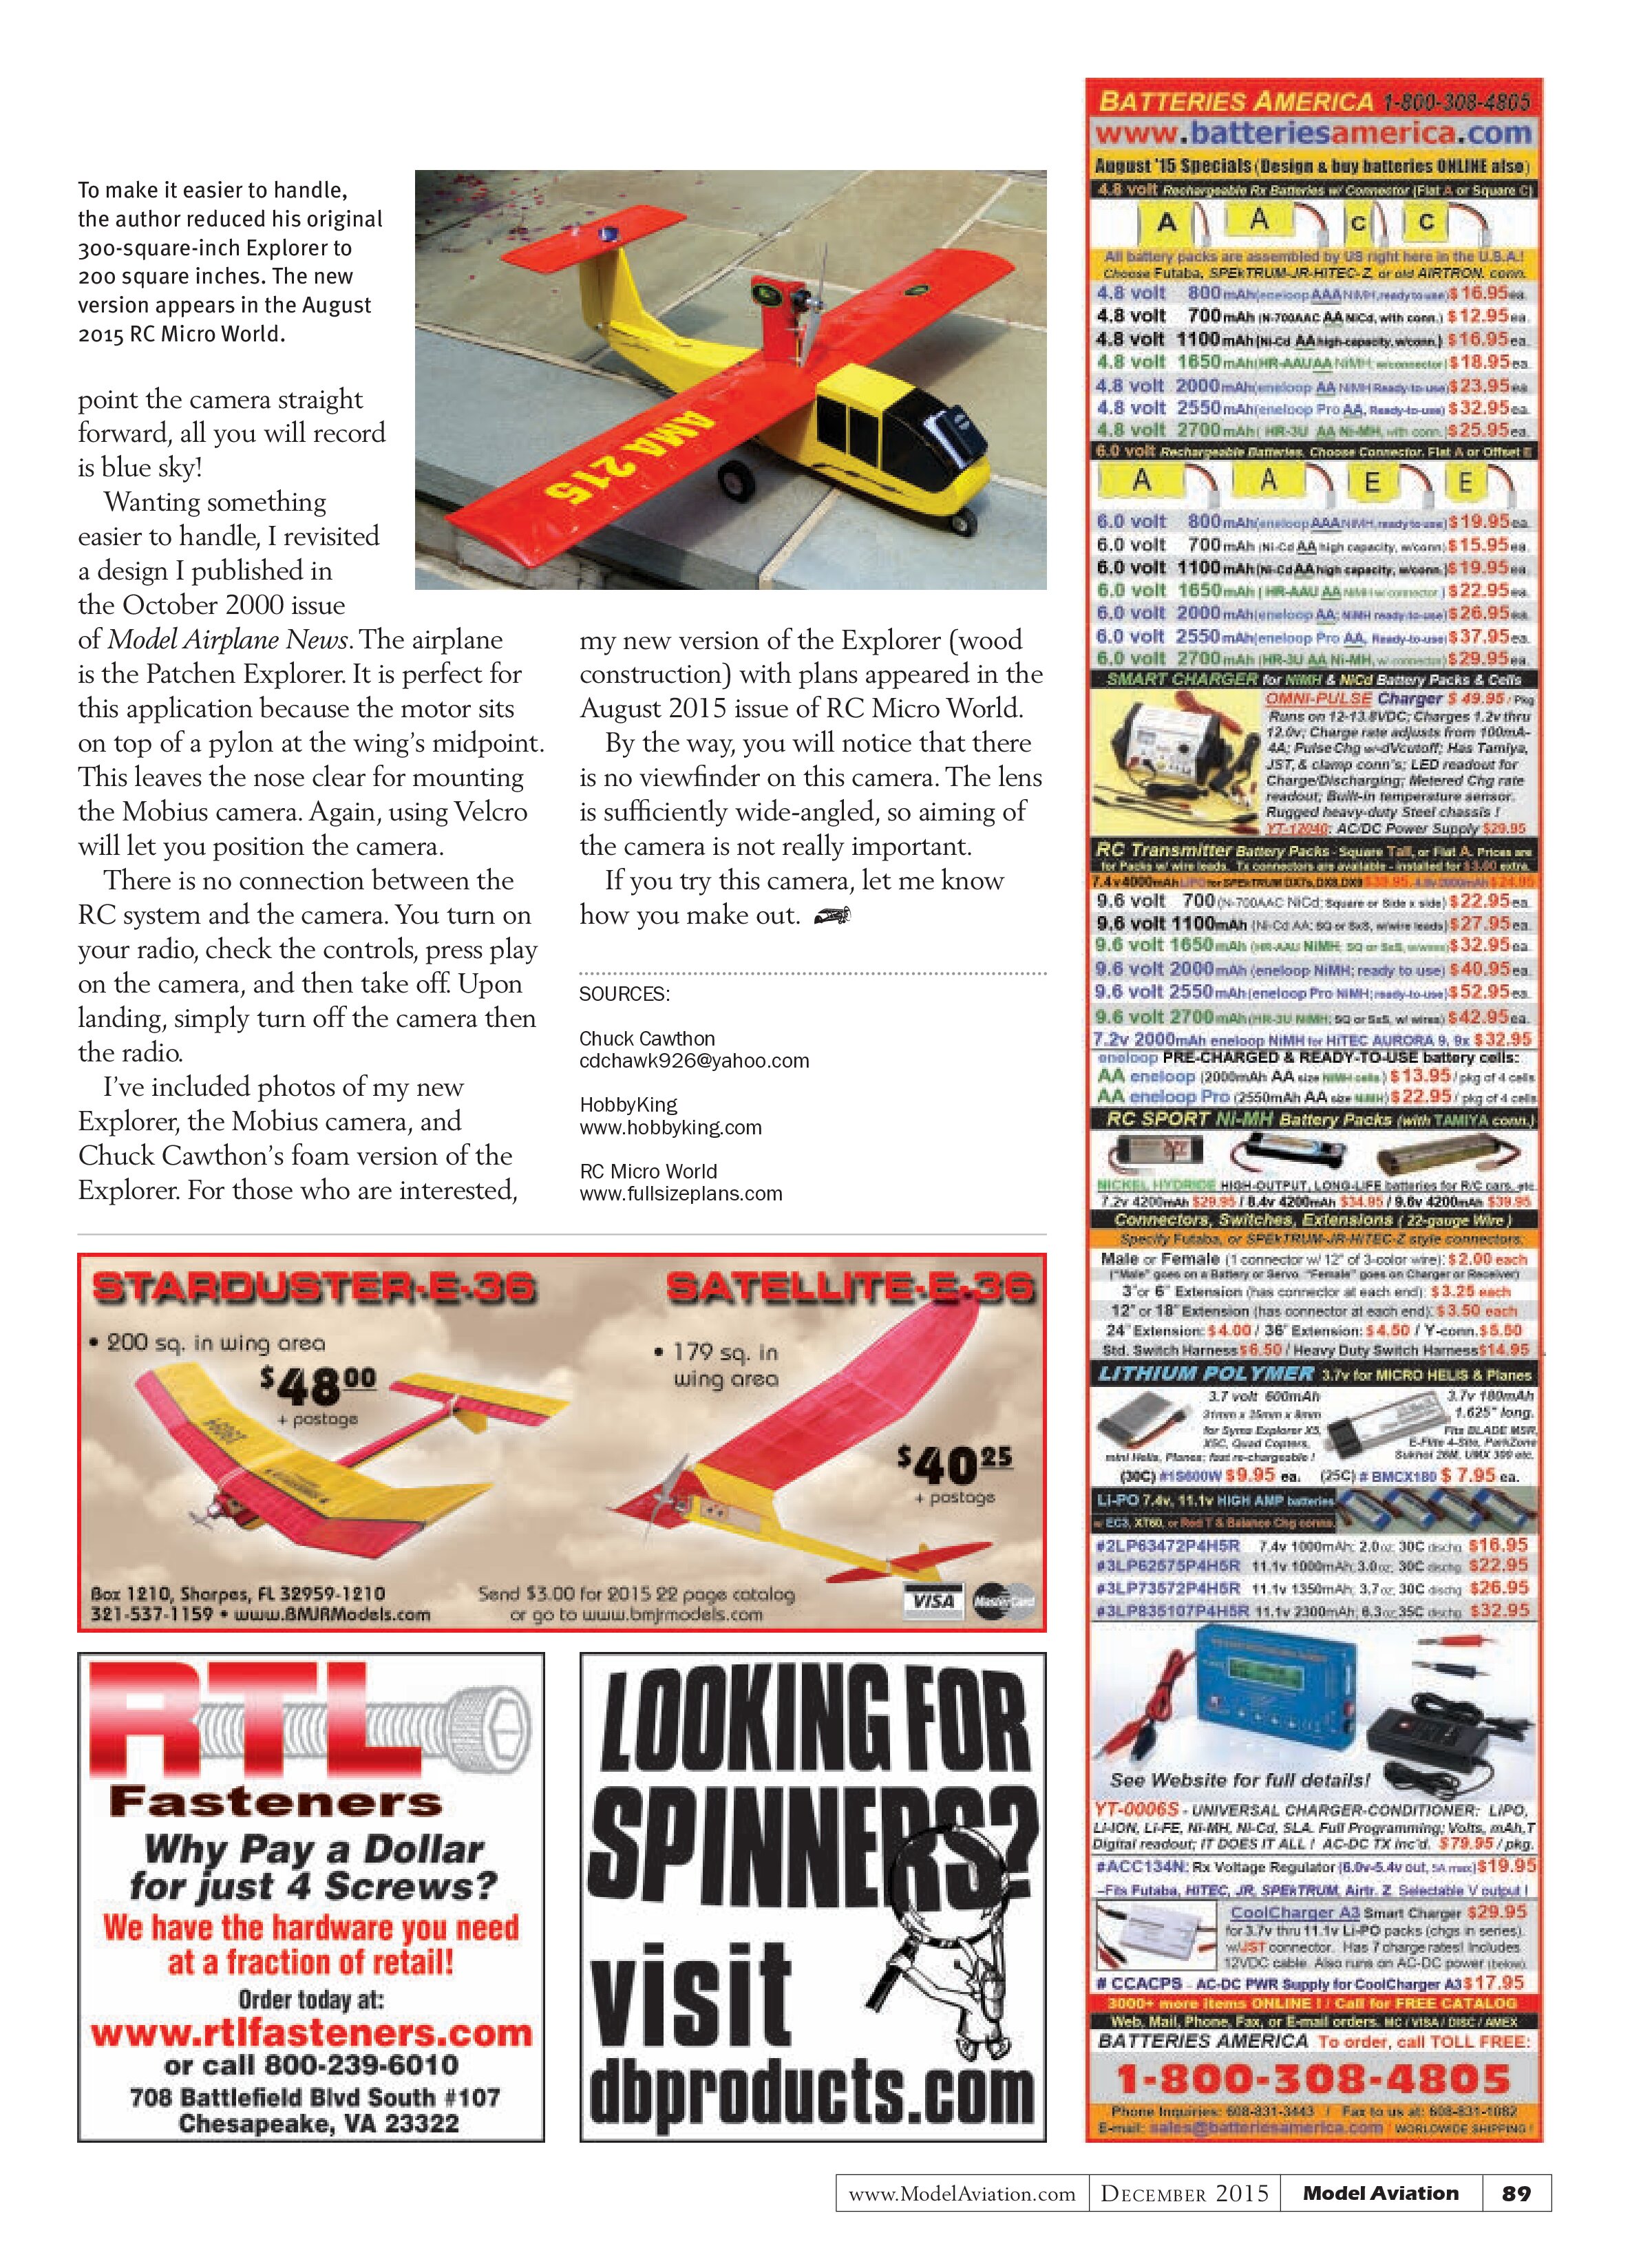
I’ve also included a photo of Chuck’s Patchen Explorer, which I will discuss while answering the following question.
Aerial Videos and Still Photos
Q623: I would like very much to be able to take aerial videos and still photographs from my model aircraft. Can you get me started?
A623: This past summer I dedicated myself to learning about aerial photography. I chose to purchase the Mobius camera, which is popular for several reasons. It

takes high-resolution videos and still photographs. It is inexpensive at less than $70, plus the price of a micro SD card. It is small in size at 2½ inches long, 1⅜ inches wide, and only ¾ inch thick. Best of all, it weighs only 1½ ounces.
There are many sources from which to purchase the Mobius camera. I chose HobbyKing and paid $68.99 in July 2015. I suggest you go to the HobbyKing website and search for “Mobius ActionCam” to find detailed information.
I purchased my 32 GB micro SD card from Best Buy for approximately $30. My total cost was roughly $100. By the way, the micro SD card must be rated for a speed of at least 10 to guarantee high-definition videos and photos. This is important.
The Mobius can record up to an hour on a single charge. Recharging via a laptop PC takes approximately the same amount of time. Video and still images can be easily downloaded to your PC, even at the flying field.
I initially employed a large, 25-year-old, 1,000-square-inch antique Schmaedig Flying Stick aircraft that was converted to electric power. I’ve included a photo of that monster airplane.
I attached the camera to the leading edge of the wing, just clear of the propeller arc. Use Velcro tape because you will have to experiment with the angle of the camera. I found a 30° downward angle worked well. If you


point the camera straight forward, all you will record is blue sky!
Wanting something easier to handle, I revisited a design I published in the October 2000 issue of Model Airplane News. The airplane is the Patchen Explorer. It is perfect for this application because the motor sits on top of a pylon at the wing’s midpoint. This leaves the nose clear for mounting the Mobius camera. Again, using Velcro will let you position the camera.
There is no connection between the RC system and the camera. You turn on your radio, check the controls, press play on the camera, and then take off. Upon landing, simply turn off the camera then the radio.
I’ve included photos of my new Explorer, the Mobius camera, and Chuck Cawthon’s foam version of the Explorer. For those who are interested,

my new version of the Explorer (wood construction) with plans appeared in the August 2015 issue of RC Micro World.
By the way, you will notice that there is no viewfinder on this camera. The lens is sufficiently wide-angled, so aiming of the camera is not really important.
If you try this camera, let me know how you make out.
SOURCES:
Chuck Cawthon
cdchawk926@yahoo.com
HobbyKing
www.hobbyking.com
RC Micro World
www.fullsizeplans.com