
Adding scale details to micros
Joe Malinchak
joemal@echoes.net
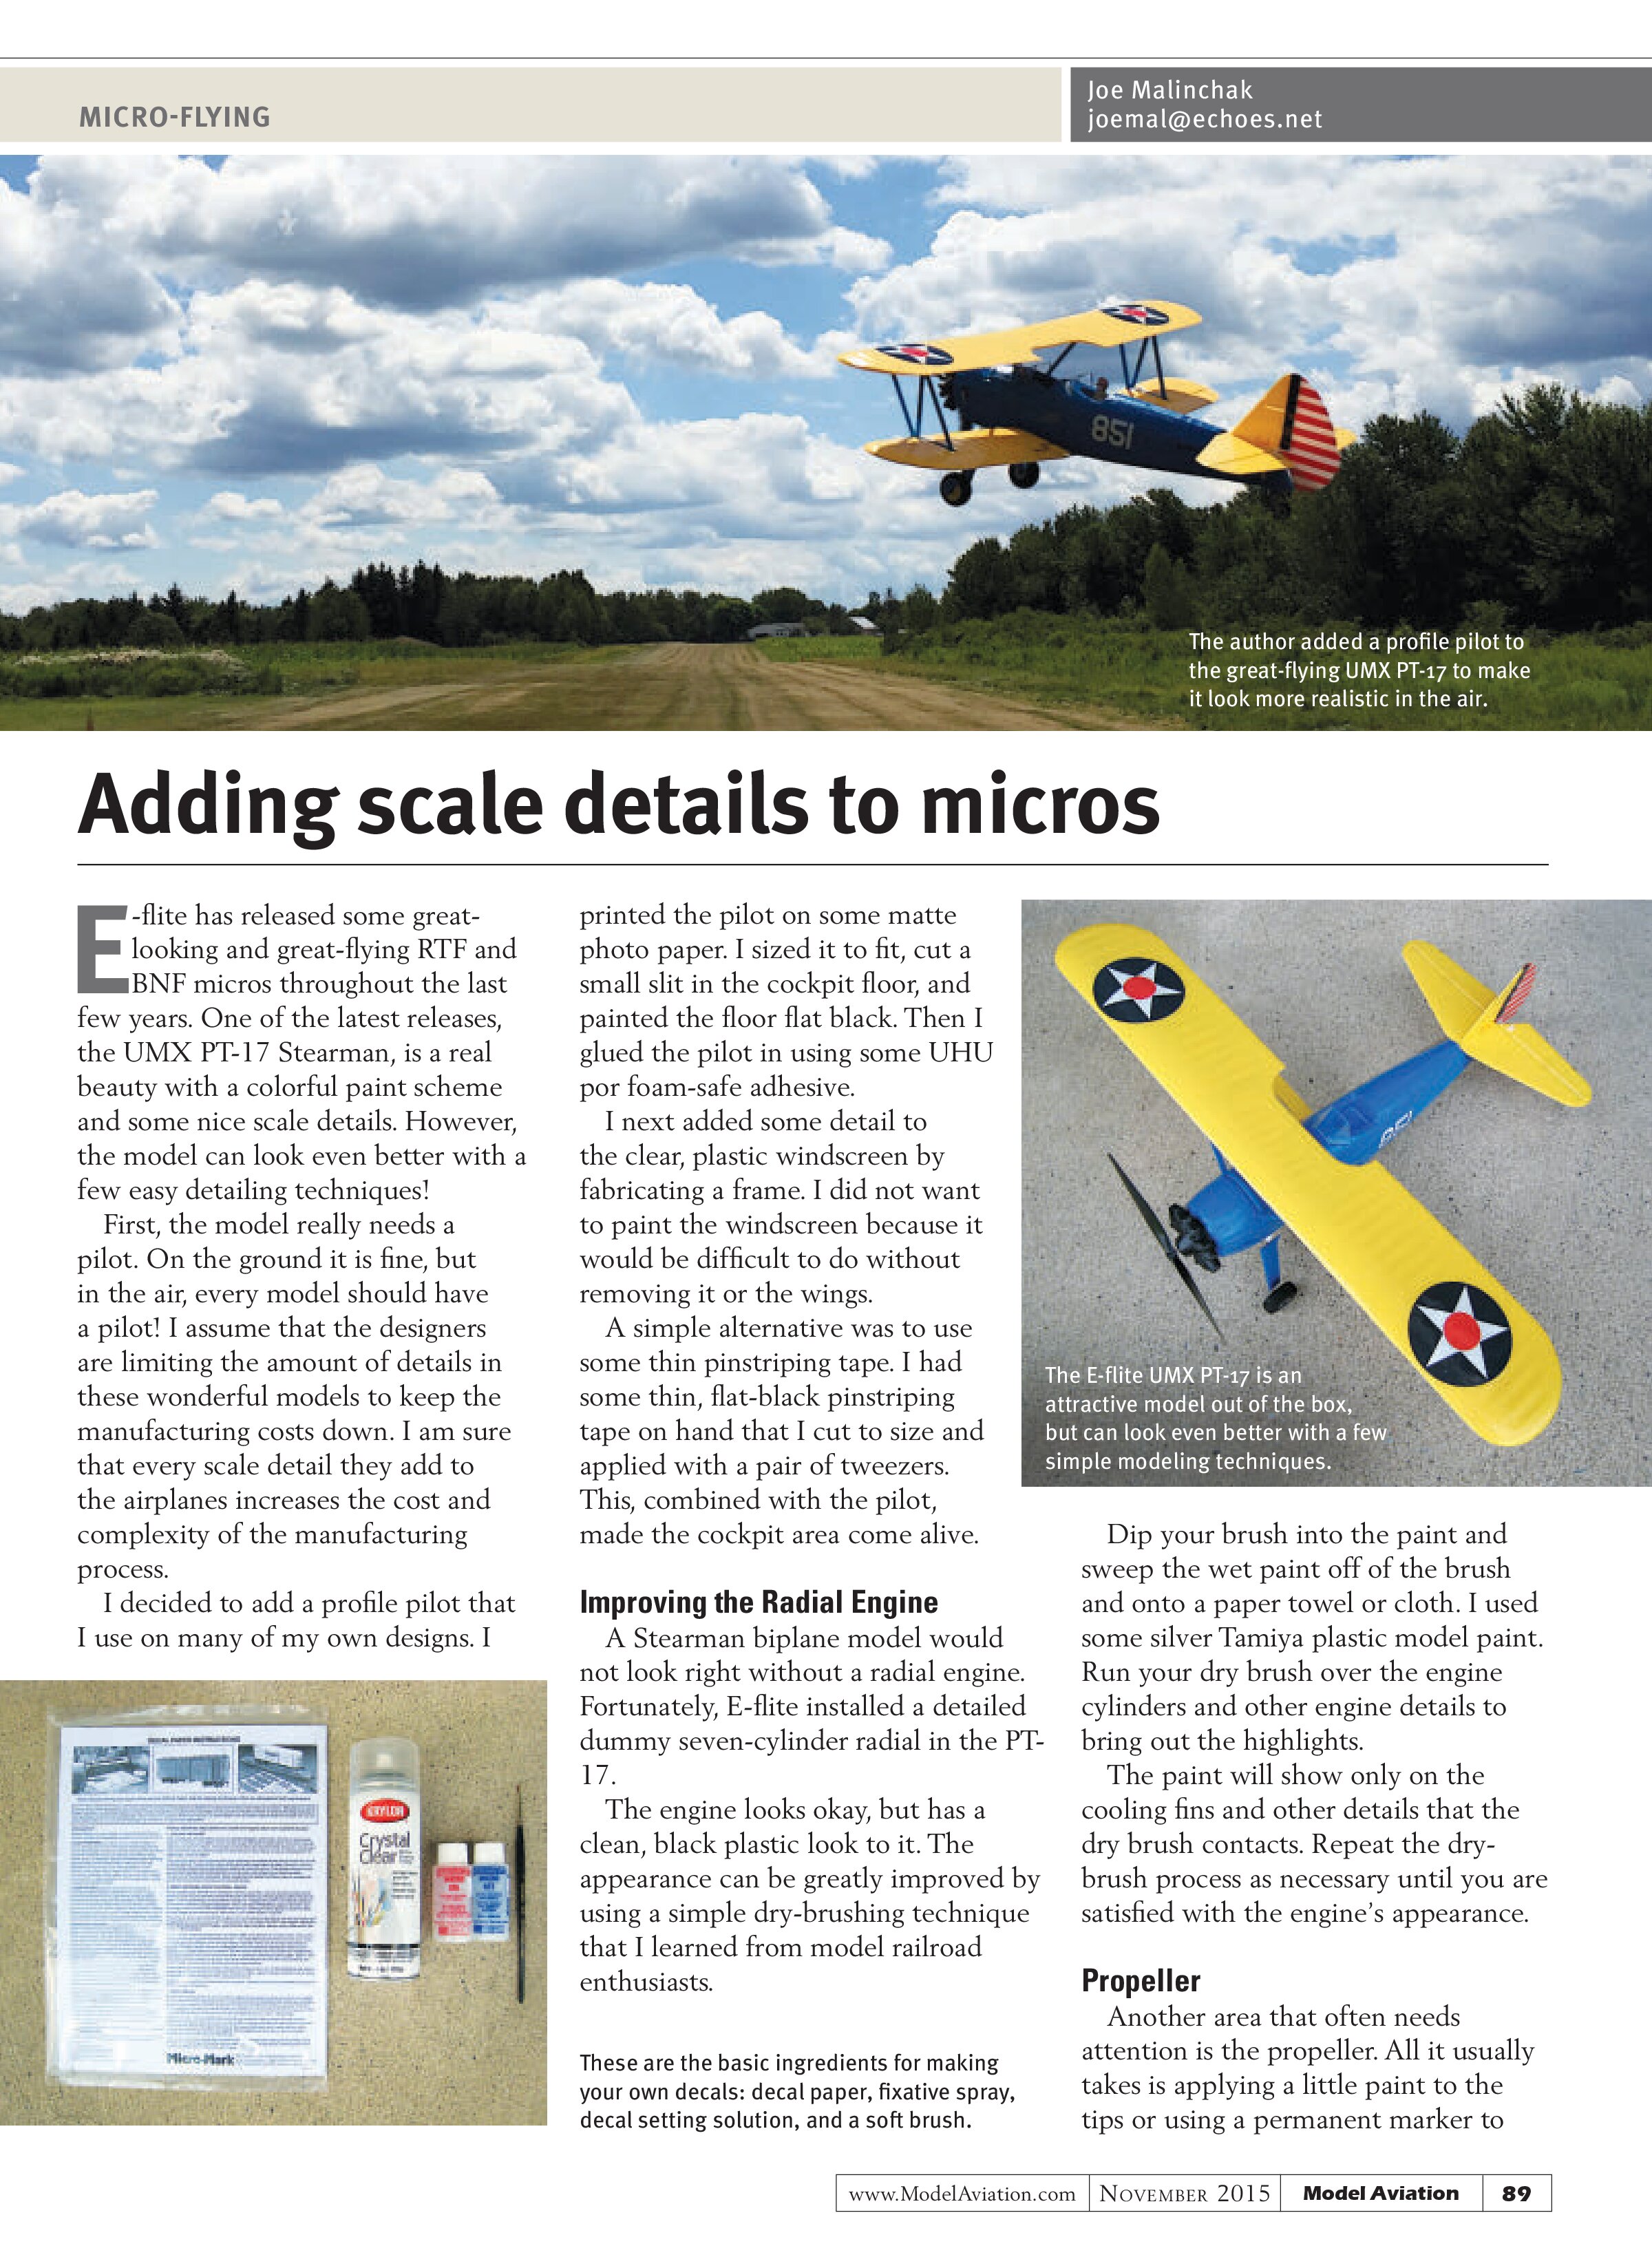
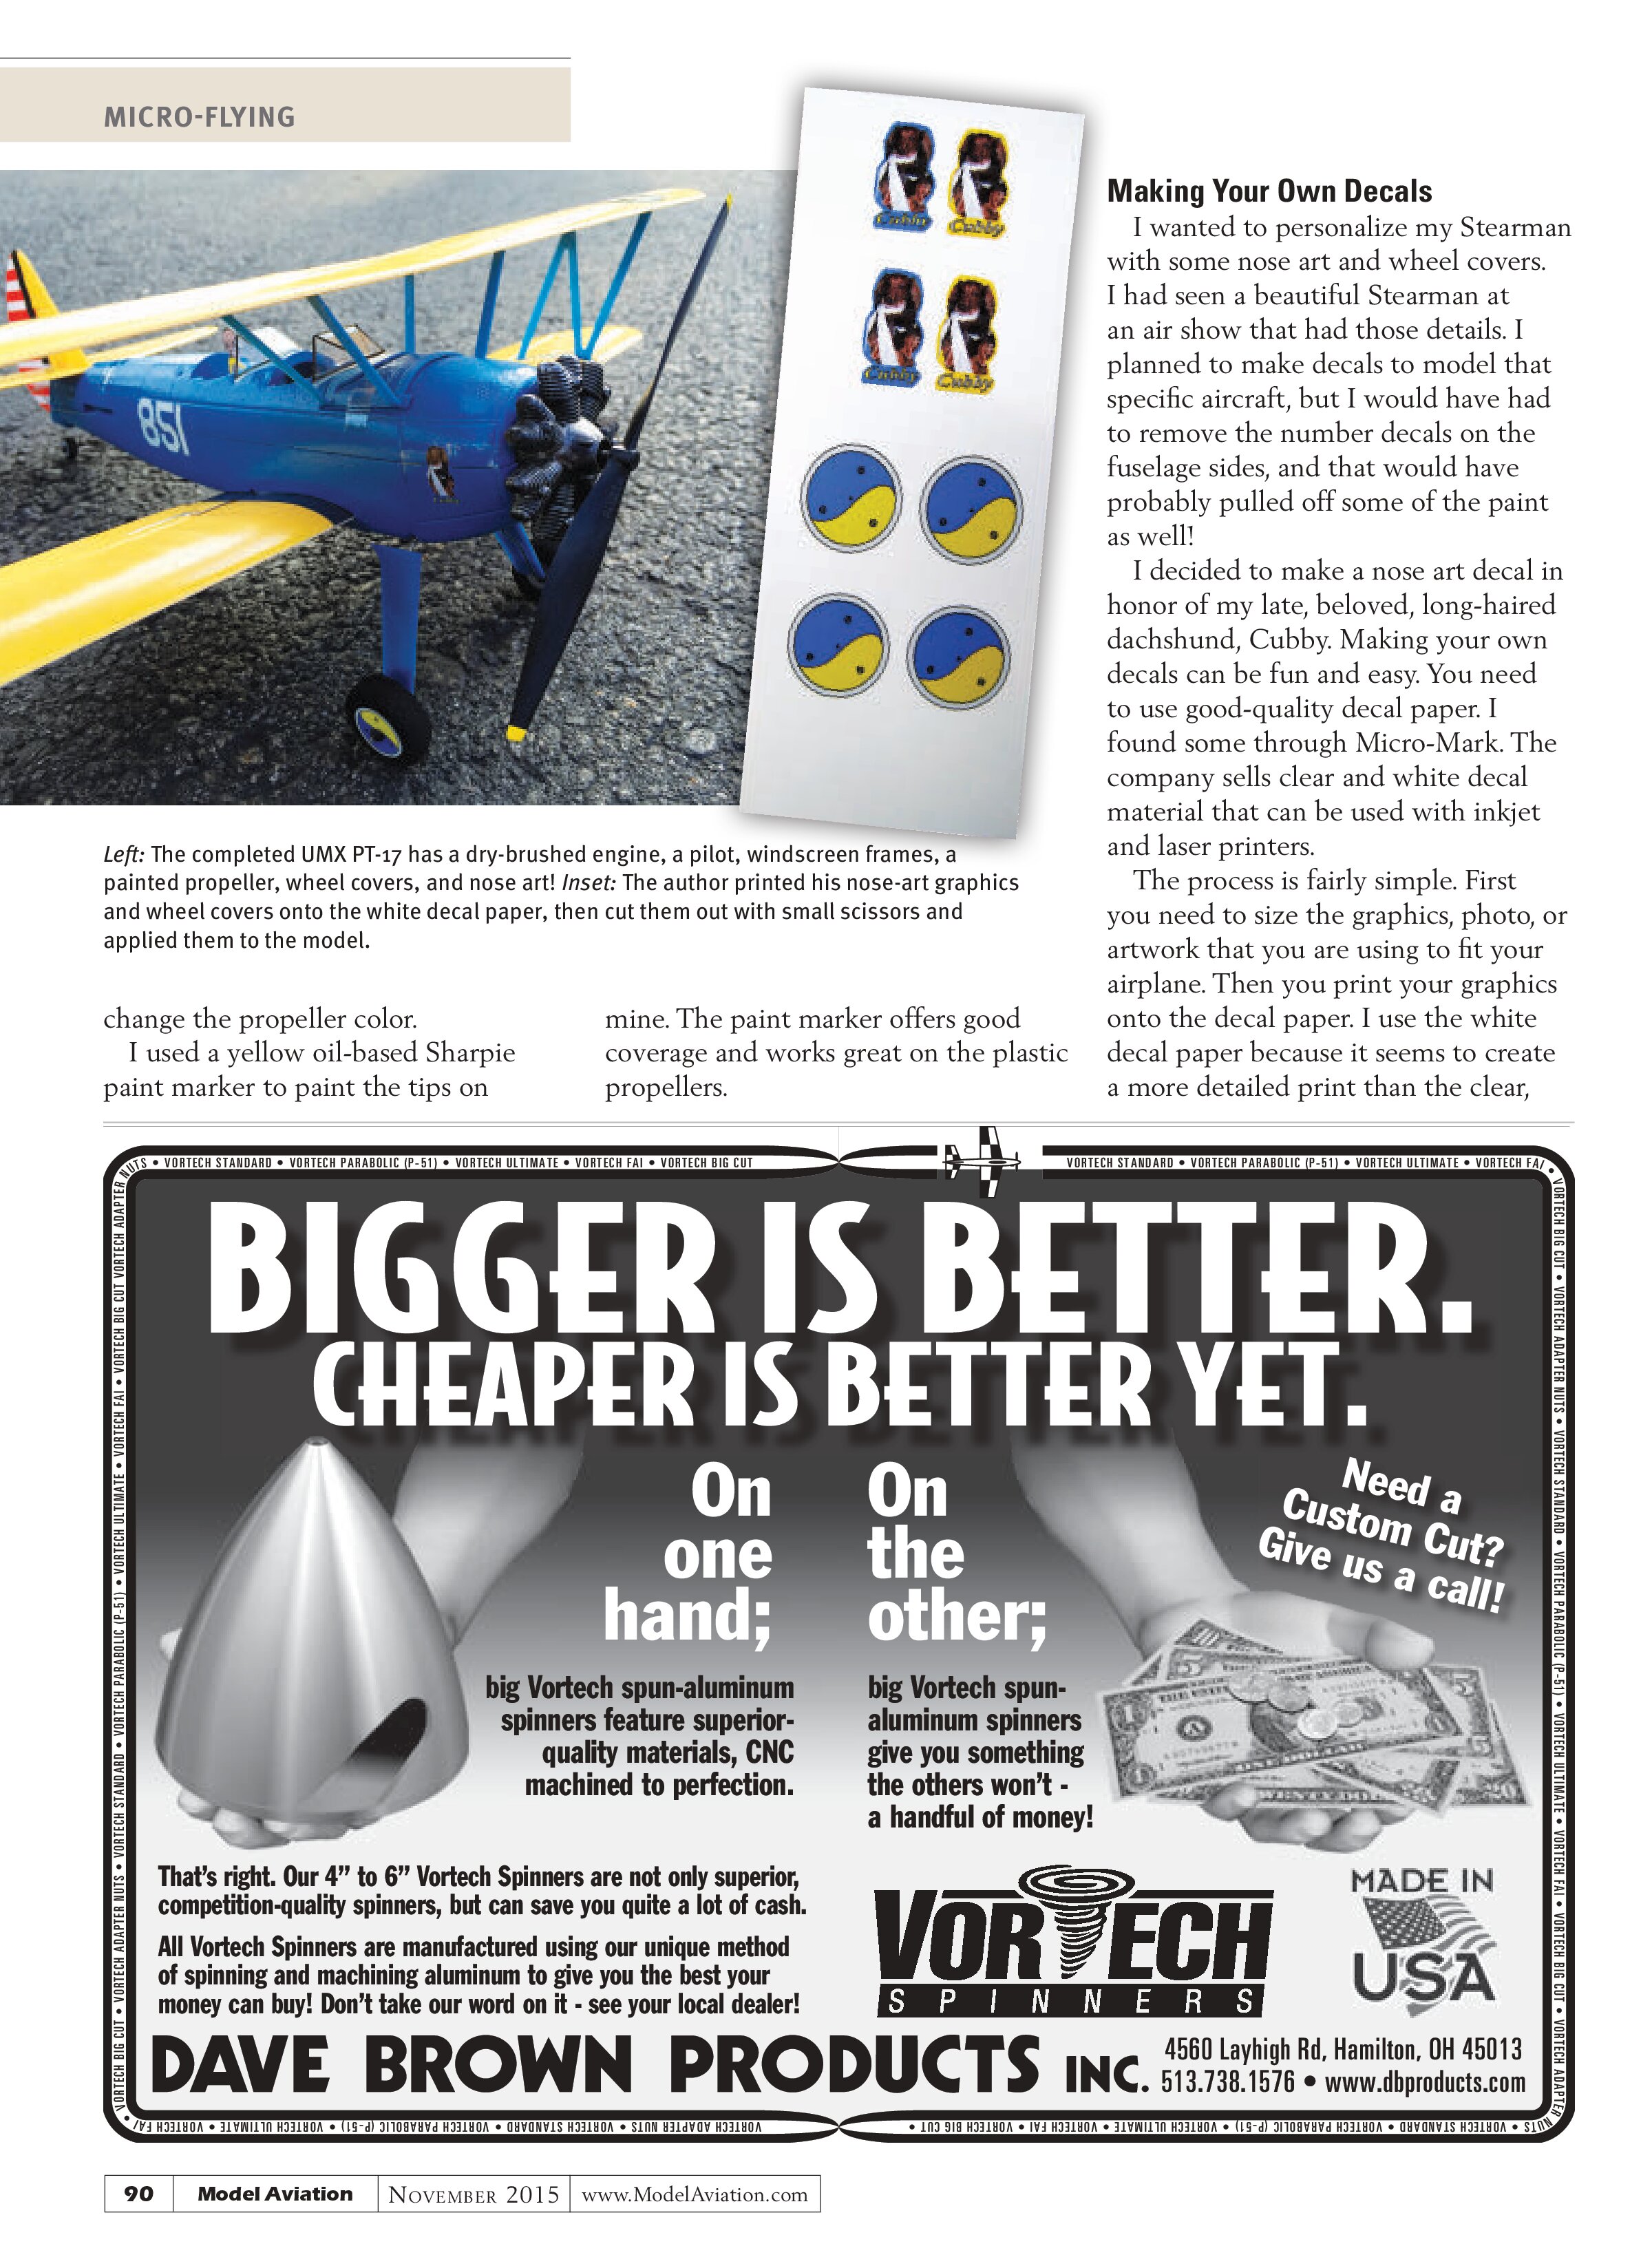
E-flite has released some great-looking and great-flying RTF and BNF micros throughout the last few years. One of the latest releases, the UMX PT-17 Stearman, is a real beauty with a colorful paint scheme and some nice scale details. However, the model can look even better with a few easy detailing techniques!
First, the model really needs a pilot. On the ground it is fine, but in the air, every model should have a pilot! I assume that the designers are limiting the amount of details in these wonderful models to keep the manufacturing costs down. I am sure that every scale detail they add to the airplanes increases the cost and complexity of the manufacturing process.
I decided to add a profile pilot that I use on many of my own designs. I

I printed the pilot on some matte photo paper. I sized it to fit, cut a small slit in the cockpit floor, and painted the floor flat black. Then I glued the pilot in using some UHU por foam-safe adhesive.
I next added some detail to the clear, plastic windscreen by fabricating a frame. I did not want to paint the windscreen because it would be difficult to do without removing it or the wings.
A simple alternative was to use some thin pinstriping tape. I had some thin, flat-black pinstriping tape on hand that I cut to size and applied with a pair of tweezers. This, combined with the pilot, made the cockpit area come alive.
Improving the Radial Engine
A Stearman biplane model would not look right without a radial engine. Fortunately, E-flite installed a detailed dummy seven-cylinder radial in the PT-17.
The engine looks okay, but has a clean, black plastic look to it. The appearance can be greatly improved by using a simple dry-brushing technique that I learned from model railroad enthusiasts.
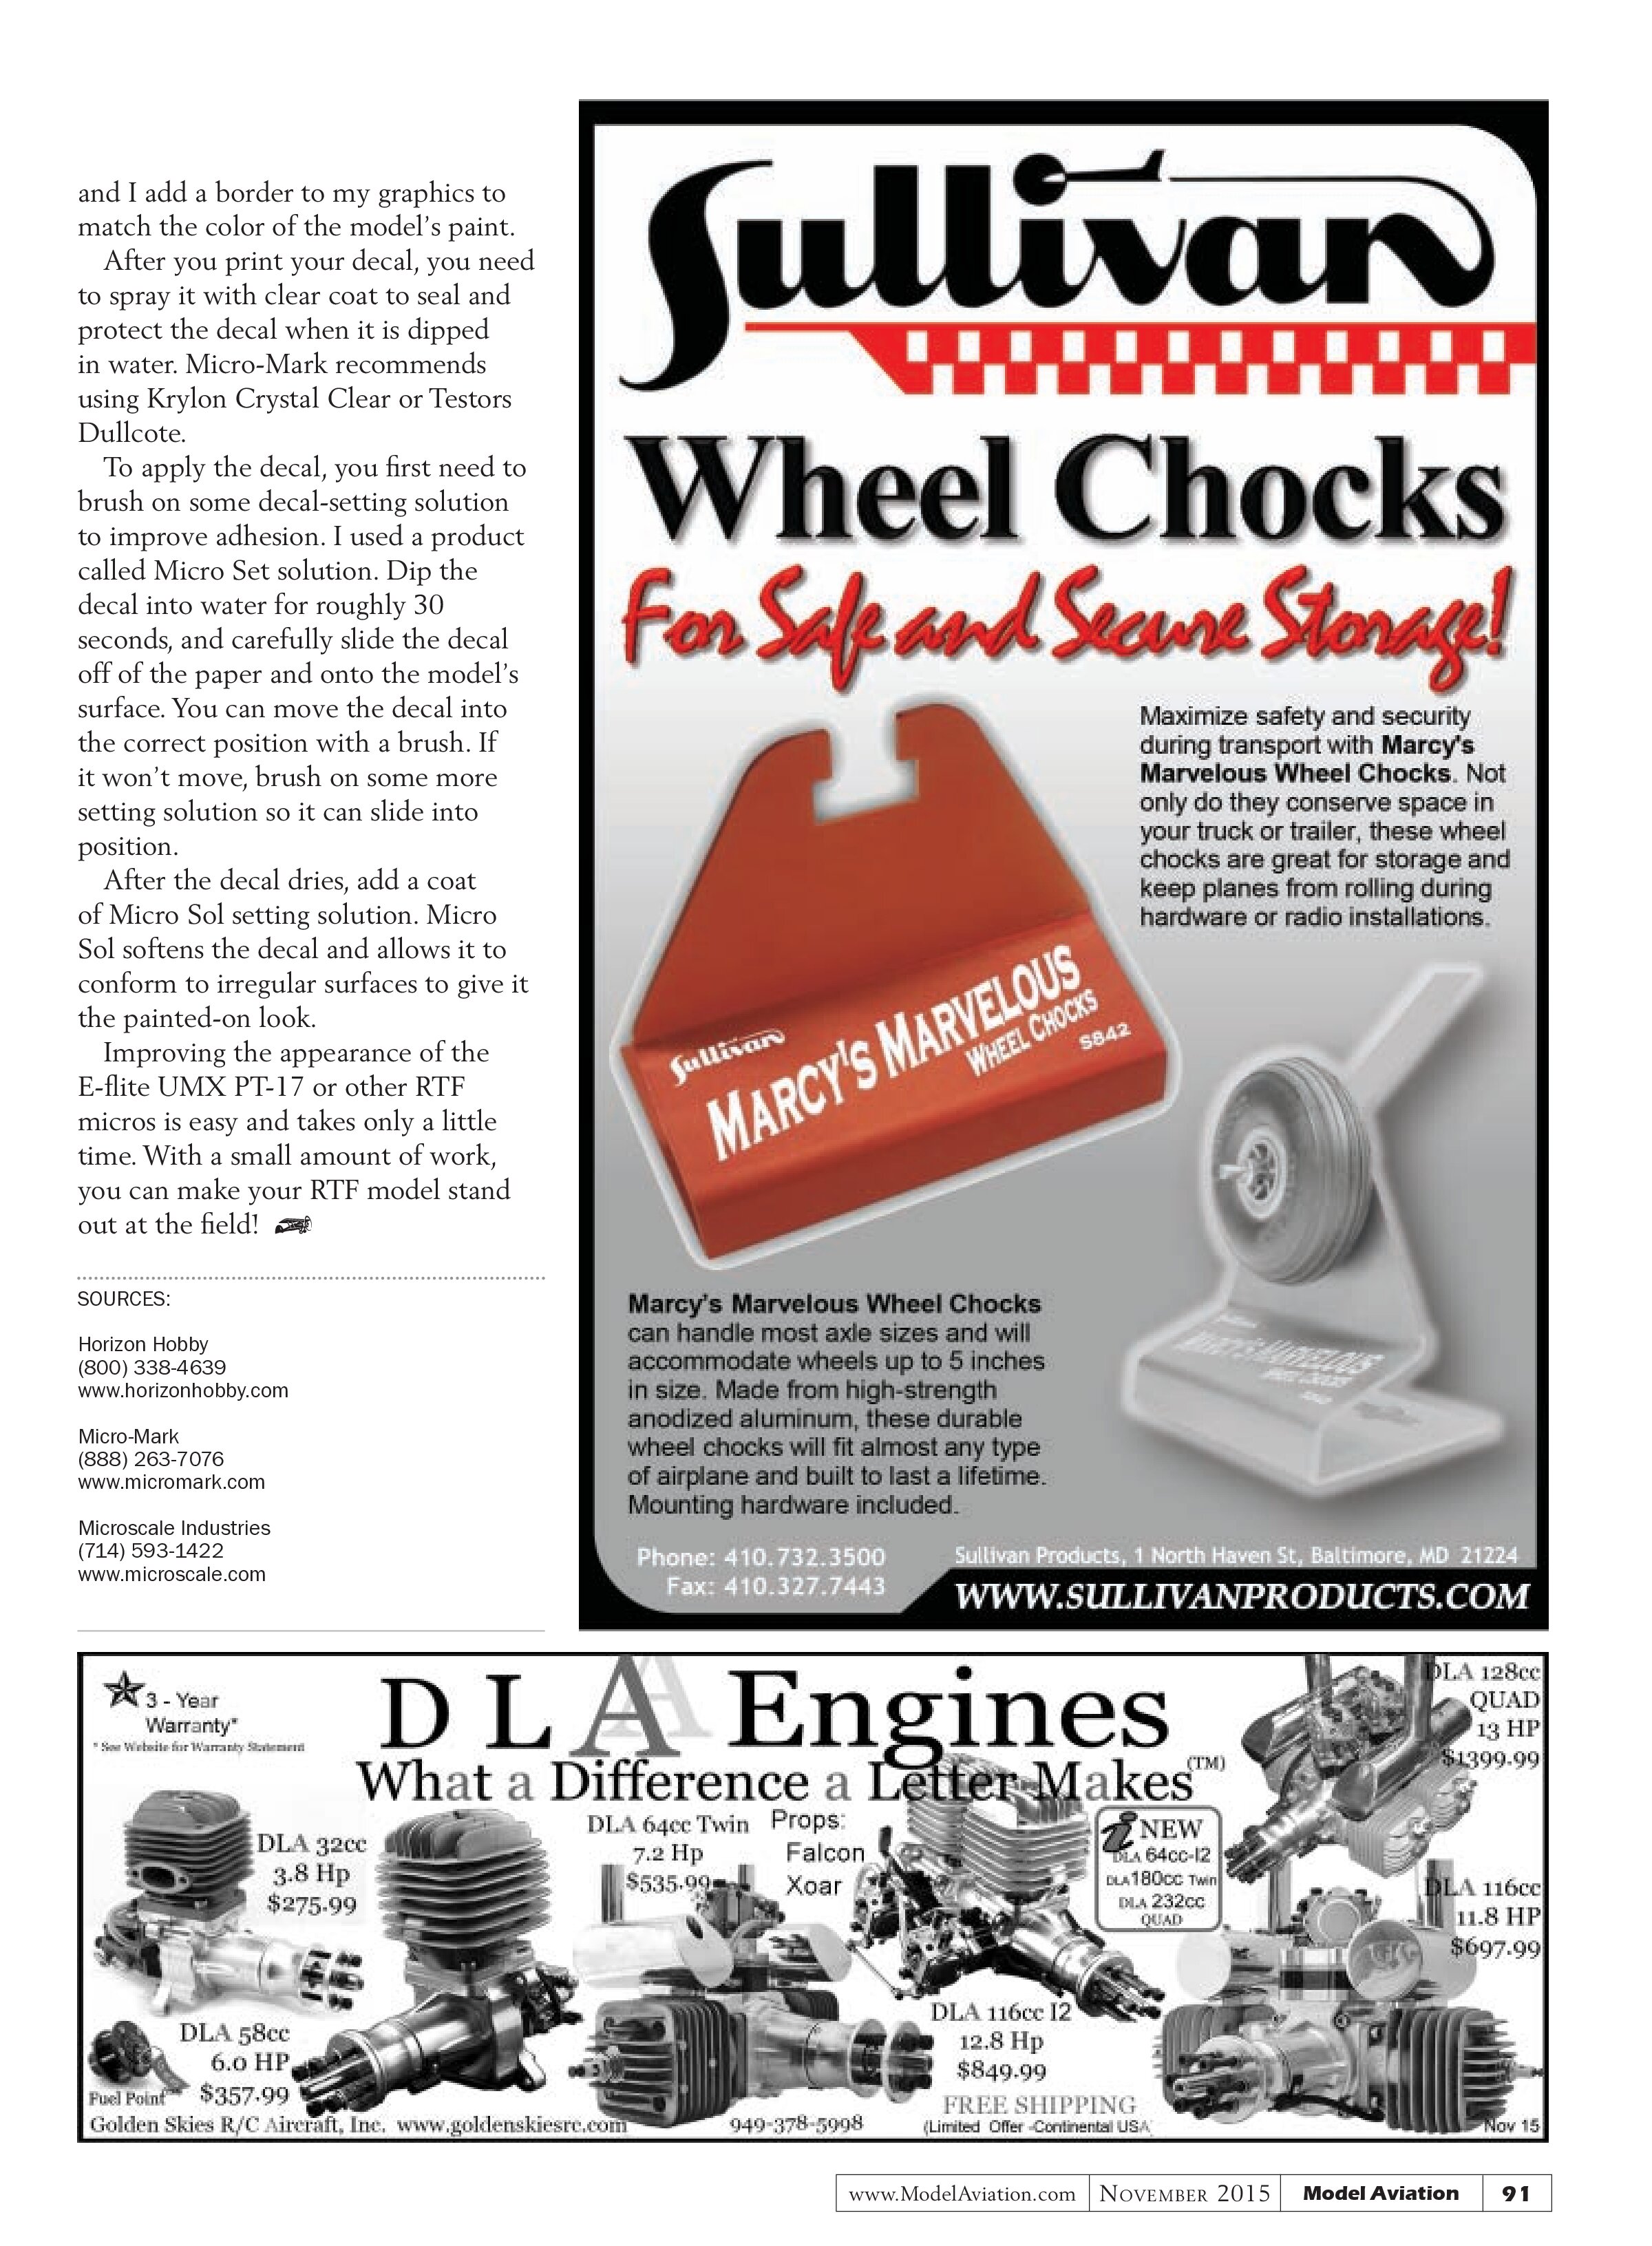
These are the basic ingredients for making your own decals: decal paper, fixative spray, decal setting solution, and a soft brush.

Dip your brush into the paint and sweep the wet paint off of the brush and onto a paper towel or cloth. I used some silver Tamiya plastic model paint. Run your dry brush over the engine cylinders and other engine details to bring out the highlights.
The paint will show only on the cooling fins and other details that the dry brush contacts. Repeat the dry-brush process as necessary until you are satisfied with the engine’s appearance.
Propeller
Another area that often needs attention is the propeller. All it usually takes is applying a little paint to the tips or using a permanent marker to


change the propeller color.
I used a yellow oil-based Sharpie paint marker to paint the tips on
mine. The paint marker offers good coverage and works great on the plastic propellers.
Making Your Own Decals
I wanted to personalize my Stearman with some nose art and wheel covers. I had seen a beautiful Stearman at an air show that had those details. I planned to make decals to model that specific aircraft, but I would have had to remove the number decals on the fuselage sides, and that would have probably pulled off some of the paint as well!
I decided to make a nose art decal in honor of my late, beloved, long-haired dachshund, Cubby. Making your own decals can be fun and easy. You need to use good-quality decal paper. I found some through Micro-Mark. The company sells clear and white decal material that can be used with inkjet and laser printers.
The process is fairly simple. First you need to size the graphics, photo, or artwork that you are using to fit your airplane. Then you print your graphics onto the decal paper. I use the white decal paper because it seems to create a more detailed print than the clear, and I add a border to my graphics to match the color of the model’s paint.
After you print your decal, you need to spray it with clear coat to seal and protect the decal when it is dipped in water. Micro-Mark recommends using Krylon Crystal Clear or Testors Dullcote.
To apply the decal, you first need to brush on some decal-setting solution to improve adhesion. I used a product called Micro Set solution. Dip the decal into water for roughly 30 seconds, and carefully slide the decal off of the paper and onto the model’s surface. You can move the decal into the correct position with a brush. If it won’t move, brush on some more setting solution so it can slide into position.
After the decal dries, add a coat of Micro Sol setting solution. Micro Sol softens the decal and allows it to conform to irregular surfaces to give it the painted-on look.
Improving the appearance of the E-flite UMX PT-17 or other RTF micros is easy and takes only a little time. With a small amount of work, you can make your RTF model stand out at the field!
SOURCES:
Horizon Hobby
(800) 338-4639
www.horizonhobby.com
Micro-Mark
(888) 263-7076
www.micromark.com
Microscale Industries
(714) 593-1422
www.microscale.com