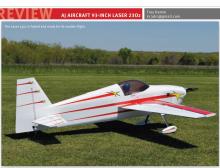
AJ AIRCRAFT 93-INCH LASER 230Z
Troy Hamm
A larger Laser in the lineup excels in 3-D

Andrew Jesky is a four-time US National F3A Pattern champion and a five-time USA F3A World Team member. He has competed at the highest level in Giant Scale Aerobatics competitions such as the Tucson Aerobatic Shootout, Clover Creek Invitational, and the Extreme Flight Championship.
Andrew is not only famous for his flying abilities but also his aircraft-design skills. He has teamed up with his father, AMA District VII Vice President Tim Jesky, and his brother, Joe, to form AJ Aircraft.
The company produces the Laser 230z in three sizes with wingspans of 56, 73, and 93 inches. Each is available in two color schemes.
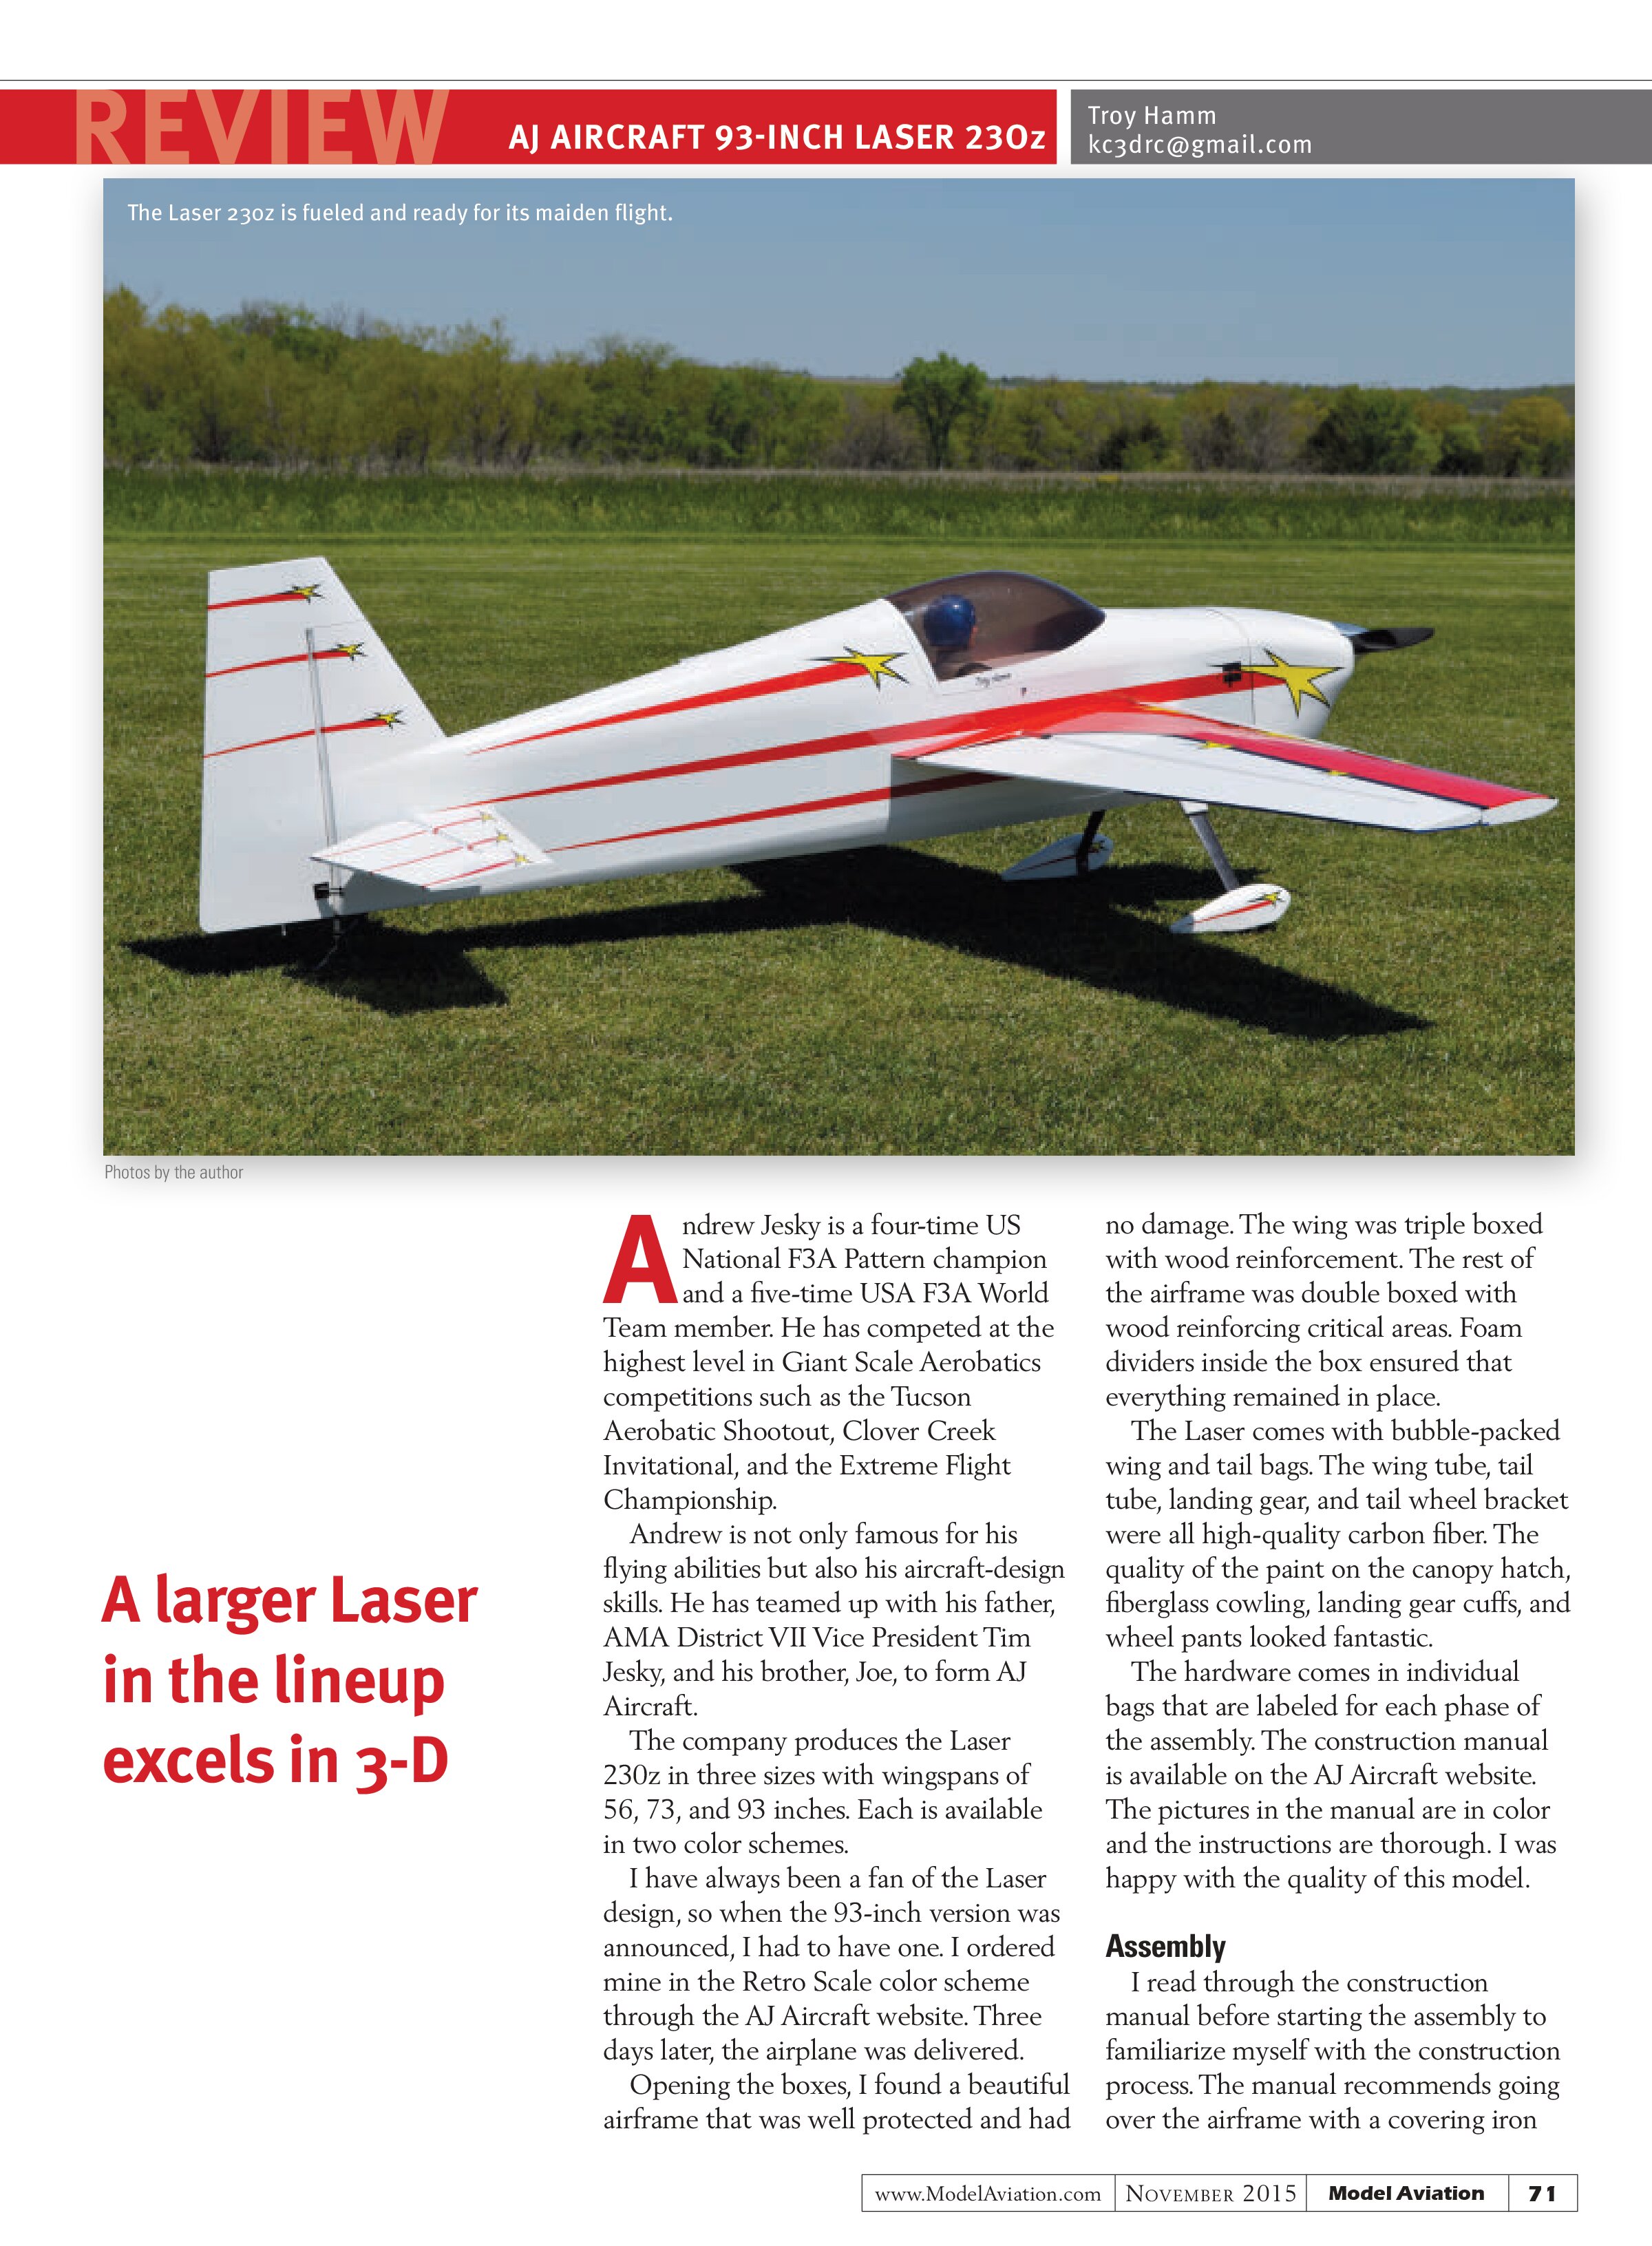
I have always been a fan of the Laser design, so when the 93-inch version was announced, I had to have one. I ordered mine in the Retro Scale color scheme through the AJ Aircraft website. Three days later, the airplane was delivered.
Opening the boxes, I found a beautiful airframe that was well protected and had no damage. The wing was triple boxed with wood reinforcement. The rest of the airframe was double boxed with wood reinforcing critical areas. Foam dividers inside the box ensured that everything remained in place.
The Laser comes with bubble-packed wing and tail bags. The wing tube, tail tube, landing gear, and tail wheel bracket were all high-quality carbon fiber. The quality of the paint on the canopy hatch, fiberglass cowling, landing gear cuffs, and wheel pants looked fantastic.
The hardware comes in individual bags that are labeled for each phase of the assembly. The construction manual is available on the AJ Aircraft website. The pictures in the manual are in color and the instructions are thorough. I was happy with the quality of this model.
Assembly
I read through the construction manual before starting the assembly to familiarize myself with the construction process. The manual recommends going over the airframe with a covering iron
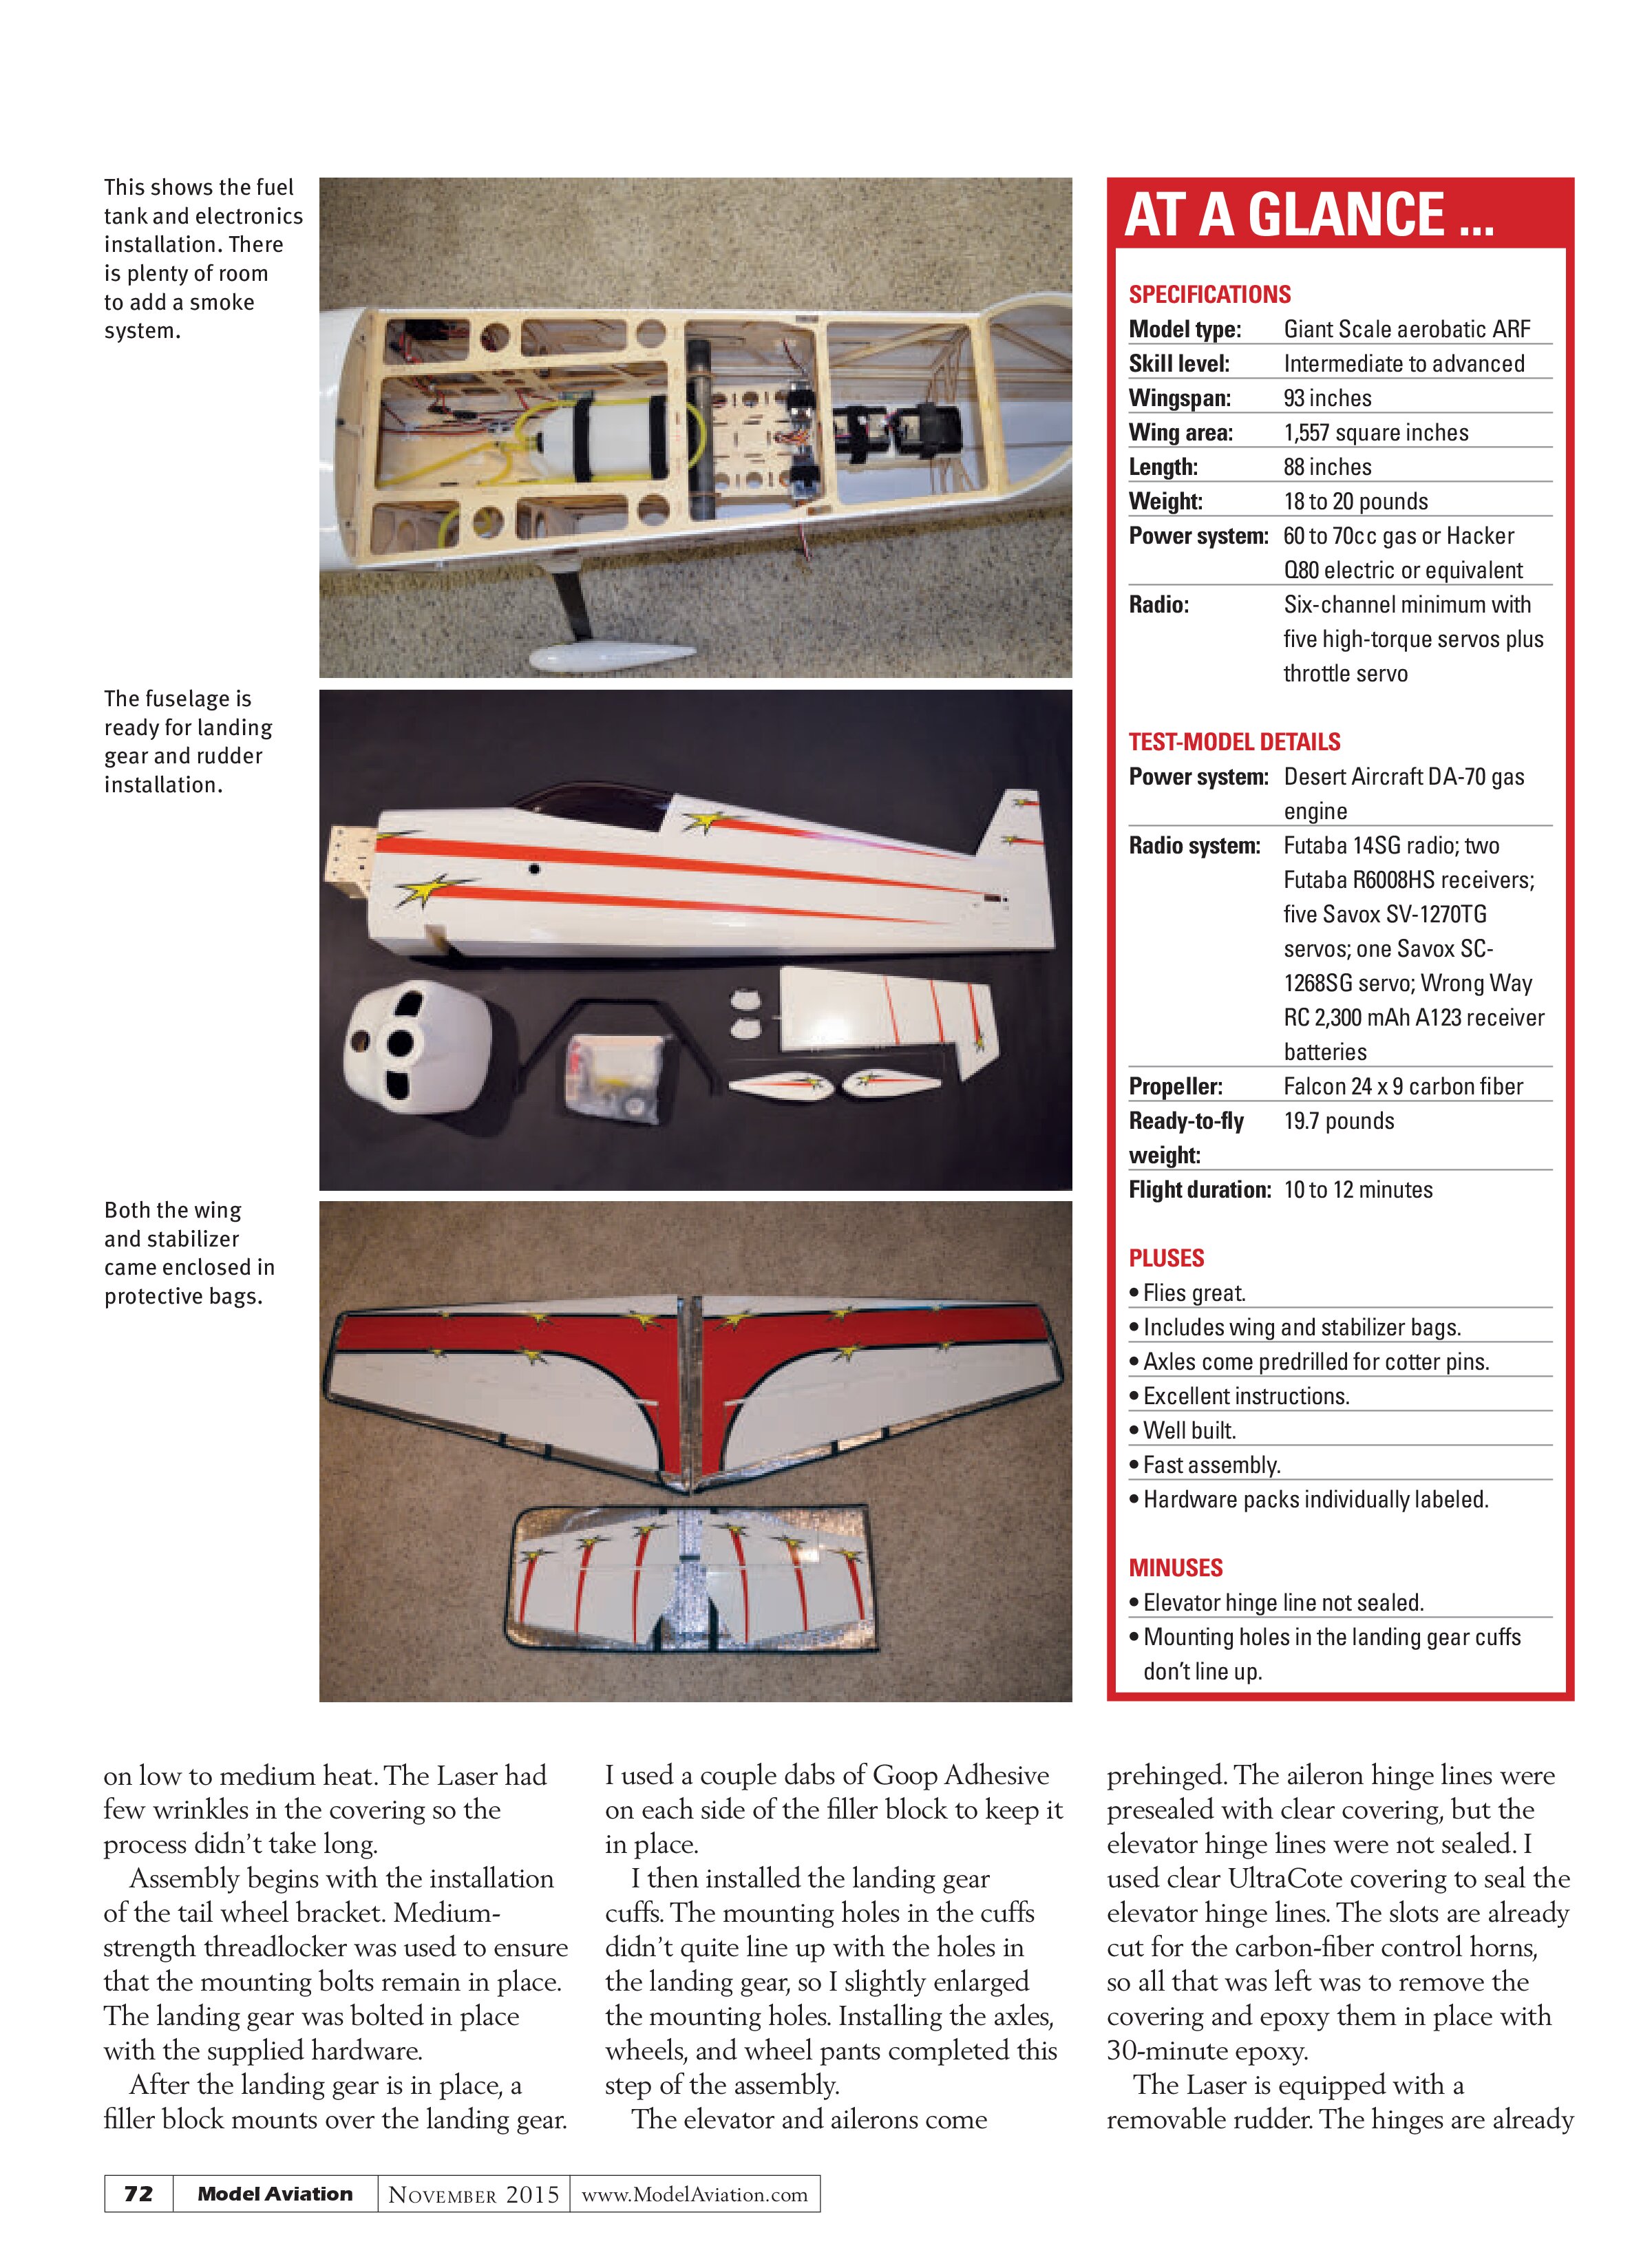
This shows the fuel tank and electronics installation. There is plenty of room to add a smoke system.

The fuselage is ready for landing gear and rudder installation.

Both the wing and stabilizer came enclosed in protective bags.

AT A GLANCE ...
SPECIFICATIONS
Model type: Giant Scale aerobatic ARF
Skill level: Intermediate to advanced
Wingspan: 93 inches
Wing area: 1,557 square inches
Length: 88 inches
Weight: 18 to 20 pounds
Power system: 60 to 70cc gas or Hacker Q80 electric or equivalent
Radio: Six-channel minimum with five high-torque servos plus throttle servo
TEST-MODEL DETAILS
Power system: Desert Aircraft DA-70 gas engine
Radio system: Futaba 14SG radio; two Futaba R6008HS receivers; five Savox SV-1270TG servos; one Savox SC-1268SG servo; Wrong Way RC 2,300 mAh A123 receiver batteries
Propeller: Falcon 24 x 9 carbon fiber
Ready-to-fly weight: 19.7 pounds
Flight duration: 10 to 12 minutes
PLUSES
- Flies great.
- Includes wing and stabilizer bags.
- Axles come predrilled for cotter pins.
- Excellent instructions.
- Well built.
- Fast assembly.
- Hardware packs individually labeled.
MINUSES
- Elevator hinge line not sealed.
- Mounting holes in the landing gear cuffs don’t line up.
on low to medium heat. The Laser had few wrinkles in the covering so the process didn’t take long.
Assembly begins with the installation of the tail wheel bracket. Medium-strength threadlocker was used to ensure that the mounting bolts remain in place. The landing gear was bolted in place with the supplied hardware.
After the landing gear is in place, a filler block mounts over the landing gear. I used a couple dabs of Goop Adhesive on each side of the filler block to keep it in place.
I then installed the landing gear cuffs. The mounting holes in the cuffs didn’t quite line up with the holes in the landing gear, so I slightly enlarged the mounting holes. Installing the axles, wheels, and wheel pants completed this step of the assembly.
The elevator and ailerons come prehinged. The aileron hinge lines were presealed with clear covering, but the elevator hinge lines were not sealed. I used clear UltraCote covering to seal the elevator hinge lines. The slots are already cut for the carbon-fiber control horns, so all that was left was to remove the covering and epoxy them in place with 30-minute epoxy.
The Laser is equipped with a removable rudder. The hinges are already glued in place and a metal hinge pin slides in place to secure the rudder. This not only makes for fast assembly, but allows the rudder to be easily removed to transport the airplane.
The airframe was now ready to install the electronics. I used Savox SV-1270TG servos with SWB MFG., Inc. 1½-inch servo arms for the control surfaces. Strings are already in place in the wings and fuselage to install the servo extensions.
For single-cylinder engine installations, the rudder servo is mounted under the canopy and preinstalled pull-pull cables are used to connect to the rudder. If using a heavier twin-cylinder engine, it is recommended that the rudder servo be mounted in the rear of the fuselage. All of the required hardware is included for either rudder servo location.
Also in the kit are high-quality ball links and turnbuckle pushrods that have standard threads on one end and reverse threads on the other end. These pushrods provide for easy control-surface adjustments.
The fuselage has precut locations for up to four switches. Futaba SWH-14 heavy-duty switches fit perfectly. For receivers and batteries I chose two Futaba R6008HS FASST receivers and two Wrong Way RC 2,300 mAh two-cell A123 battery packs.
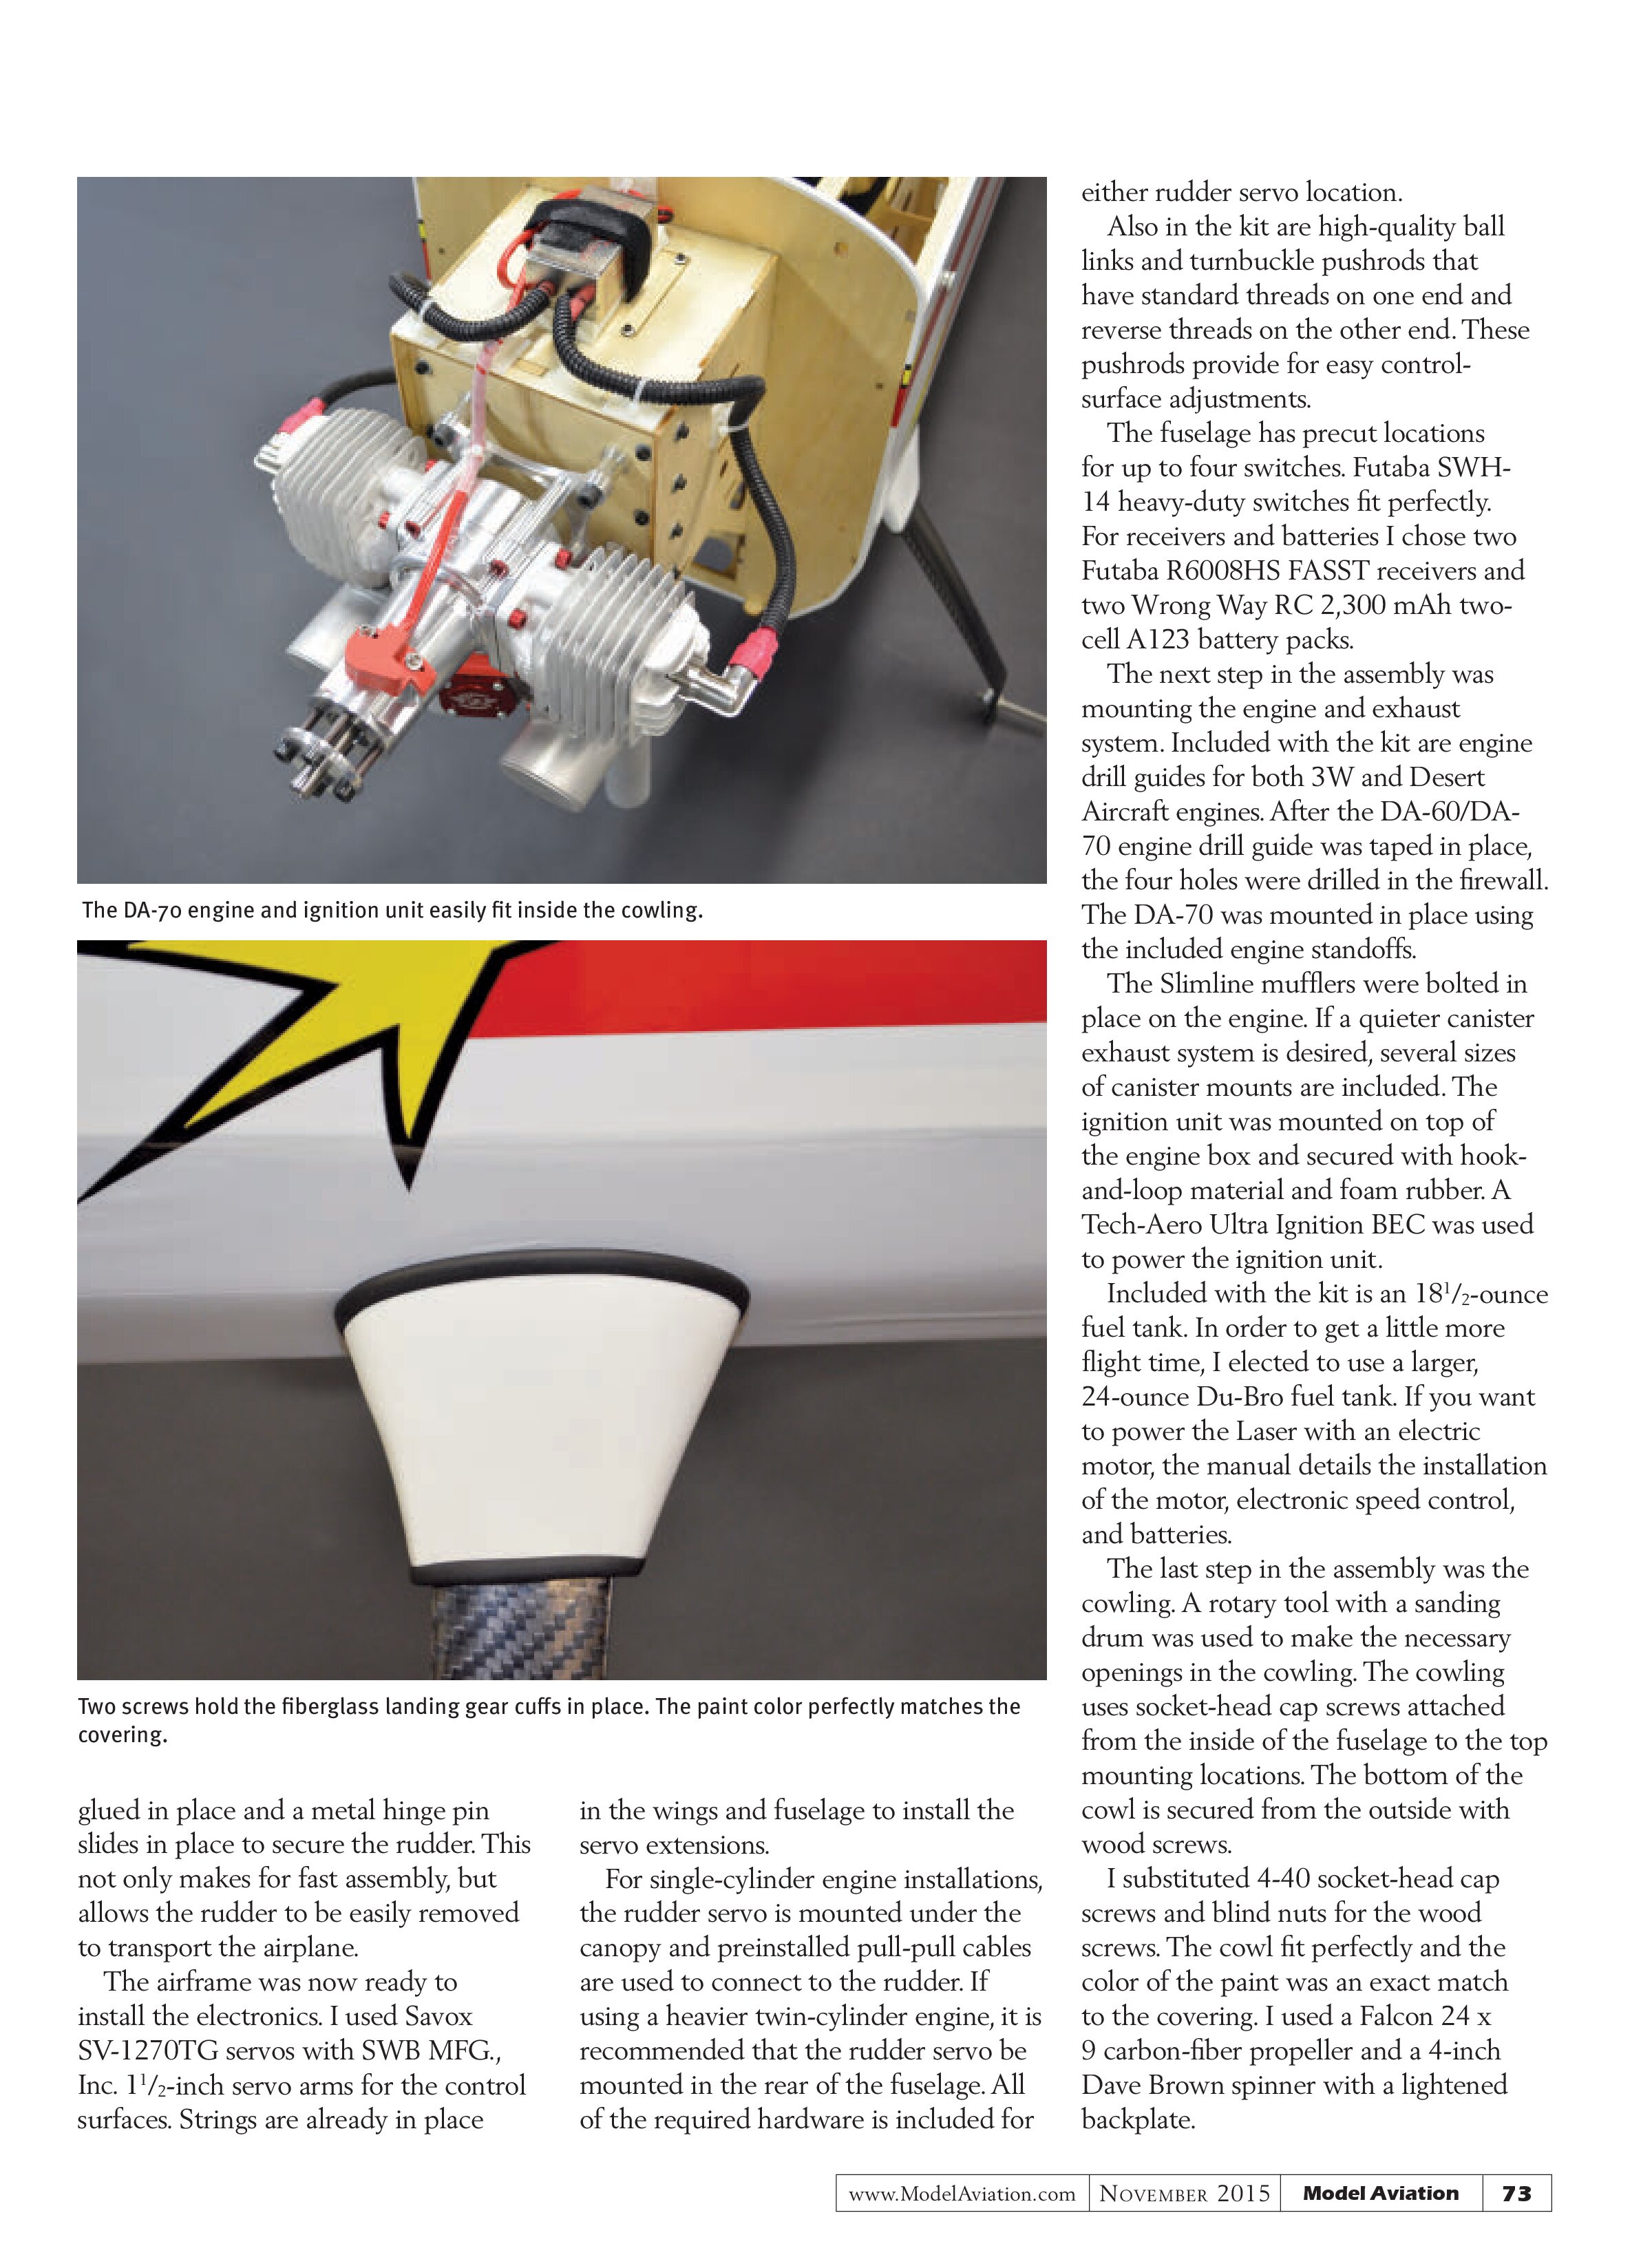
The next step in the assembly was mounting the engine and exhaust system. Included with the kit are engine drill guides for both 3W and Desert Aircraft engines. After the DA-60/DA-70 engine drill guide was taped in place, the four holes were drilled in the firewall. The DA-70 was mounted in place using the included engine standoffs.

The DA-70 engine and ignition unit easily fit inside the cowling.

Two screws hold the fiberglass landing gear cuffs in place. The paint color perfectly matches the covering.
The Slimline mufflers were bolted in place on the engine. If a quieter canister exhaust system is desired, several sizes of canister mounts are included. The ignition unit was mounted on top of the engine box and secured with hook-and-loop material and foam rubber. A Tech-Aero Ultra Ignition BEC was used to power the ignition unit.
Included with the kit is an 18½-ounce fuel tank. In order to get a little more flight time, I elected to use a larger, 24-ounce Du-Bro fuel tank. If you want to power the Laser with an electric motor, the manual details the installation of the motor, electronic speed control, and batteries.
The last step in the assembly was the cowling. A rotary tool with a sanding drum was used to make the necessary openings in the cowling. The cowling uses socket-head cap screws attached from the inside of the fuselage to the top mounting locations. The bottom of the cowl is secured from the outside with wood screws.
I substituted 4-40 socket-head cap screws and blind nuts for the wood screws. The cowl fit perfectly and the color of the paint was an exact match to the covering. I used a Falcon 24 x 9 carbon-fiber propeller and a 4-inch Dave Brown spinner with a lightened backplate.
I balanced the Laser at the front edge of the suggested center of gravity range, and the control-surface throws were adjusted to the manual’s recommended settings. After I programmed the failsafe in my Futaba 14SG transmitter, the assembly was complete.
Flight Report
At the flying field, I gave the Laser a thorough preflight inspection and range checked the radio. The DA-70 had not been run before arriving at the field. The engine was easy to start, and had good throttle response with the factory needle-valve settings. After an additional range check was performed with the engine running, the airplane was ready for its first flight.
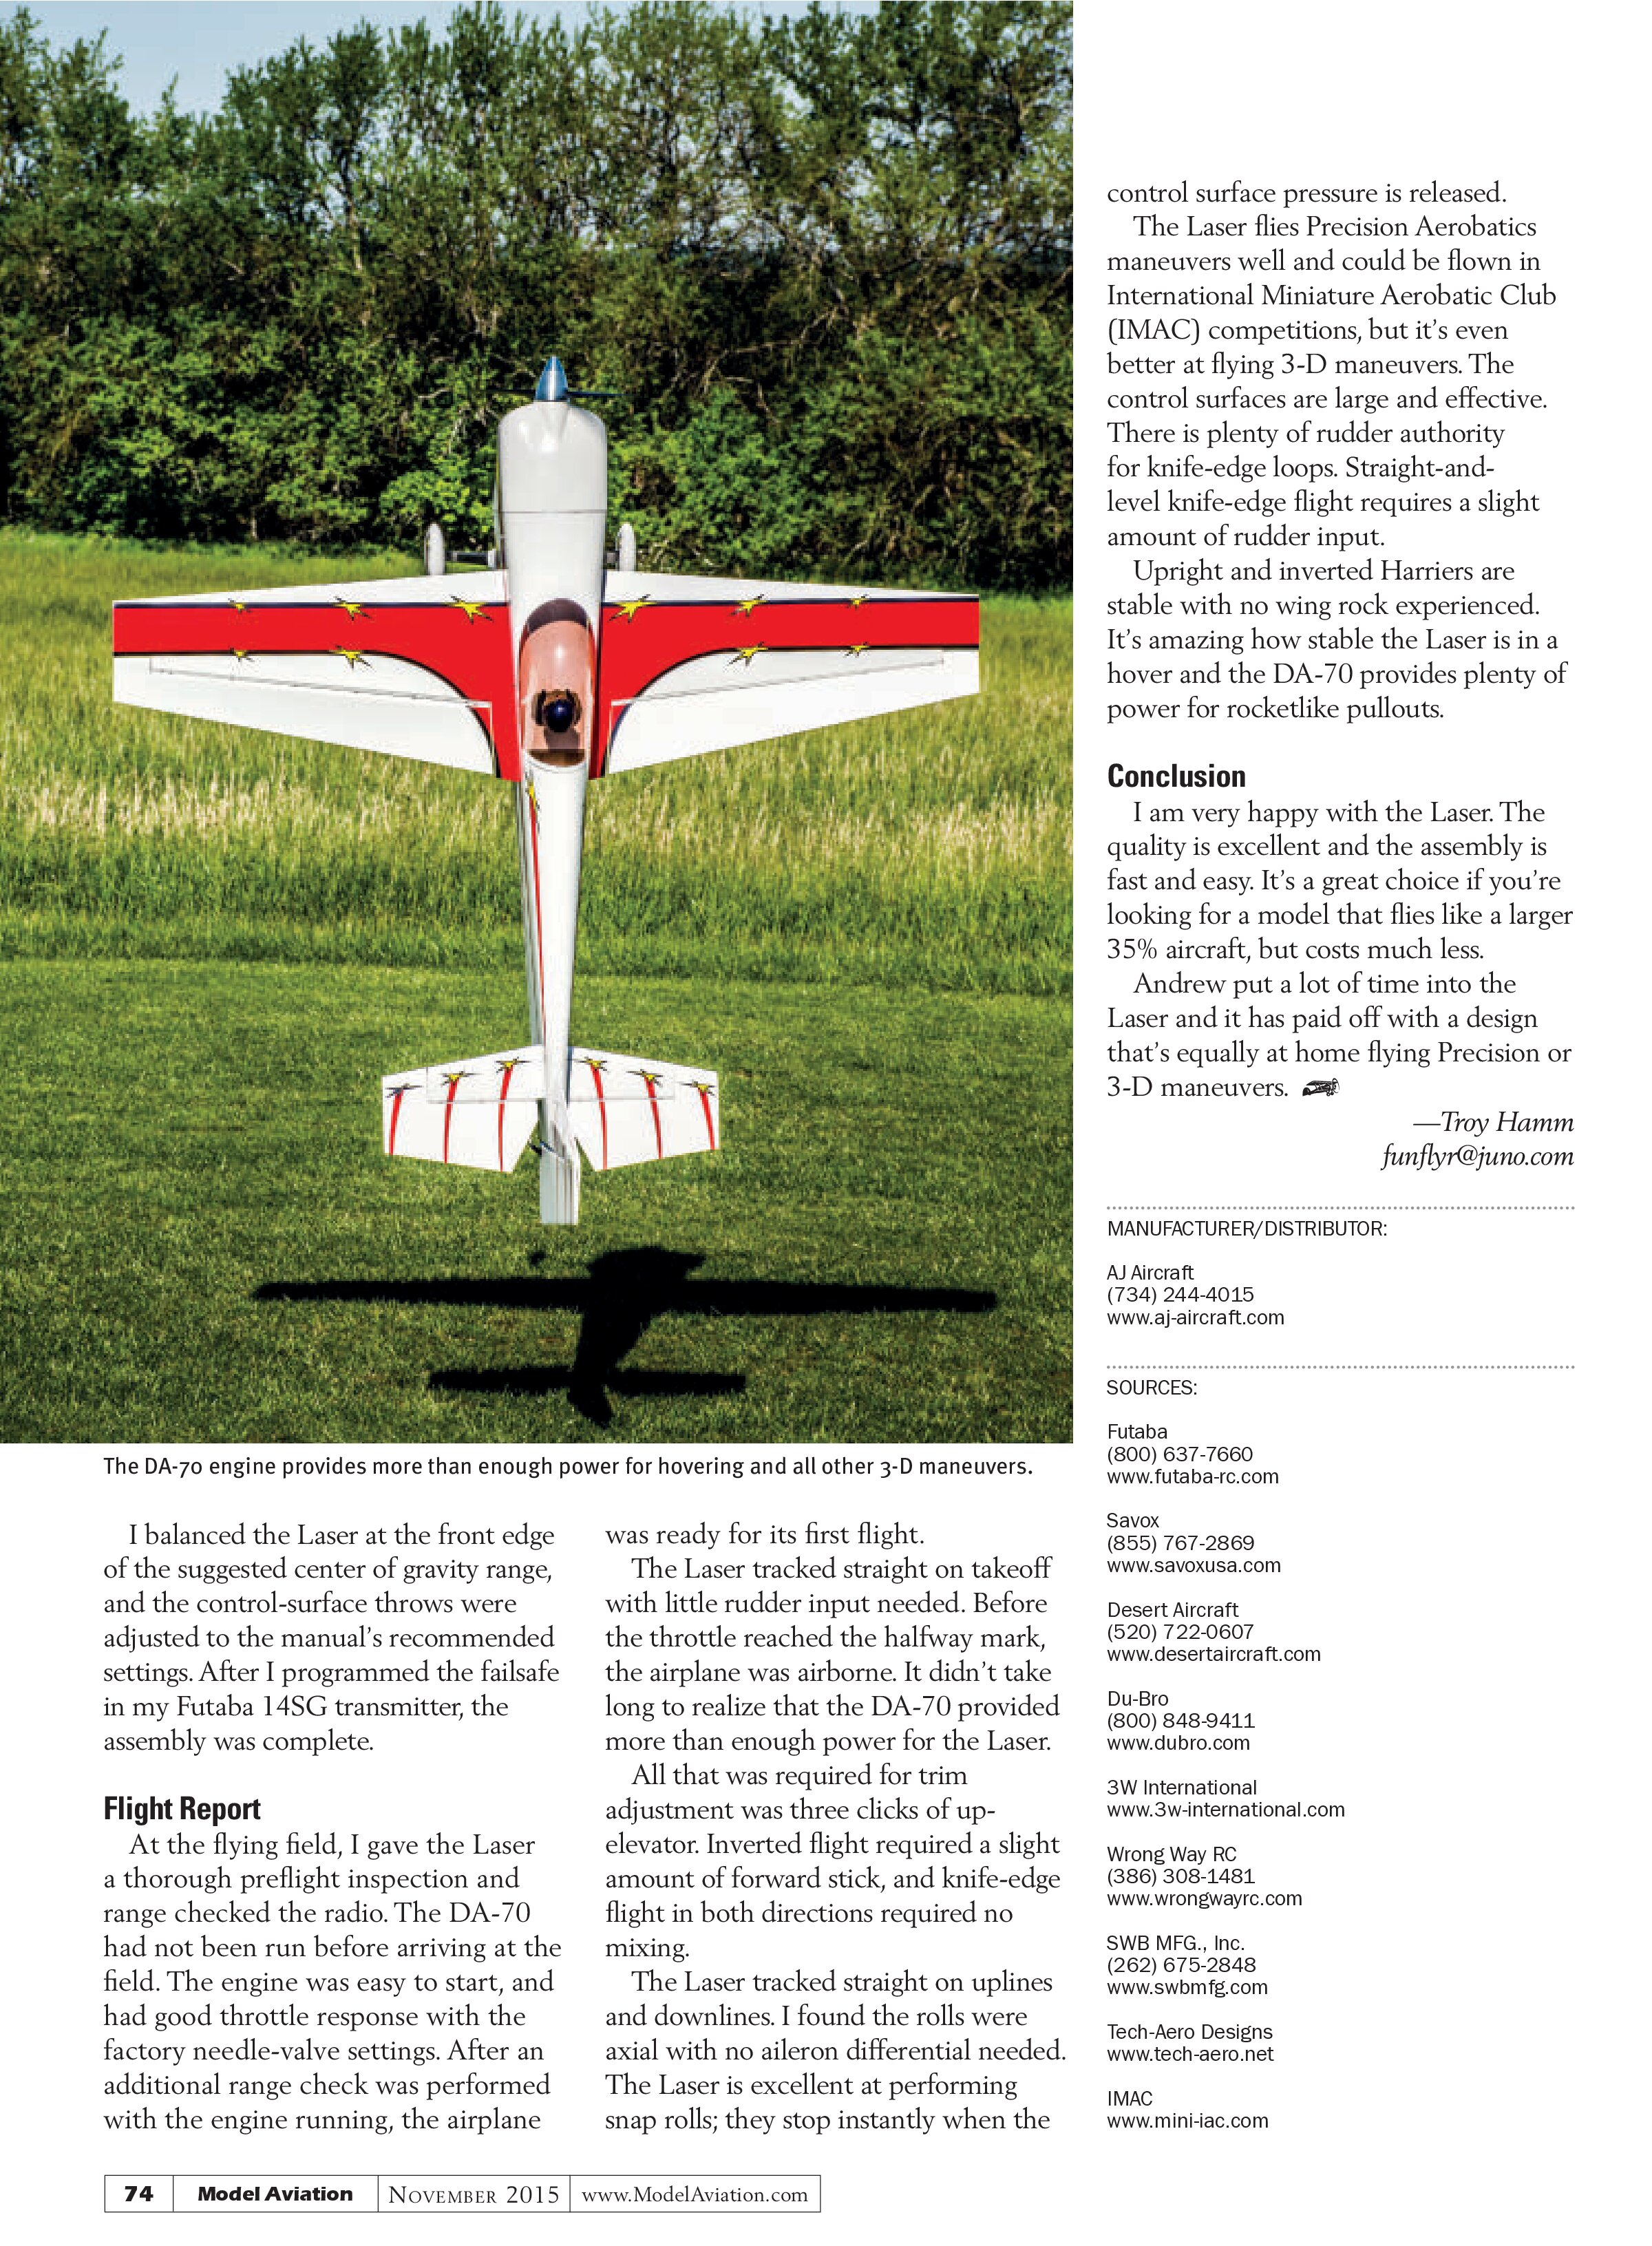
The Laser tracked straight on takeoff with little rudder input needed. Before the throttle reached the halfway mark, the airplane was airborne. It didn’t take long to realize that the DA-70 provided more than enough power for the Laser.
All that was required for trim adjustment was three clicks of up-elevator. Inverted flight required a slight amount of forward stick, and knife-edge flight in both directions required no mixing.
The Laser tracked straight on uplines and downlines. I found the rolls were axial with no aileron differential needed. The Laser is excellent at performing snap rolls; they stop instantly when the control surface pressure is released. The Laser flies Precision Aerobatics maneuvers well and could be flown in International Miniature Aerobatic Club (IMAC) competitions, but it’s even better at flying 3-D maneuvers. The control surfaces are large and effective. There is plenty of rudder authority for knife-edge loops. Straight-and-level knife-edge flight requires a slight amount of rudder input.
Upright and inverted Harriers are stable with no wing rock experienced. It’s amazing how stable the Laser is in a hover and the DA-70 provides plenty of power for rocketlike pullouts.
Conclusion
I am very happy with the Laser. The quality is excellent and the assembly is fast and easy. It’s a great choice if you’re looking for a model that flies like a larger 35% aircraft, but costs much less.
Andrew put a lot of time into the Laser and it has paid off with a design that’s equally at home flying Precision or 3-D maneuvers.
—Troy Hamm
funflyr@juno.com

MANUFACTURER/DISTRIBUTOR:
AJ Aircraft
(734) 244-4015
www.aj-aircraft.com
SOURCES:
Futaba
(800) 637-7660
www.futaba-rc.com
Savox
(855) 767-2869
www.savoxusa.com
Desert Aircraft
(520) 722-0607
www.desertaircraft.com
Du-Bro
(800) 848-9411
www.dubro.com
3W International
www.3w-international.com
Wrong Way RC
(386) 308-1481
www.wrongwayrc.com
SWB MFG., Inc.
(262) 675-2848
www.swbmfg.com
Tech-Aero Designs
www.tech-aero.net
IMAC
www.mini-iac.com