Seagull Models Radial Rocket Td
Tom Sullivan

In 2004, the world first got a glimpse of a new aircraft design that blended nostalgic style with fighter-like performance. This full-scale design was powered by a radial engine that not only gave it a beautifully rounded shape but also an awesome growl when all nine cylinders were at work.
I don’t have a radial engine for the review of the Seagull Models Radial Rocket TD 10cc ARF, but it is powered by something unique—more on that later.
I was pleased to find the kit was entirely built-up from plywood and balsa. The main parts—formers, ribs, etc.—appear to be laser-cut and utilize an interlocking assembly that makes for a rigid, lightweight airframe.
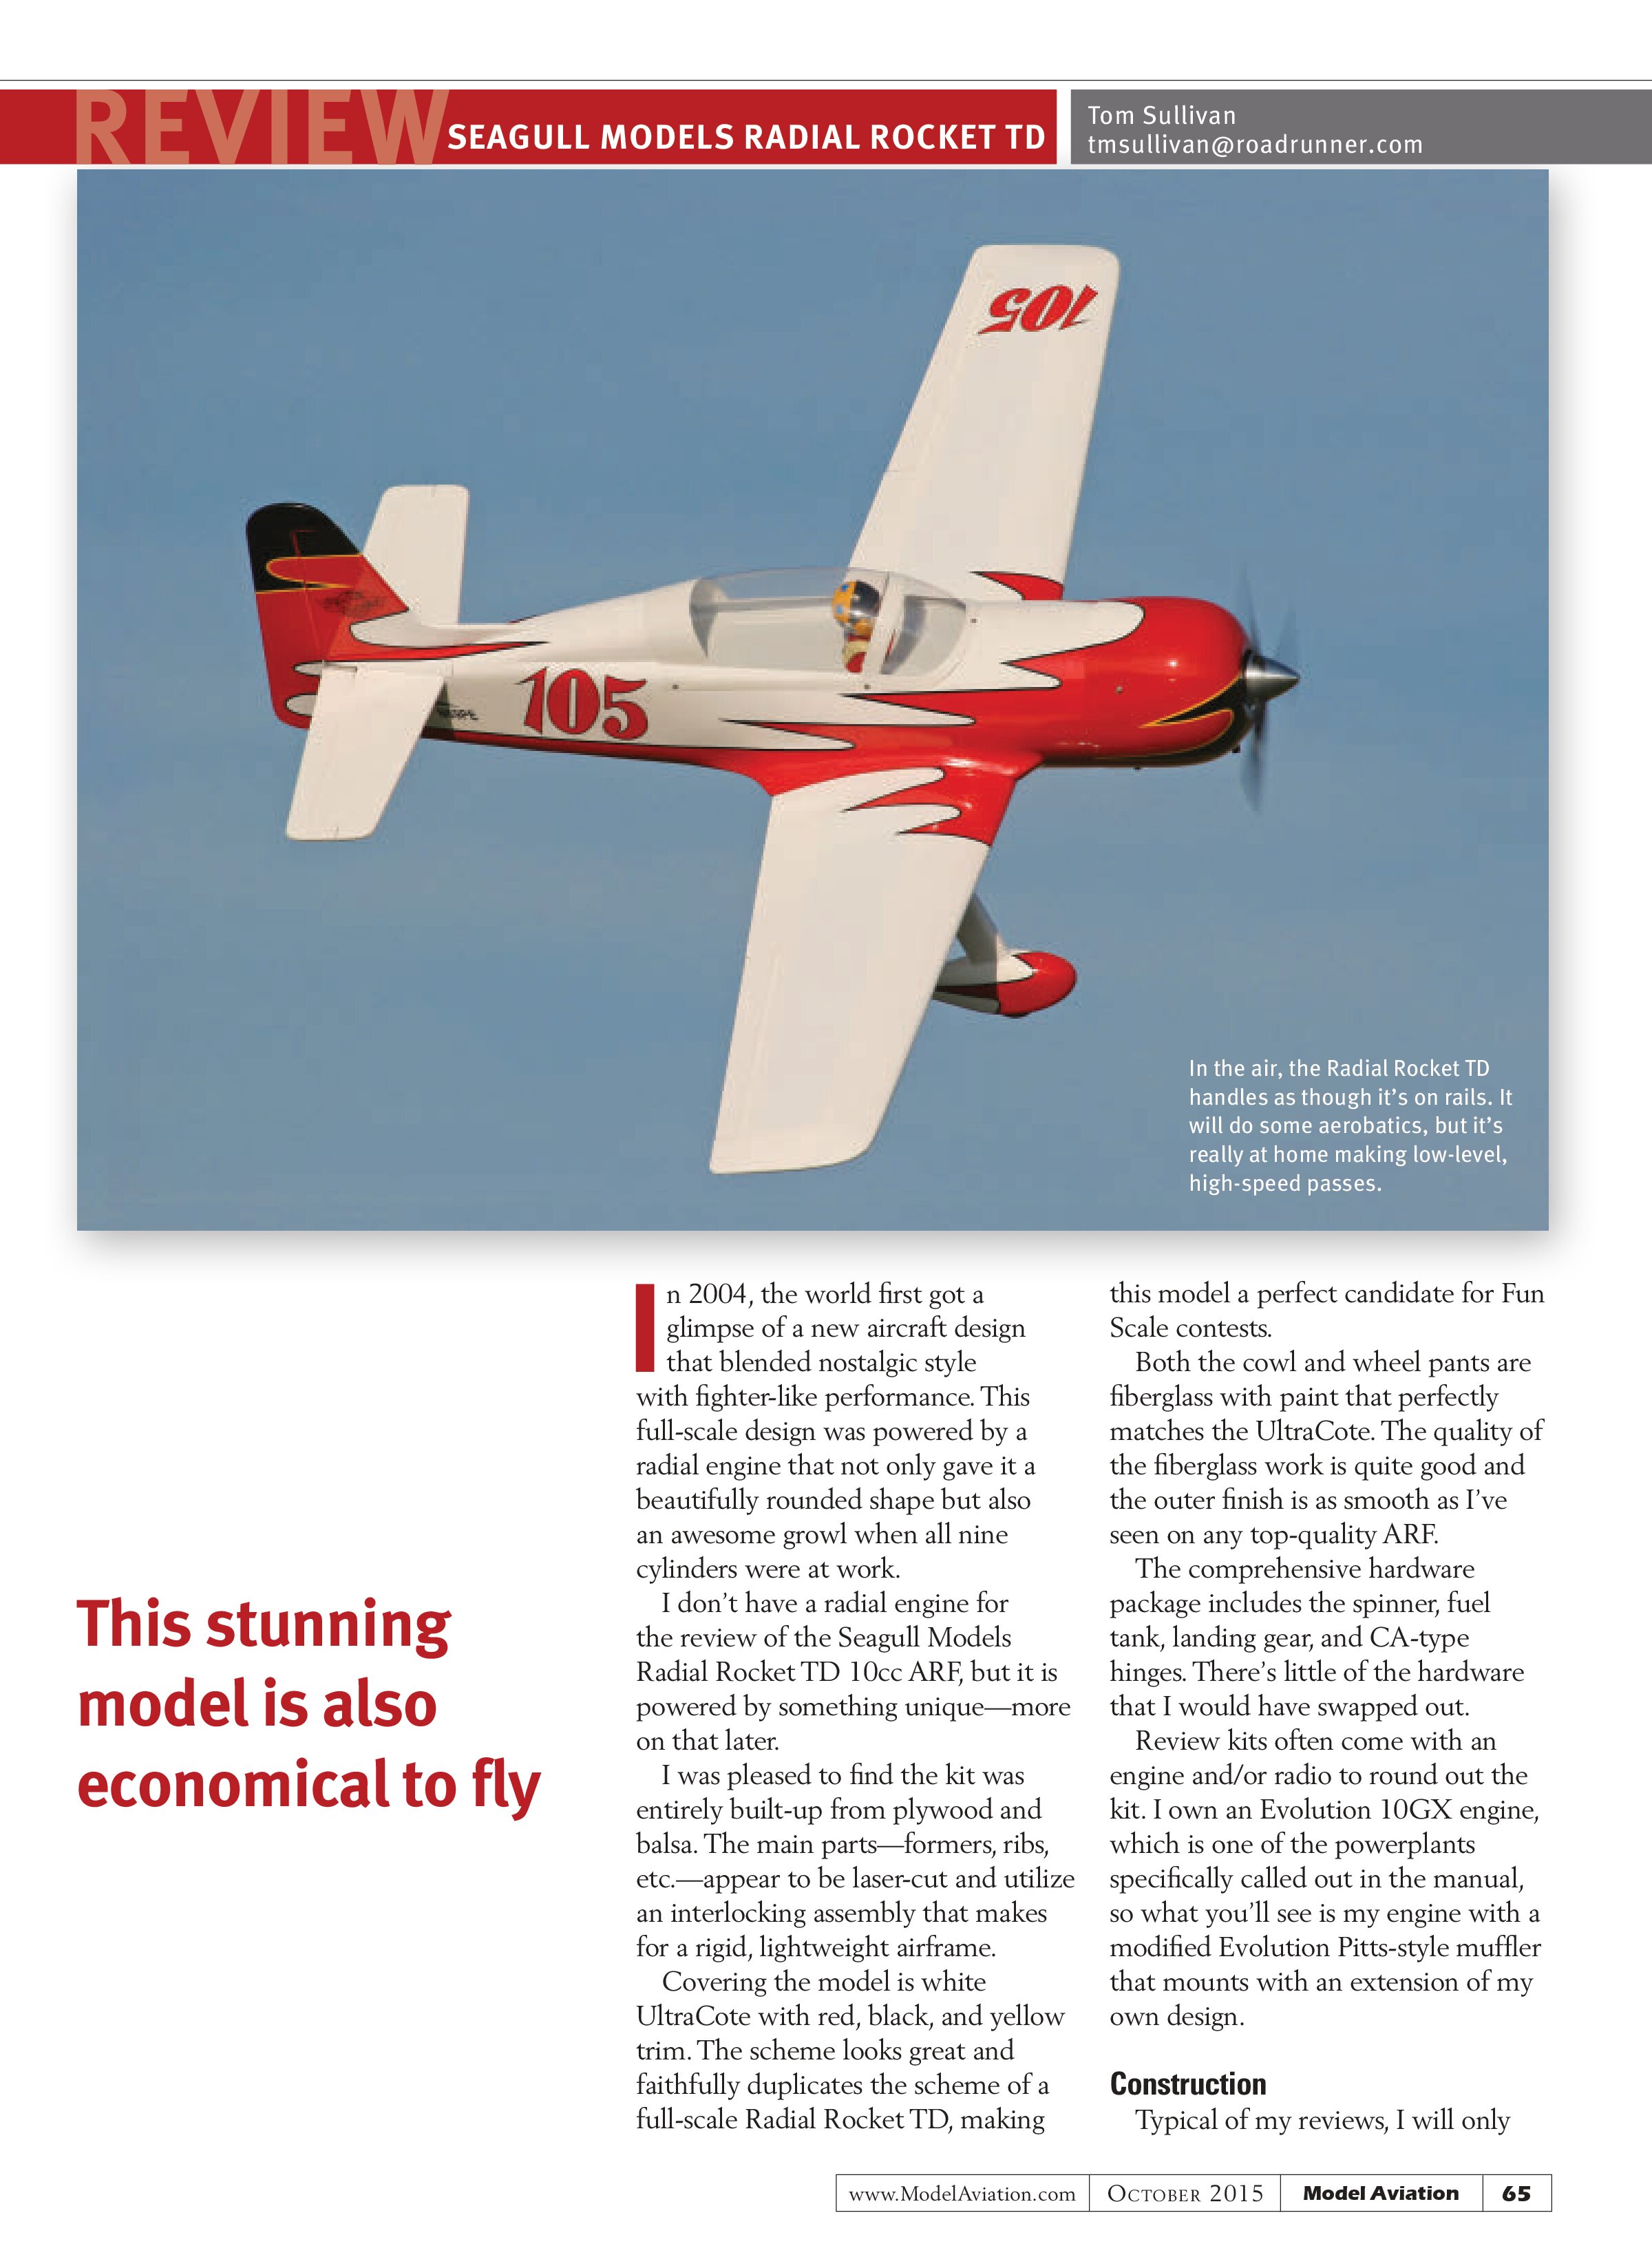
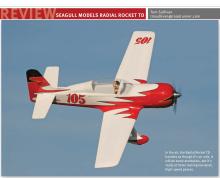
Covering the model is white UltraCote with red, black, and yellow trim. The scheme looks great and faithfully duplicates the scheme of a full-scale Radial Rocket TD, making this model a perfect candidate for Fun Scale contests.
Both the cowl and wheel pants are fiberglass with paint that perfectly matches the UltraCote. The quality of the fiberglass work is quite good, and the outer finish is as smooth as I’ve seen on any top-quality ARF.
The comprehensive hardware package includes the spinner, fuel tank, landing gear, and CA-type hinges. There’s little of the hardware that I would have swapped out.
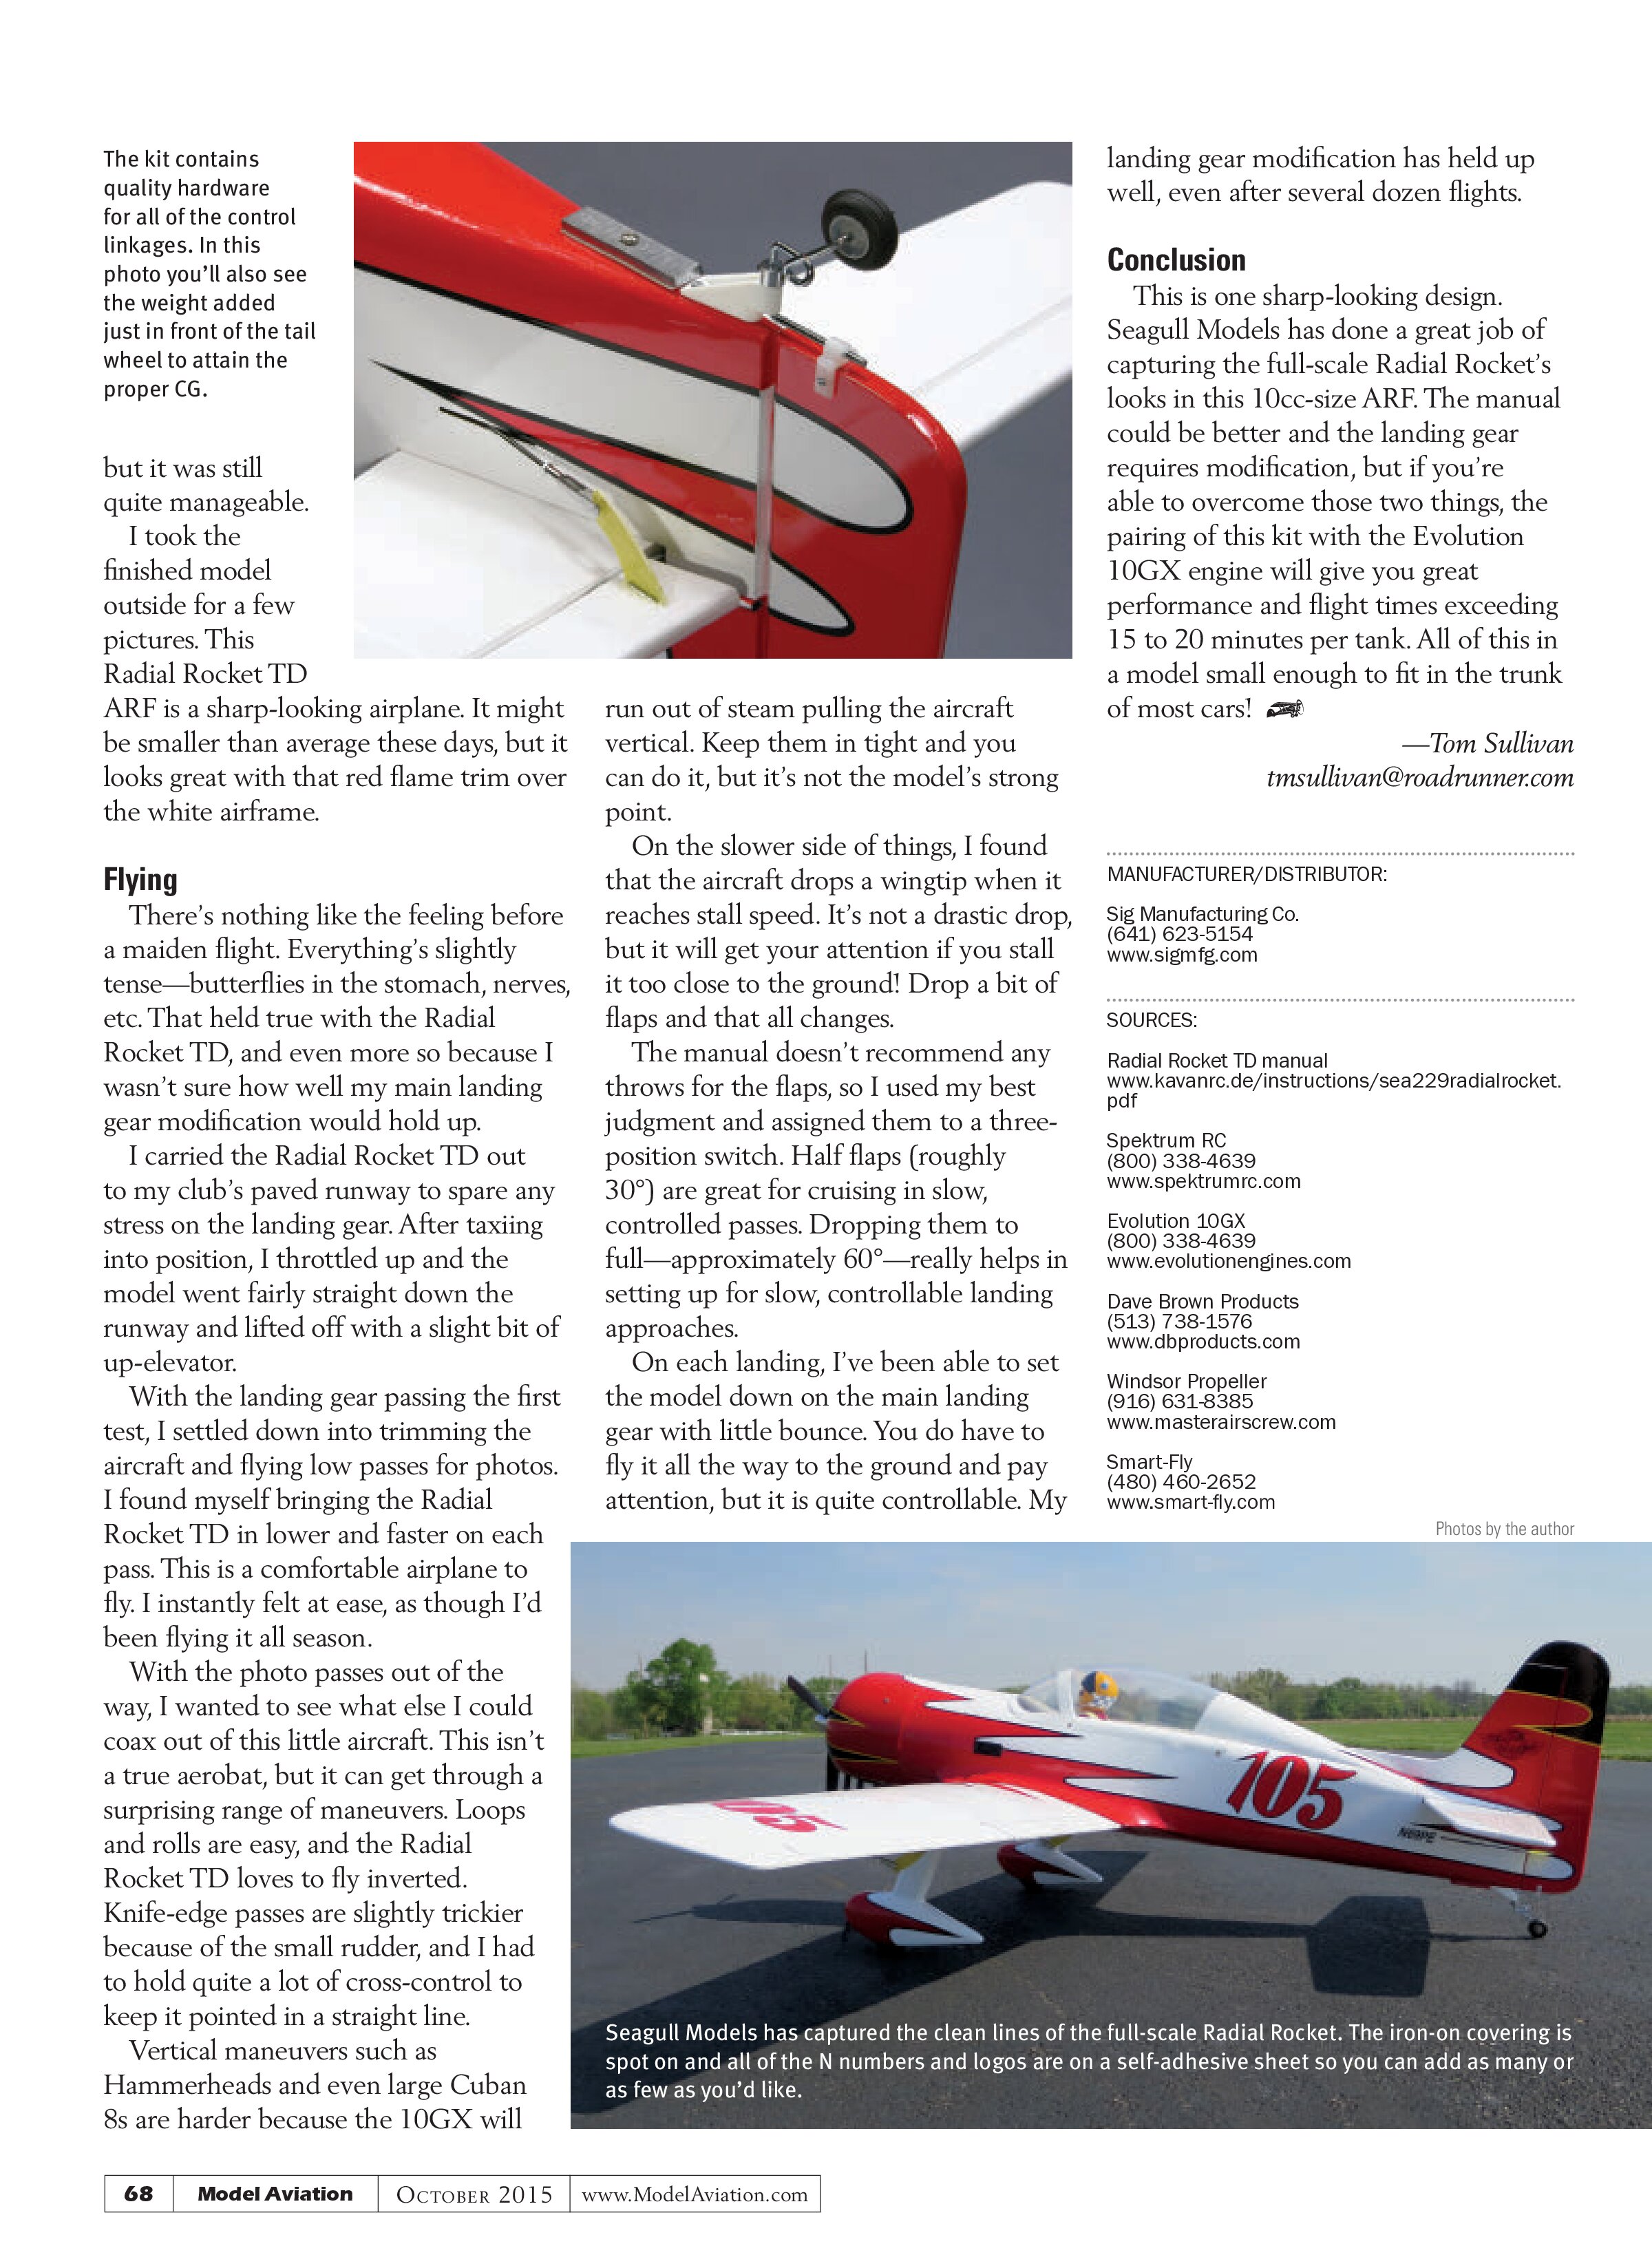
Review kits often come with an engine and/or radio to round out the kit. I own an Evolution 10GX engine, which is one of the powerplants specifically called out in the manual, so what you’ll see is my engine with a modified Evolution Pitts-style muffler that mounts with an extension of my own design.
Construction
Typical of my reviews, I will only
highlight the important stuff. If you’d like to see what goes into building the Radial Rocket TD, you can download the online manual. The link is listed in the “Sources” section.
The manual is one of the kit’s weak points. It covers nearly everything with photos and illustrations, but there are a few things that seem out of order. I’ll describe assembly in the order that is called out in the manual and you’ll see how attention jumps back and forth between the fuselage and wing.
Be wary of where the manual says to use epoxy. Each place where a CA-style hinge is used, you’ll see the word “epoxy” printed, where in reality you should be using thin CA glue. These glues are hardly interchangeable so pay attention and use good judgment.
Construction starts by hinging all of the control surfaces. As mentioned, be sure to use thin CA glue, not epoxy.
Next, the fiberglass control horns are epoxied in position. I had to open a couple of the slots slightly, but that was easily done with a hobby knife and a #11 blade.
Following the manual, it’s now time to install the servos and switch harness in the fuselage. The servo tray is a thin plywood piece that accepts standard-size servos. Don’t push down too hard when drilling and threading in the servo screws because you could crack the servo tray.
Depending on your choice of power,

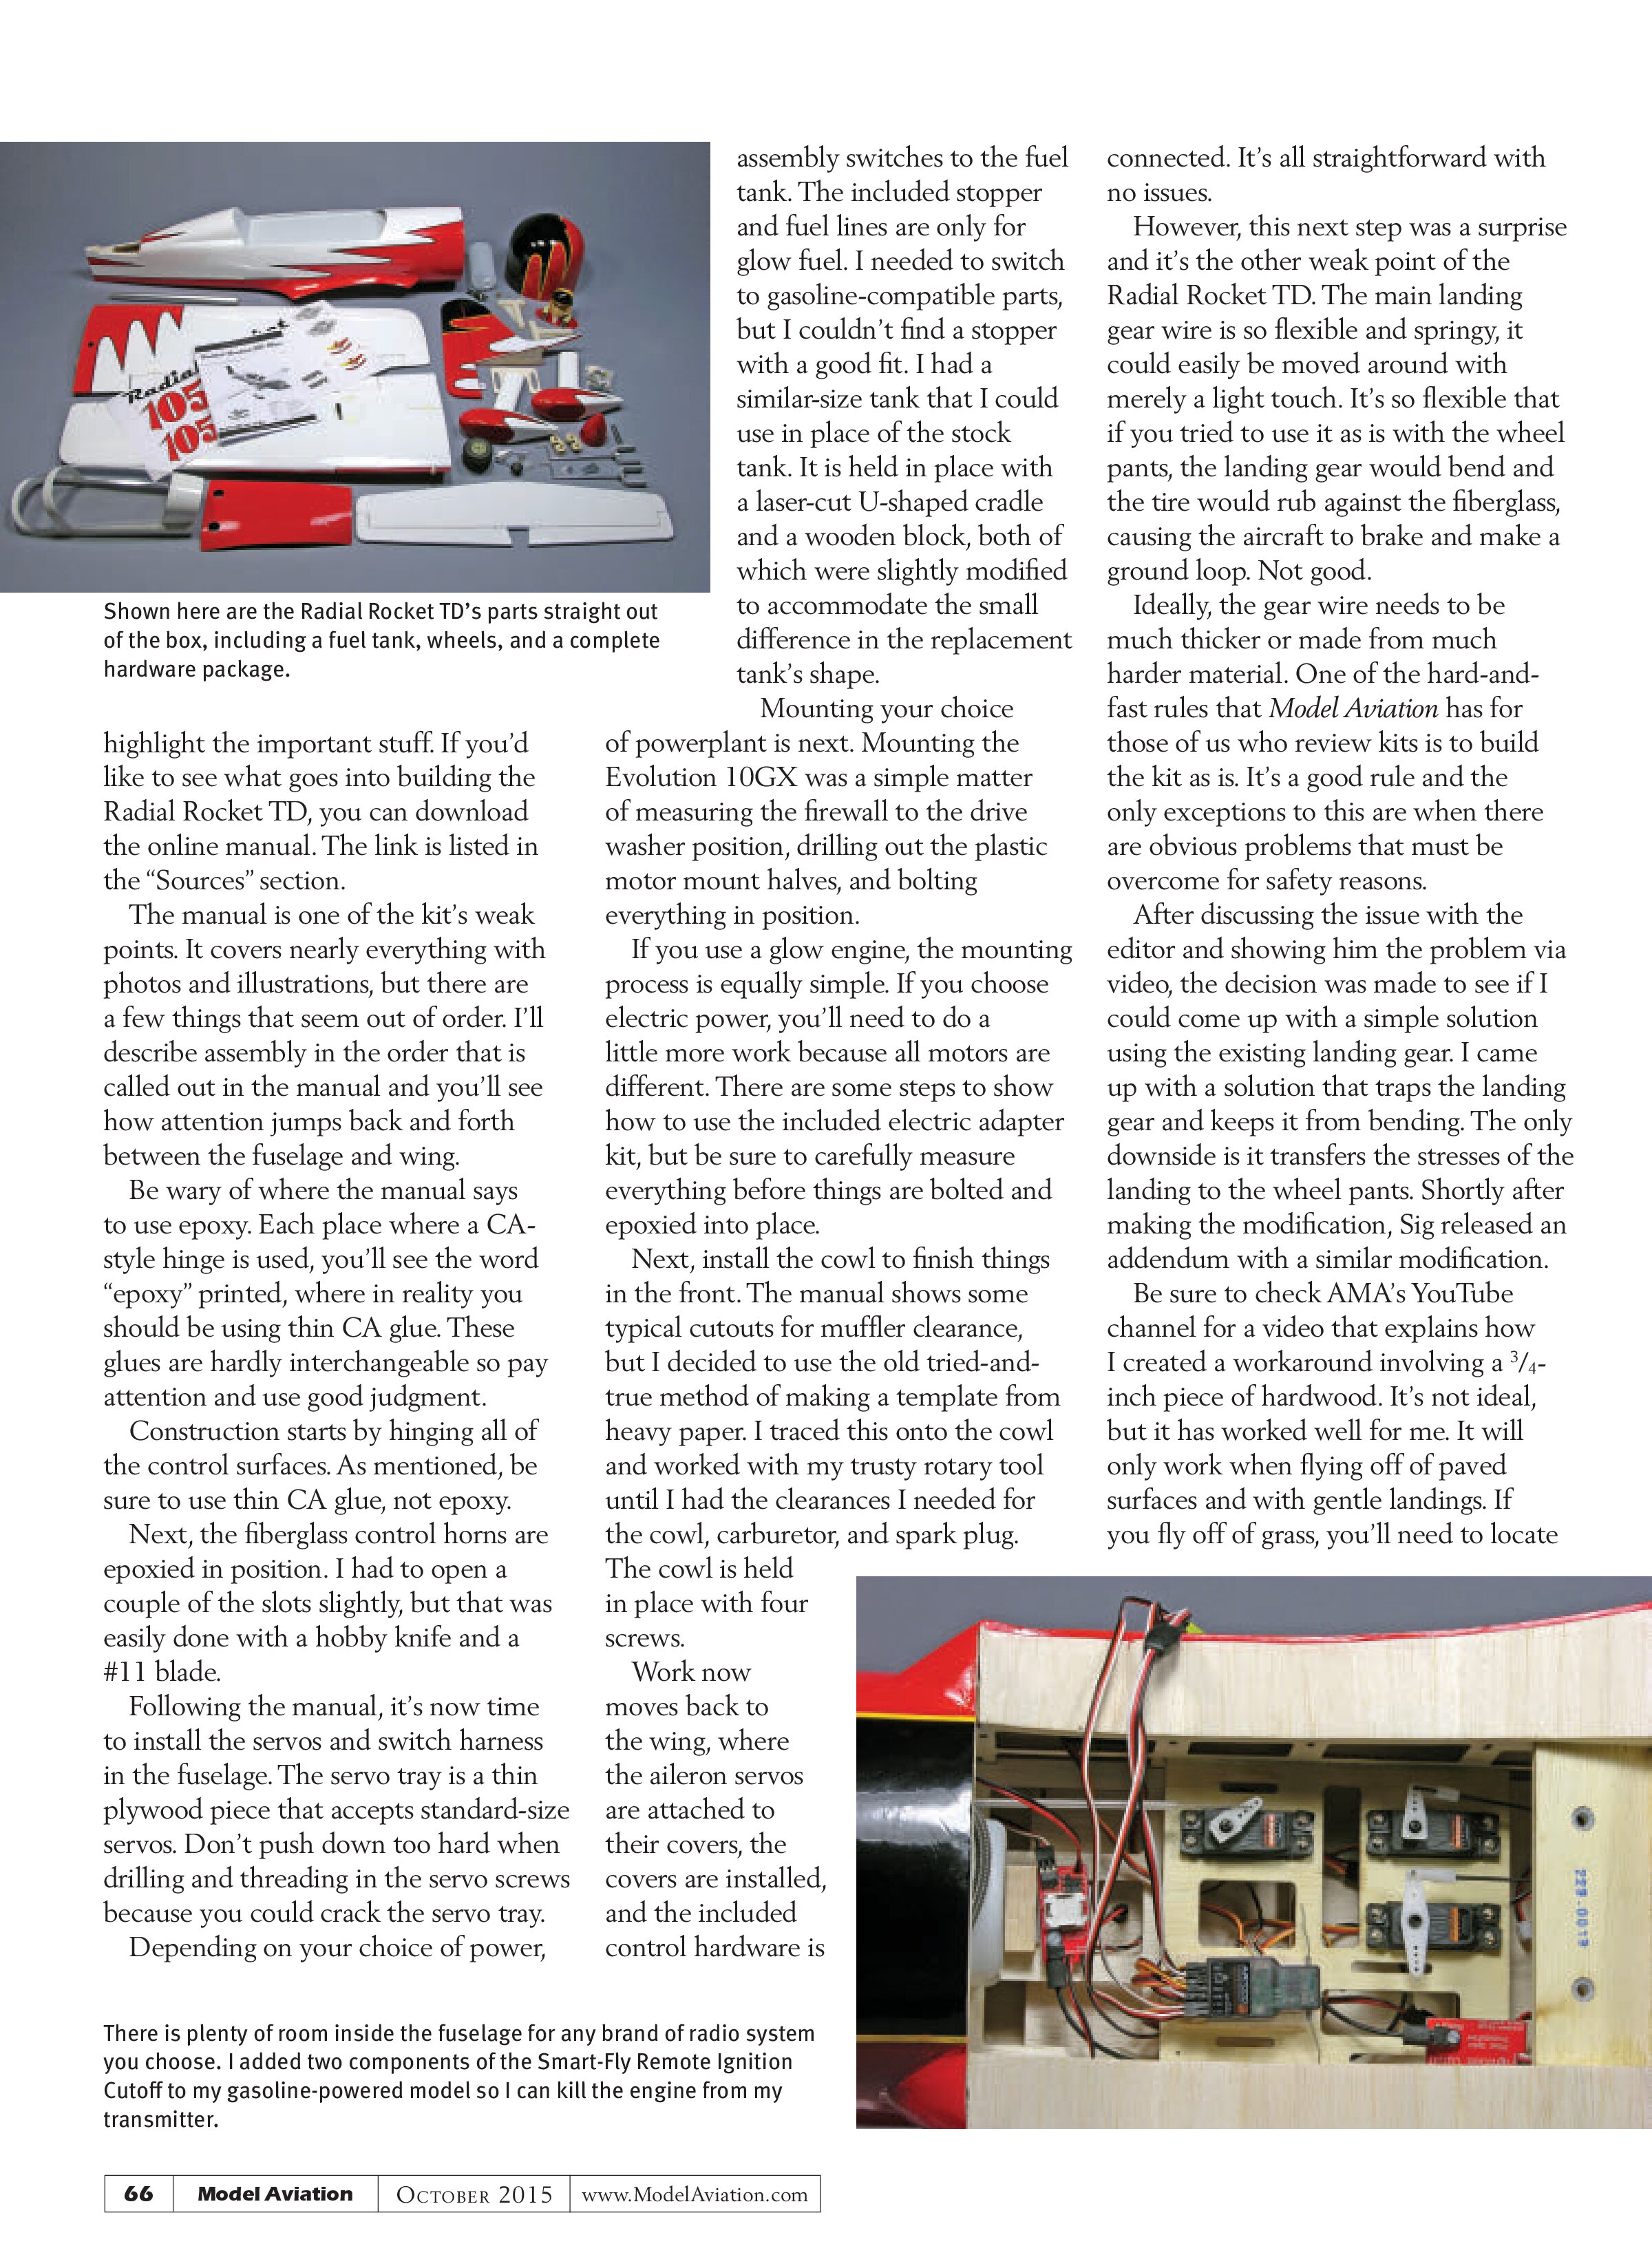
Shown here are the Radial Rocket TD’s parts straight out of the box, including a fuel tank, wheels, and a complete hardware package.
assembly switches to the fuel tank. The included stopper and fuel lines are only for glow fuel. I needed to switch to gasoline-compatible parts, but I couldn’t find a stopper with a good fit. I had a similar-size tank that I could use in place of the stock tank. It is held in place with a laser-cut U-shaped cradle and a wooden block, both of which were slightly modified to accommodate the small difference in the replacement tank’s shape.
Mounting your choice of powerplant is next. Mounting the Evolution 10GX was a simple matter of measuring the firewall to the drive washer position, drilling out the plastic motor mount halves, and bolting everything in position.
If you use a glow engine, the mounting process is equally simple. If you choose electric power, you’ll need to do a little more work because all motors are different. There are some steps to show how to use the included electric adapter kit, but be sure to carefully measure everything before things are bolted and epoxied into place.
Next, install the cowl to finish things in the front. The manual shows some typical cutouts for muffler clearance, but I decided to use the old tried-and-true method of making a template from heavy paper. I traced this onto the cowl and worked with my trusty rotary tool until I had the clearances I needed for the cowl, carburetor, and spark plug. The cowl is held in place with four screws.
Work now moves back to the wing, where the aileron servos are attached to their covers, the covers are installed, and the included control hardware is

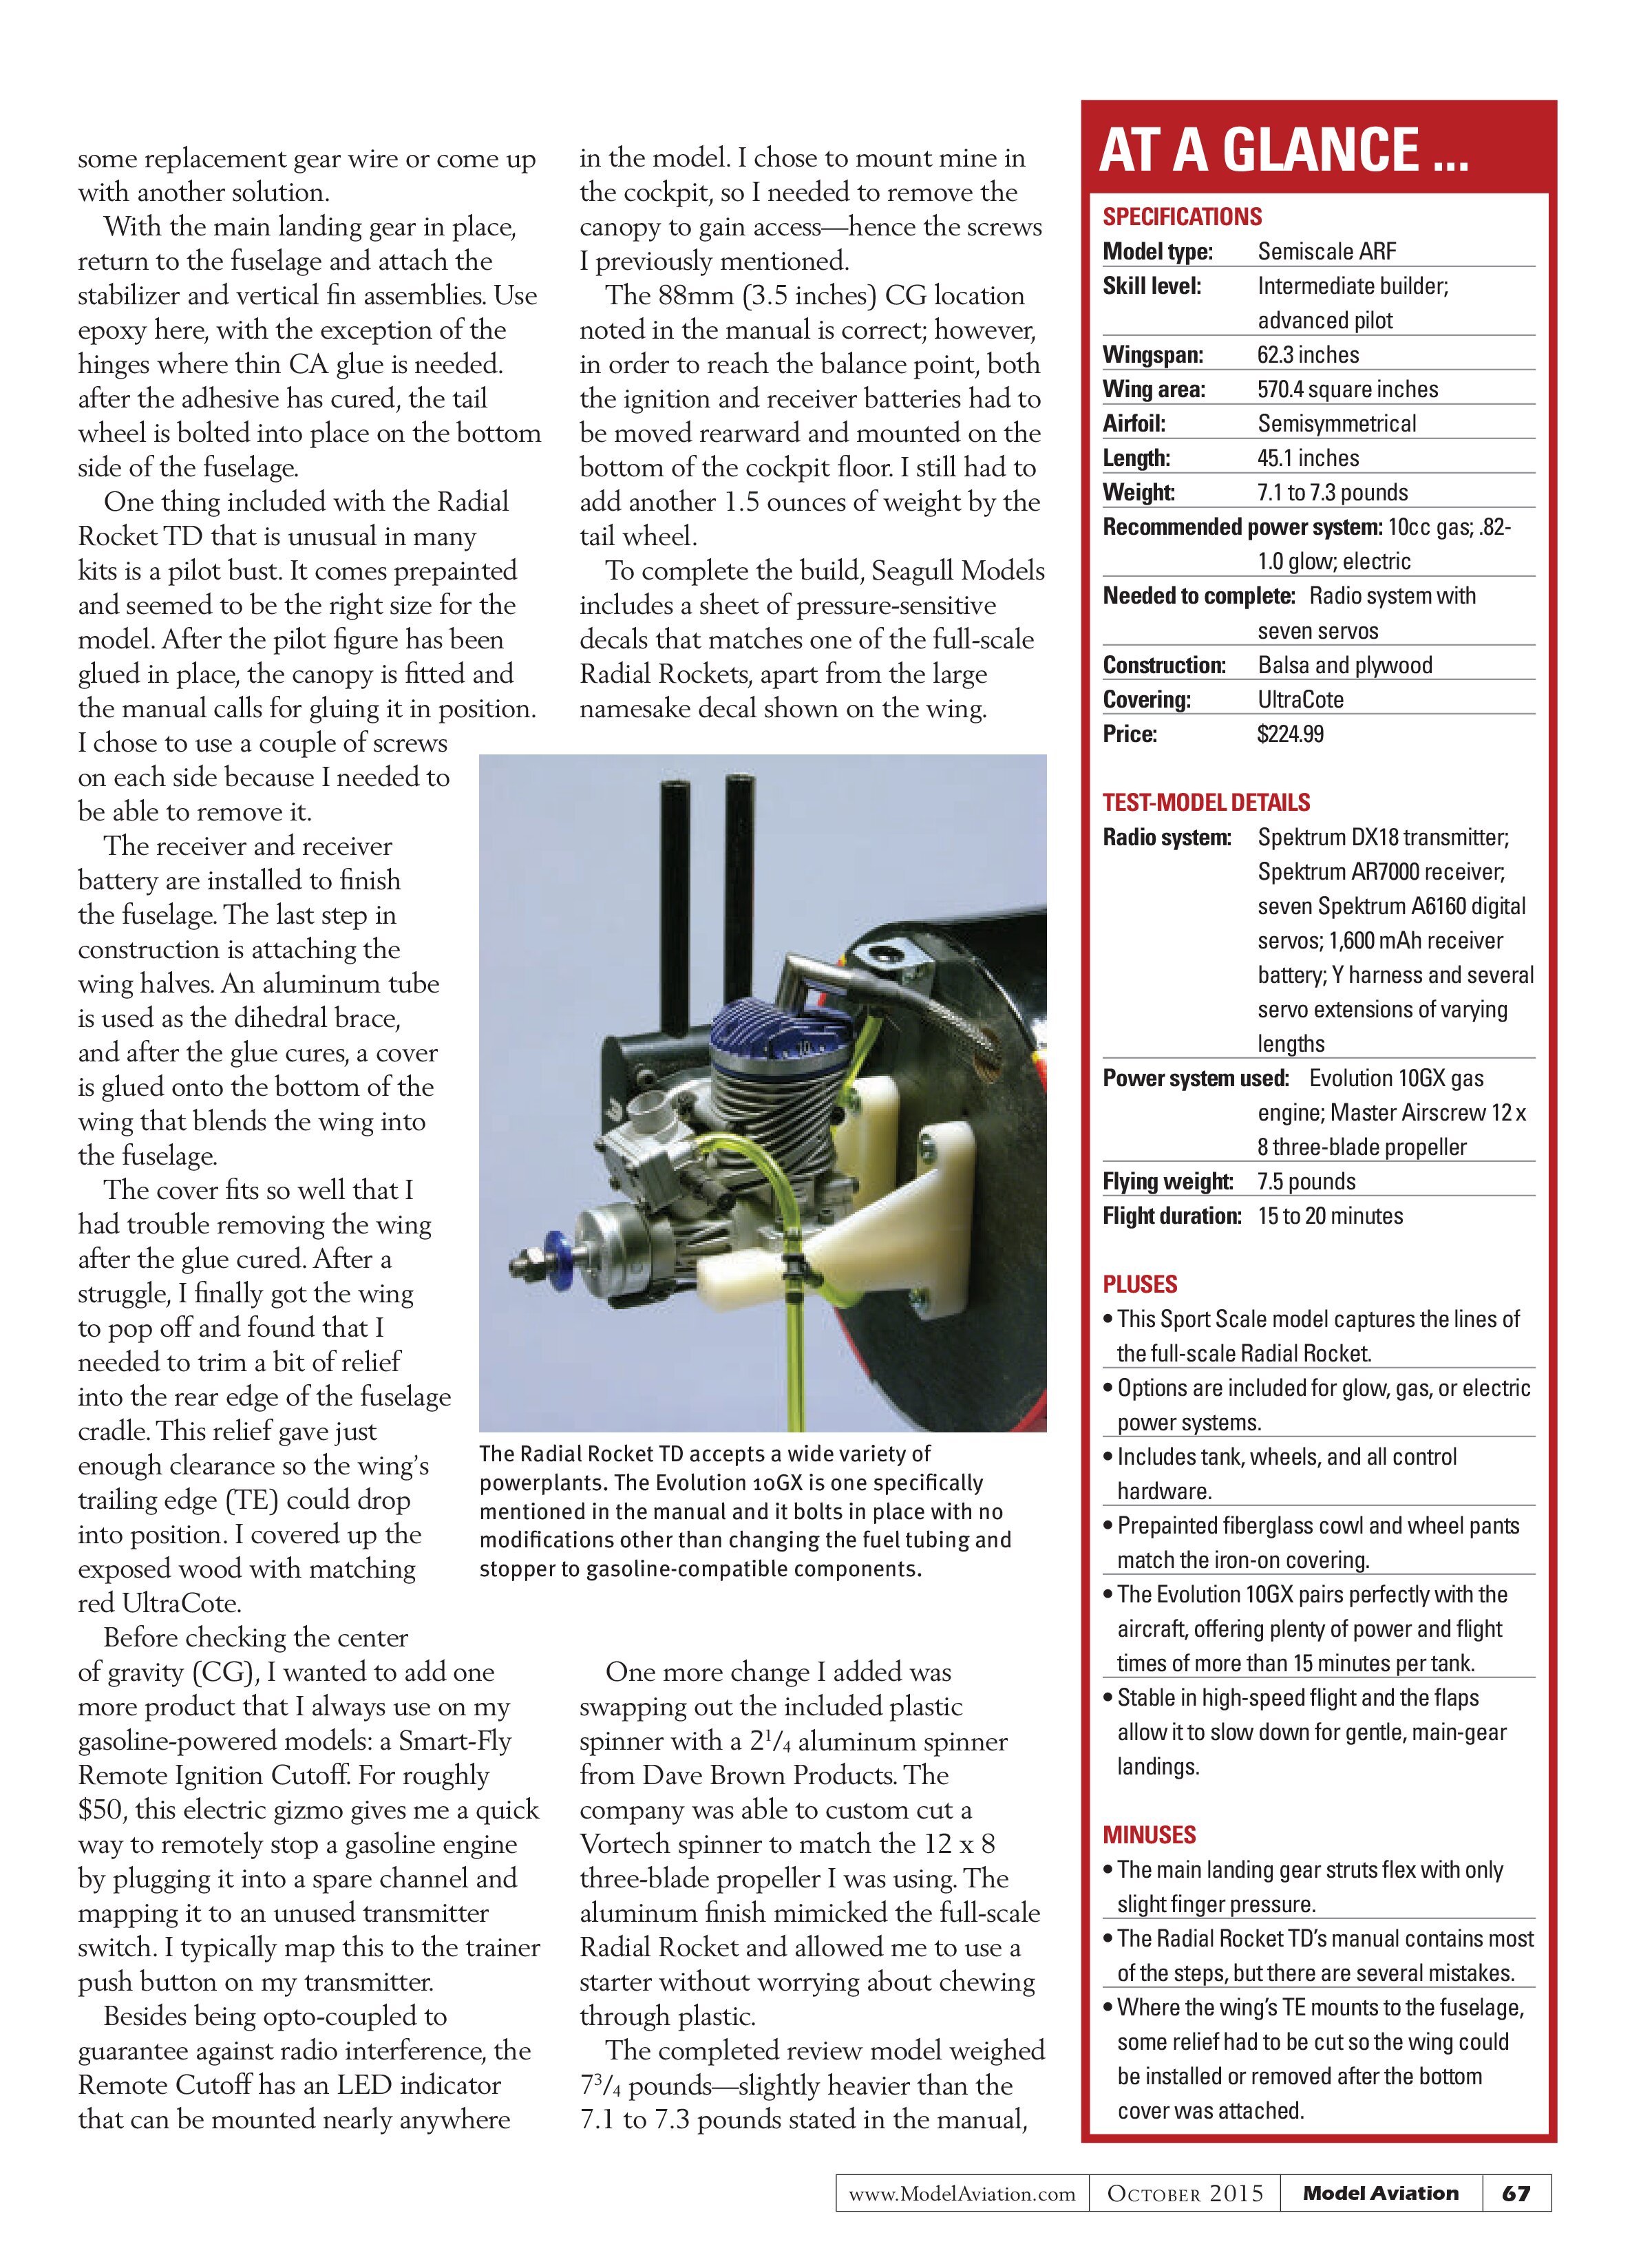
There is plenty of room inside the fuselage for any brand of radio system you choose. I added two components of the Smart-Fly Remote Ignition Cutoff to my gasoline-powered model so I can kill the engine from my transmitter.
connected. It’s all straightforward with no issues.
However, this next step was a surprise and it’s the other weak point of the Radial Rocket TD. The main landing gear wire is so flexible and springy, it could easily be moved around with merely a light touch. It’s so flexible that if you tried to use it as is with the wheel pants, the landing gear would bend and the tire would rub against the fiberglass, causing the aircraft to brake and make a ground loop. Not good.
Ideally, the gear wire needs to be much thicker or made from much harder material. One of the hard-and-fast rules that Model Aviation has for those of us who review kits is to build the kit as is. It’s a good rule and the only exceptions to this are when there are obvious problems that must be overcome for safety reasons.
After discussing the issue with the editor and showing him the problem via video, the decision was made to see if I could come up with a simple solution using the existing landing gear. I came up with a solution that traps the landing gear and keeps it from bending. The only downside is it transfers the stresses of the landing to the wheel pants. Shortly after making the modification, Sig released an addendum with a similar modification.
Be sure to check AMA’s YouTube channel for a video that explains how I created a workaround involving a ¾-inch piece of hardwood. It’s not ideal, but it has worked well for me. It will only work when flying off of paved surfaces and with gentle landings. If you fly off of grass, you’ll need to locate some replacement gear wire or come up with another solution.
With the main landing gear in place, return to the fuselage and attach the stabilizer and vertical fin assemblies. Use epoxy here, with the exception of the hinges where thin CA glue is needed. after the adhesive has cured, the tail wheel is bolted into place on the bottom side of the fuselage.
One thing included with the Radial Rocket TD that is unusual in many kits is a pilot bust. It comes prepainted and seemed to be the right size for the model. After the pilot figure has been glued in place, the canopy is fitted and the manual calls for gluing it in position. I chose to use a couple of screws on each side because I needed to be able to remove it.
The receiver and receiver battery are installed to finish the fuselage. The last step in construction is attaching the wing halves. An aluminum tube is used as the dihedral brace, and after the glue cures, a cover is glued onto the bottom of the wing that blends the wing into the fuselage.
The cover fits so well that I had trouble removing the wing after the glue cured. After a struggle, I finally got the wing to pop off and found that I needed to trim a bit of relief into the rear edge of the fuselage cradle. This relief gave just enough clearance so the wing’s trailing edge (TE) could drop into position. I covered up the exposed wood with matching red UltraCote.
Before checking the center of gravity (CG), I wanted to add one more product that I always use on my gasoline-powered models: a Smart-Fly Remote Ignition Cutoff. For roughly $50, this electric gizmo gives me a quick way to remotely stop a gasoline engine by plugging it into a spare channel and mapping it to an unused transmitter switch. I typically map this to the trainer push button on my transmitter.
Besides being opto-coupled to guarantee against radio interference, the Remote Cutoff has an LED indicator that can be mounted nearly anywhere in the model. I chose to mount mine in the cockpit, so I needed to remove the canopy to gain access—hence the screws I previously mentioned.
The 88mm (3.5 inches) CG location noted in the manual is correct; however, in order to reach the balance point, both the ignition and receiver batteries had to be moved rearward and mounted on the bottom of the cockpit floor. I still had to add another 1.5 ounces of weight by the tail wheel.
To complete the build, Seagull Models includes a sheet of pressure-sensitive decals that matches one of the full-scale Radial Rockets, apart from the large namesake decal shown on the wing.

One more change I added was swapping out the included plastic spinner with a 2¼ aluminum spinner from Dave Brown Products. The company was able to custom cut a Vortech spinner to match the 12 x 8 three-blade propeller I was using. The aluminum finish mimicked the full-scale Radial Rocket and allowed me to use a starter without worrying about chewing through plastic.
The completed review model weighed 7¾ pounds—slightly heavier than the 7.1 to 7.3 pounds stated in the manual,
AT A GLANCE ...
SPECIFICATIONS
Model type: Semiscale ARF
Skill level: Intermediate builder; advanced pilot
Wingspan: 62.3 inches
Wing area: 570.4 square inches
Airfoil: Semisymmetrical
Length: 45.1 inches
Weight: 7.1 to 7.3 pounds
Recommended power system: 10cc gas; .82-1.0 glow; electric
Needed to complete: Radio system with seven servos
Construction: Balsa and plywood
Covering: UltraCote
Price: $224.99
TEST-MODEL DETAILS
Radio system: Spektrum DX18 transmitter; Spektrum AR7000 receiver; seven Spektrum A6160 digital servos; 1,600 mAh receiver battery; Y harness and several servo extensions of varying lengths
Power system used: Evolution 10GX gas engine; Master Airscrew 12 x 8 three-blade propeller
Flying weight: 7.5 pounds
Flight duration: 15 to 20 minutes
PLUSES
- This Sport Scale model captures the lines of the full-scale Radial Rocket.
- Options are included for glow, gas, or electric power systems.
- Includes tank, wheels, and all control hardware.
- Prepainted fiberglass cowl and wheel pants match the iron-on covering.
- The Evolution 10GX pairs perfectly with the aircraft, offering plenty of power and flight times of more than 15 minutes per tank.
- Stable in high-speed flight and the flaps allow it to slow down for gentle, main-gear landings.
MINUSES
- The main landing gear struts flex with only slight finger pressure.
- The Radial Rocket TD’s manual contains most of the steps, but there are several mistakes.
- Where the wing’s TE mounts to the fuselage, some relief had to be cut so the wing could be installed or removed after the bottom cover was attached.

but it was still quite manageable.
I took the finished model outside for a few pictures. This Radial Rocket TD ARF is a sharp-looking airplane. It might be smaller than average these days, but it looks great with that red flame trim over the white airframe.
Flying
There’s nothing like the feeling before a maiden flight. Everything’s slightly tense—butterflies in the stomach, nerves, etc. That held true with the Radial Rocket TD, and even more so because I wasn’t sure how well my main landing gear modification would hold up.
I carried the Radial Rocket TD out to my club’s paved runway to spare any stress on the landing gear. After taxiing into position, I throttled up and the model went fairly straight down the runway and lifted off with a slight bit of up-elevator.
With the landing gear passing the first test, I settled down into trimming the aircraft and flying low passes for photos. I found myself bringing the Radial Rocket TD in lower and faster on each pass. This is a comfortable airplane to fly. I instantly felt at ease, as though I’d been flying it all season.
With the photo passes out of the way, I wanted to see what else I could coax out of this little aircraft. This isn’t a true aerobat, but it can get through a surprising range of maneuvers. Loops and rolls are easy, and the Radial Rocket TD loves to fly inverted. Knife-edge passes are slightly trickier because of the small rudder, and I had to hold quite a lot of cross-control to keep it pointed in a straight line.
Vertical maneuvers such as Hammerheads and even large Cuban 8s are harder because the 10GX will run out of steam pulling the aircraft vertical. Keep them in tight and you can do it, but it’s not the model’s strong point.
On the slower side of things, I found that the aircraft drops a wingtip when it reaches stall speed. It’s not a drastic drop, but it will get your attention if you stall it too close to the ground! Drop a bit of flaps and that all changes.
The manual doesn’t recommend any throws for the flaps, so I used my best judgment and assigned them to a three-position switch. Half flaps (roughly 30°) are great for cruising in slow, controlled passes. Dropping them to full—approximately 60°—really helps in setting up for slow, controllable landing approaches.
On each landing, I’ve been able to set the model down on the main landing gear with little bounce. You do have to fly it all the way to the ground and pay attention, but it is quite controllable. My landing gear modification has held up well, even after several dozen flights.
Conclusion
This is one sharp-looking design. Seagull Models has done a great job of capturing the full-scale Radial Rocket’s looks in this 10cc-size ARF. The manual could be better and the landing gear requires modification, but if you’re able to overcome those two things, the pairing of this kit with the Evolution 10GX engine will give you great performance and flight times exceeding 15 to 20 minutes per tank. All of this in a model small enough to fit in the trunk of most cars!
—Tom Sullivan
tmsullivan@roadrunner.com
MANUFACTURER/DISTRIBUTOR:
Sig Manufacturing Co.
(641) 623-5154
www.sigmfg.com
SOURCES:
Radial Rocket TD manual
www.kavanrc.de/instructions/sea229radialrocket.pdf
Spektrum RC
(800) 338-4639
www.spektrumrc.com
Evolution 10GX
(800) 338-4639
www.evolutionengines.com
Dave Brown Products
(513) 738-1576
www.dbproducts.com
Windsor Propeller
(916) 631-8385
www.masterairscrew.com
Smart-Fly
(480) 460-2652
www.smart-fly.com