Polyspan and paint
by Paul Kohlmann
Last month we tackled the last of the major woodworking topics required to frame up our Miles M.20. Now that the framework is complete, it’s time to talk about covering.
Previous “Construction Series” articles have focused on concepts and techniques geared toward the first-time builder. This month, we will take on more advanced material.
This isn’t completely intentional—it’s just that these are the techniques that I chose to use on the prototype M.20 before it became the subject of this series.

Types of Covering
The classic covering material for small stick-framed models is tissue paper applied and sealed with dope. Larger models would be covered with silk and dope. When done well, tissue-covered or silk-covered aircraft are beautiful and their coverings are easy to paint. Some negatives are that these coverings can be challenging to apply properly. Dope also contains nasty solvents and is now relatively hard to find.
Heat-shrink film coverings such as MonoKote are much more popular today. Dope isn’t needed because the adhesive is already coated onto the thin polyester film. Just stretch it over the framework and iron it on (see “Covering Techniques,” February 2014). These coverings come in many colors and several weights. I use them often, but when it comes to Scale warbirds I have two complaints: they tend to wrinkle in the sun and it can be difficult to get paint to stick to them.
That’s where Polyspan comes in. Polyspan is a hybrid. Like MonoKote, Polyspan is made from polyester and it shrinks with heat. But like tissue, it is woven from fibers and it is easy to paint. Polyspan is applied by painting the framework with an adhesive in the same way as tissue or silk. The result is a lightweight covering that is resistant to tears and punctures.
I chose to cover my M.20 with Polyspan so that I can show this model on sunny days without worrying about it wrinkling.
Polyspan Development
Builders have been using Polyspan as a covering material for quite some time. Early adopters simply applied the same dope and techniques they had used on silk or tissue. This works well, but as I mentioned, dope contains harmful chemicals and it isn’t as readily available as it once was.
Other builders have experimented with friendlier chemistries to replace dope. The goal of these experiments is to identify water-based adhesives and sealants that can be found at a hardware or craft store.
The process used on the M.20 was developed by two of my online friends. Jim Arrington and Steve “Fuzz” St. Martin have both achieved beautiful results using Mod Podge as the adhesive and water-based polyurethane as the sealer. Their techniques will be the subject of this segment.

Applying Polyspan

The framework to be covered needs to be sanded smooth, regardless of the type of covering that will be used. Use your sanding bar as much as possible to avoid dishing between ribs, formers, and other parts of the framework. Areas with compound curves can be carefully sanded by hand. Finish with 320-grit sandpaper.
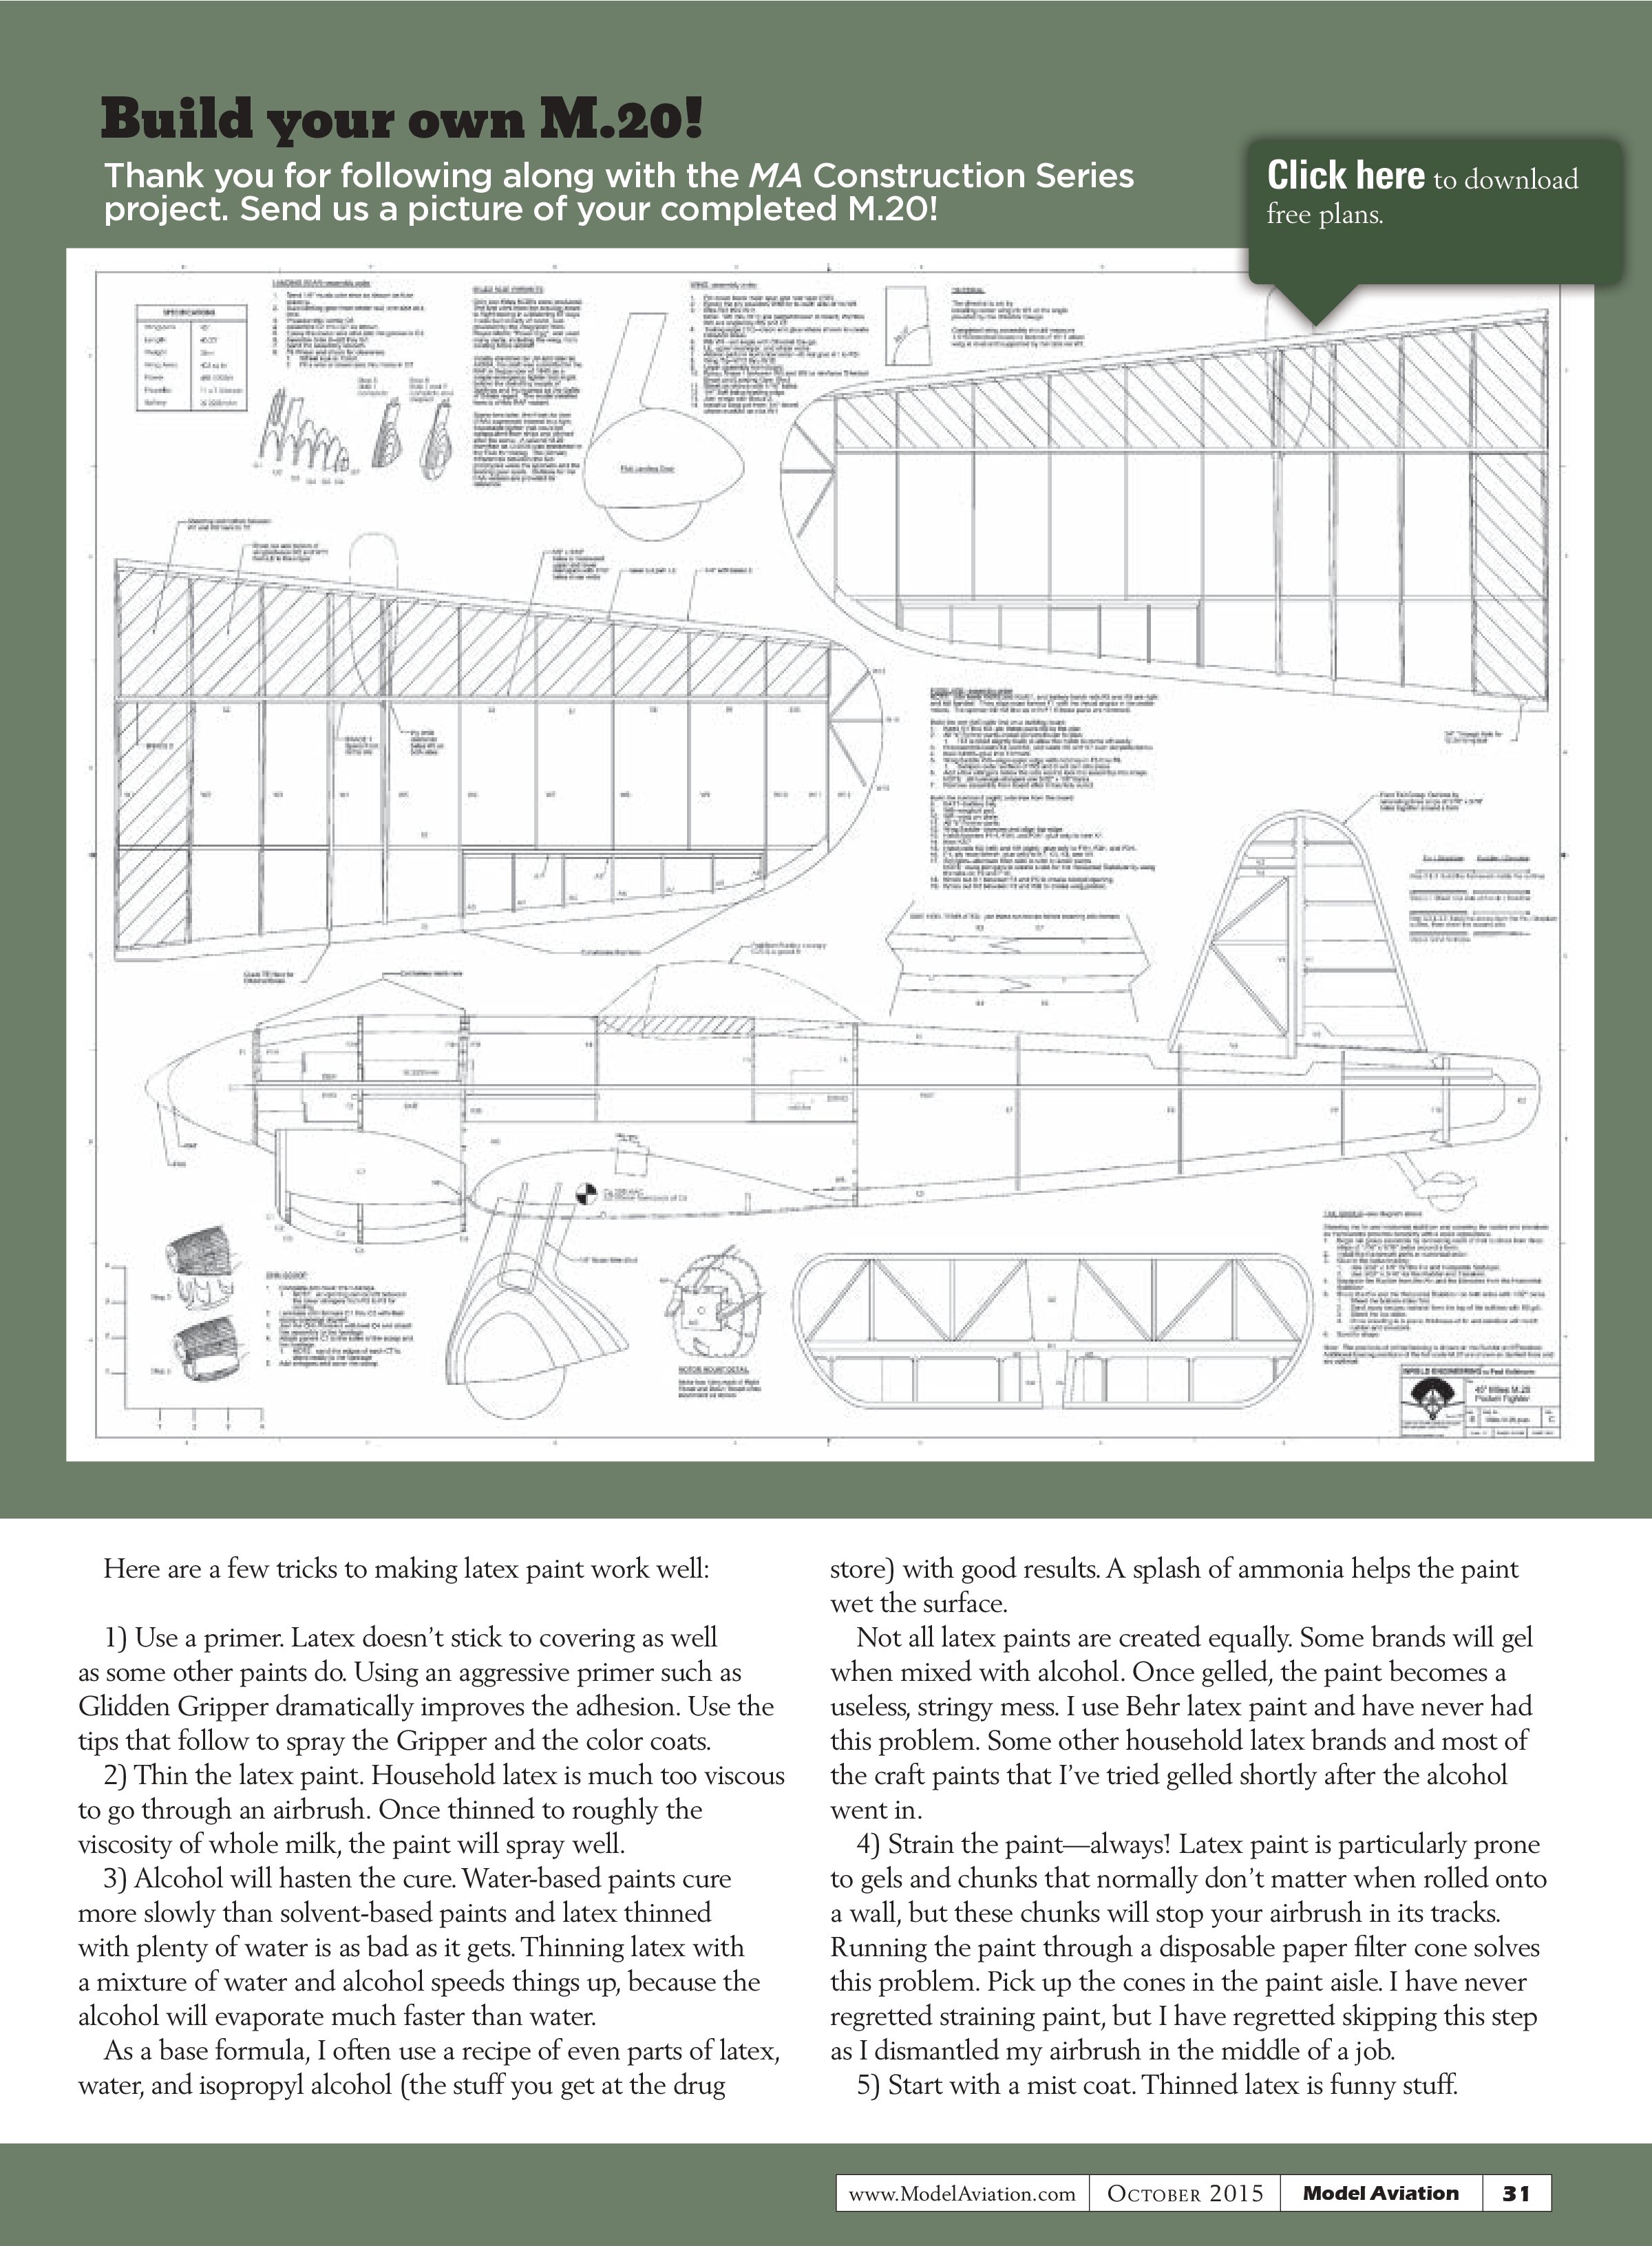
For builders who are leery of putting water-based solutions on their bare, balsa frames, seal them first. Brushing lacquer works well for this. Brush the sealer everywhere that the covering will touch. Let it dry, and then lightly sand with 320-grit sandpaper. One or two coats are all it should take. Adding baby powder to the sealer helps fill the wood faster—and it smells nice when you sand it.
I’m on the fence about lacquer sealer because it has the same solvents that we are trying to get away from. I used it on the M.20 and the covering stuck like grim death, but I skipped the sealer on a similar project and the bond strength was nearly as good.
The next step is to paint on the adhesive. Common white glues like Elmer’s Glue or Mod Podge work great for this. Just dab them onto the edges of the area to be covered with a foam brush. When cured, they can be activated with your covering iron.
Cut a sheet of Polyspan large enough to cover the section that you are working on. Leave an extra inch or two around the edges to hold while tugging the covering into shape. Be aware of the following three things:
- Polyspan has an obvious grain direction. For best results, the grain should run in the long direction of the sheet.
- Polyspan has a smooth side and a slightly fuzzy side. The smooth side should face out or the result will be a fuzzy mess. (Trust me on this one.)
- Polyspan shrinks slightly less than shrink-film coverings. Compound curves need to be covered in smaller sections than you might get away with when using MonoKote.


Lay the covering over the framework and tack it down with your iron set on low (225° F). Gently pull out wrinkles and tack until the whole perimeter is sealed. As a hybrid, you can pull Polyspan more aggressively than tissue, but less than MonoKote. After it is sealed, shrink the Polyspan with an iron set at 300°. A heat gun can also be used, but take care not to overdo it.
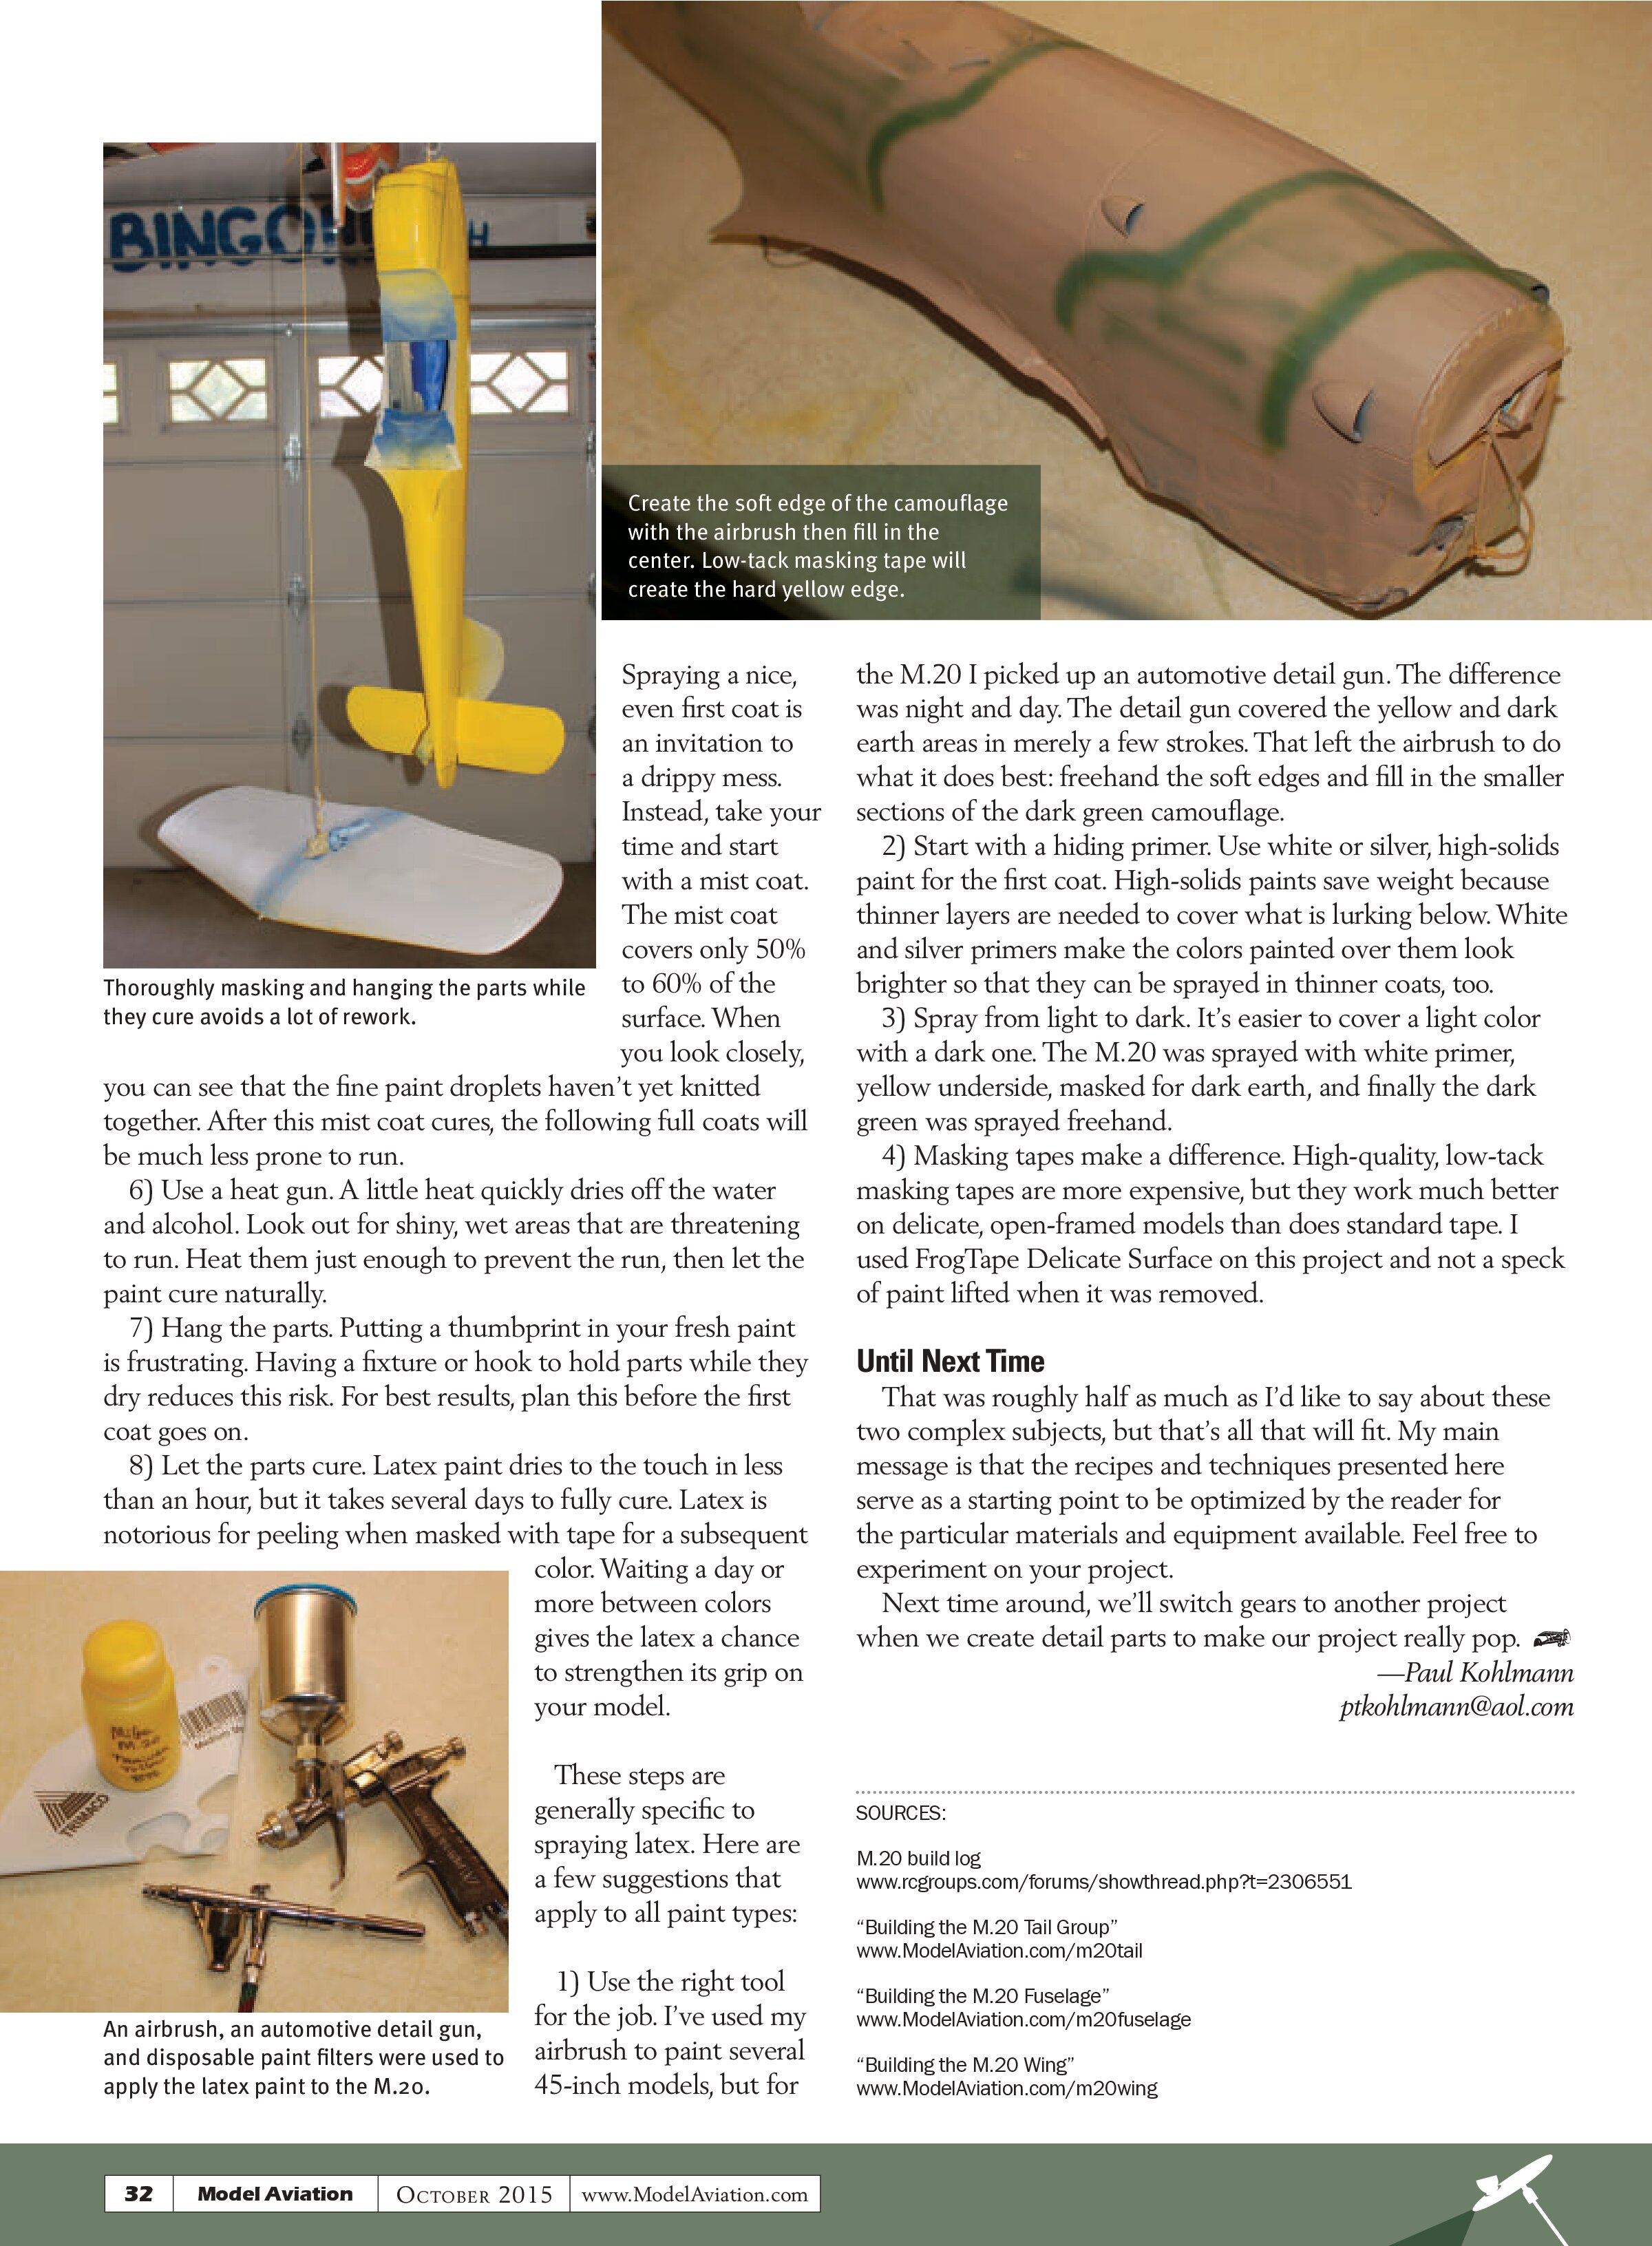
The last step is to seal the Polyspan. Water-based polyurethanes such as Minwax Polycrylic diluted with two parts water makes a nice dope substitute, and it is compatible with many paint chemistries. Just brush it on with a wide brush, keeping an eye out for runs. Three coats will nearly fill the weave, but don’t worry about getting it all. You can save some weight by leaving a little of that job for the paint to complete.
After the covering is all in place and doped, it’s a good time for a maiden flight. Many builders get a boost from seeing their project airborne before advancing to paint and detailing.
Spraying Latex
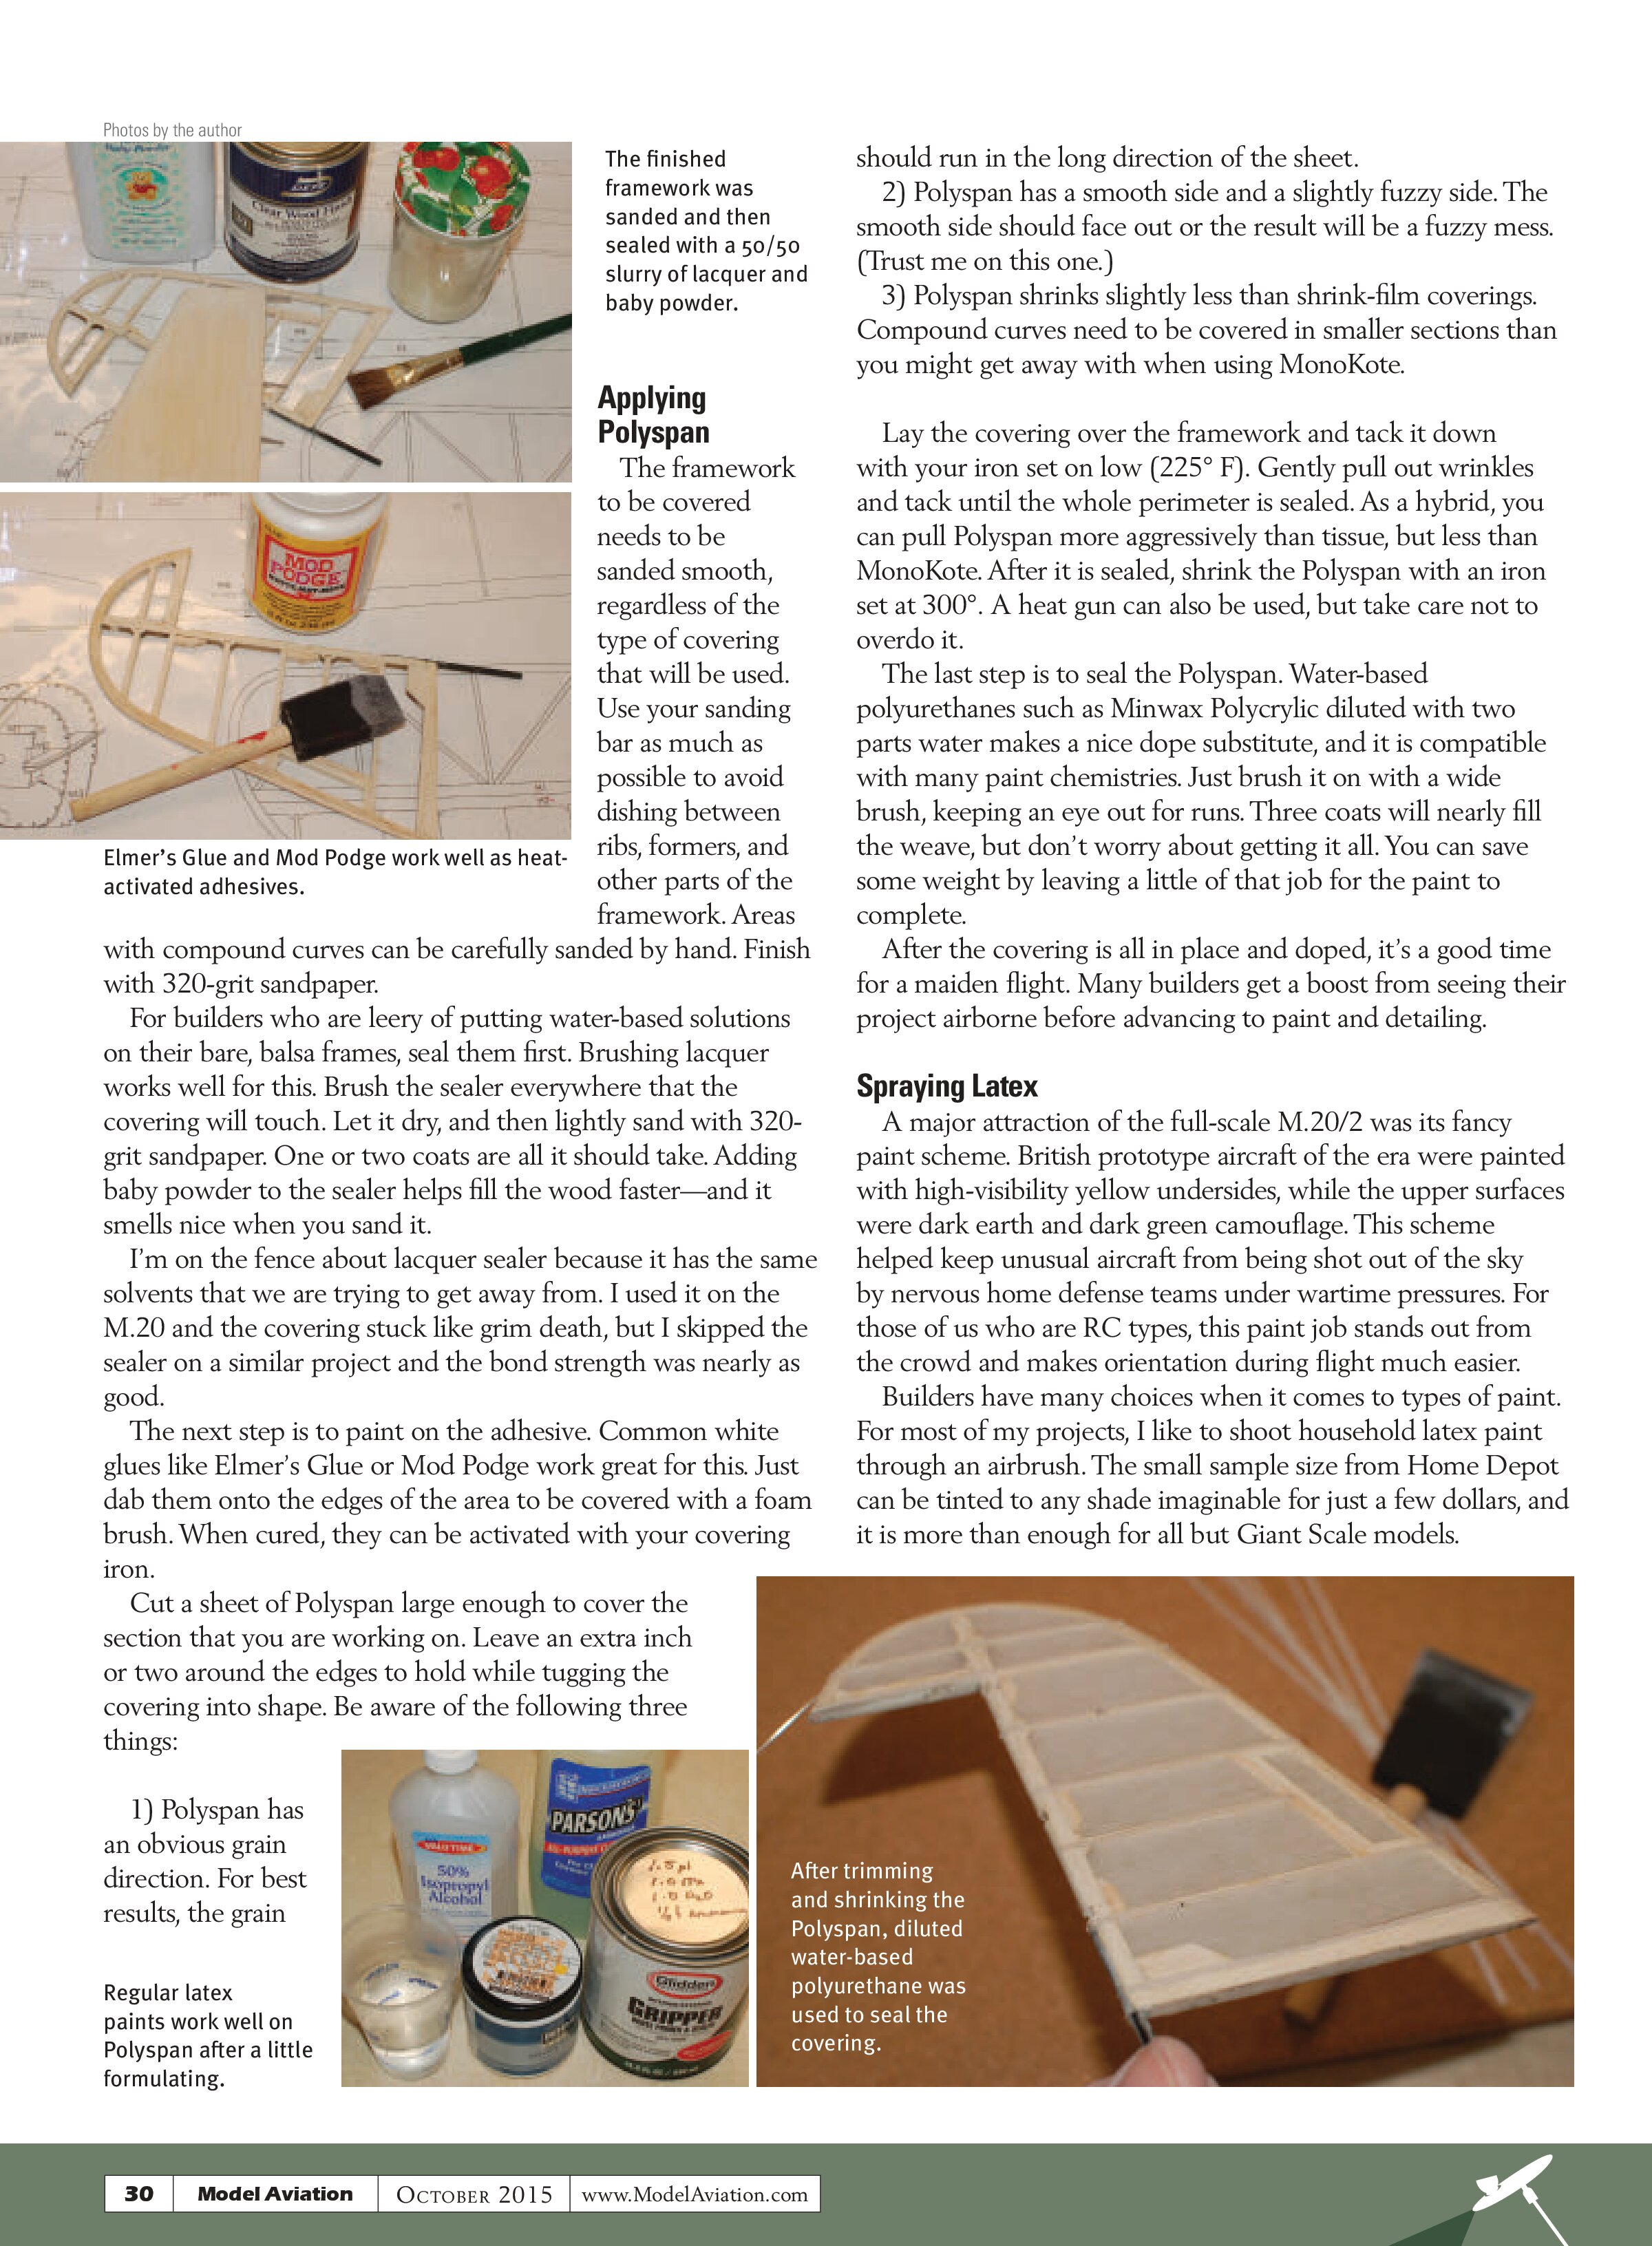
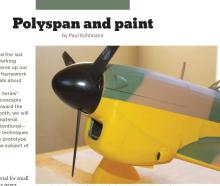
A major attraction of the full-scale M.20/2 was its fancy paint scheme. British prototype aircraft of the era were painted with high-visibility yellow undersides, while the upper surfaces were dark earth and dark green camouflage. This scheme helped keep unusual aircraft from being shot out of the sky by nervous home defense teams under wartime pressures. For those of us who are RC types, this paint job stands out from the crowd and makes orientation during flight much easier.
Builders have many choices when it comes to types of paint. For most of my projects, I like to shoot household latex paint through an airbrush. The small sample size from Home Depot can be tinted to any shade imaginable for just a few dollars, and it is more than enough for all but Giant Scale models.

Here are a few tricks to making latex paint work well:
- Use a primer. Latex doesn’t stick to covering as well as some other paints do. Using an aggressive primer such as Glidden Gripper dramatically improves the adhesion. Use the tips that follow to spray the Gripper and the color coats.
- Thin the latex paint. Household latex is much too viscous to go through an airbrush. Once thinned to roughly the viscosity of whole milk, the paint will spray well.
- Alcohol will hasten the cure. Water-based paints cure more slowly than solvent-based paints and latex thinned with plenty of water is as bad as it gets. Thinning latex with a mixture of water and alcohol speeds things up, because the alcohol will evaporate much faster than water.
As a base formula, I often use a recipe of even parts of latex, water, and isopropyl alcohol (the stuff you get at the drug store) with good results. A splash of ammonia helps the paint wet the surface.
Not all latex paints are created equally. Some brands will gel when mixed with alcohol. Once gelled, the paint becomes a useless, stringy mess. I use Behr latex paint and have never had this problem. Some other household latex brands and most of the craft paints that I’ve tried gelled shortly after the alcohol went in.
- Strain the paint—always! Latex paint is particularly prone to gels and chunks that normally don’t matter when rolled onto a wall, but these chunks will stop your airbrush in its tracks. Running the paint through a disposable paper filter cone solves this problem. Pick up the cones in the paint aisle. I have never regretted straining paint, but I have regretted skipping this step as I dismantled my airbrush in the middle of a job.
- Start with a mist coat. Thinned latex is funny stuff.
Spraying a nice, even first coat is an invitation to a drippy mess. Instead, take your time and start with a mist coat. The mist coat covers only 50% to 60% of the surface. When you look closely, you can see that the fine paint droplets haven’t yet knitted together. After this mist coat cures, the following full coats will be much less prone to run.
6) Use a heat gun. A little heat quickly dries off the water and alcohol. Look out for shiny, wet areas that are threatening to run. Heat them just enough to prevent the run, then let the paint cure naturally.
7) Hang the parts. Putting a thumbprint in your fresh paint is frustrating. Having a fixture or hook to hold parts while they dry reduces this risk. For best results, plan this before the first coat goes on.
8) Let the parts cure. Latex paint dries to the touch in less than an hour, but it takes several days to fully cure. Latex is notorious for peeling when masked with tape for a subsequent color. Waiting a day or more between colors gives the latex a chance to strengthen its grip on your model.
These steps are generally specific to spraying latex. Here are a few suggestions that apply to all paint types:
1) Use the right tool for the job. I’ve used my airbrush to paint several 45-inch models, but for the M.20 I picked up an automotive detail gun. The difference was night and day. The detail gun covered the yellow and dark earth areas in merely a few strokes. That left the airbrush to do what it does best: freehand the soft edges and fill in the smaller sections of the dark green camouflage.
2) Start with a hiding primer. Use white or silver, high-solids paint for the first coat. High-solids paints save weight because thinner layers are needed to cover what is lurking below. White and silver primers make the colors painted over them look brighter so that they can be sprayed in thinner coats, too.
3) Spray from light to dark. It’s easier to cover a light color with a dark one. The M.20 was sprayed with white primer, yellow underside, masked for dark earth, and finally the dark green was sprayed freehand.
4) Masking tapes make a difference. High-quality, low-tack masking tapes are more expensive, but they work much better on delicate, open-framed models than does standard tape. I used FrogTape Delicate Surface on this project and not a speck of paint lifted when it was removed.
Until Next Time
That was roughly half as much as I’d like to say about these two complex subjects, but that’s all that will fit. My main message is that the recipes and techniques presented here serve as a starting point to be optimized by the reader for the particular materials and equipment available. Feel free to experiment on your project.
Next time around, we’ll switch gears to another project when we create detail parts to make our project really pop.
—Paul Kohlmann
ptkohlmann@aol.com
SOURCES:
M.20 build log
www.rcgroups.com/forums/showthread.php?t=2306551
“Building the M.20 Tail Group”
www.ModelAviation.com/m20tail
“Building the M.20 Fuselage”
www.ModelAviation.com/m20fuselage
“Building the M.20 Wing”
www.ModelAviation.com/m20wing