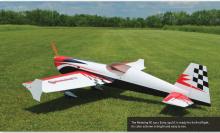
An enjoyable Giant Scale aerobat
Troy Hamm

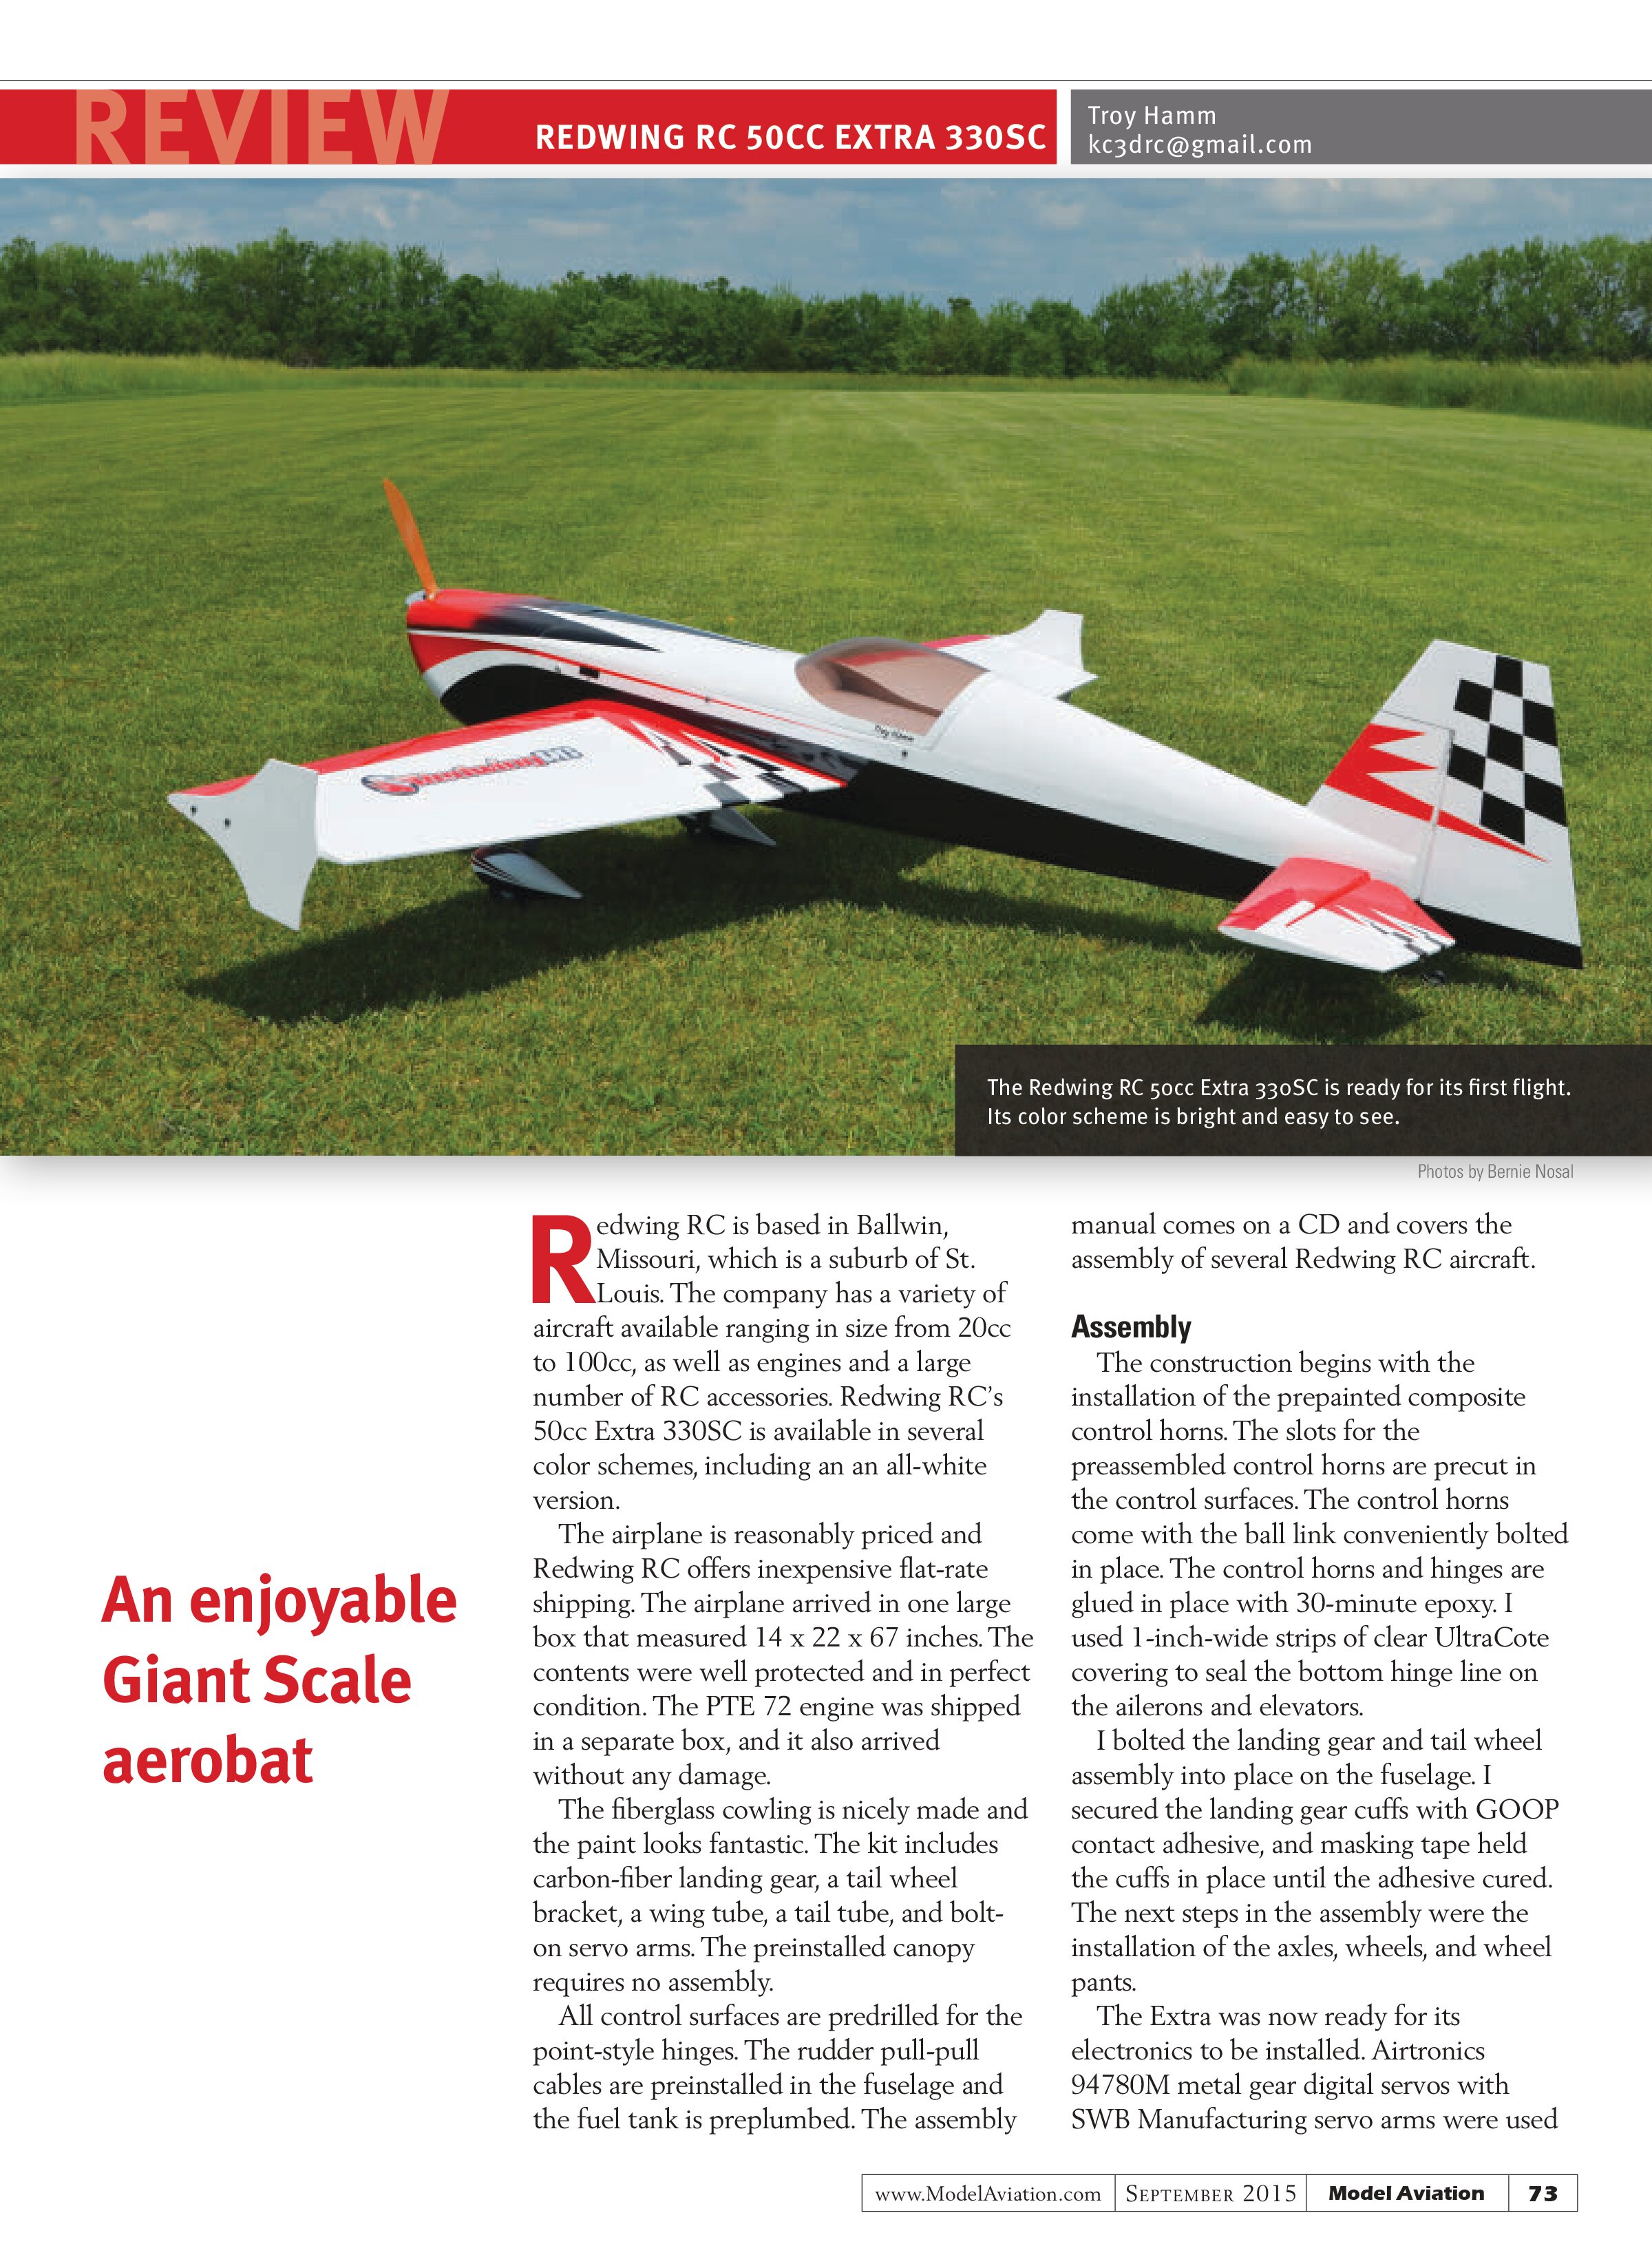
Redwing RC is based in Ballwin, Missouri, which is a suburb of St. Louis. The company has a variety of aircraft available ranging in size from 20cc to 100cc, as well as engines and a large number of RC accessories. Redwing RC’s 50cc Extra 330SC is available in several color schemes, including an all-white version.
The airplane is reasonably priced and Redwing RC offers inexpensive flat-rate shipping. The airplane arrived in one large box that measured 14 x 22 x 67 inches. The contents were well protected and in perfect condition. The PTE 72 engine was shipped in a separate box, and it also arrived without any damage.
The fiberglass cowling is nicely made and the paint looks fantastic. The kit includes carbon-fiber landing gear, a tail wheel bracket, a wing tube, a tail tube, and bolt-on servo arms. The preinstalled canopy requires no assembly.
All control surfaces are predrilled for the point-style hinges. The rudder pull-pull cables are preinstalled in the fuselage and the fuel tank is preplumbed. The assembly manual comes on a CD and covers the assembly of several Redwing RC aircraft.
Assembly
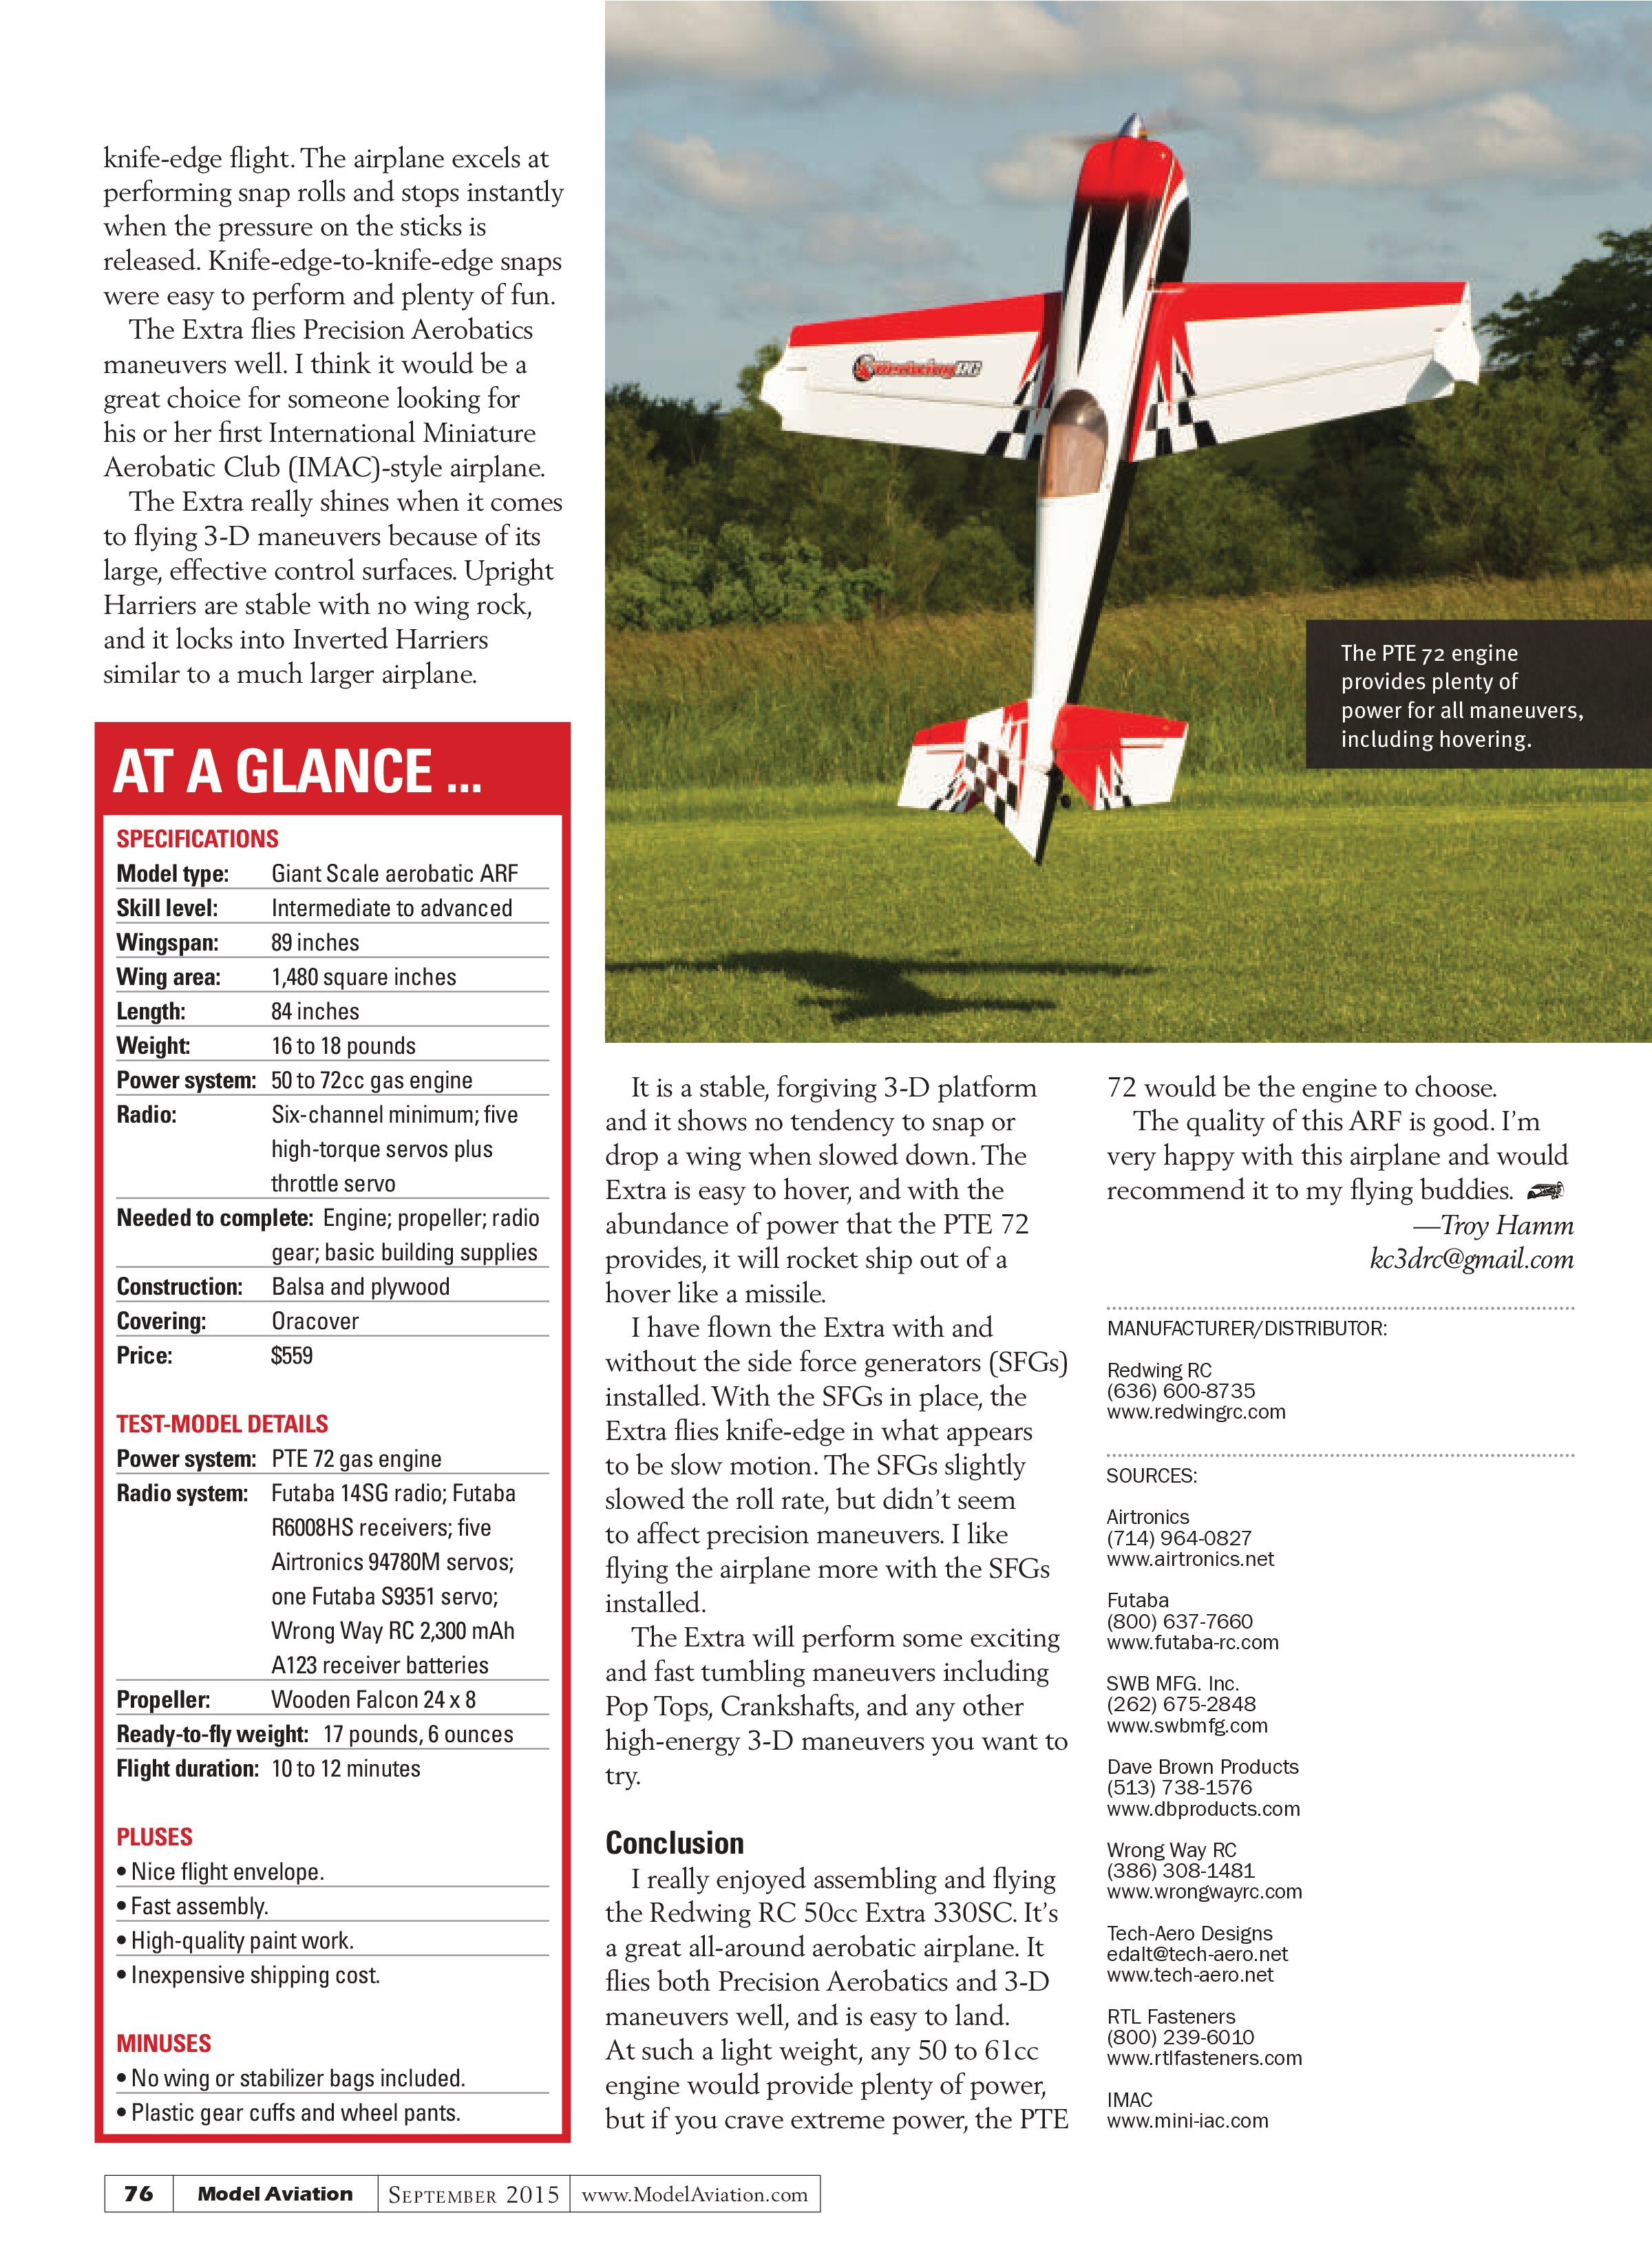
The construction begins with the installation of the prepainted composite control horns. The slots for the preassembled control horns are precut in the control surfaces. The control horns come with the ball link conveniently bolted in place. The control horns and hinges are glued in place with 30-minute epoxy. I used 1-inch-wide strips of clear UltraCote covering to seal the bottom hinge line on the ailerons and elevators.
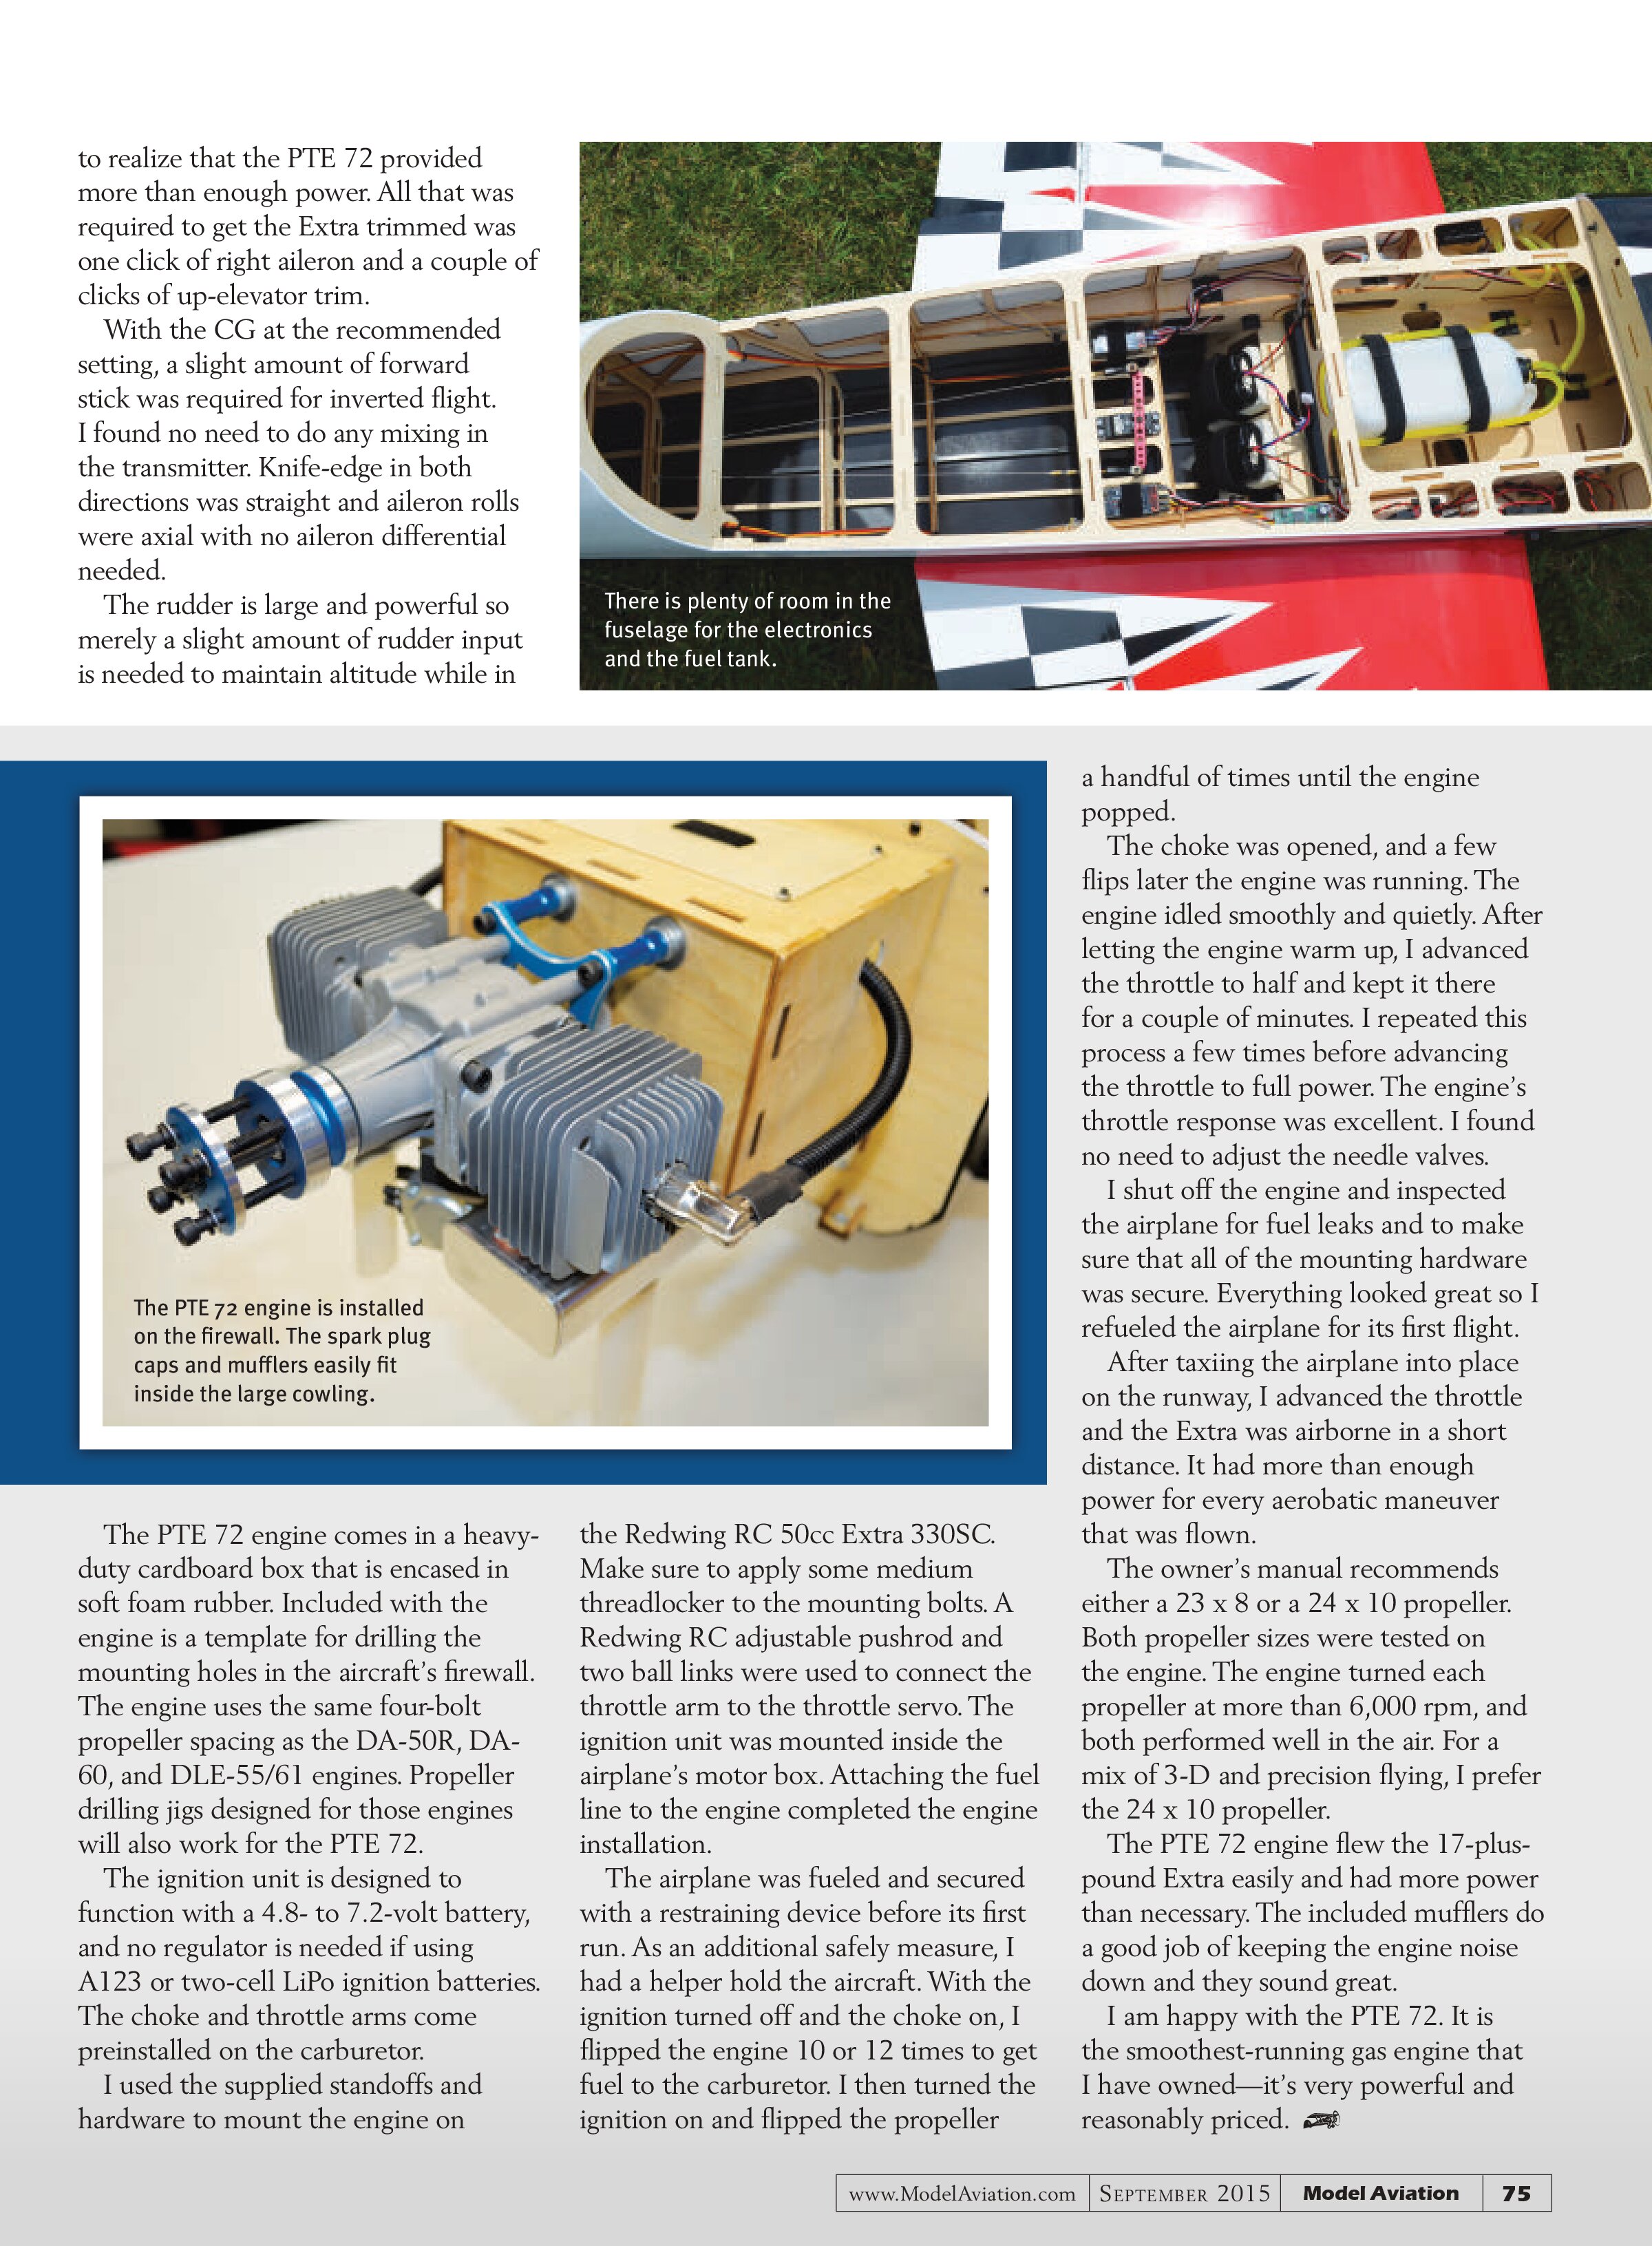
I bolted the landing gear and tail wheel assembly into place on the fuselage. I secured the landing gear cuffs with GOOP contact adhesive, and masking tape held the cuffs in place until the adhesive cured. The next steps in the assembly were the installation of the axles, wheels, and wheel pants.
The Extra was now ready for its electronics to be installed. Airtronics 94780M metal gear digital servos with SWB Manufacturing servo arms were used
on the control surfaces and a Futaba S9351 servo was used on the throttle. The servos fit perfectly in the wings, fuselage, and horizontal stabilizers. RTL Fasteners 9/16-inch socket head servo screws secured the servos.
The supplied adjustable pushrods and ball links were used to connect the servo arms to the control horns. The rudder servo was installed in the rudder tray and a double servo arm was mounted on the servo. The included pull-pull cables connect the servo to the rudder. The fuselage has precut locations for the Futaba heavy-duty switches. Two Futaba R6008HS FASST receivers and two Wrong Way RC 2S 2,300 mAh A123 battery packs were mounted in the fuselage.
The firewall is premarked for a DLE-55 engine. The mounting location for the PTE 72 twin-cylinder engine was slightly different. The template that came with the engine was used to locate and mark

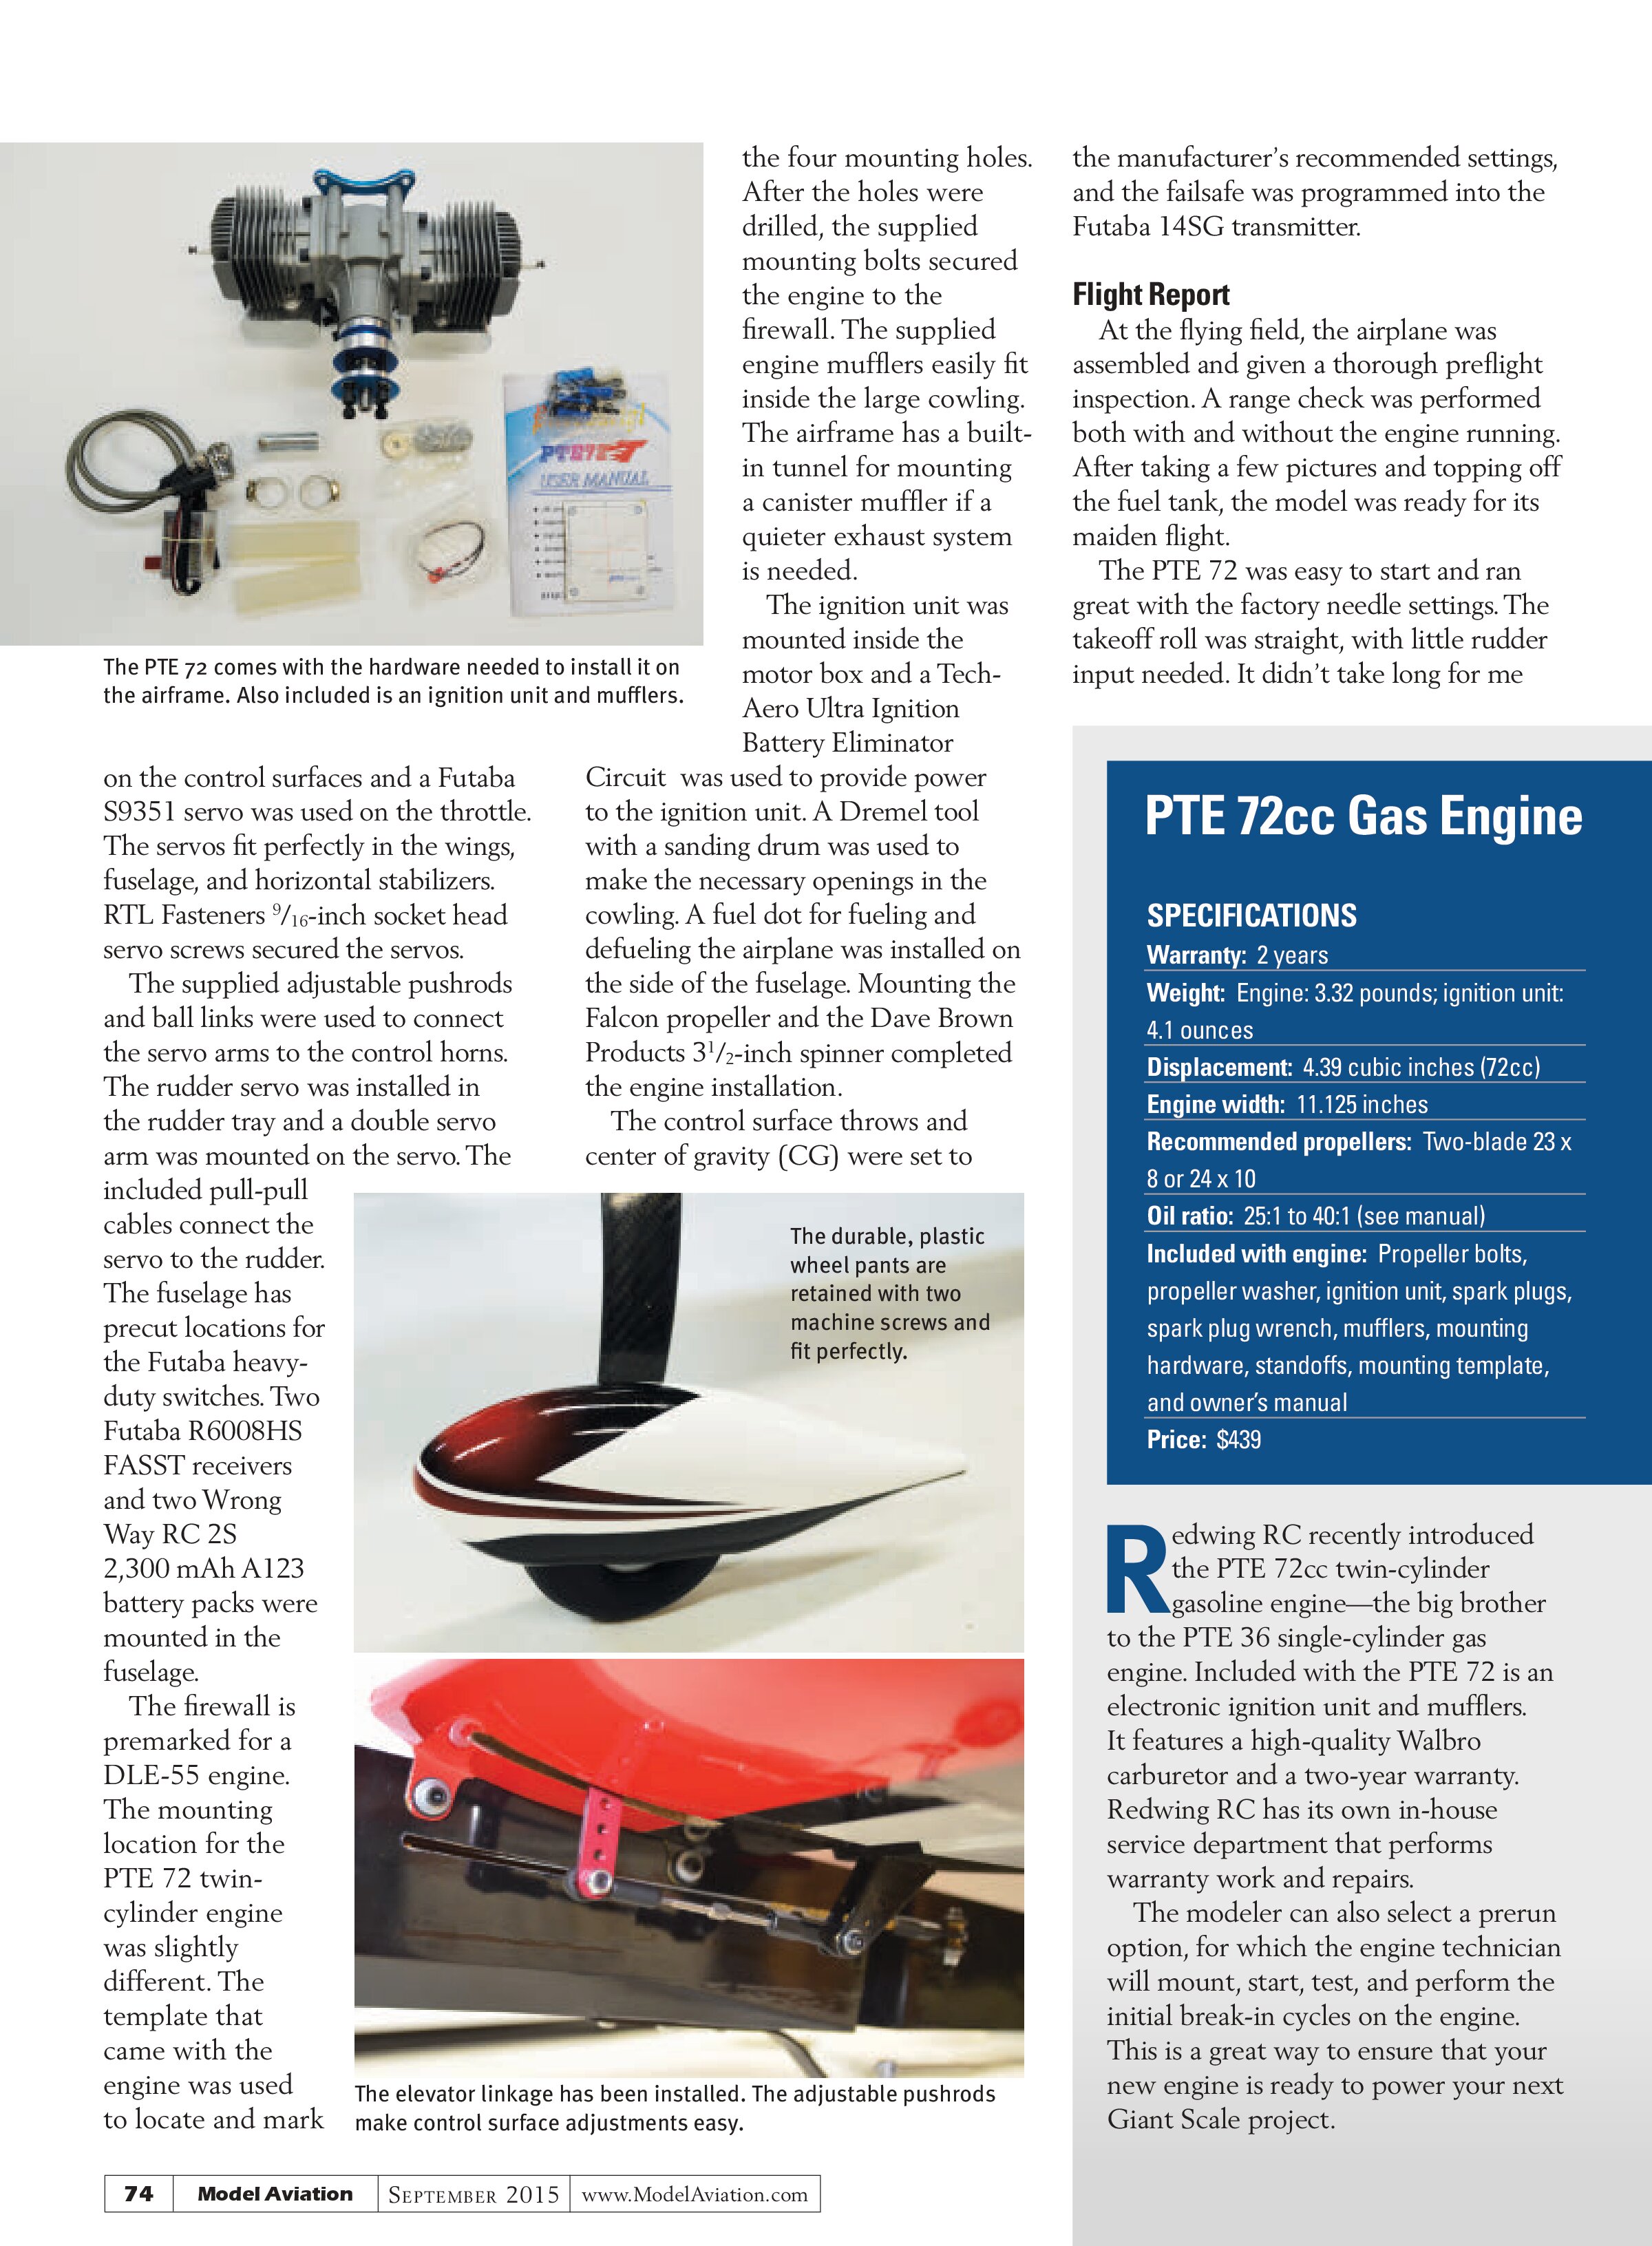
The PTE 72 comes with the hardware needed to install it on the airframe. Also included is an ignition unit and mufflers.
the four mounting holes. After the holes were drilled, the supplied mounting bolts secured the engine to the firewall. The supplied engine mufflers easily fit inside the large cowling. The airframe has a built-in tunnel for mounting a canister muffler if a quieter exhaust system is needed.
The ignition unit was mounted inside the motor box and a Tech-Aero Ultra Ignition Battery Eliminator Circuit was used to provide power to the ignition unit. A Dremel tool with a sanding drum was used to make the necessary openings in the cowling. A fuel dot for fueling and defueling the airplane was installed on the side of the fuselage. Mounting the Falcon propeller and the Dave Brown Products 3 1/2-inch spinner completed the engine installation.
The control surface throws and center of gravity (CG) were set to

The durable, plastic wheel pants are retained with two machine screws and fit perfectly.
The elevator linkage has been installed. The adjustable pushrods make control surface adjustments easy.
to realize that the PTE 72 provided more than enough power. All that was required to get the Extra trimmed was one click of right aileron and a couple of clicks of up-elevator trim.
With the CG at the recommended setting, a slight amount of forward stick was required for inverted flight. I found no need to do any mixing in the transmitter. Knife-edge in both directions was straight and aileron rolls were axial with no aileron differential needed.
The rudder is large and powerful so merely a slight amount of rudder input is needed to maintain altitude while in

There is plenty of room in the fuselage for the electronics and the fuel tank.
PTE 72cc Gas Engine
SPECIFICATIONS
Warranty: 2 years
Weight: Engine: 3.32 pounds; ignition unit: 4.1 ounces
Displacement: 4.39 cubic inches (72cc)
Engine width: 11.125 inches
Recommended propellers: Two-blade 23 x 8 or 24 x 10
Oil ratio: 25:1 to 40:1 (see manual)
Included with engine: Propeller bolts, propeller washer, ignition unit, spark plugs, spark plug wrench, mufflers, mounting hardware, standoffs, mounting template, and owner’s manual
Price: $439
Redwing RC recently introduced the PTE 72cc twin-cylinder gasoline engine—the big brother to the PTE 36 single-cylinder gas engine. Included with the PTE 72 is an electronic ignition unit and mufflers. It features a high-quality Walbro carburetor and a two-year warranty. Redwing RC has its own in-house service department that performs warranty work and repairs.
The modeler can also select a prerun option, for which the engine technician will mount, start, test, and perform the initial break-in cycles on the engine. This is a great way to ensure that your new engine is ready to power your next Giant Scale project.

The PTE 72 engine comes in a heavy-duty cardboard box that is encased in soft foam rubber. Included with the engine is a template for drilling the mounting holes in the aircraft’s firewall. The engine uses the same four-bolt propeller spacing as the DA-50R, DA-60, and DLE-55/61 engines. Propeller drilling jigs designed for those engines will also work for the PTE 72.
The ignition unit is designed to function with a 4.8- to 7.2-volt battery, and no regulator is needed if using A123 or two-cell LiPo ignition batteries. The choke and throttle arms come preinstalled on the carburetor.
I used the supplied standoffs and hardware to mount the engine on the Redwing RC 50cc Extra 330SC. Make sure to apply some medium threadlocker to the mounting bolts. A Redwing RC adjustable pushrod and two ball links were used to connect the throttle arm to the throttle servo. The ignition unit was mounted inside the airplane’s motor box. Attaching the fuel line to the engine completed the engine installation.
The airplane was fueled and secured with a restraining device before its first run. As an additional safety measure, I had a helper hold the aircraft. With the ignition turned off and the choke on, I flipped the engine 10 or 12 times to get fuel to the carburetor. I then turned the ignition on and flipped the propeller
a handful of times until the engine popped.
The choke was opened, and a few flips later the engine was running. The engine idled smoothly and quietly. After letting the engine warm up, I advanced the throttle to half and kept it there for a couple of minutes. I repeated this process a few times before advancing the throttle to full power. The engine’s throttle response was excellent. I found no need to adjust the needle valves.
I shut off the engine and inspected the airplane for fuel leaks and to make sure that all of the mounting hardware was secure. Everything looked great so I refueled the airplane for its first flight.
After taxiing the airplane into place on the runway, I advanced the throttle and the Extra was airborne in a short distance. It had more than enough power for every aerobatic maneuver that was flown.
The owner’s manual recommends either a 23 x 8 or a 24 x 10 propeller. Both propeller sizes were tested on the engine. The engine turned each propeller at more than 6,000 rpm, and both performed well in the air. For a mix of 3-D and precision flying, I prefer the 24 x 10 propeller.
The PTE 72 engine flew the 17-plus-pound Extra easily and had more power than necessary. The included mufflers do a good job of keeping the engine noise down and they sound great.
I am happy with the PTE 72. It is the smoothest-running gas engine that I have owned—it’s very powerful and reasonably priced.
knife-edge flight. The airplane excels at performing snap rolls and stops instantly when the pressure on the sticks is released. Knife-edge-to-knife-edge snaps were easy to perform and plenty of fun. The Extra flies Precision Aerobatics maneuvers well. I think it would be a great choice for someone looking for his or her first International Miniature Aerobatic Club (IMAC)-style airplane. The Extra really shines when it comes to flying 3-D maneuvers because of its large, effective control surfaces. Upright Harriers are stable with no wing rock, and it locks into Inverted Harriers similar to a much larger airplane.
AT A GLANCE ...
SPECIFICATIONS
Model type: Giant Scale aerobatic ARF
Skill level: Intermediate to advanced
Wingspan: 89 inches
Wing area: 1,480 square inches
Length: 84 inches
Weight: 16 to 18 pounds
Power system: 50 to 72cc gas engine
Radio: Six-channel minimum; five high-torque servos plus throttle servo
Needed to complete: Engine; propeller; radio gear; basic building supplies
Construction: Balsa and plywood
Covering: Oracover
Price: $559
TEST-MODEL DETAILS
Power system: PTE 72 gas engine
Radio system: Futaba 14SG radio; Futaba R6008HS receivers; five Airtronics 94780M servos; one Futaba S9351 servo; Wrong Way RC 2,300 mAh A123 receiver batteries
Propeller: Wooden Falcon 24 x 8
Ready-to-fly weight: 17 pounds, 6 ounces
Flight duration: 10 to 12 minutes
PLUSES
- Nice flight envelope.
- Fast assembly.
- High-quality paint work.
- Inexpensive shipping cost.
MINUSES
- No wing or stabilizer bags included.
- Plastic gear cuffs and wheel pants.

It is a stable, forgiving 3-D platform and it shows no tendency to snap or drop a wing when slowed down. The Extra is easy to hover, and with the abundance of power that the PTE 72 provides, it will rocket ship out of a hover like a missile.
I have flown the Extra with and without the side force generators (SFGs) installed. With the SFGs in place, the Extra flies knife-edge in what appears to be slow motion. The SFGs slightly slowed the roll rate, but didn’t seem to affect precision maneuvers. I like flying the airplane more with the SFGs installed.
The Extra will perform some exciting and fast tumbling maneuvers including Pop Tops, Crankshafts, and any other high-energy 3-D maneuvers you want to try.
Conclusion
I really enjoyed assembling and flying the Redwing RC 50cc Extra 330SC. It’s a great all-around aerobatic airplane. It flies both Precision Aerobatics and 3-D maneuvers well, and is easy to land. At such a light weight, any 50 to 61cc engine would provide plenty of power, but if you crave extreme power, the PTE 72 would be the engine to choose.
The quality of this ARF is good. I’m very happy with this airplane and would recommend it to my flying buddies.
—Troy Hamm
kc3drc@gmail.com
MANUFACTURER/DISTRIBUTOR:
Redwing RC
(636) 600-8735
www.redwingrc.com
SOURCES:
Airtronics
(714) 964-0827
www.airtronics.net
Futaba
(800) 637-7660
www.futaba-rc.com
SWB MFG. Inc.
(262) 675-2848
www.swbmfg.com
Dave Brown Products
(513) 738-1576
www.dbproducts.com
Wrong Way RC
(386) 308-1481
www.wrongwayrc.com
Tech-Aero Designs
edalt@tech-aero.net
www.tech-aero.net
RTL Fasteners
(800) 239-6010
www.rtlf fasteners.com
IMAC
www.mini-iac.com