MULTIPLEX Heron RR
An ideal “go-to” powered sailplane.

My first experience flying a Multiplex sailplane was with the Solius at the historic Torrey Pines Gliderport. My friend, Shawn Spiker of Hitec/Multiplex, arranged for me to have my first Slope Soaring experience last year while I was in California to attend the AMA Expo. The unpowered Solius performed well and offered plenty of Soaring enjoyment, with some mild aerobatics thrown in for good measure. It was a memorable experience and left me wanting to get my own Multiplex glider.
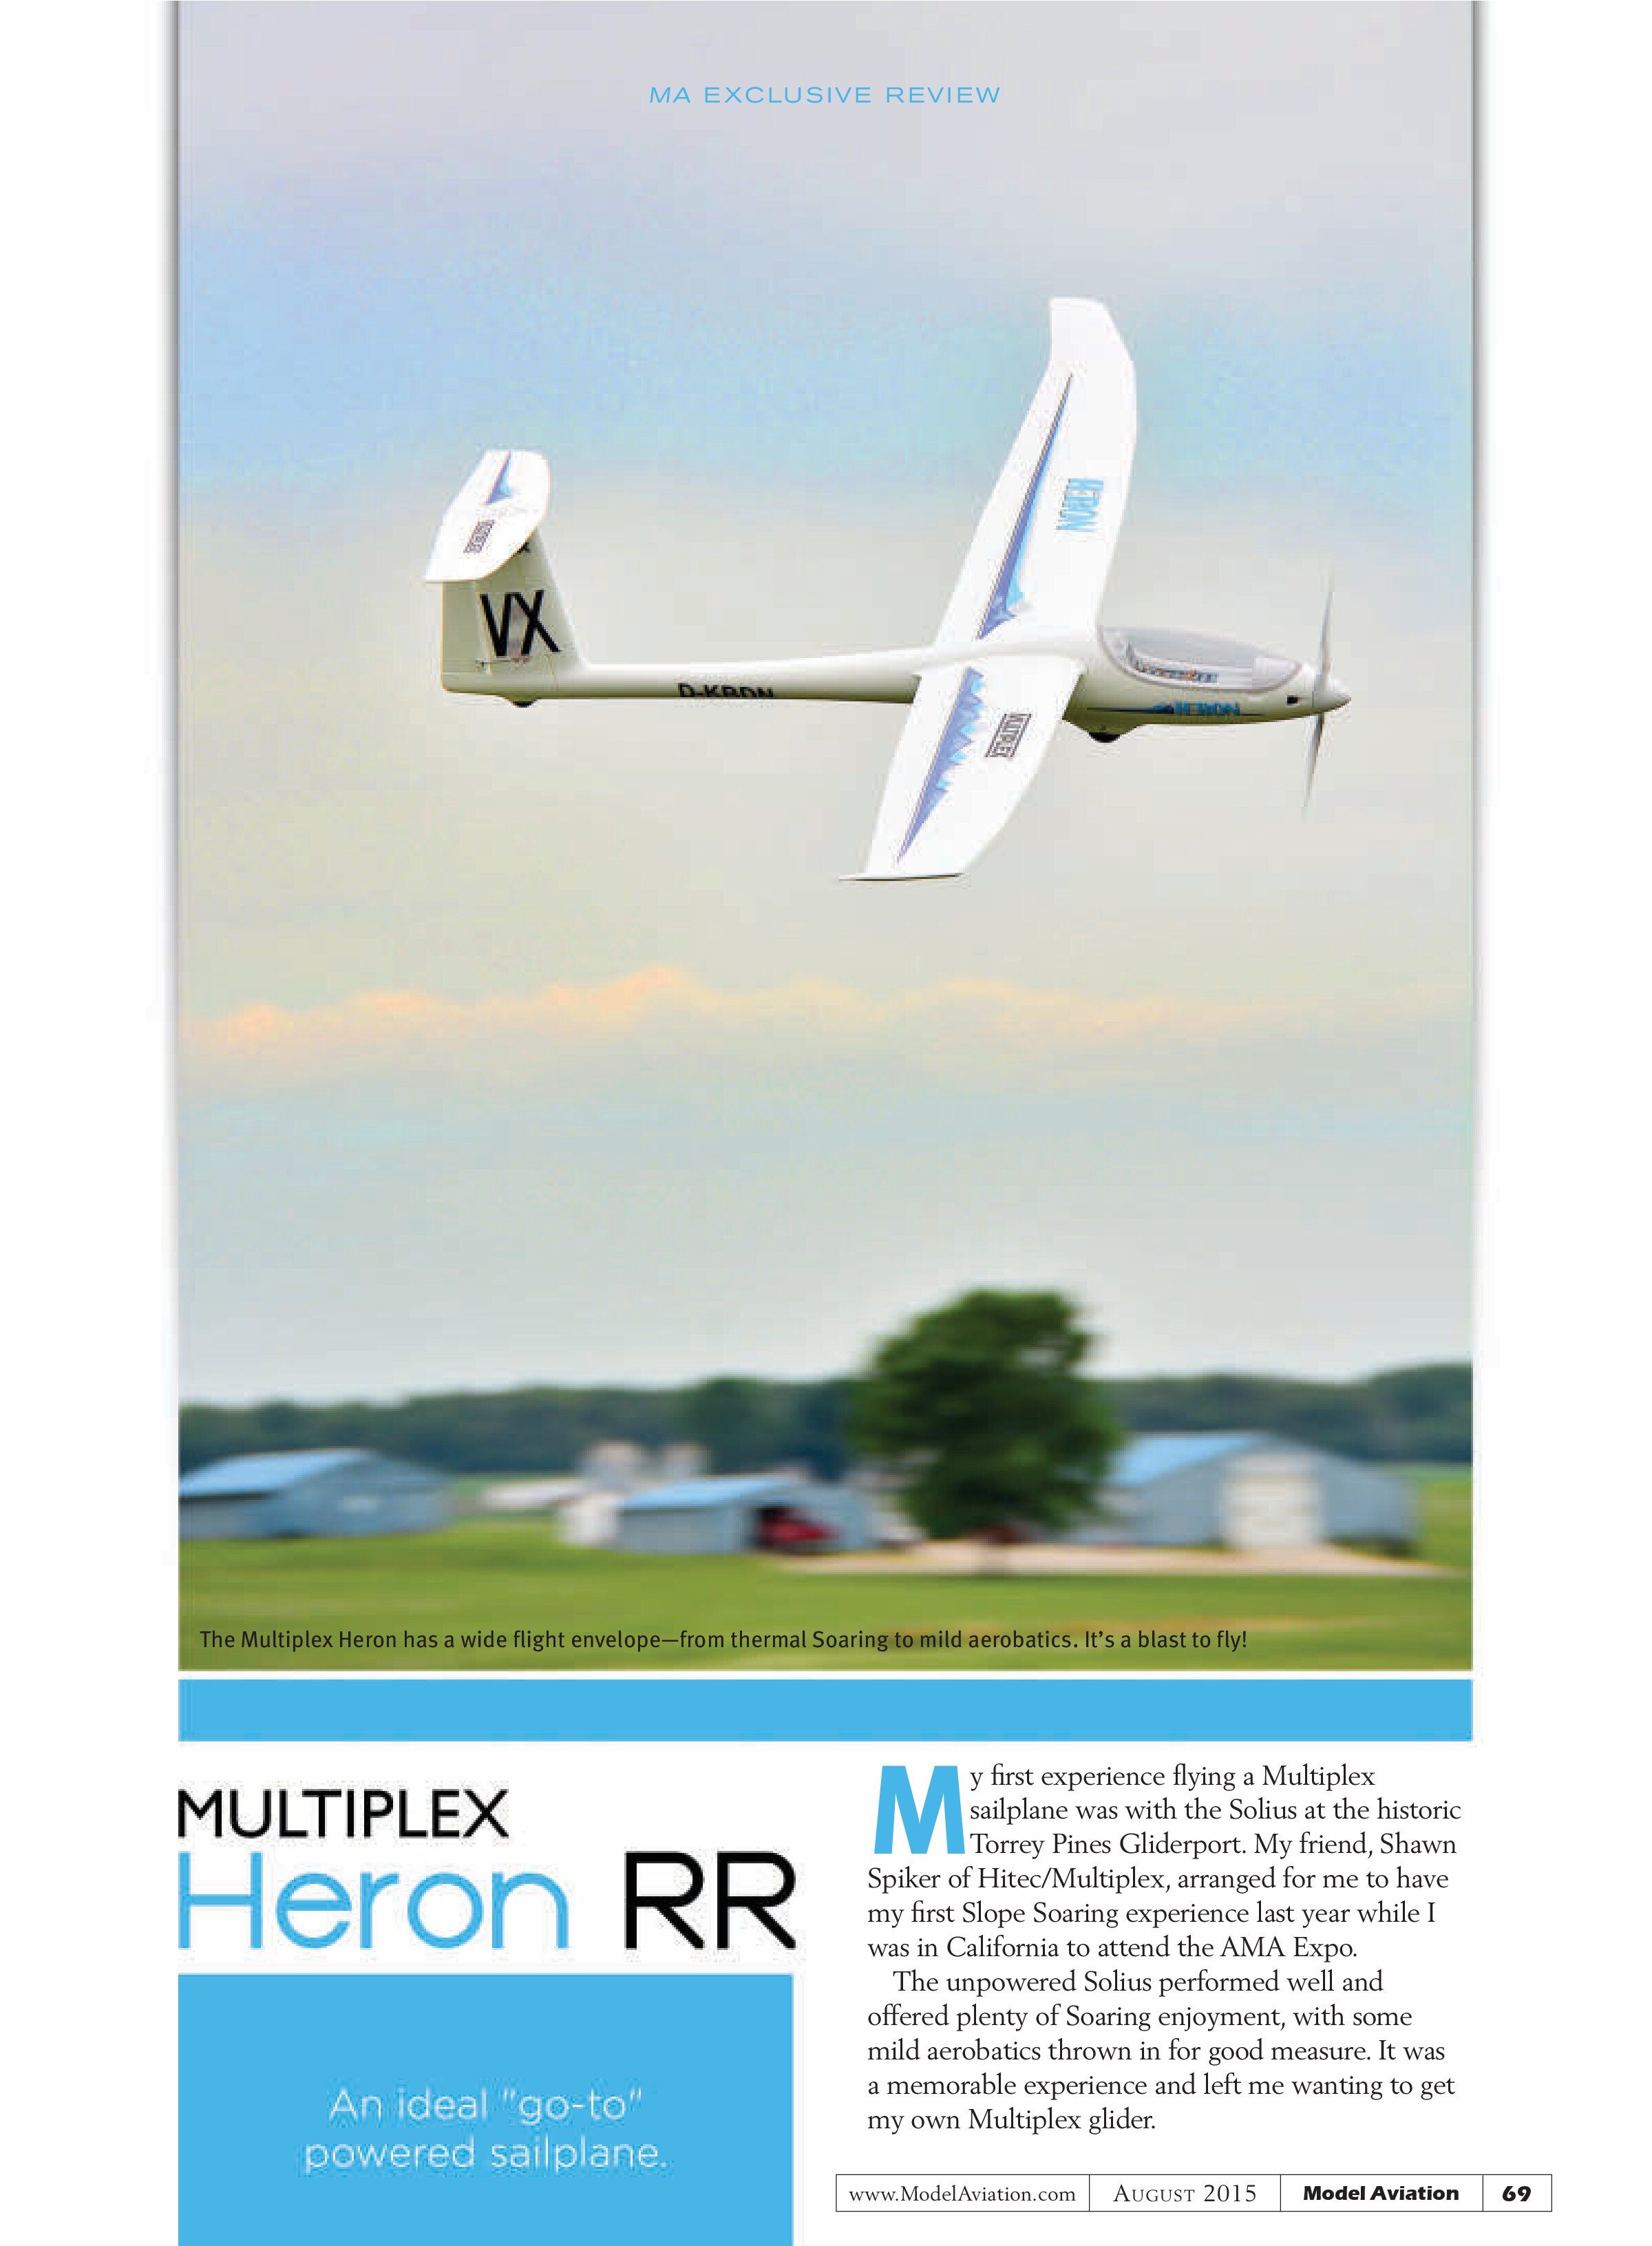
Well, the wait is over and I am happy to satisfy my interest in owning and flying a Multiplex sailplane with the new Heron. This model provides nearly 10 more inches of wingspan than the Solius, and winglets to help reduce wingtip vortices, thereby reducing drag.
The Heron is available as either a kit or receiver ready (RR). This review covers the RR version, which requires the pilot to supply a transmitter/receiver and battery.
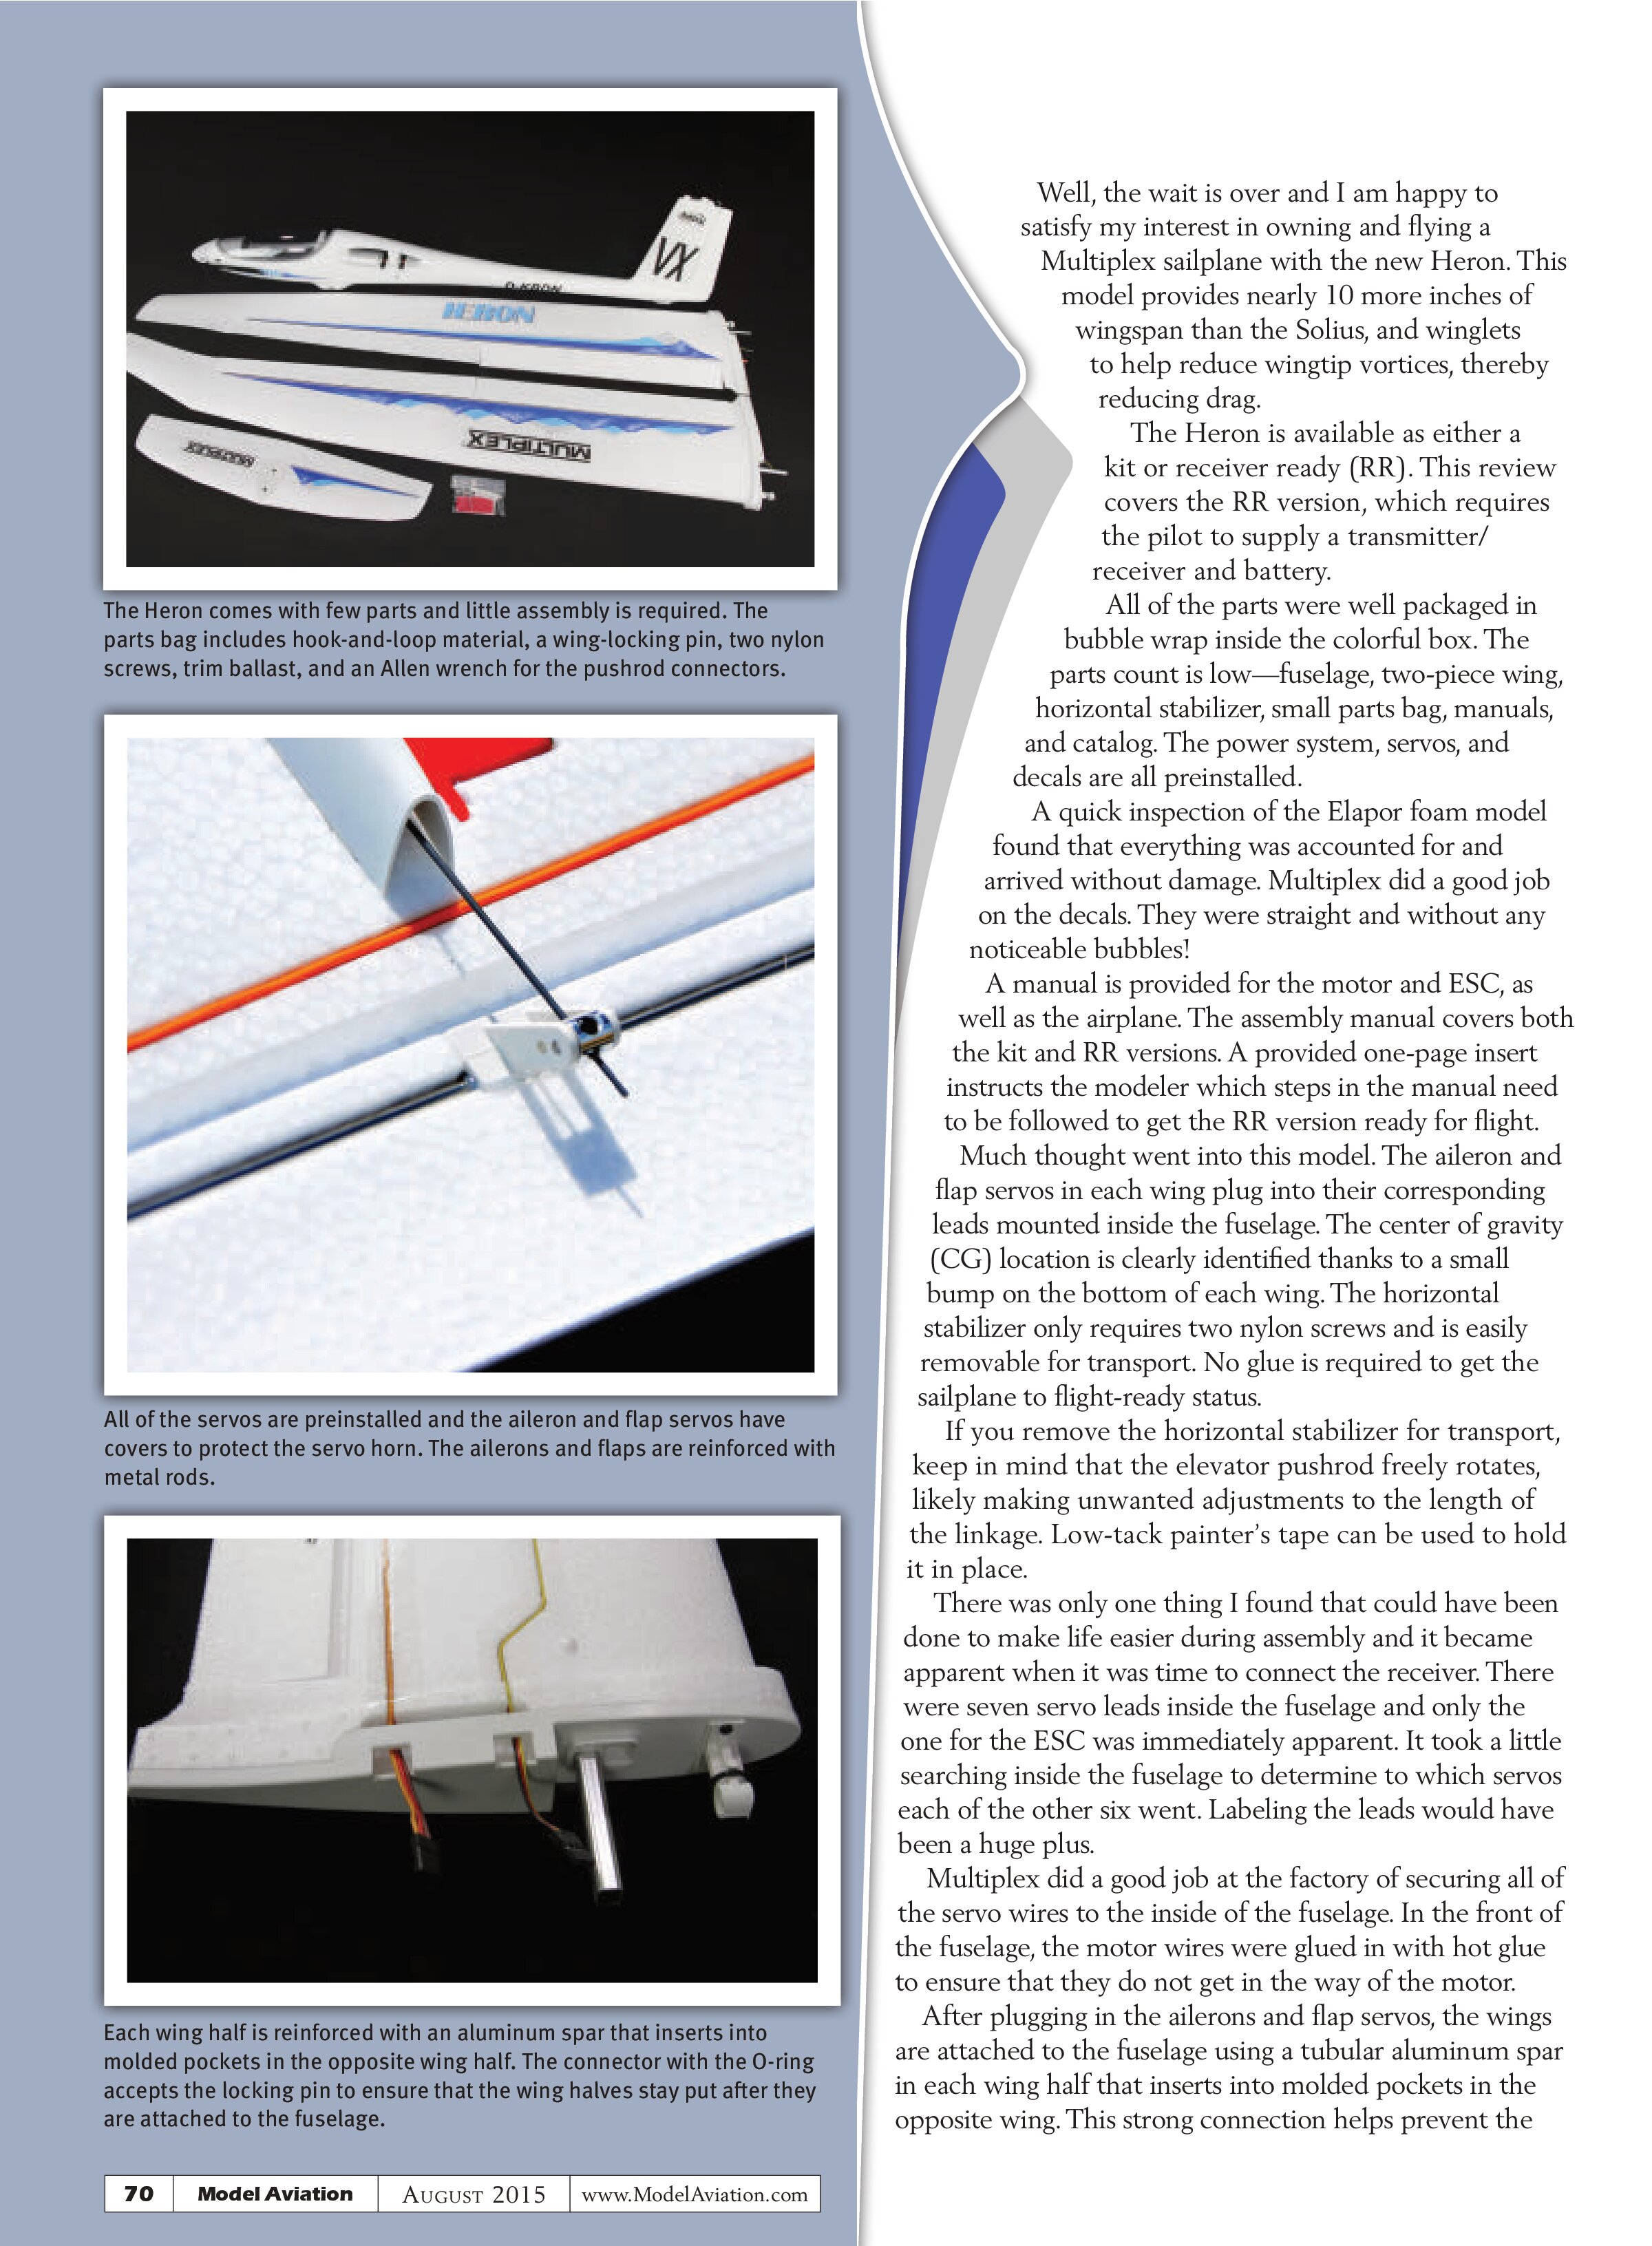
All of the parts were well packaged in bubble wrap inside the colorful box. The parts count is low—fuselage, two-piece wing, horizontal stabilizer, small parts bag, manuals, and catalog. The power system, servos, and decals are all preinstalled.
A quick inspection of the Elapor foam model found that everything was accounted for and arrived without damage. Multiplex did a good job on the decals. They were straight and without any noticeable bubbles!
A manual is provided for the motor and ESC, as well as the airplane. The assembly manual covers both the kit and RR versions. A provided one-page insert instructs the modeler which steps in the manual need to be followed to get the RR version ready for flight.
Much thought went into this model. The aileron and flap servos in each wing plug into their corresponding leads mounted inside the fuselage. The center of gravity (CG) location is clearly identified thanks to a small bump on the bottom of each wing. The horizontal stabilizer only requires two nylon screws and is easily removable for transport. No glue is required to get the sailplane to flight-ready status.
If you remove the horizontal stabilizer for transport, keep in mind that the elevator pushrod freely rotates, likely making unwanted adjustments to the length of the linkage. Low-tack painter’s tape can be used to hold it in place.
There was only one thing I found that could have been done to make life easier during assembly and it became apparent when it was time to connect the receiver. There were seven servo leads inside the fuselage and only the one for the ESC was immediately apparent. It took a little searching inside the fuselage to determine to which servos each of the other six went. Labeling the leads would have been a huge plus.
Multiplex did a good job at the factory of securing all of the servo wires to the inside of the fuselage. In the front of the fuselage, the motor wires were glued in with hot glue to ensure that they do not get in the way of the motor.
After plugging in the ailerons and flap servos, the wings are attached to the fuselage using a tubular aluminum spar in each wing half that inserts into molded pockets in the opposite wing. This strong connection helps prevent the wings from flexing. A pin slides through the fuselage into a connector for each wing and locks into place, ensuring that the wings stay put.
To keep from losing the locking pin when the wing halves are not attached, I keep it in a small, sealable parts bag and attach the bag to the battery’s hook-and-loop material to ensure it doesn’t get misplaced.
The manual provides detailed information on control surface travel as well as camber-changing flaps and spoilers using the ailerons and flaps. The manual also delves into different types of flying such as thermal Soaring, Slope Soaring, and aerotowing.
The completely assembled model is quite rigid, especially the wings. Beyond the aluminum spar in each wing half, the ailerons and flaps are reinforced with metal rods to ensure full control, even at high speeds.
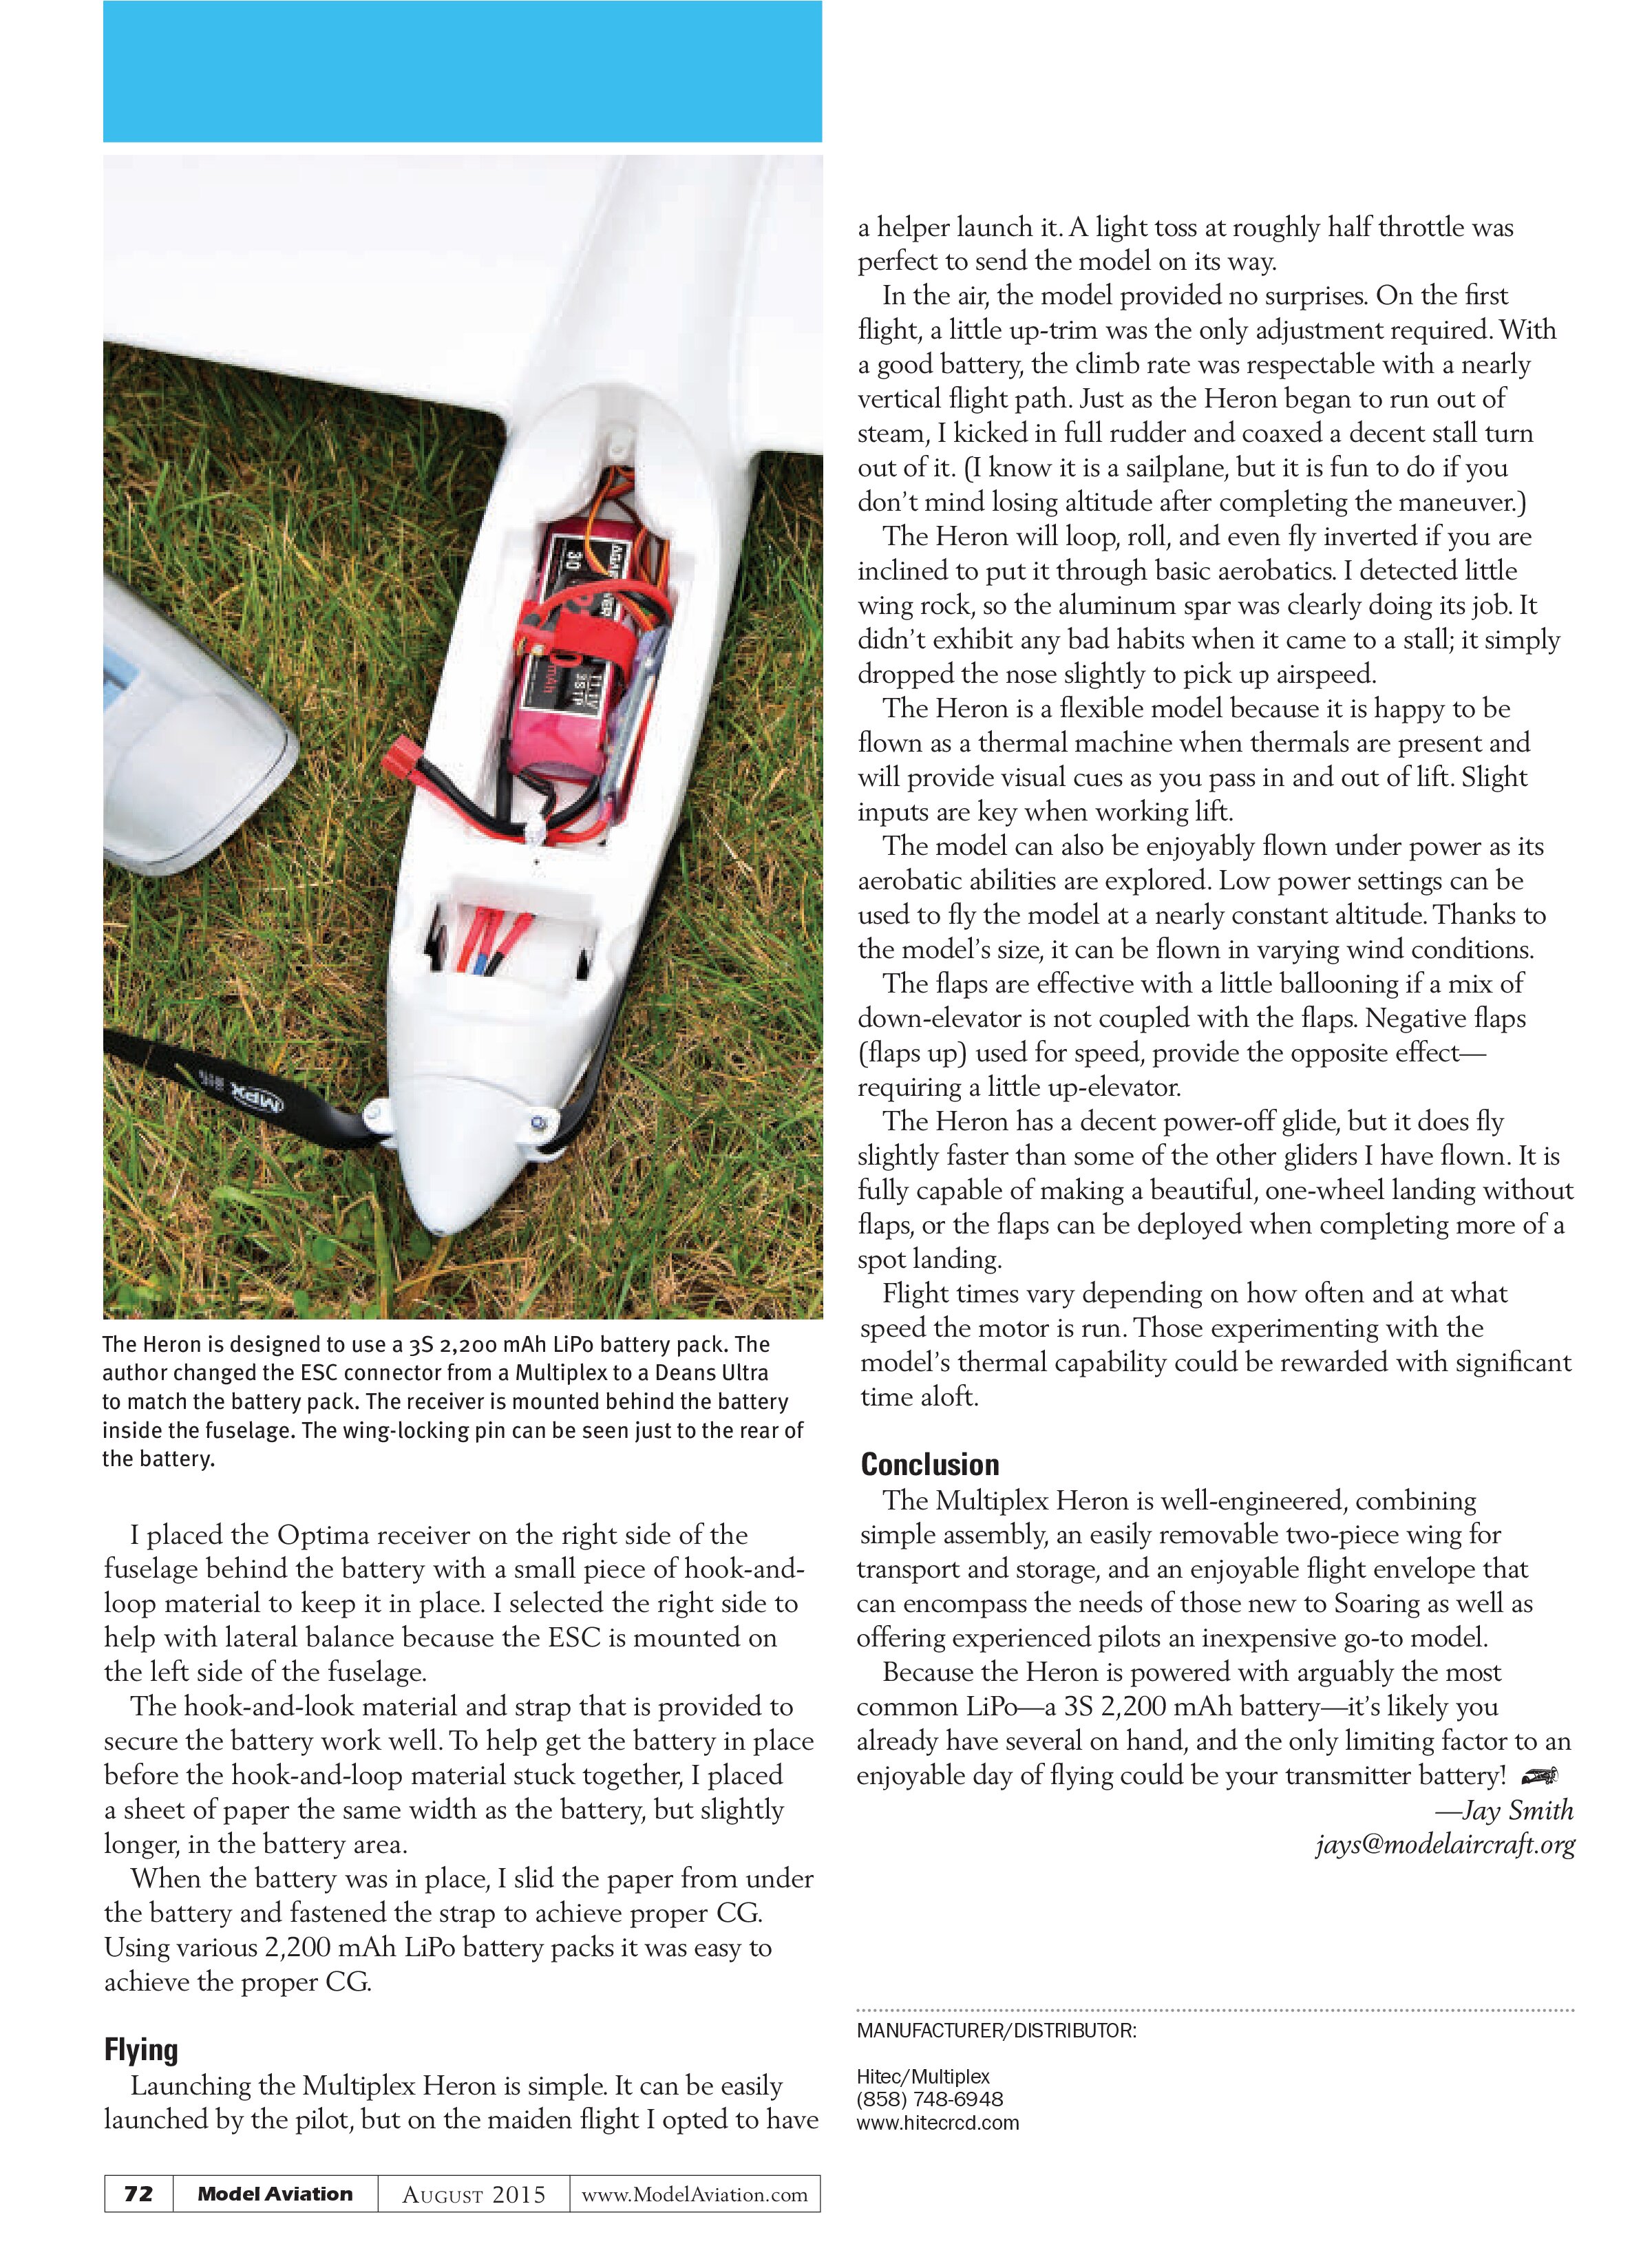
The battery connector on the ESC is a Multiplex connector, so if you are using any other type of connector, you will need to either change the connector to match your batteries or make or purchase an adapter. If using an adapter, be sure to use the equivalent wire gauge to match the battery and ESC wires to ensure that they can handle the power requirements.
I opted to change the connector to a Deans Ultra to match all of my 3S 2,200 mAh LiPo battery packs.
Programming the Heron using the Aurora 9X transmitter was a piece of cake. I chose to complete the setup as an airplane instead of a sailplane because it gave me the options I needed for noncompetitive flight. The flaps defaulted to the left slider, making them more adjustable than using a switch. I might program the model as a sailplane later to further tinker with the settings, but it is not required for enjoyable flight and thermal hunting.
The manual provides good guidance for setting up the surface travels with only a single rate (as opposed to high and low rates), and I followed those recommendations. The manual did not mention the use of exponential, so I opted for 35% on all control surfaces.
SPECIFICATIONS
Model type: Receiver-ready electric sailplane
Skill level: Intermediate
Wingspan: 94.44 inches
Wing area: 640 square inches
Length: 43.2 inches
Weight without battery: 2 pounds, 12.3 ounces
Included power system: 400-watt brushless motor; 55-amp ESC (manual states 40 amps)
Radio: Five channel minimum; seven channel recommended
Needed to complete: Radio system; flight battery
Construction: Elapor foam
Covering: Preapplied decals
Price: $374.99 (RR); $169.99 (kit)
TEST-MODEL DETAILS
Radio system: Hitec Aurora 9X transmitter; Hitec Optima 7 receiver; two HS-81 and four HS-55 servos
Battery used: Various three-cell 2,200 mAh LiPos
Flight duration: 15-plus minutes, depending on flying style
PLUSES
• Low parts count and easy assembly.
• CG location is clearly identified on the bottom of each wing.
• Clear canopy with cockpit details.
• Durable Elapor foam construction with reinforcement.
• Ailerons and flaps are reinforced with metal rods.
• Detachable two-piece wing and horizontal stabilizer makes for easy transportation.
MINUSES
• Elevator pushrod rotates when horizontal stabilizer is removed, affecting trim.


I placed the Optima receiver on the right side of the fuselage behind the battery with a small piece of hook-and-loop material to keep it in place. I selected the right side to help with lateral balance because the ESC is mounted on the left side of the fuselage.
The hook-and-loop material and strap that is provided to secure the battery work well. To help get the battery in place before the hook-and-loop material stuck together, I placed a sheet of paper the same width as the battery, but slightly longer, in the battery area.
When the battery was in place, I slid the paper from under the battery and fastened the strap to achieve proper CG. Using various 2,200 mAh LiPo battery packs it was easy to achieve the proper CG.
Flying
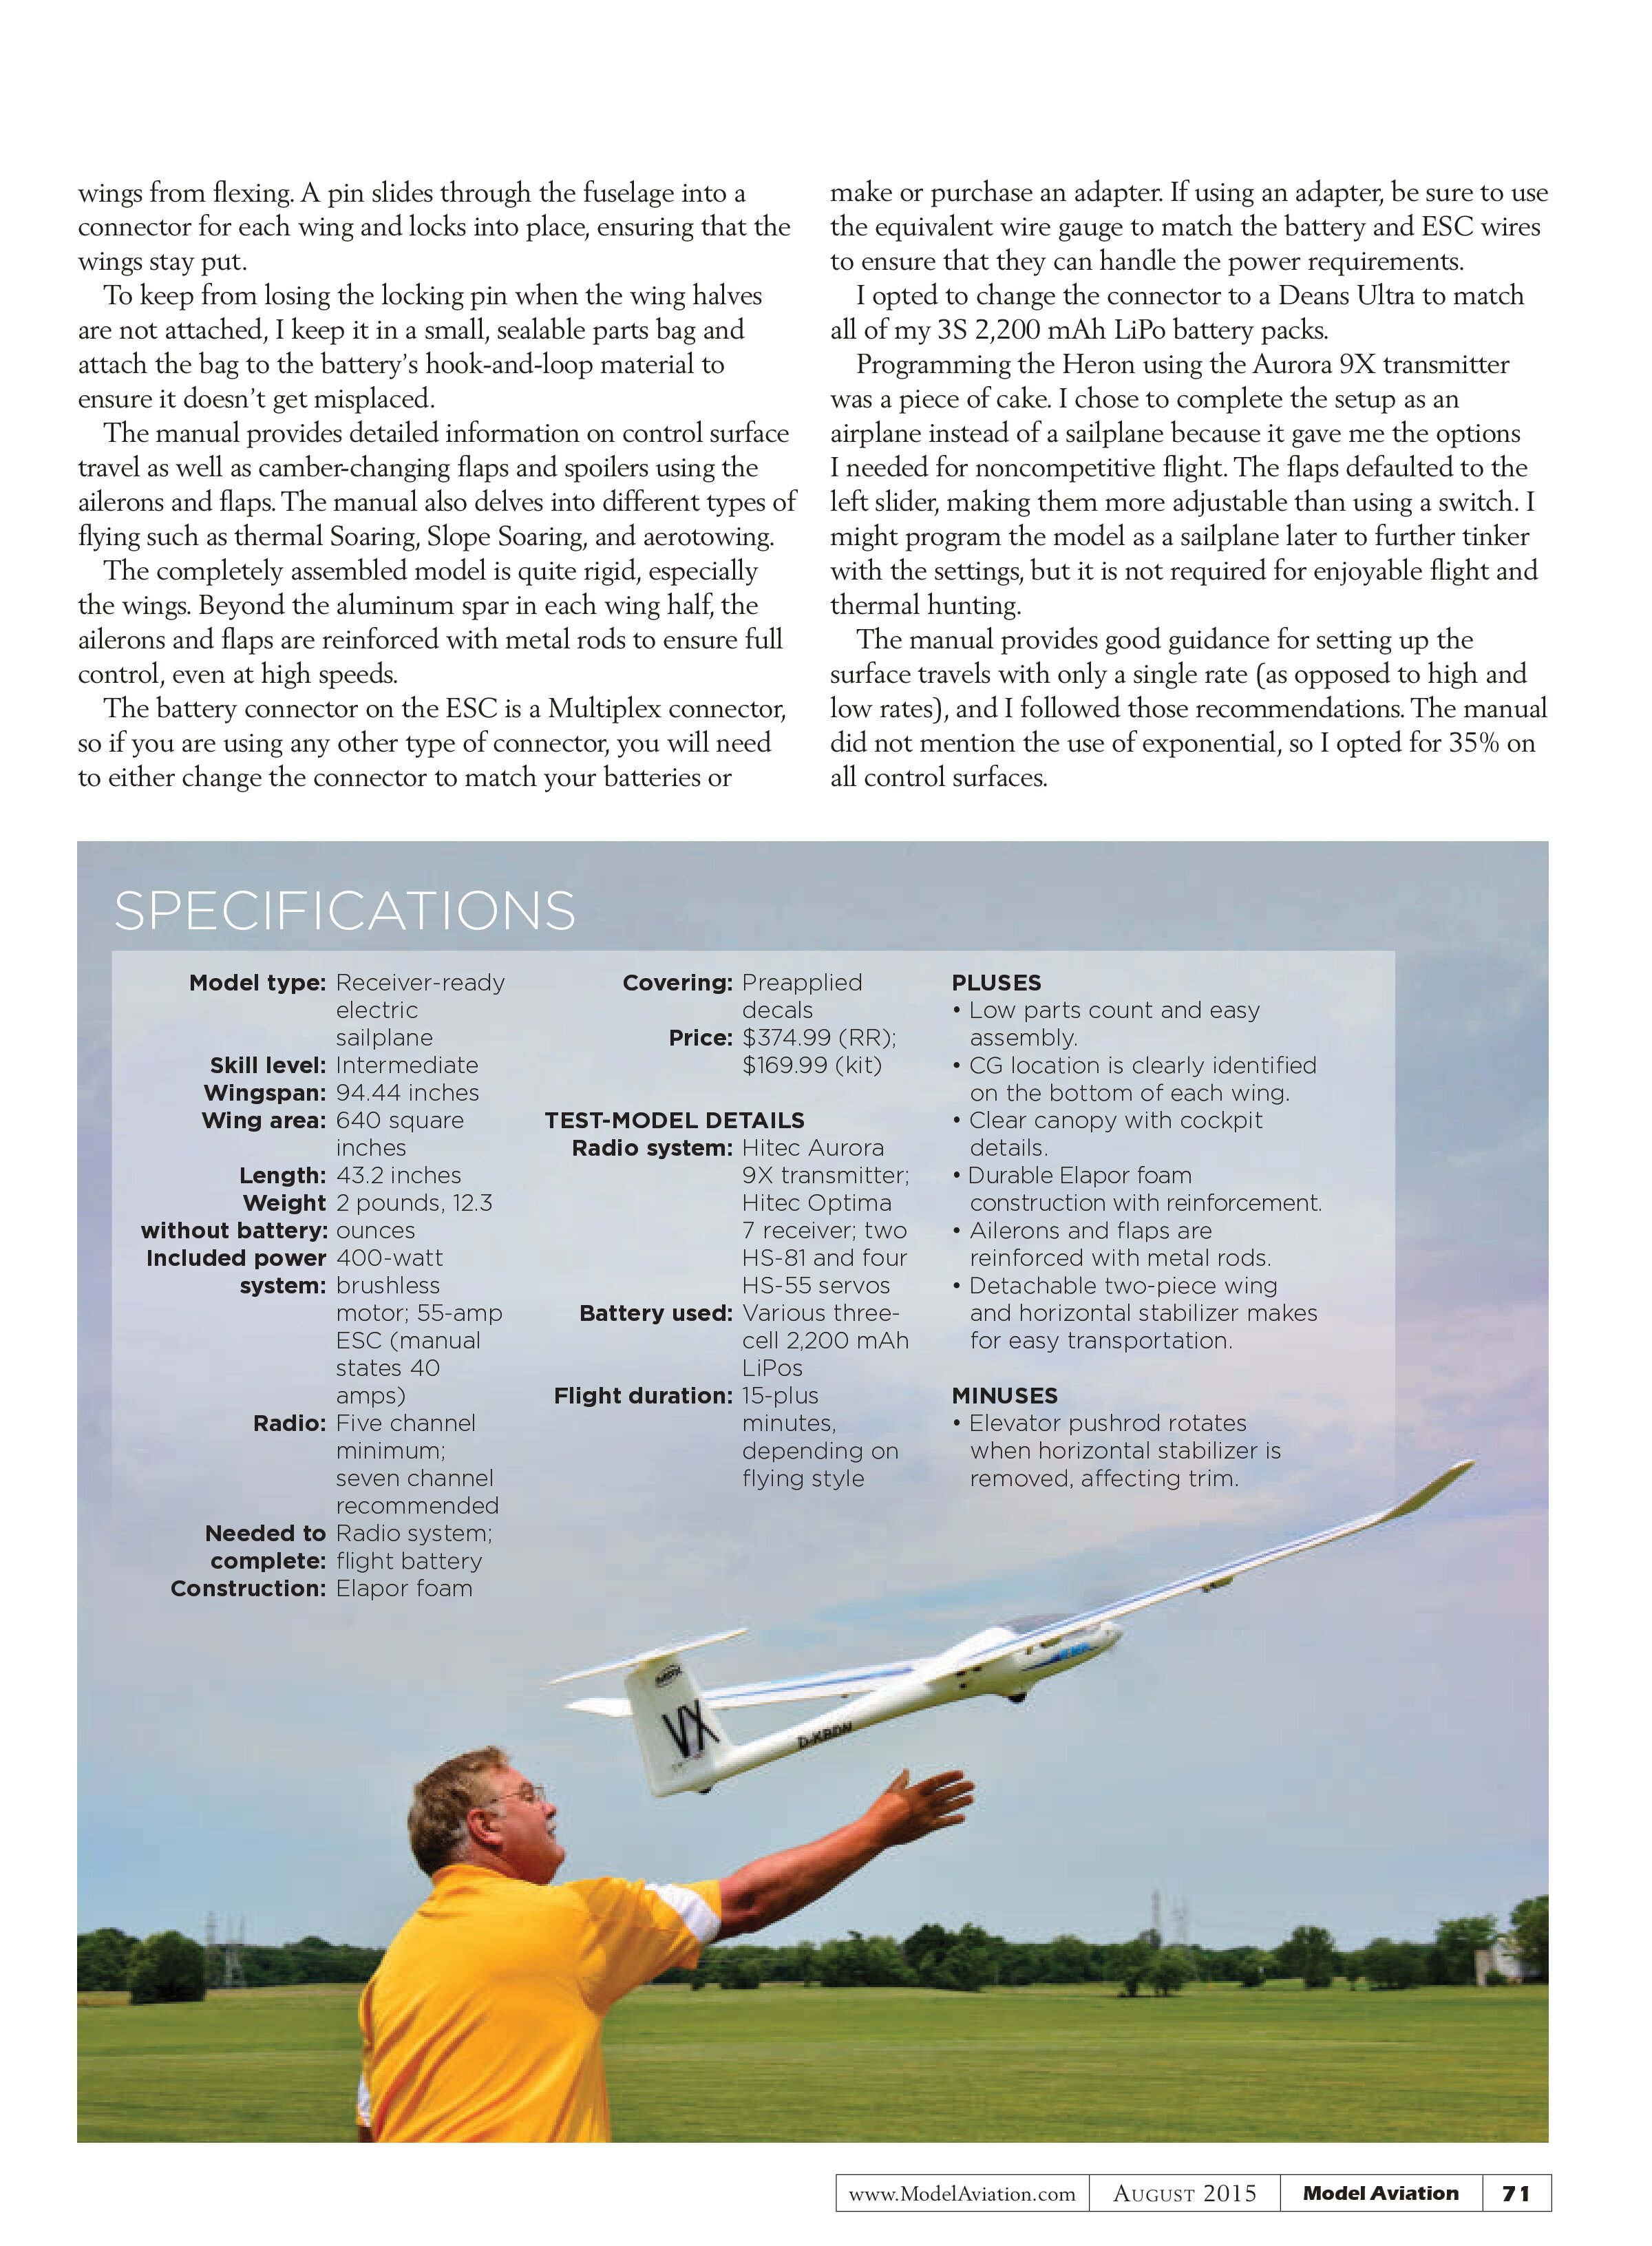
Launching the Multiplex Heron is simple. It can be easily launched by the pilot, but on the maiden flight I opted to have a helper launch it. A light toss at roughly half throttle was perfect to send the model on its way.
In the air, the model provided no surprises. On the first flight, a little up-trim was the only adjustment required. With a good battery, the climb rate was respectable with a nearly vertical flight path. Just as the Heron began to run out of steam, I kicked in full rudder and coaxed a decent stall turn out of it. (I know it is a sailplane, but it is fun to do if you don’t mind losing altitude after completing the maneuver.)
The Heron will loop, roll, and even fly inverted if you are inclined to put it through basic aerobatics. I detected little wing rock, so the aluminum spar was clearly doing its job. It didn’t exhibit any bad habits when it came to a stall; it simply dropped the nose slightly to pick up airspeed.
The Heron is a flexible model because it is happy to be flown as a thermal machine when thermals are present and will provide visual cues as you pass in and out of lift. Slight inputs are key when working lift.
The model can also be enjoyably flown under power as its aerobatic abilities are explored. Low power settings can be used to fly the model at a nearly constant altitude. Thanks to the model’s size, it can be flown in varying wind conditions.
The flaps are effective with a little ballooning if a mix of down-elevator is not coupled with the flaps. Negative flaps (flaps up) used for speed, provide the opposite effect—requiring a little up-elevator.
The Heron has a decent power-off glide, but it does fly slightly faster than some of the other gliders I have flown. It is fully capable of making a beautiful, one-wheel landing without flaps, or the flaps can be deployed when completing more of a spot landing.
Flight times vary depending on how often and at what speed the motor is run. Those experimenting with the model’s thermal capability could be rewarded with significant time aloft.
Conclusion
The Multiplex Heron is well-engineered, combining simple assembly, an easily removable two-piece wing for transport and storage, and an enjoyable flight envelope that can encompass the needs of those new to Soaring as well as offering experienced pilots an inexpensive go-to model.
Because the Heron is powered with arguably the most common LiPo—a 3S 2,200 mAh battery—it’s likely you already have several on hand, and the only limiting factor to an enjoyable day of flying could be your transmitter battery!
—Jay Smith
jays@modelaircraft.org
MANUFACTURER/DISTRIBUTOR:
Hitec/Multiplex
(858) 748-6948
www.hitecrcd.com