Safety Comes First
Box 461, Lovell WY 82431; E-mail: gshaw@att.net
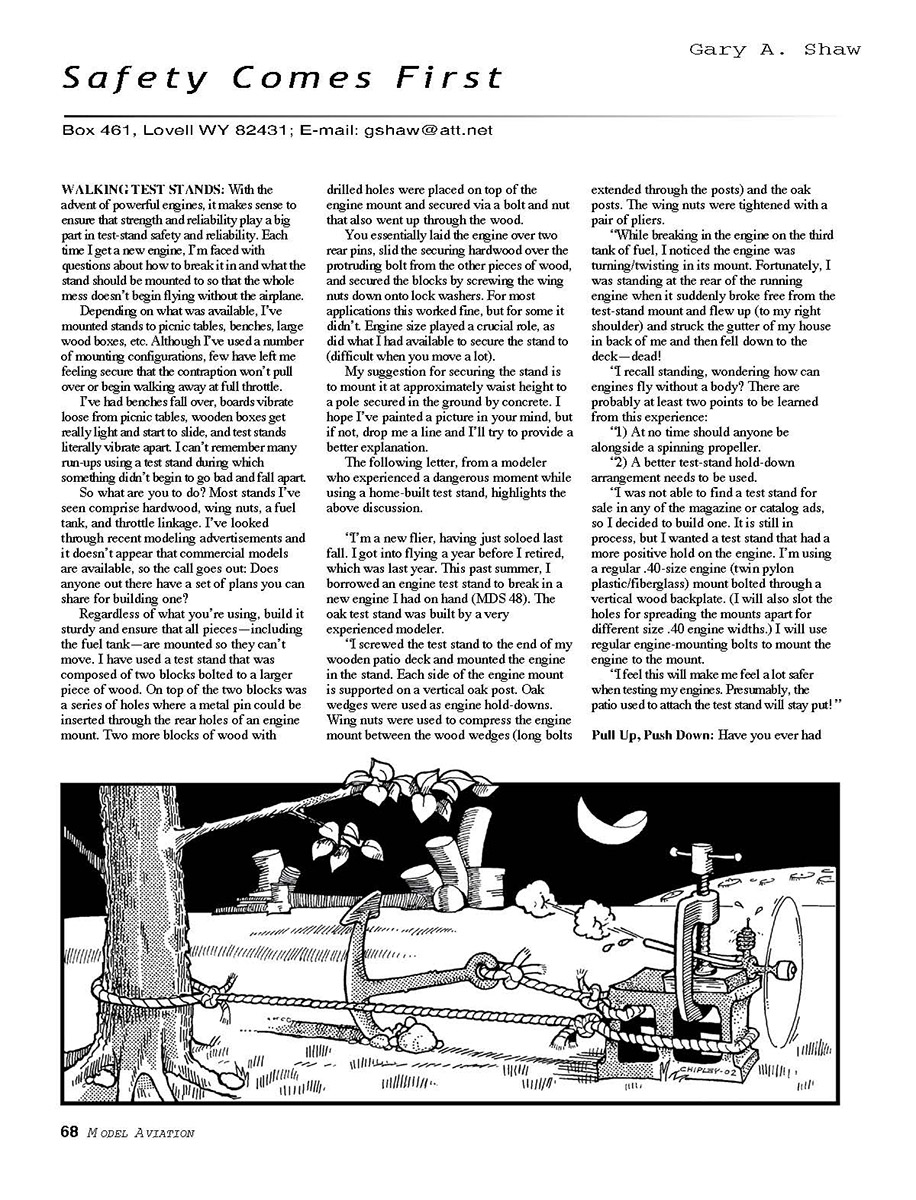
WALKING TEST STANDS: With the advent of powerful engines, it makes sense to ensure that strength and reliability play a big part in test-stand safety and reliability. Each time I get a new engine, I'm faced with questions about how to break it in and what the stand should be mounted to so that the whole mess doesn't begin flying without the airplane.
Depending on what was available, I've mounted stands to picnic tables, benches, large wood boxes, etc. Although I've used a number of mounting configurations, few have left me feeling secure that the contraption won't pull over or begin walking away at full throttle.
I've had benches fall over, boards vibrate loose from picnic tables, wooden boxes get really light and start to slide, and test stands literally vibrate apart. I can't remember many run-ups using a test stand during which something didn't begin to go bad and fall apart.
So what are you to do? Most stands I've seen comprise hardwood, wing nuts, a fuel tank, and throttle linkage. I've looked through recent modeling advertisements and it doesn't appear that commercial models are available, so the call goes out: Does anyone out there have a set of plans you can share for building one?
Regardless of what you're using, build it sturdy and ensure that all pieces—including the fuel tank—are mounted so they can't move. I have used a test stand that was composed of two blocks bolted to a larger piece of wood. On top of the two blocks was a series of holes where a metal pin could be inserted through the rear holes of an engine mount. Two more blocks of wood with drilled holes were placed on top of the engine mount and secured via a bolt and nut that also went up through the wood.
You essentially laid the engine over two rear pins, slid the securing hardwood over the protruding bolt from the other pieces of wood, and secured the blocks by screwing the wing nuts down onto lock washers. For most applications this worked fine, but for some it didn't. Engine size played a crucial role, as did what I had available to secure the stand to (difficult when you move a lot).
My suggestion for securing the stand is to mount it at approximately waist height to a pole secured in the ground by concrete. I hope I've painted a picture in your mind, but if not, drop me a line and I'll try to provide a better explanation.
The following letter, from a modeler who experienced a dangerous moment while using a home-built test stand, highlights the above discussion.
"I'm a new flier, having just soloed last fall. I got into flying a year before I retired, which was last year. This past summer, I borrowed an engine test stand to break in a new engine I had on hand (MDS 48). The oak test stand was built by a very experienced modeler.
"I screwed the test stand to the end of my wooden patio deck and mounted the engine in the stand. Each side of the engine mount is supported on a vertical oak post. Oak wedges were used as engine hold-downs. Wing nuts were used to compress the engine mount between the wood wedges (long bolts extended through the posts) and the oak posts. The wing nuts were tightened with a pair of pliers.
"While breaking in the engine on the third tank of fuel, I noticed the engine was turning/twisting in its mount. Fortunately, I was standing at the rear of the running engine when it suddenly broke free from the test-stand mount and flew up (to my right shoulder) and struck the gutter of my house in back of me and then fell down to the deck—dead!
"I recall standing, wondering how can engines fly without a body? There are probably at least two points to be learned from this experience:
- At no time should anyone be alongside a spinning propeller.
- A better test-stand hold-down arrangement needs to be used.
"I was not able to find a test stand for sale in any of the magazine or catalog ads, so I decided to build one. It is still in process, but I wanted a test stand that had a more positive hold on the engine. I'm using a regular .40-size engine (twin nylon plastic/fiberglass) mount bolted through a vertical wood backplate. (I will also cut the holes for spreading the mounts apart for different size .40 engine widths.) I will use regular engine-mounting bolts to mount the engine to the mount.
"I feel this will make me feel a lot safer when testing my engines. Presumably, the patio used to attach the test stand will stay put!"
Pull Up, Push Down: Have you ever had
Safety Comes First
one of those days when you think you're doing a favor by helping someone fly, and you end up in a near disaster?
Years ago, when I was flying with the Millington (TN) Barnstormers, I looked up to see a model flying over the pits in a spin of death, so I ran out to help. It was obvious that the guy was a rookie, new to the field, and a beginner, so I knew he wouldn't refuse a little help.
Arriving at his station, he quickly handed over the controls. To my instant surprise, I learned that all his control throws were opposite of normal, and I was really in a mess. The next several moments were spent trying to gain altitude (which we did) then glide the airplane back to the field with as little damage as possible (which we didn't do).
After an "almost" successful landing, I walked out into the nearby cotton field to see what survived and to confirm what I thought was indeed true: all servos had been set opposite from normal.
As I talked with the owner of the airplane, it was obvious that he had taken off without the least understanding of how to set up control throws or how to fly. Embarrassed that I lost his airplane, I offered to give him an equivalent model and teach him how to fly it. Being the gentleman that he was, he refused, picked up his pieces, and left, never to be seen again.
The members at the field never forgot my "lack of flying skill" and relentlessly punished me for decades through copious amounts of unrequited aplomb.
Words of wisdom: Preflight your airplane on the ground, and check the throws to make sure everything is set up correctly.
Correct trims can be noted while you are standing at the back of the airplane looking to the front: right stick left, left aileron goes up; right stick right, right aileron goes up; right stick forward, elevator goes down; right stick back, elevator goes up; left throttle stick pulled toward you, engine idles or shuts off; left throttle stick pushed away from you, engine throttles up; left throttle stick left, rudder goes left; left throttle stick right, rudder goes right.
The following was forwarded by B-mail seen at the field before. He started to put his airplane together and displayed a certain amount of unskillfulness with preparation for flying. I finally approached him and asked if he could use some help. It took a bit of effort since his English wasn't very good.
He finally agreed to let me help him set up his airplane. We checked balance, control-surface throw, and finally control throw direction. I checked aileron, rudder, and engine servo direction, and then, with his agreement, I tried a takeoff. I pulled back and was astounded when nothing happened. I made another takeoff roll. Again, nothing.
I brought it back and discovered that the elevator servo was reversed. I had never seen anyone who had reversed that and had not thought to check the elevator. I went to correct the elevator servo, and this "set off" the airplane owner. He insisted that you pushed forward to "up" to have the airplane go "up," and pulled back, "down," to dive. I couldn't convince him otherwise and finally left him on his own, only to watch him crash quite badly in an unassisted takeoff a few minutes later.
While presuming that everyone knew how to set up control surfaces was dumb, I was more dumbfounded by the fact that I couldn't convince him that no airplane in any scale took off by pushing the elevator control forward.
Until next month.
Transcribed from original scans by AI. Minor OCR errors may remain.