Cockpit Detail and Canopy Attachment
Canopy attachment can be a cumbersome job, but this step-by-step guide will make the job easier and result in a good-looking cockpit and a canopy that will stay attached
— Bob Noll
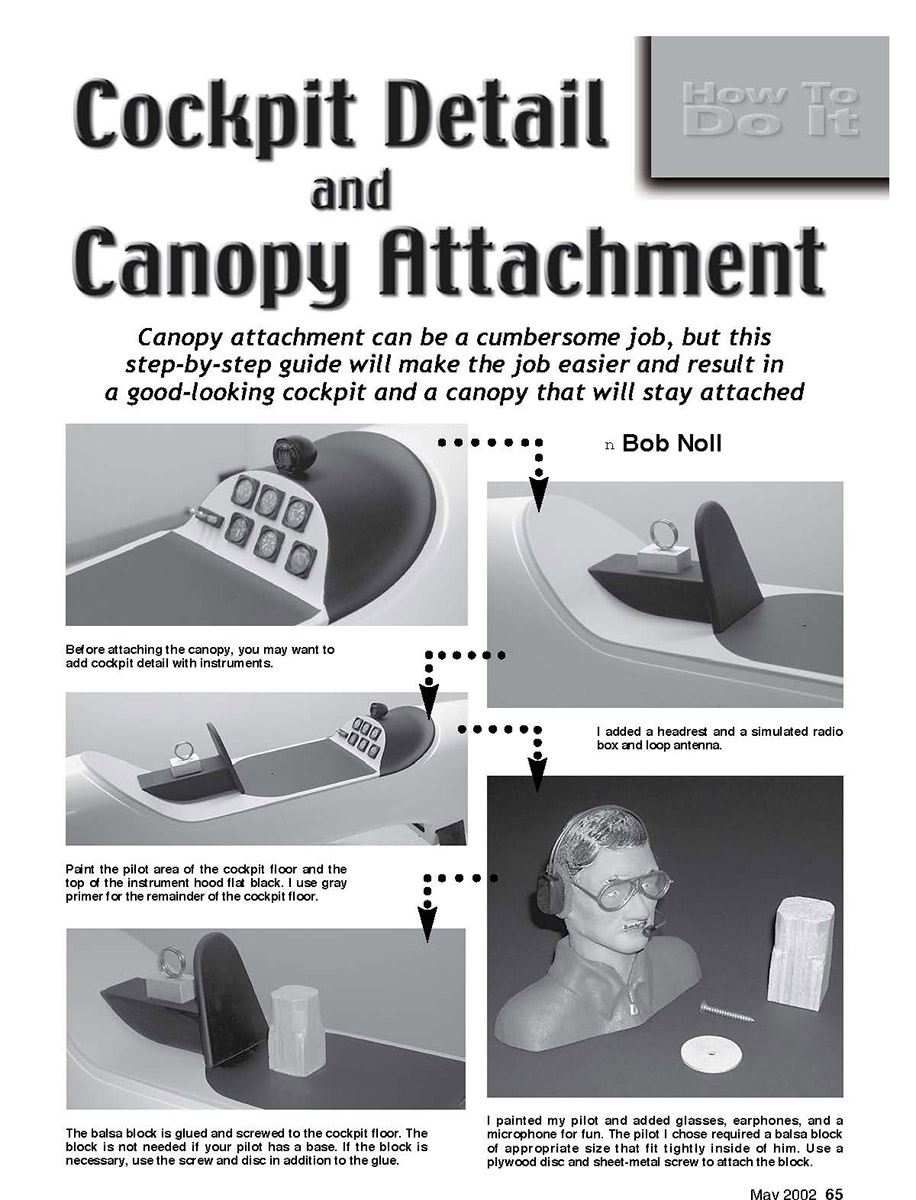
Before attaching the canopy, you may want to add cockpit detail with instruments.
I added a headrest and a simulated radio box and loop antenna.
Paint the pilot area of the cockpit floor and the top of the instrument hood flat black. I use gray primer for the remainder of the cockpit floor.
The balsa block is glued and screwed to the cockpit floor. The block is not needed if your pilot has a base. If the block is necessary, use the screw and disc in addition to the glue.
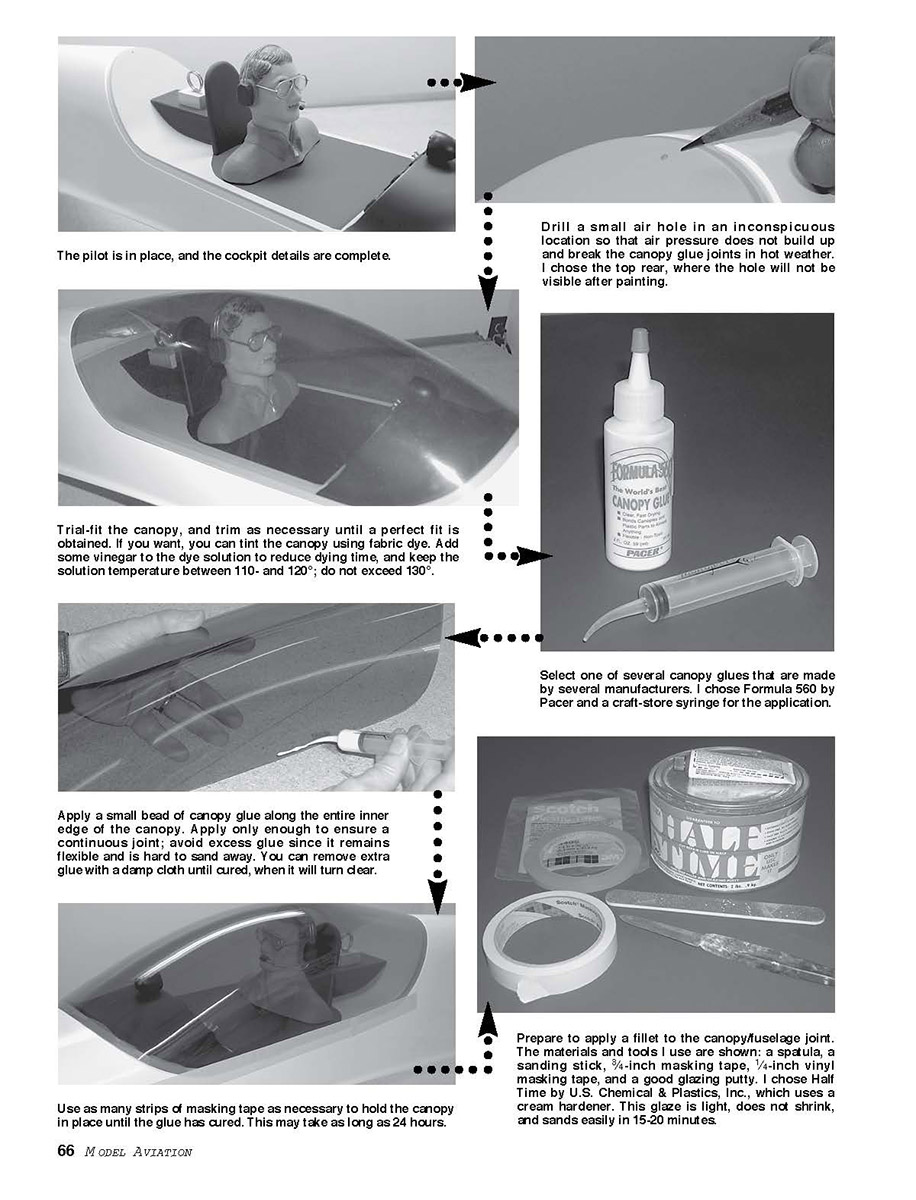
I painted my pilot and added glasses, earphones, and a microphone for fun. The pilot I chose required a balsa block of appropriate size that fit tightly inside of him. Use a plywood disc and sheet-metal screw to attach the block. The pilot is in place, and the cockpit details are complete.
Drill a small air hole in an inconspicuous location so that air pressure does not build up and break the canopy glue joints in hot weather. I chose the top rear, where the hole will not be visible after painting.
Trial-fit the canopy, and trim as necessary until a perfect fit is obtained. If you want, you can tint the canopy using fabric dye. Add some vinegar to the dye solution to reduce drying time, and keep the solution temperature between 110° and 120°; do not exceed 130°.
Select one of several canopy glues that are made by several manufacturers. I chose Formula 560 by Pacer and a craft-store syringe for the application.
Apply a small bead of canopy glue along the entire inner edge of the canopy. Apply only enough to ensure a continuous joint; avoid excess glue since it remains flexible and is hard to sand away. You can remove extra glue with a damp cloth until cured, when it will turn clear.
Prepare to apply a fillet to the canopy/fuselage joint. The materials and tools I use are shown: a spatula, a sanding stick, 3/4-inch masking tape, 1/4-inch vinyl masking tape, and a good glazing putty. I chose Half Time by U.S. Chemical & Plastics, Inc., which uses a cream hardener. This glaze is light, does not shrink, and sands easily in 15-20 minutes.
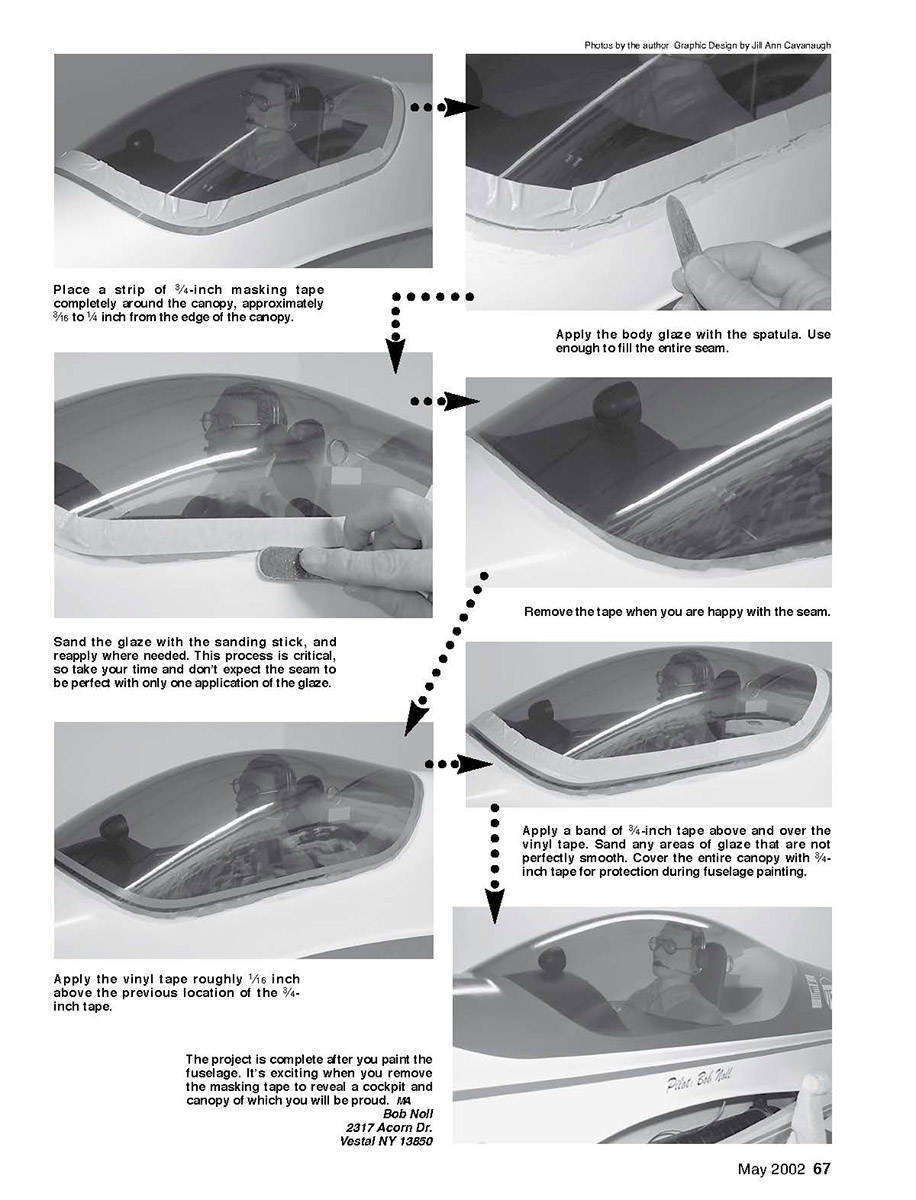
Use as many strips of masking tape as necessary to hold the canopy in place until the glue has cured. This may take as long as 24 hours. Place a strip of 3/4-inch masking tape completely around the canopy, approximately 3/16 to 1/4 inch from the edge of the canopy.
Apply the body glaze with the spatula. Use enough to fill the entire seam.
Sand the glaze with the sanding stick, and reapply where needed. This process is critical, so take your time and don't expect the seam to be perfect with only one application of the glaze.
Remove the tape when you are happy with the seam.
Apply the vinyl tape roughly 1/16 inch above the previous location of the 3/4-inch tape.
Apply a band of 3/4-inch tape above and over the vinyl tape. Sand any areas of glaze that are not perfectly smooth. Cover the entire canopy with 3/4-inch tape for protection during fuselage painting.
The project is complete after you paint the fuselage. It's exciting when you remove the masking tape to reveal a cockpit and canopy of which you will be proud.
Bob Noll 2317 Acorn Dr. Vestal NY 13850
Transcribed from original scans by AI. Minor OCR errors may remain.